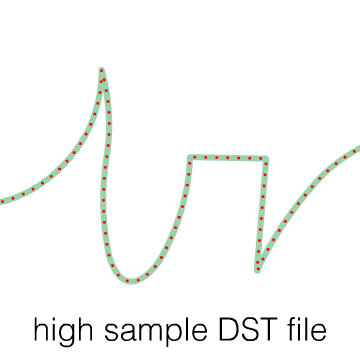
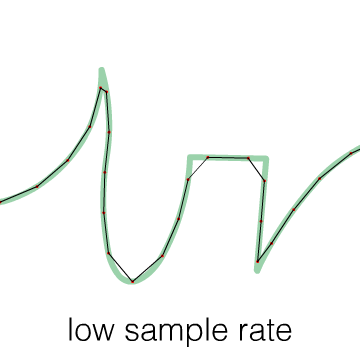
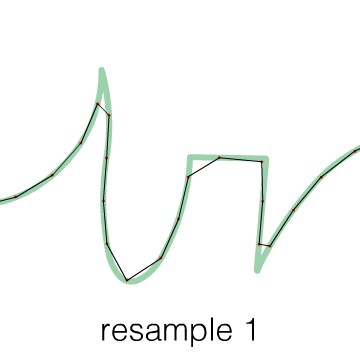
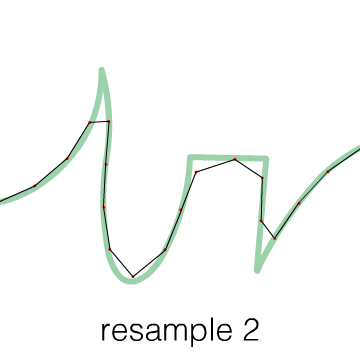
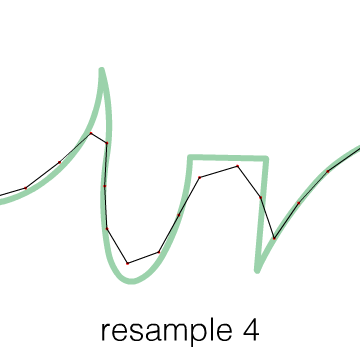
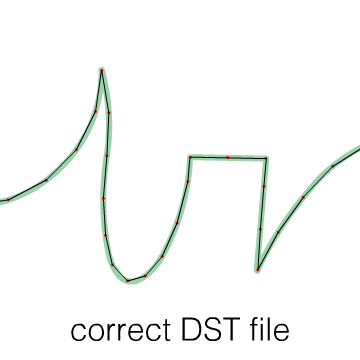
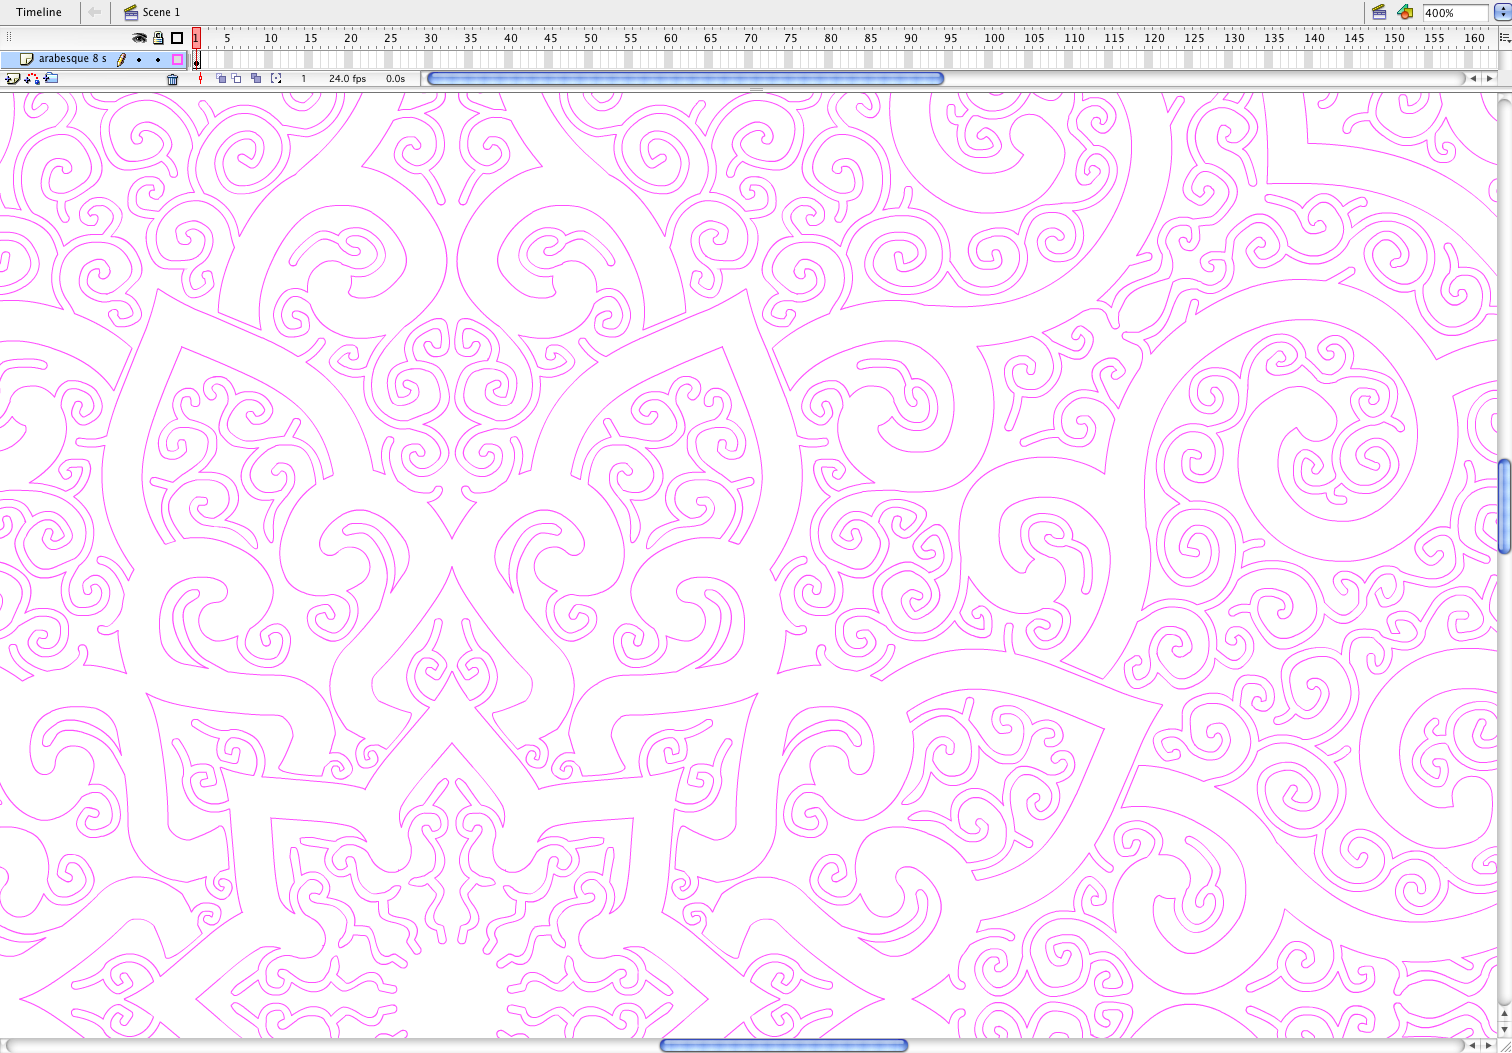
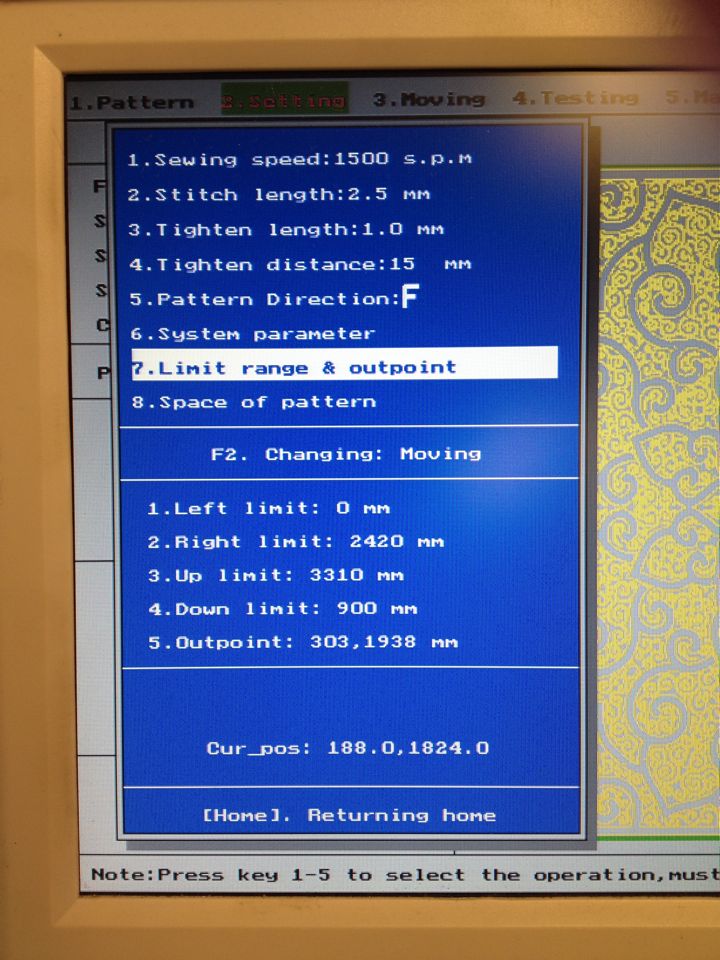
Our Quilt Plotter’s rather frustrating software automatically resamples DST files, for no explicable reason. While we struggle to communicate with its manufacturers to overcome this “feature,” I attempted to explain the problem in pictures.


Animator. Director. Artist. Scapegoat.

Our Quilt Plotter’s rather frustrating software automatically resamples DST files, for no explicable reason. While we struggle to communicate with its manufacturers to overcome this “feature,” I attempted to explain the problem in pictures.
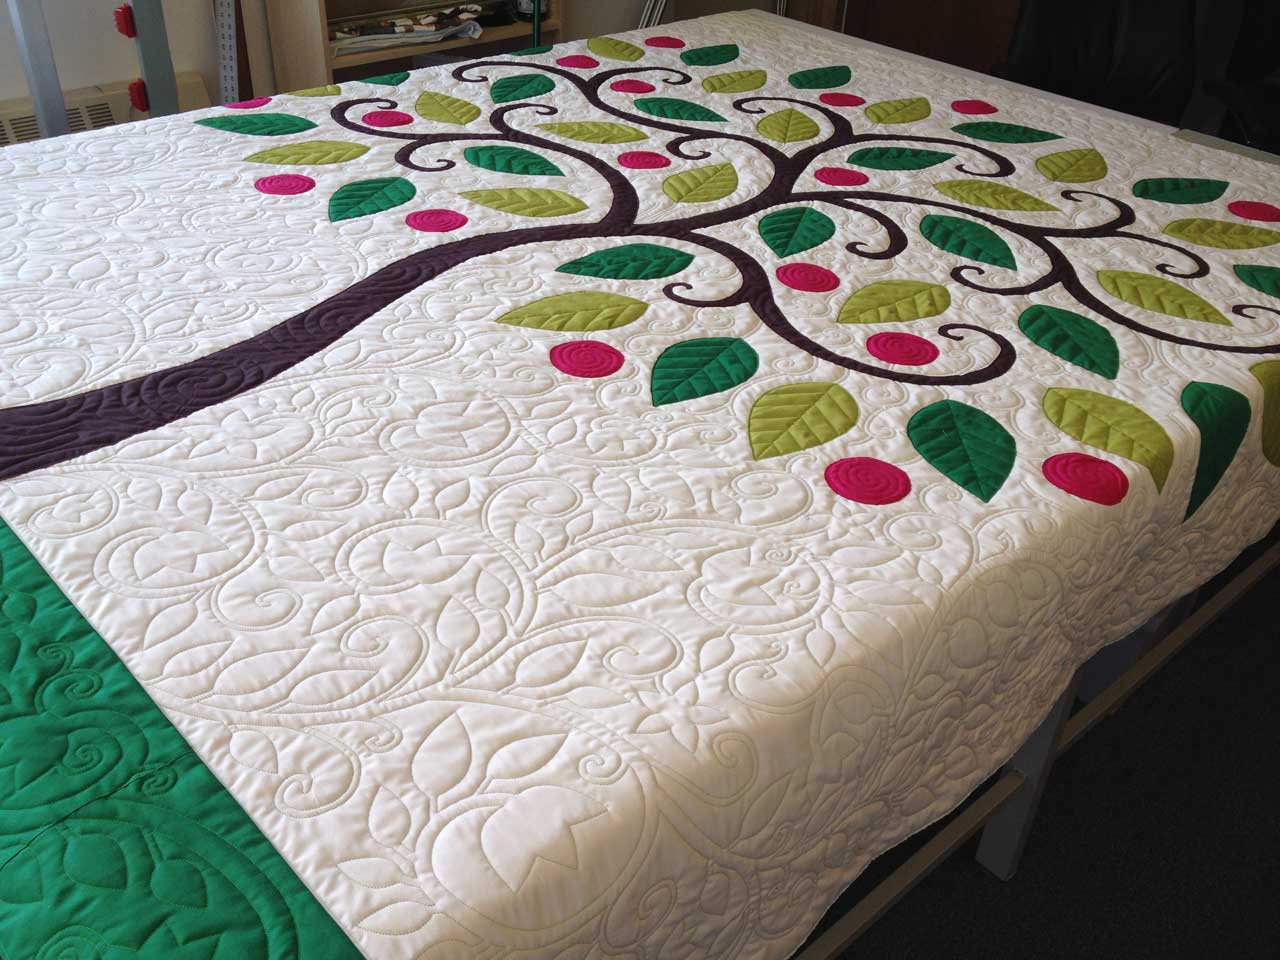
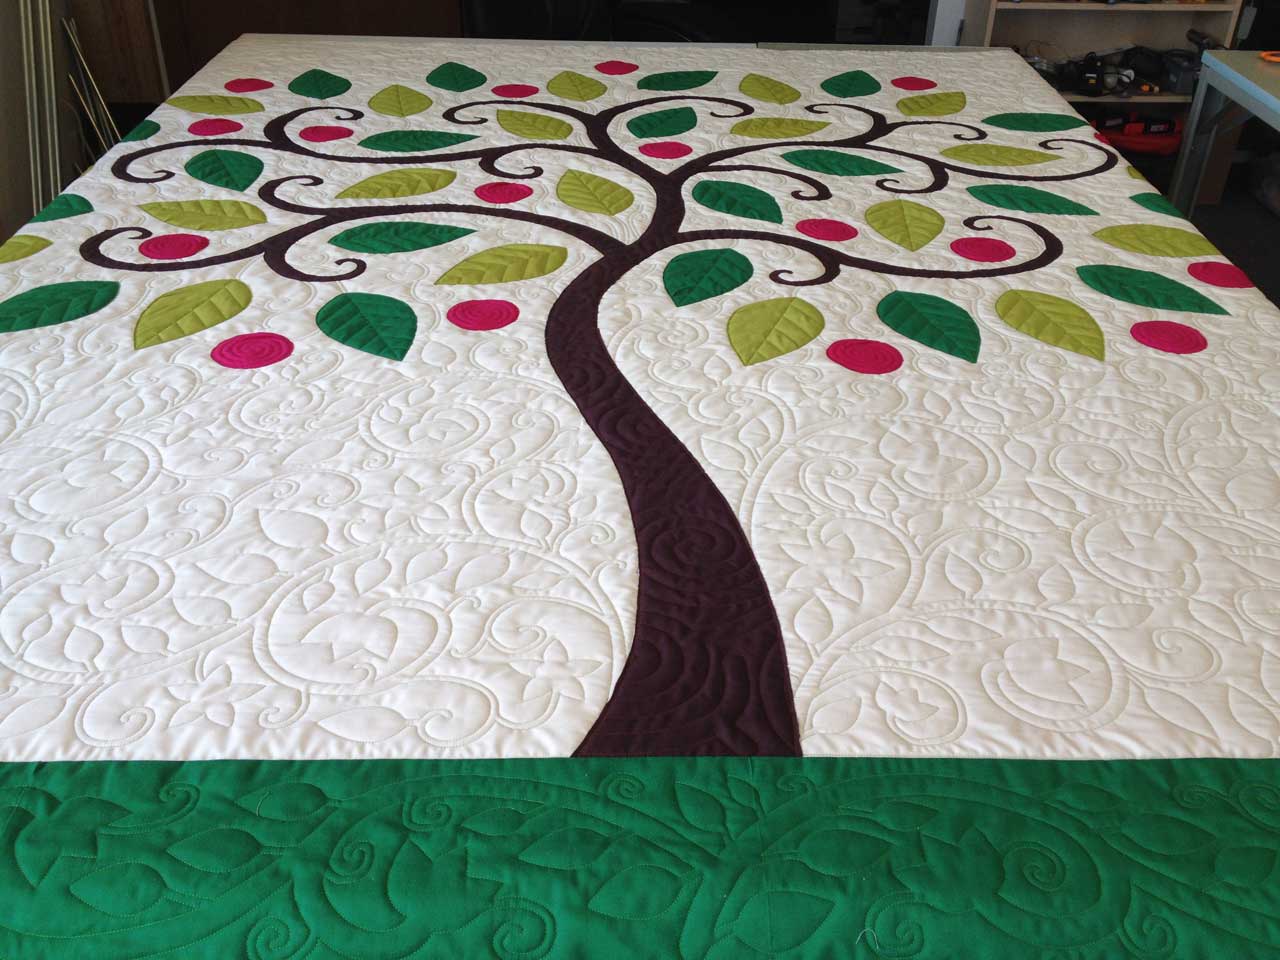
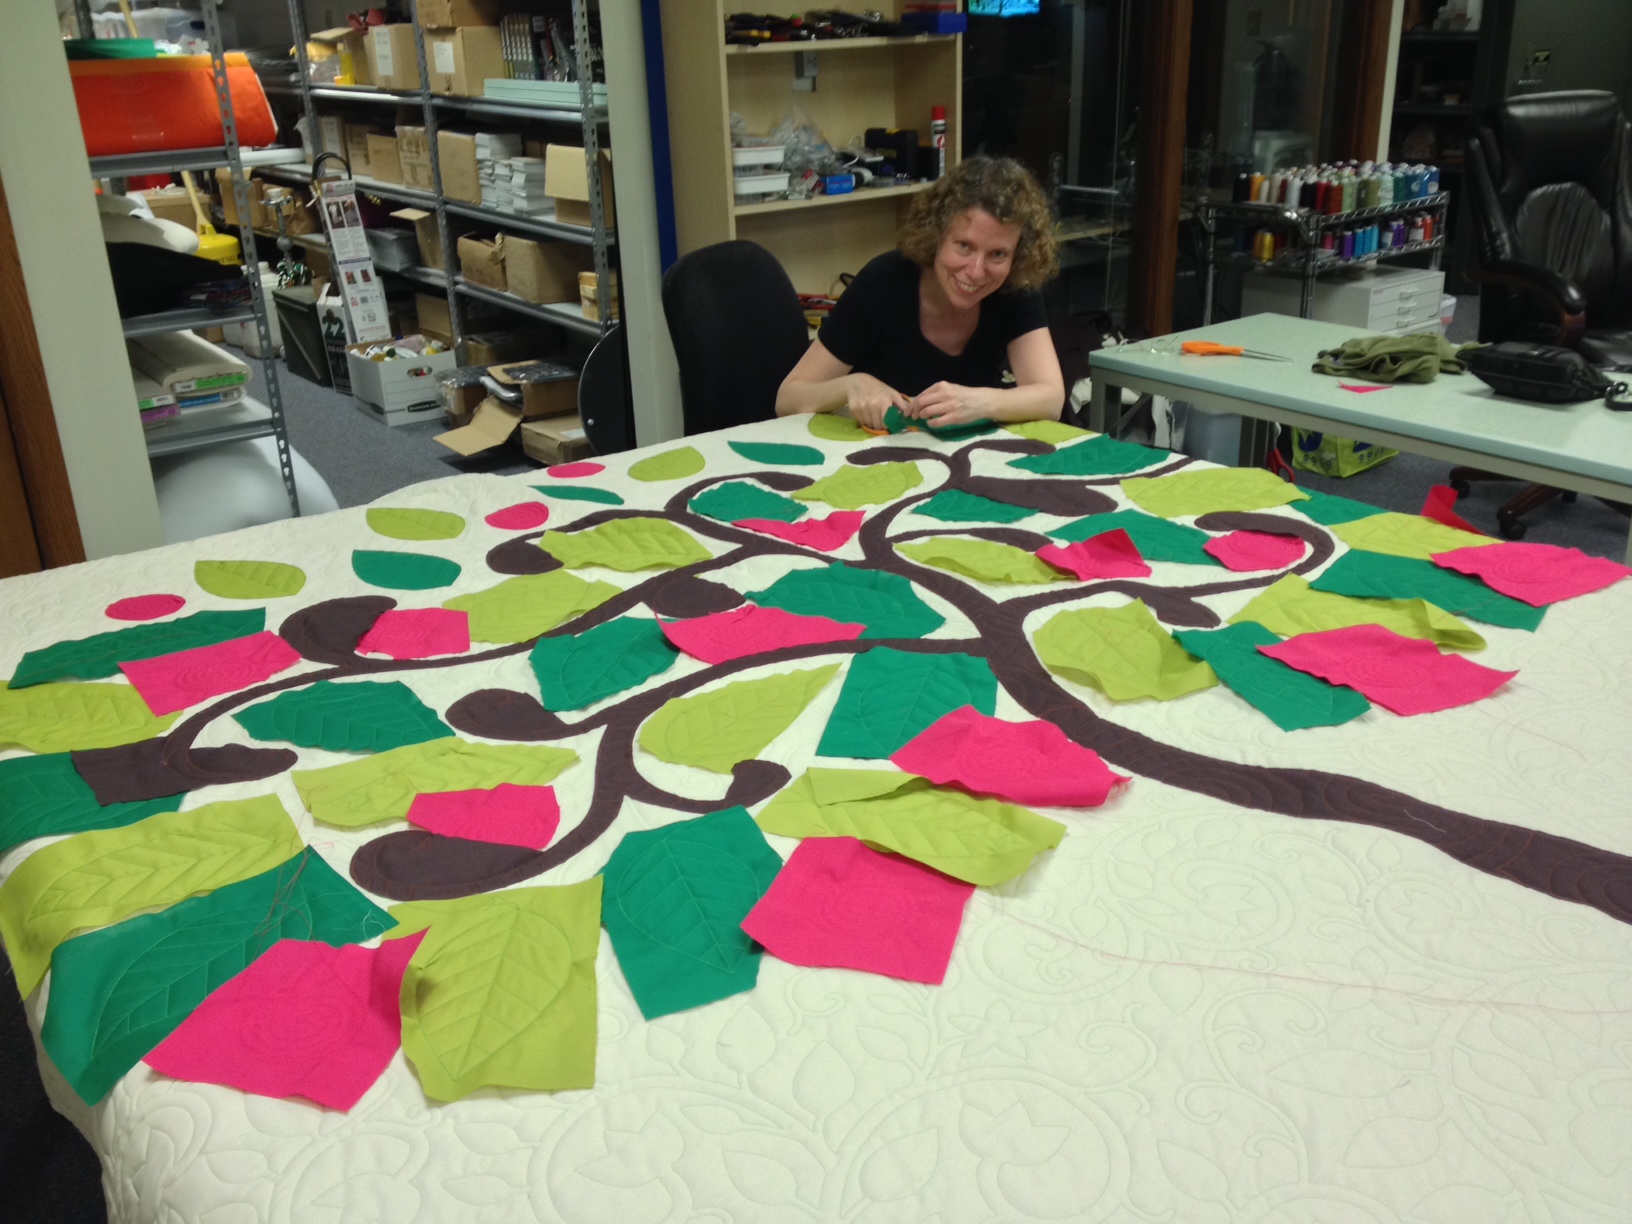
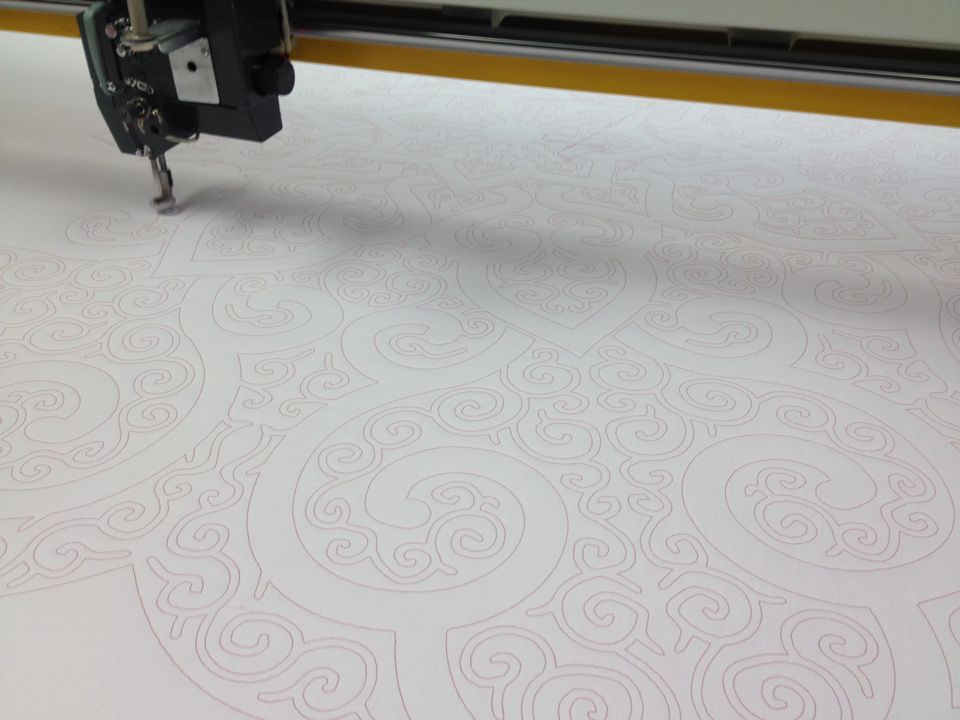
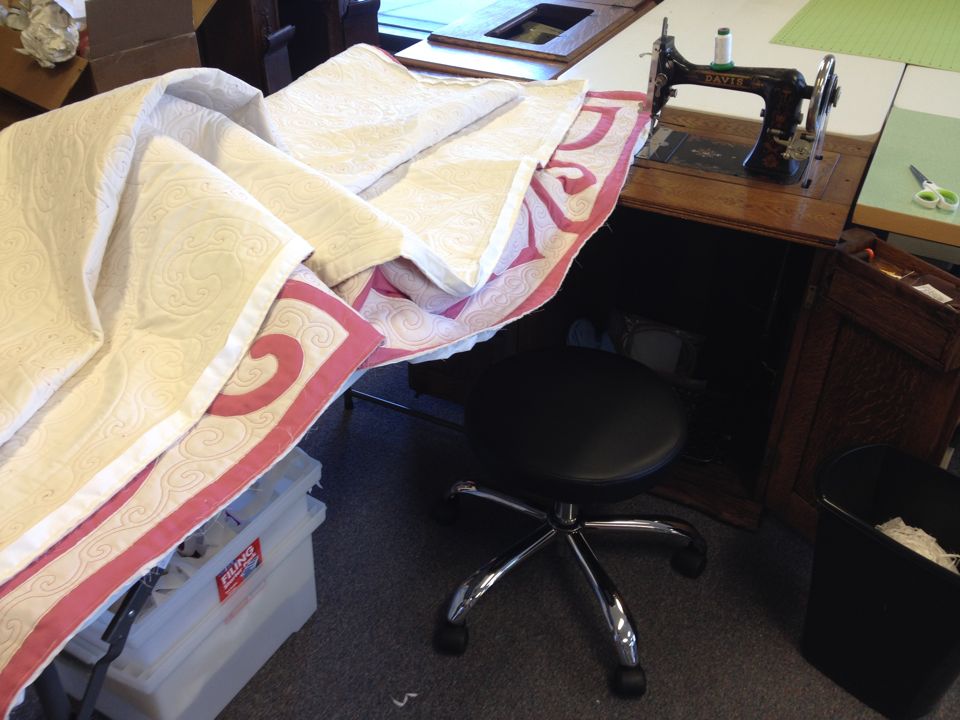
More raw-edge applique on the quilt plotter! About 94″ square. Cotton fabric, cotton-polyester batting, polyester thread. The process:
Stitch all-over background design, including shapes where leaves, fruits and branches go.

Cut out pieces of leaf- and fruit-colored fabric. Lay them on the quilt (still in the frame) over where they’ll be stitched down. Return frame to quilt plotter and stitch.
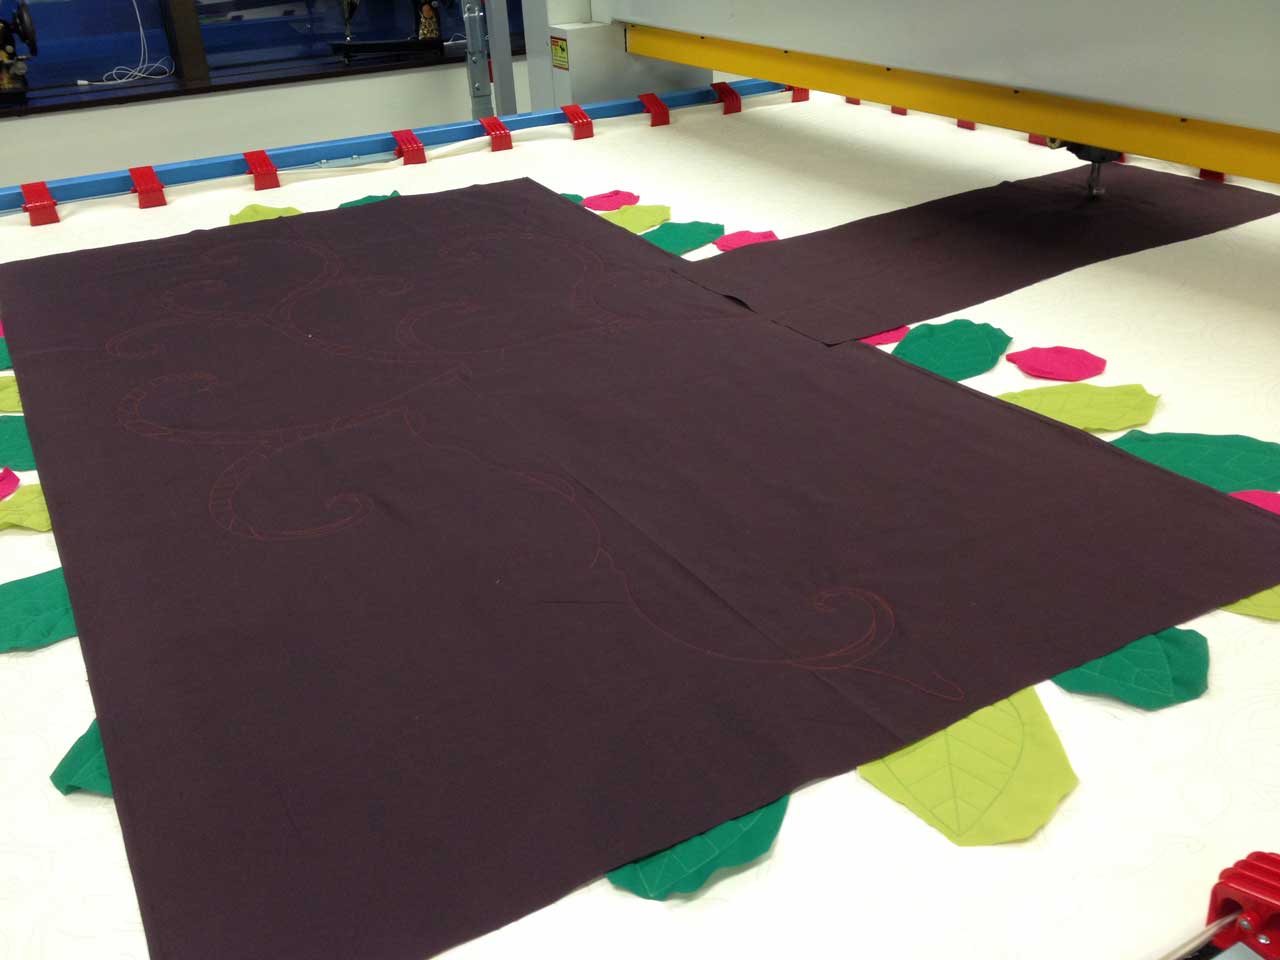
When the leaves and fruits are stitched, lay a big piece of brown, tree-colored fabric over them where the branches go, and another piece where the trunk goes. Stitch.
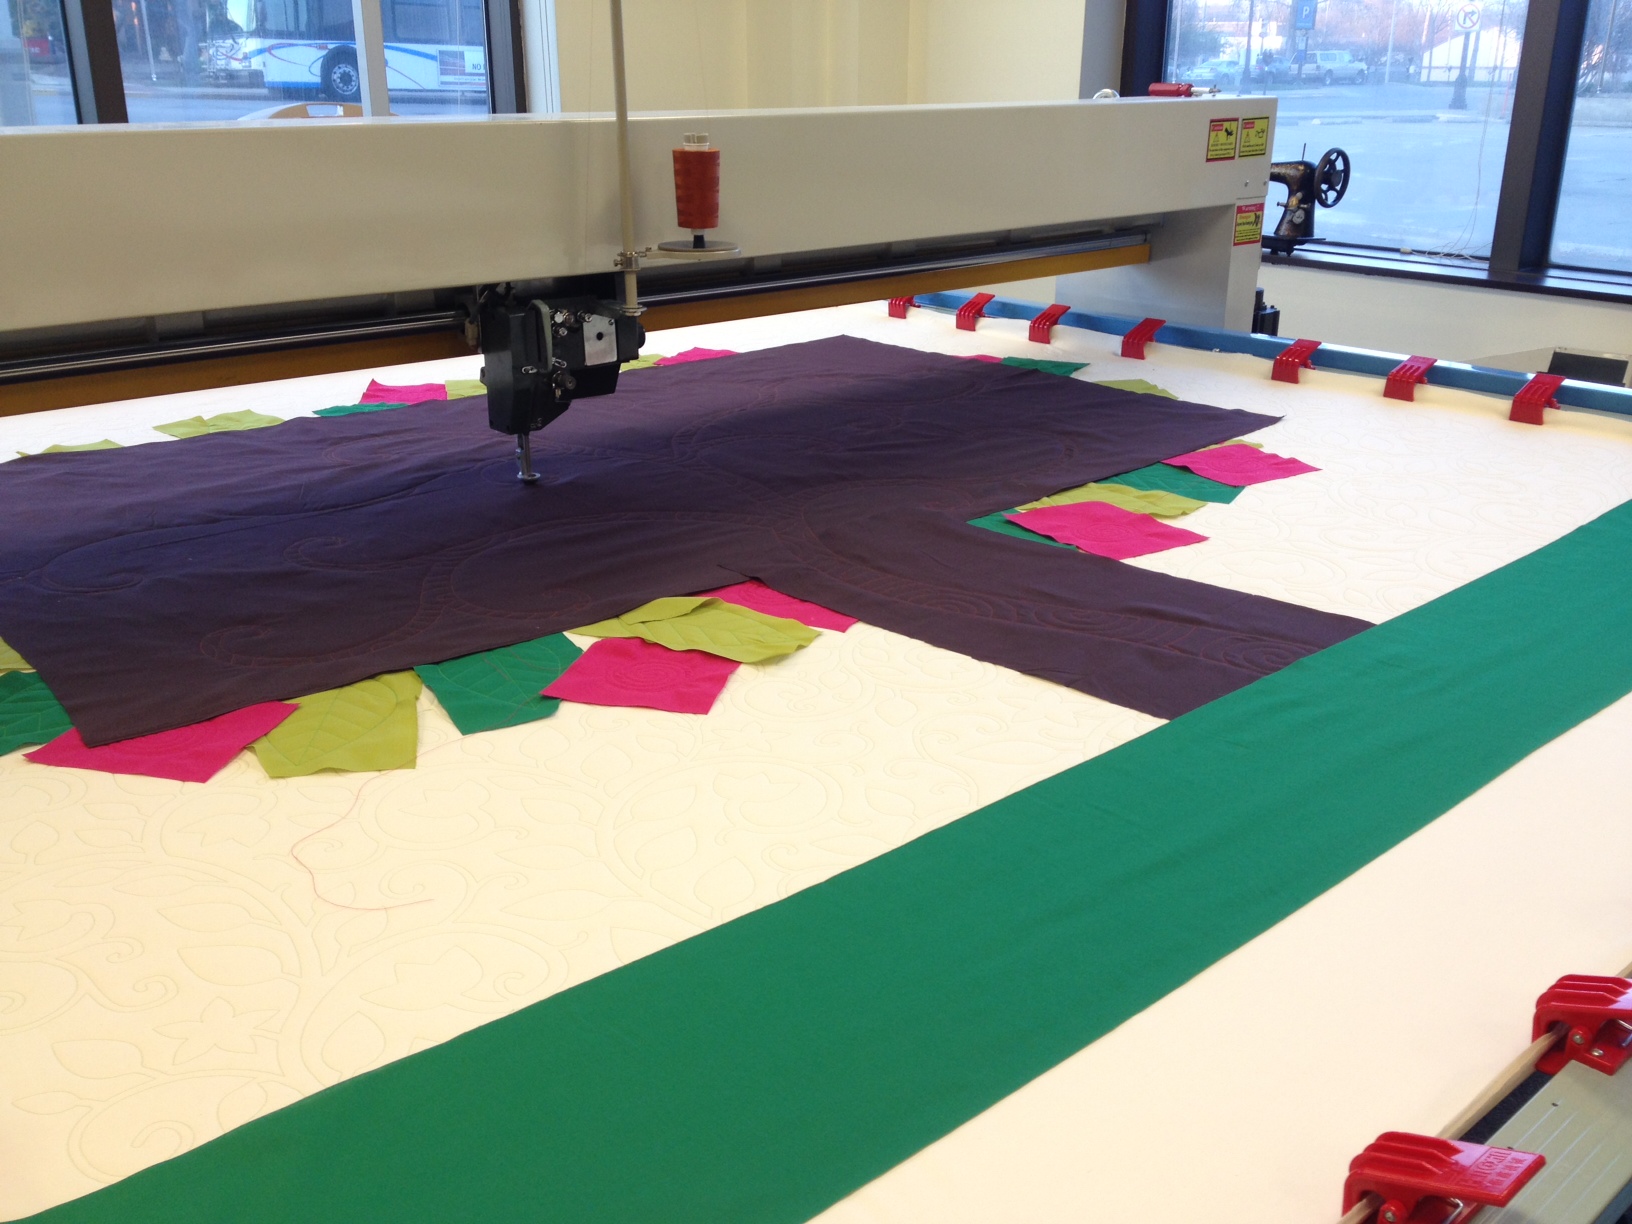 Trim the base of the tree and lay a piece of green fabric over it as above.
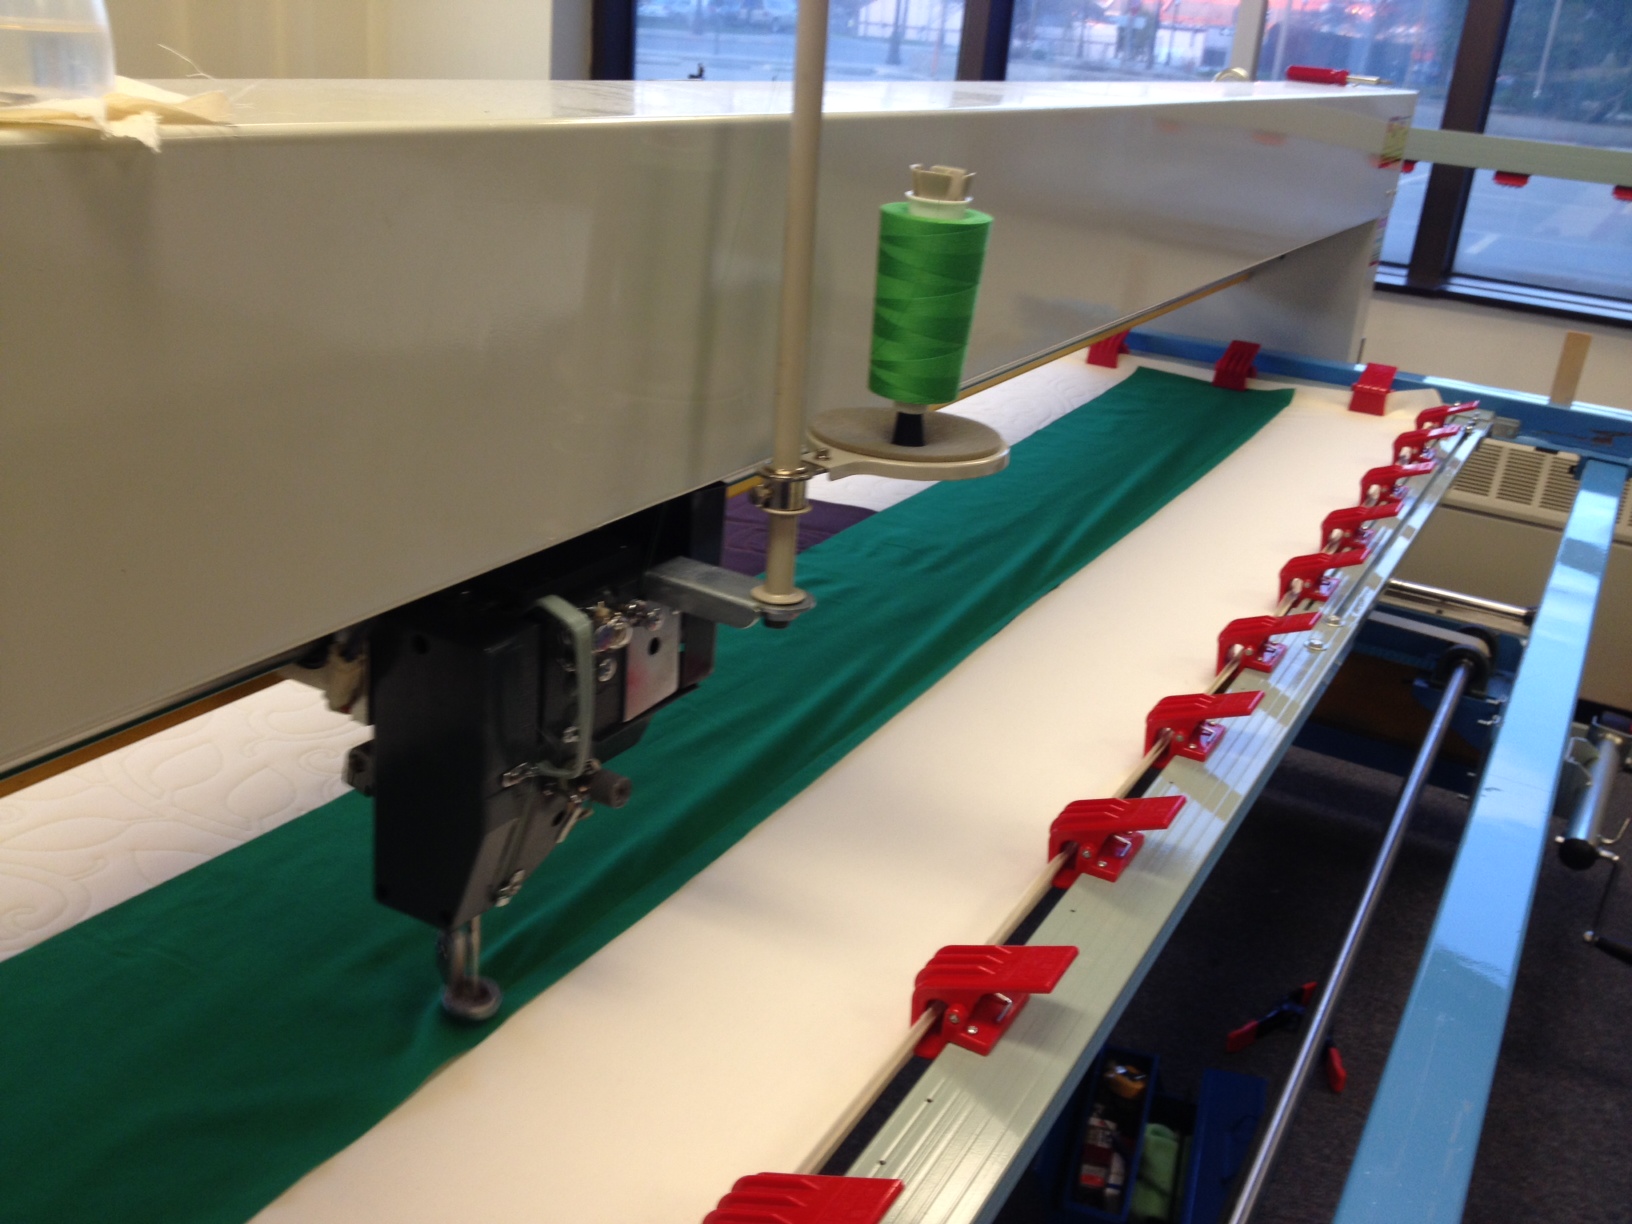
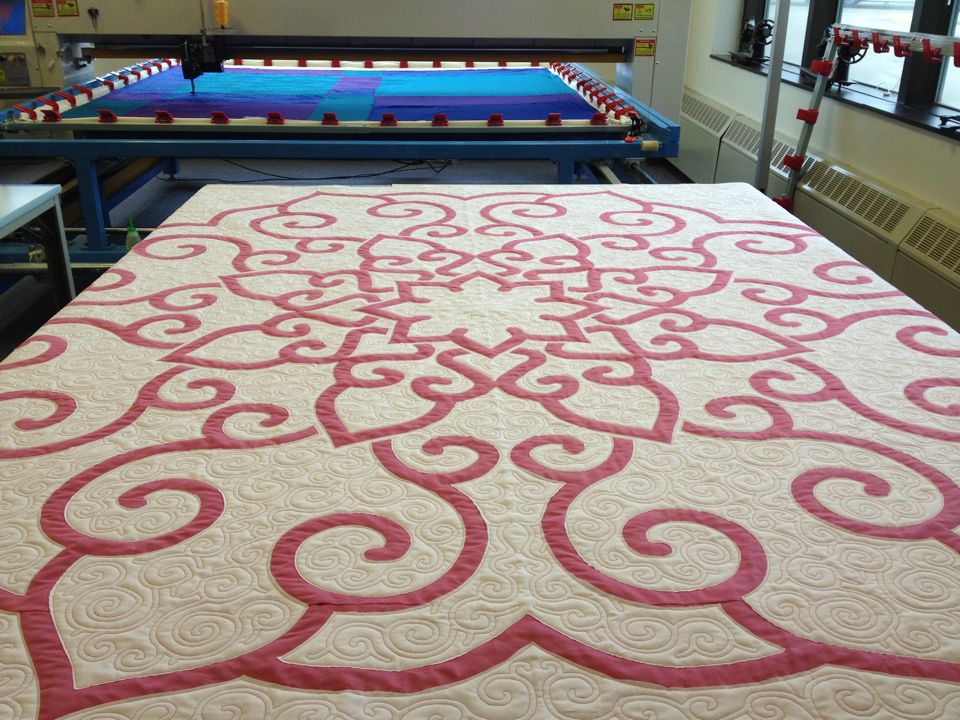
Stitch that sucker down per the digital design you’ve carefully prepared. Then fold the fabric over and quilt on the top.

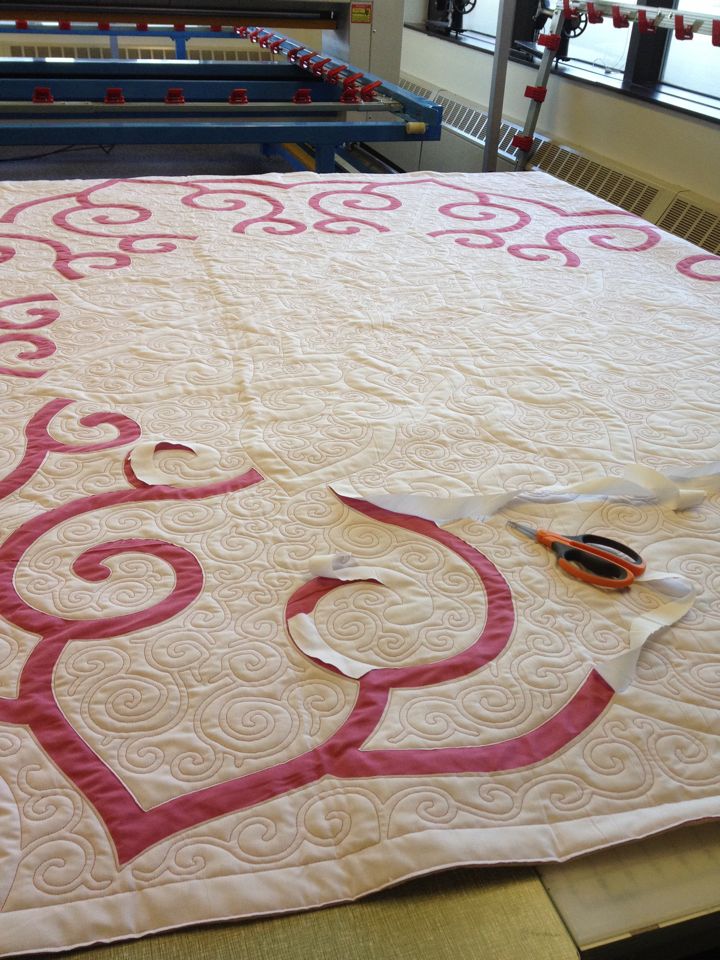
When done stitching, remove quilt from frame and trim. Begin snipping.
 Snip snip snip.
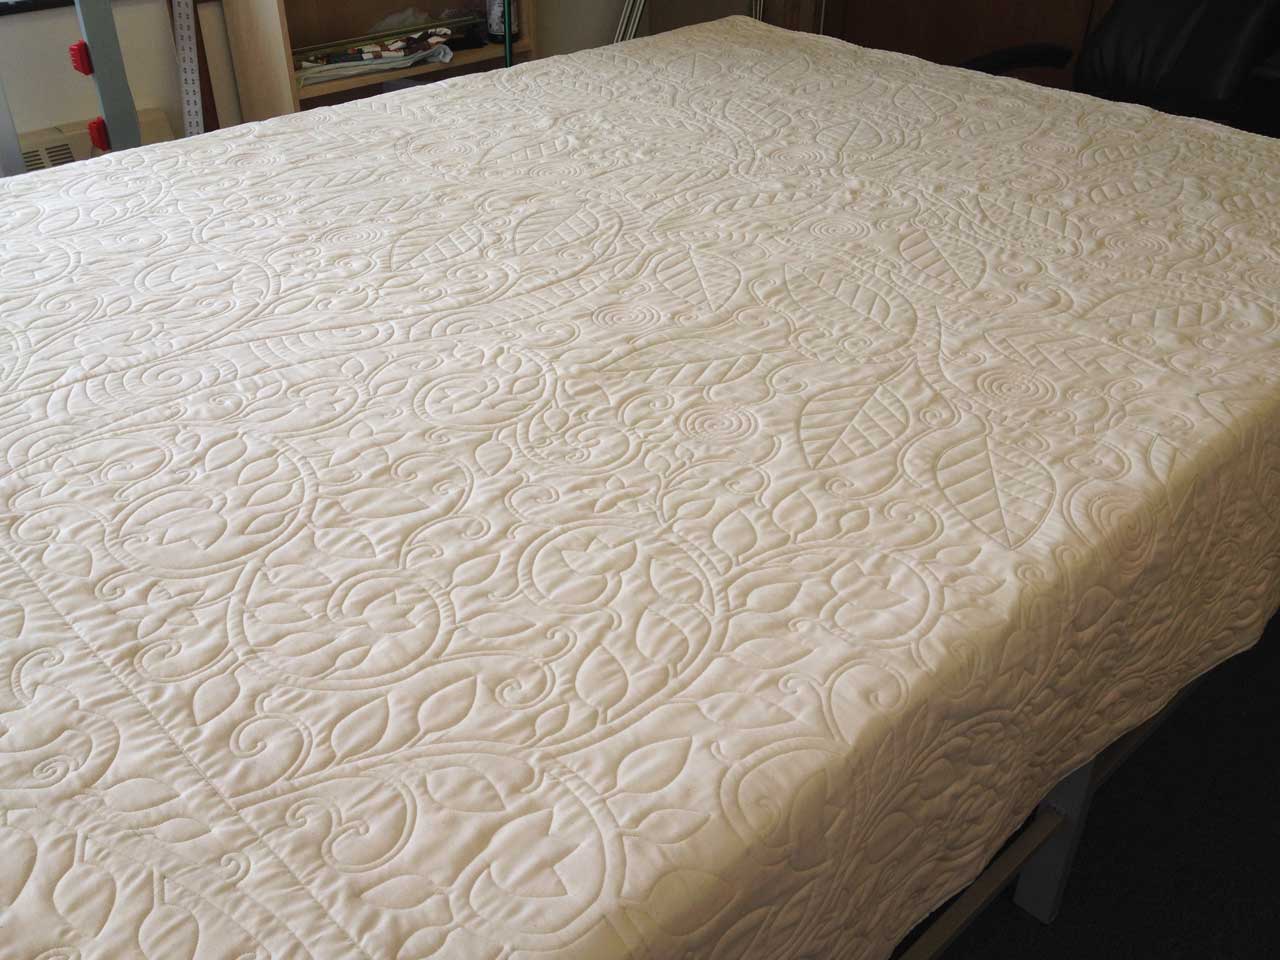
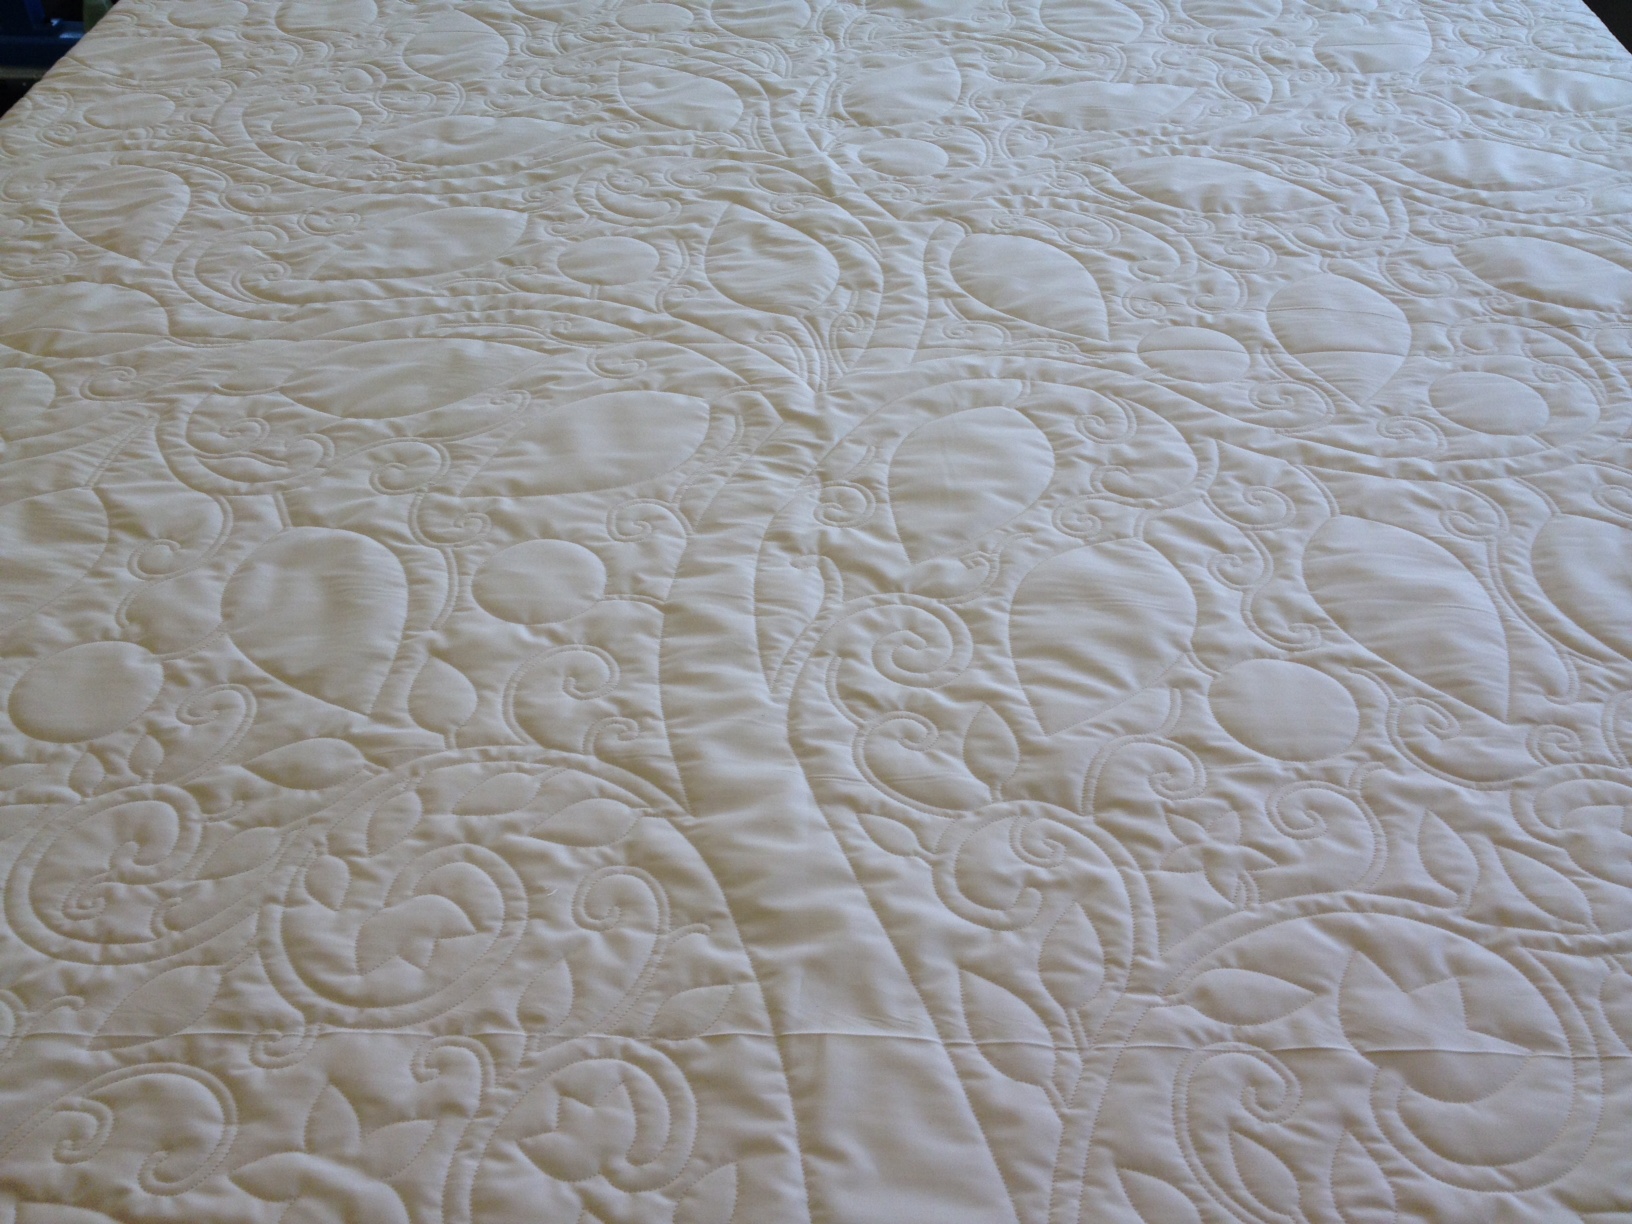
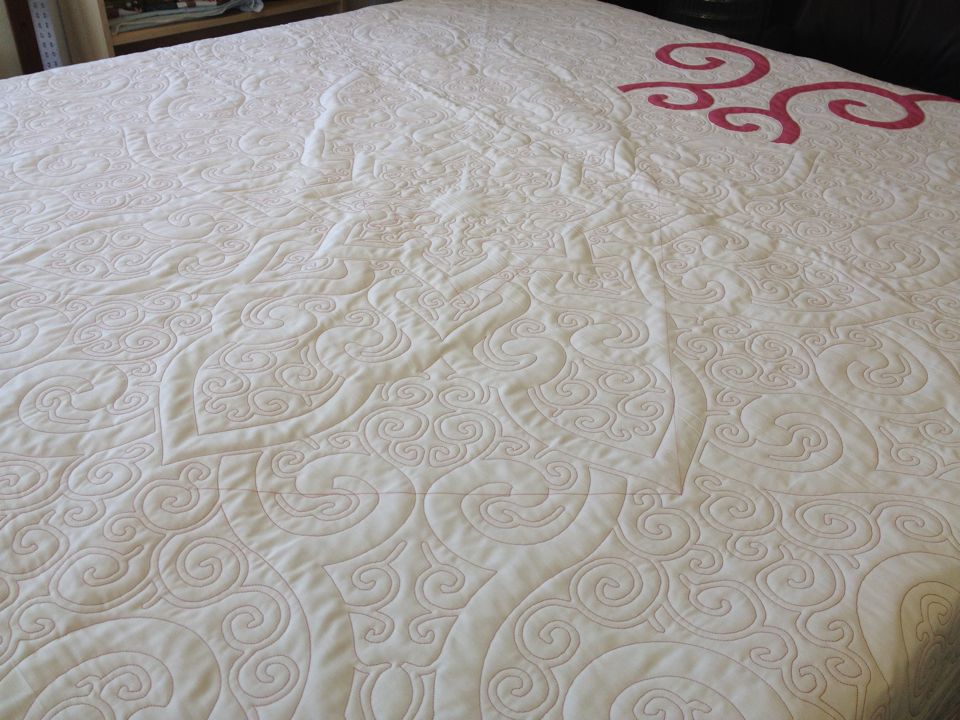
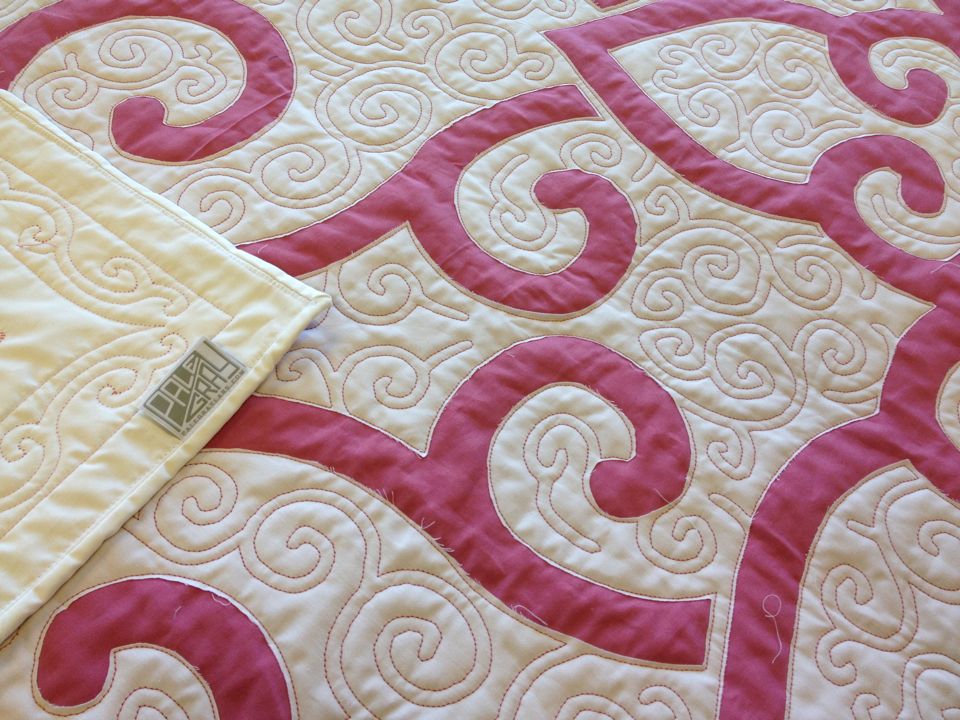
Here’s the back.
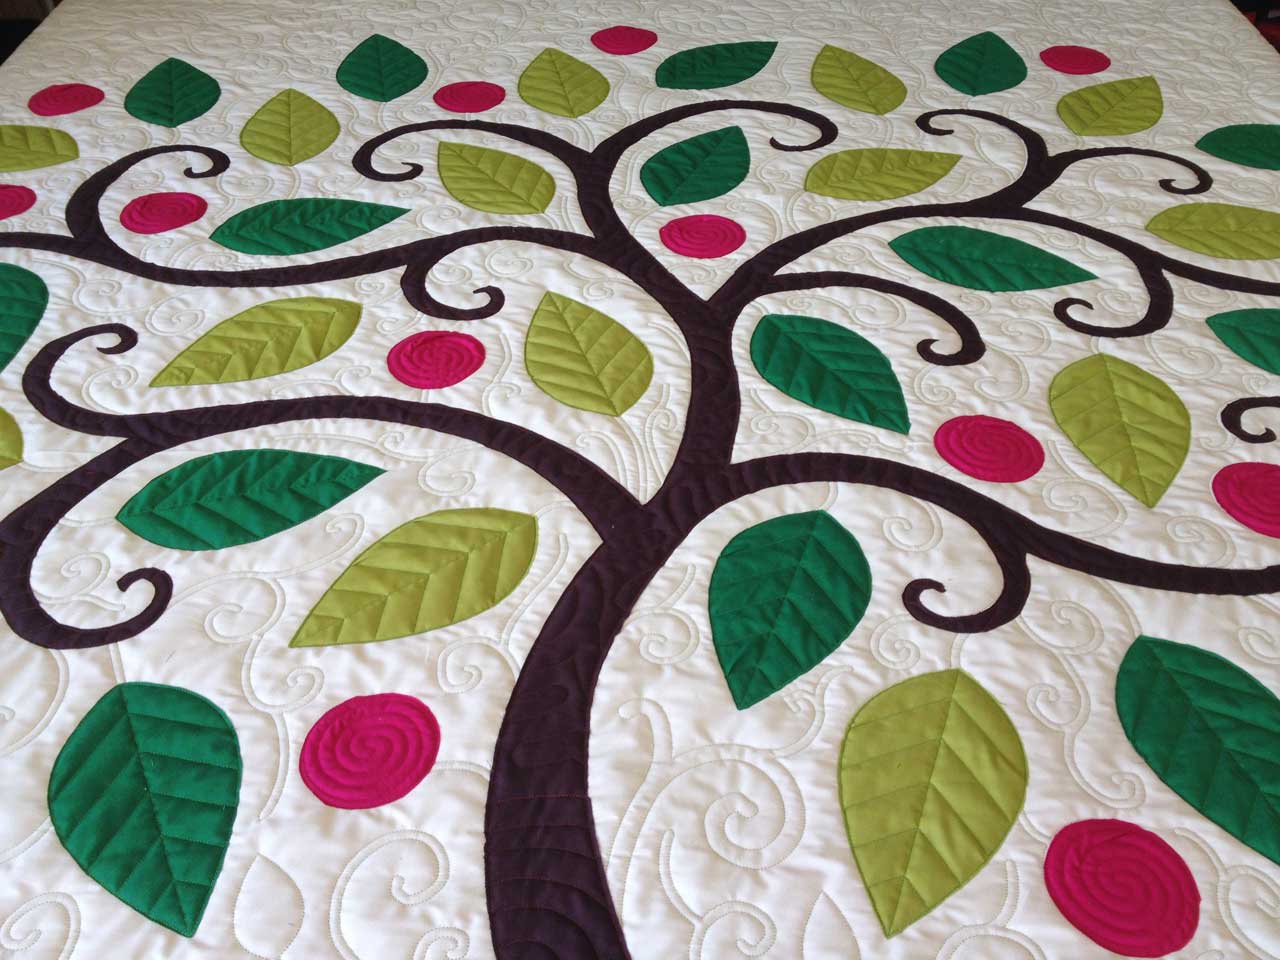
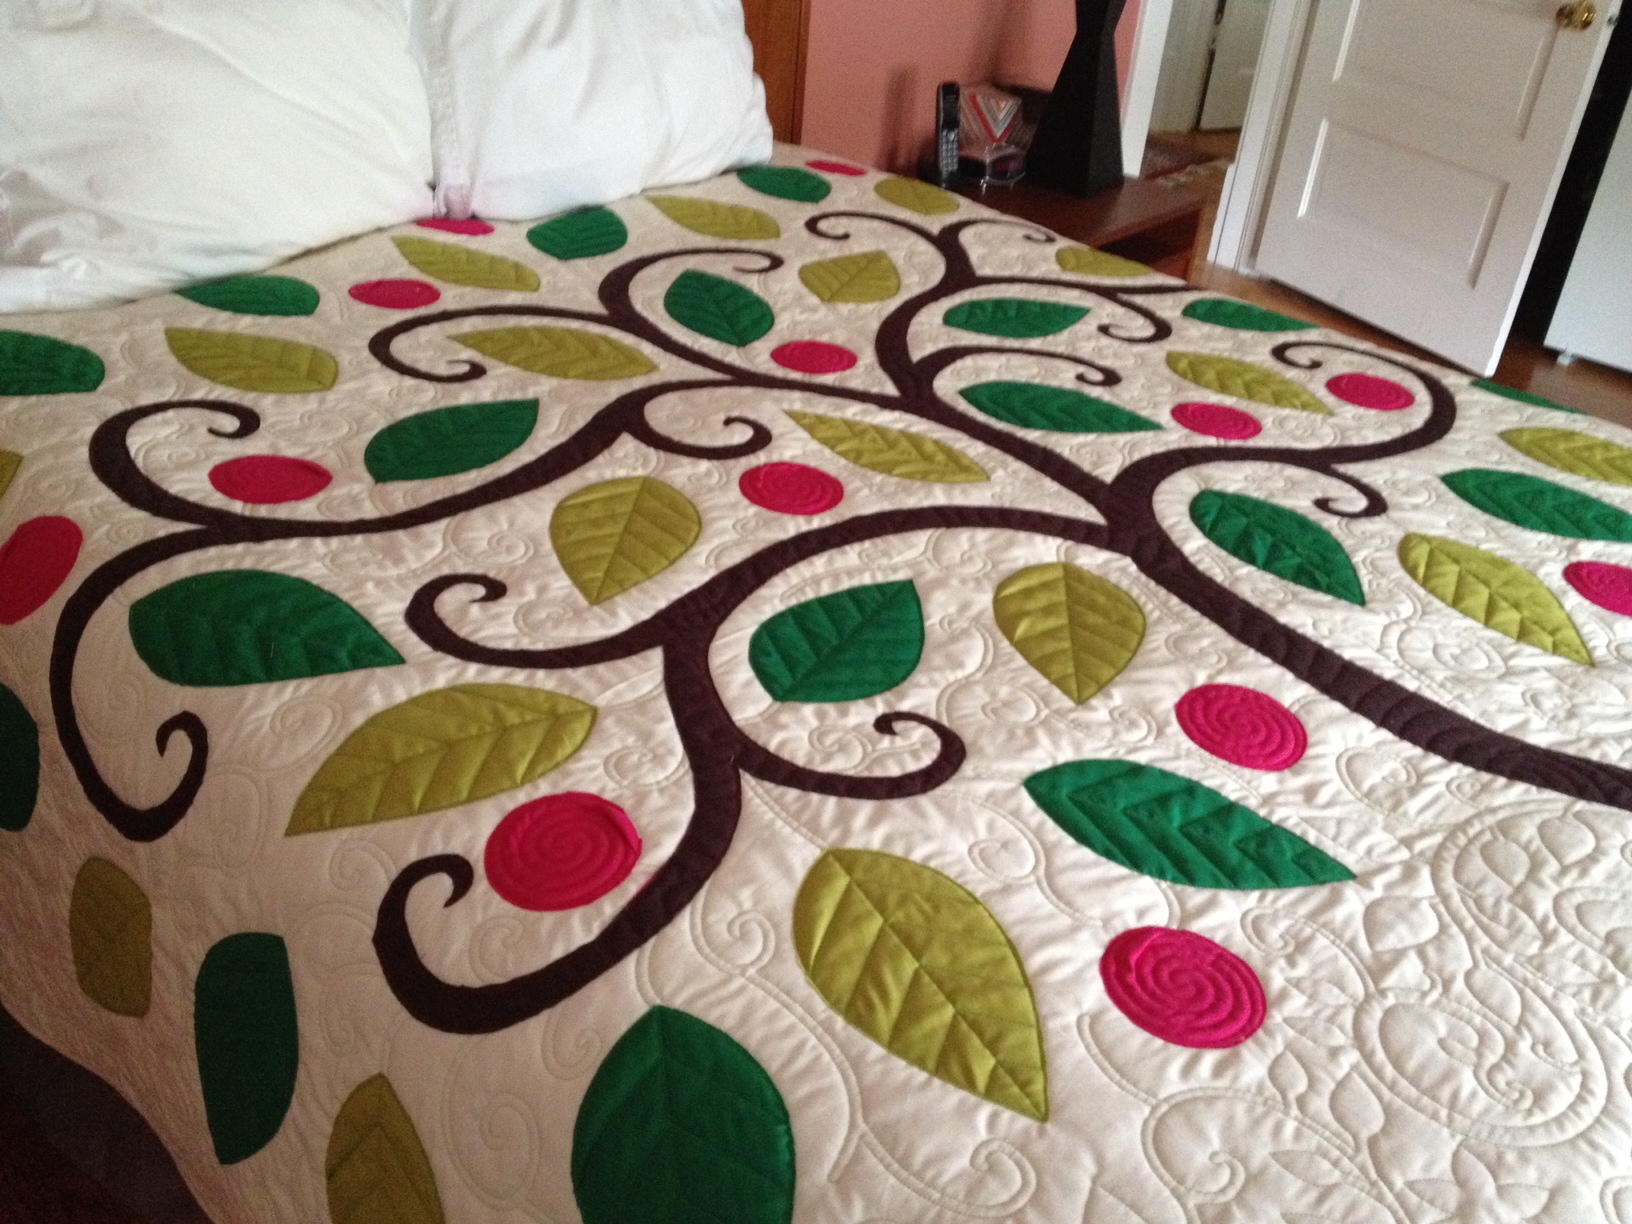
Et voila.

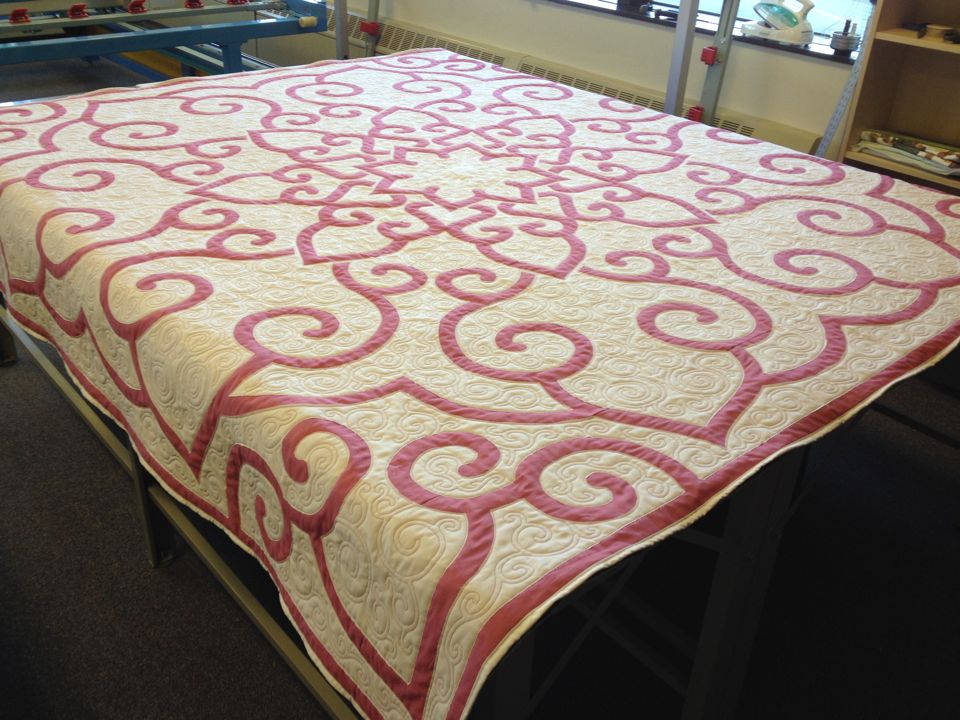
Back on the Quiltimation front, I was wondering if I could arrange animated frames on a quilt in a mandala/medallion pattern, rather than left-to-right cells. This would essentially be a quilted phenakistoscope, with the animation emerging as the whole thing is rotated (we’d keep the camera and lights stable, and rotate the quilt).
The saturated colors here would be lost, although I could use a few colors of thread. The elements are early Leviathan designs, and Water from Chad Gadya which is still in (very slow) progress.
 93.5″ x 95″. Cotton fabric, soy/cotton blend batting, polyester thread. Designed by me, stitchcoded by Theo, stitched on Behemoth the Quilt Plotter, reverse appliqued and bound by me. The process:
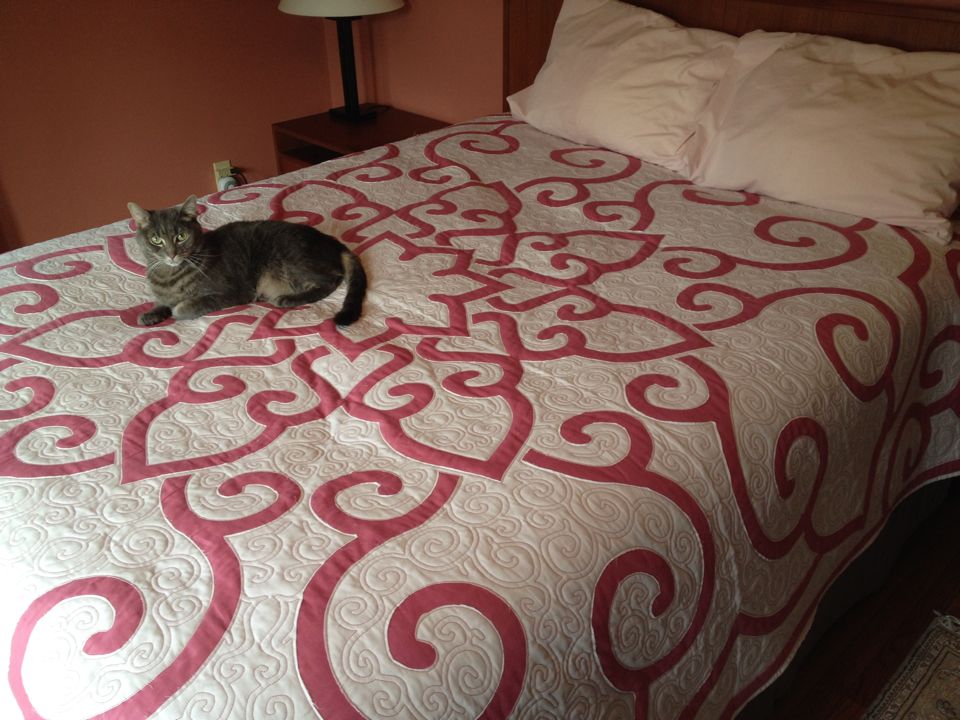

This is an experiment/prototype. Someday we may sell these, but for now PaleGray Labs is just research & development, consulting, and commissions.
The world needs open source embroidery software.
Direct Kickstarter link here.
Some of EmbroiderModder 2’s kickstarter rewards include designs and stitched pieces by me.
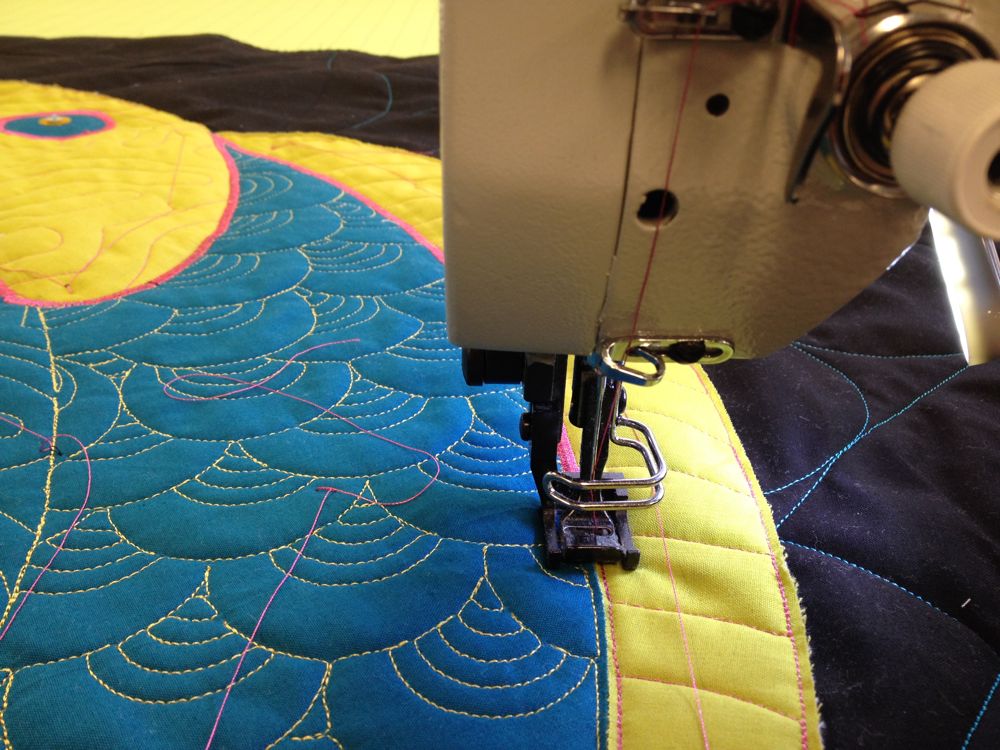
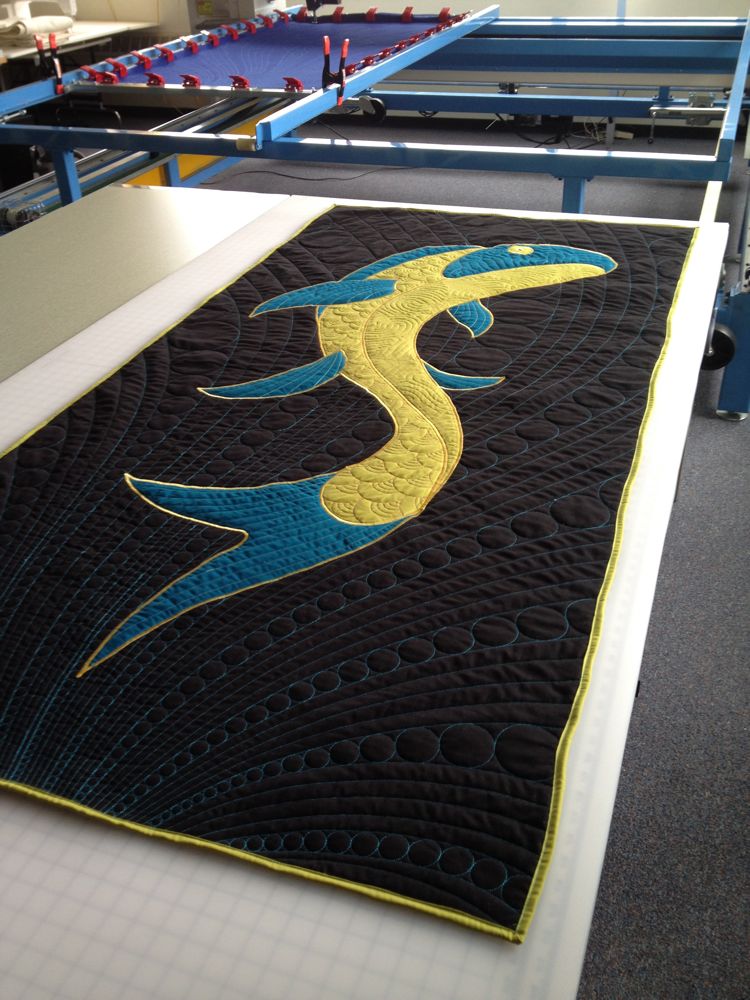
A friend recently refinished my Singer parlor cabinet (pix later) and asked to be paid in quilt. He’s a fish scientist, so naturally he wanted a fish quilt.
 It’s a little over 6′ by 3′ – I haven’t measured it actually. Also the photos are all a bit distorted because I couldn’t shoot it straight on. Instead these are all taken of it lying on my cutting table.
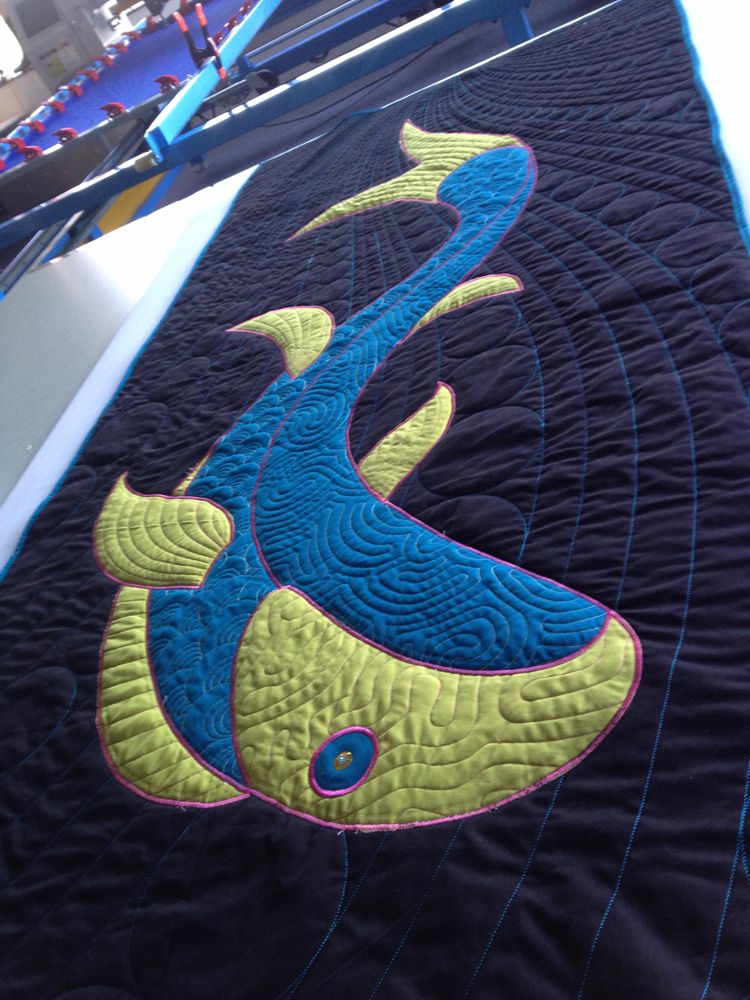 The technique is Trapplique. The parts were stitched on the quilt plotter. I cut them out, then basted and satin stitched them down with my sailmaking machine.
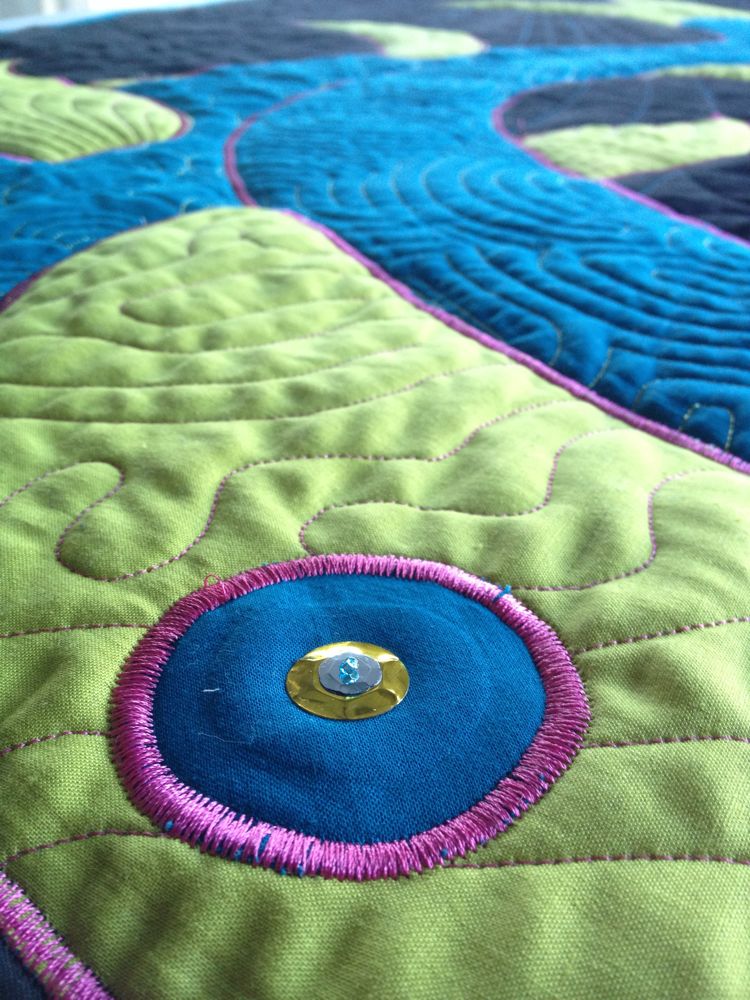
 It has a sequined and beaded eye.
The quilt above belongs to Niels the fish scientist, but the most efficient use of materials with this design was to make 2 fish’s worth of trapplique parts in one stitching. So I assembled a mirror image fish for myself:

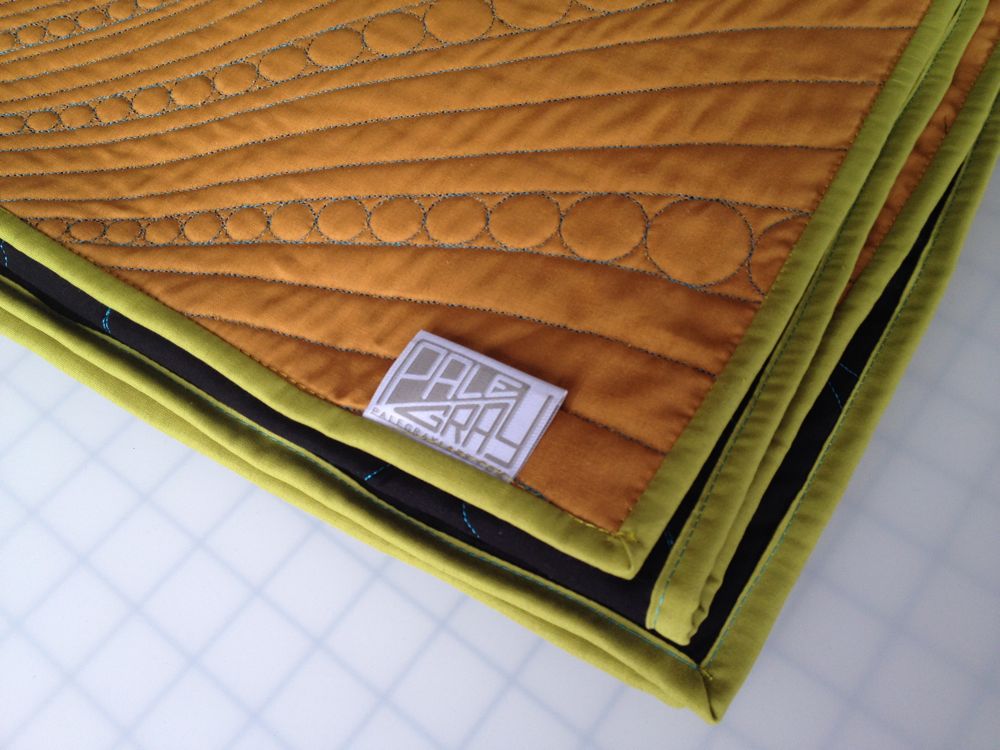
I stitched the binding on my Davis Vertical Feed, best binding machine ever.