PaleGray Labs is FOR SALE!

The quilting and embroidery collaboration of Nina Paley and Theodore Gray is for sale and EVERYTHING must go! We hope to sell the whole business as a package. Here’s what you get:

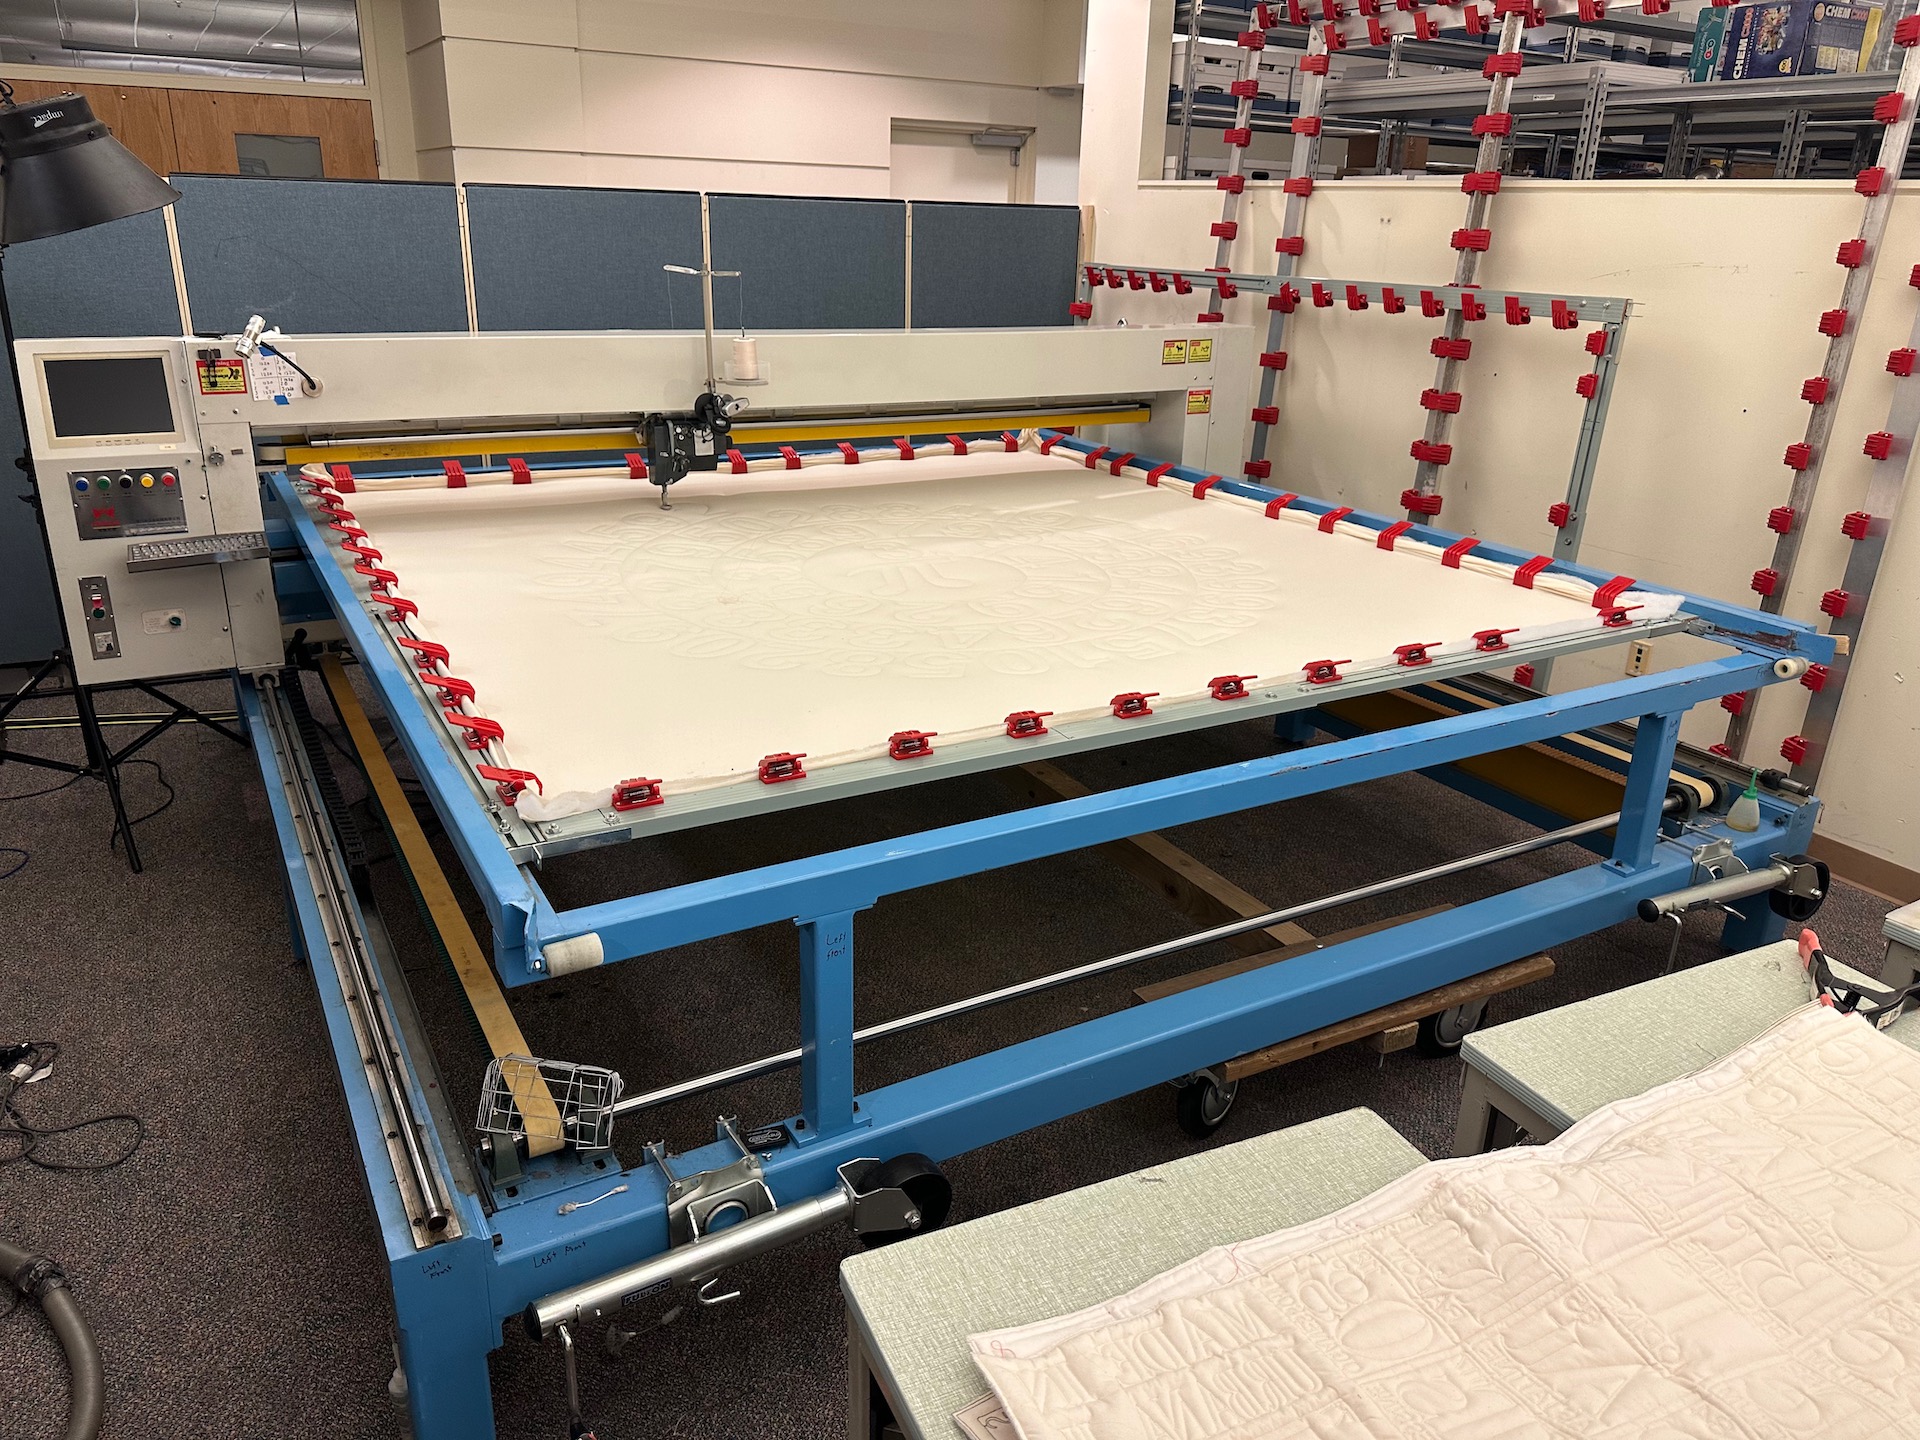
Quilting Master IV full-frame CNC quilting robot, tables, frames, accessories, etc: $30,000 (similar retails for $50,000)

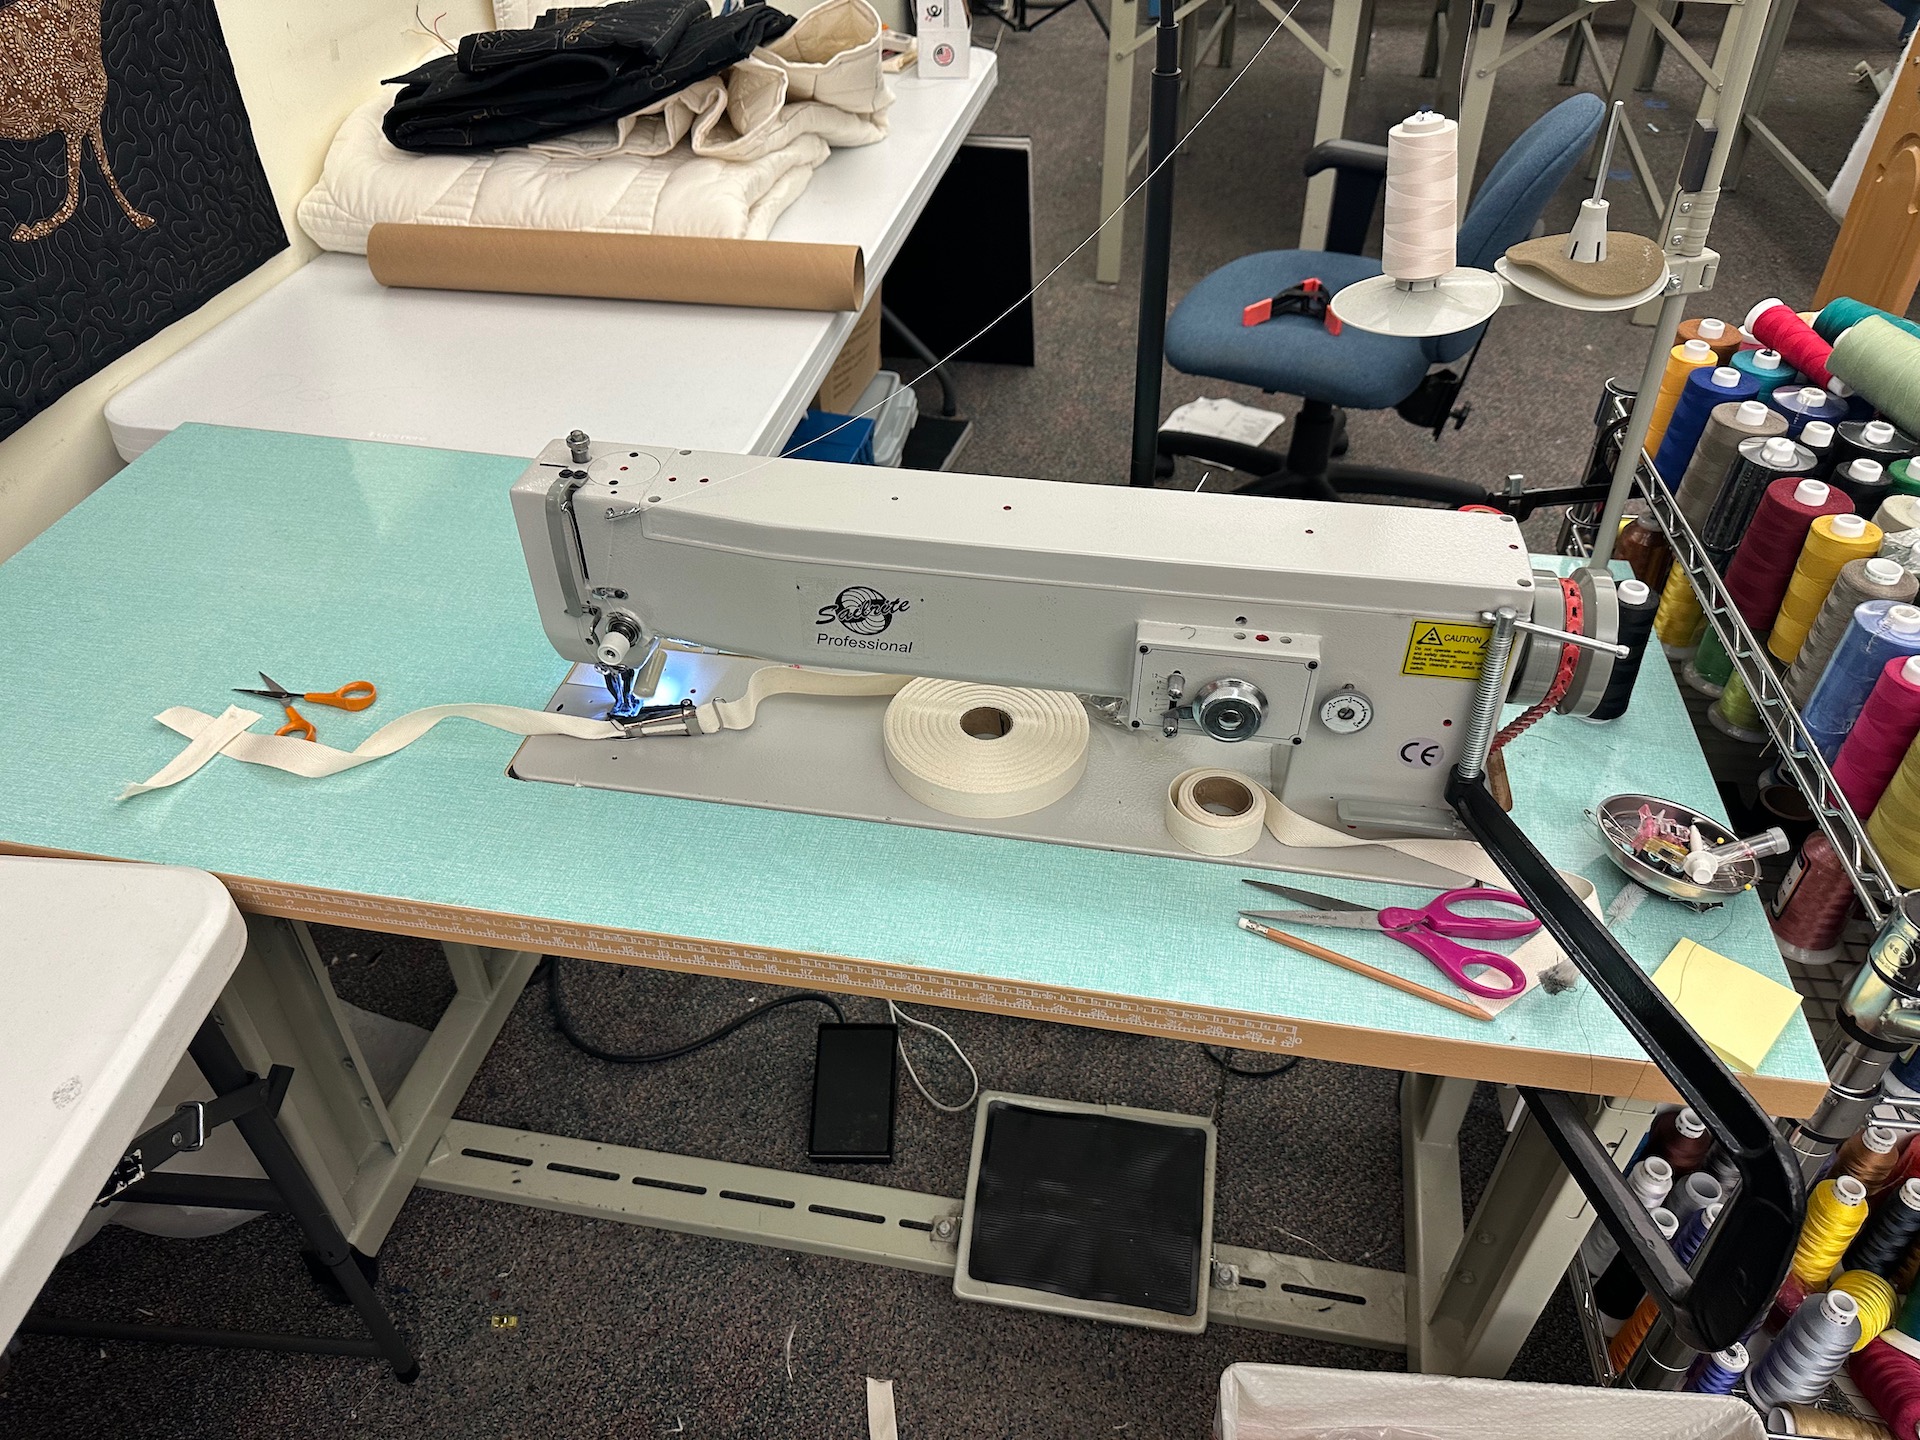
SailRite long-arm zigzag machine, table, accessories: $4,000

Brother 10-needle embroidery machine, accessories: $8,000

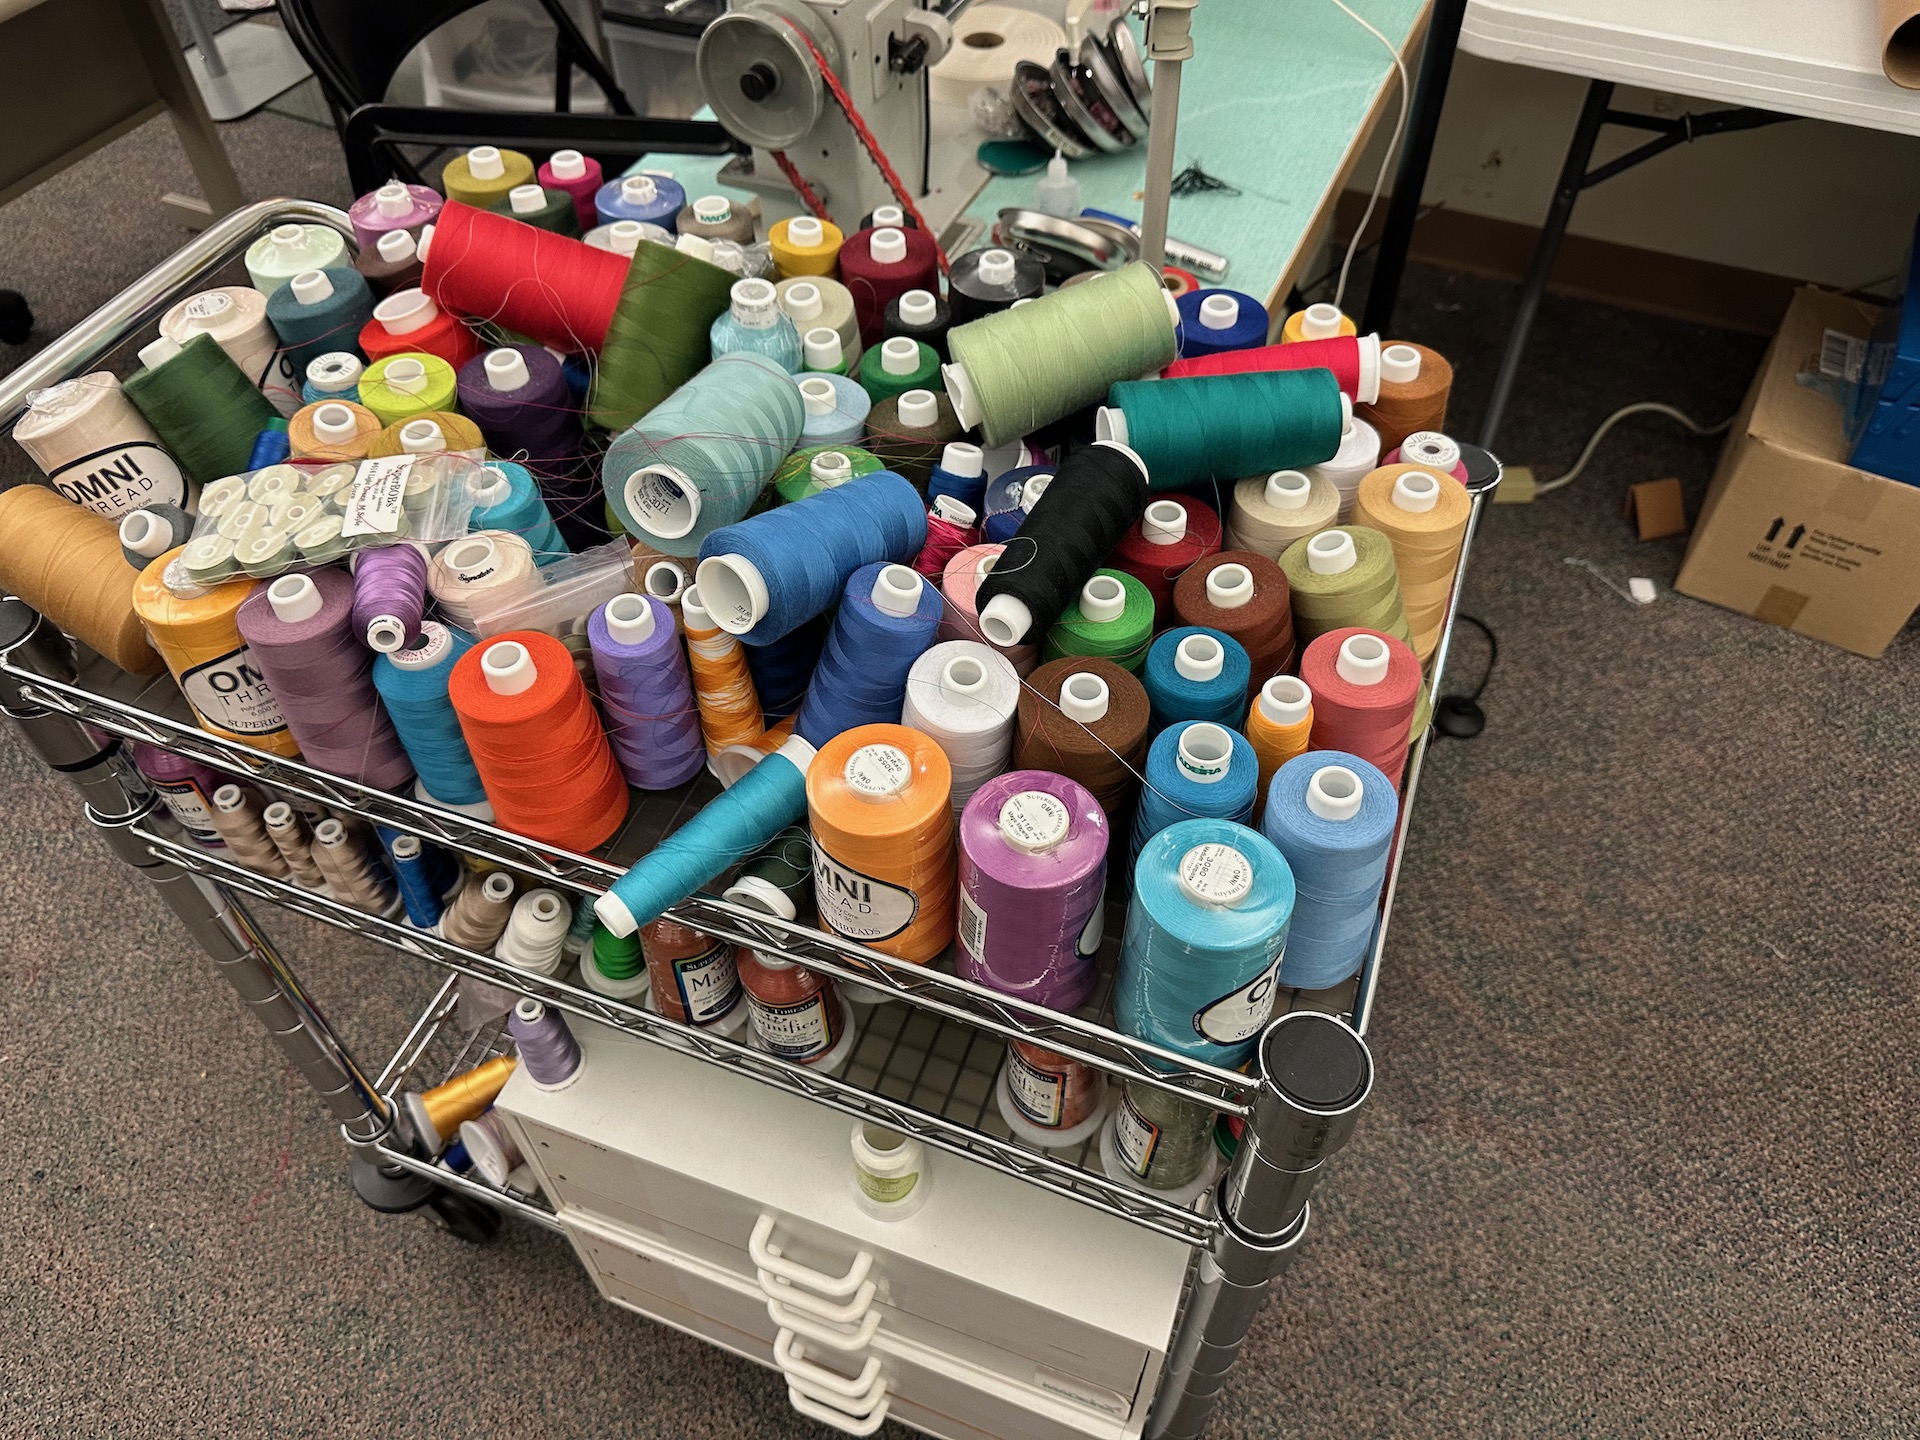
Threads, bobbins, etc: $1,000

fabrics & battings (inc. extra wide): $1,000

Fabric cutter/measurer: $1,000

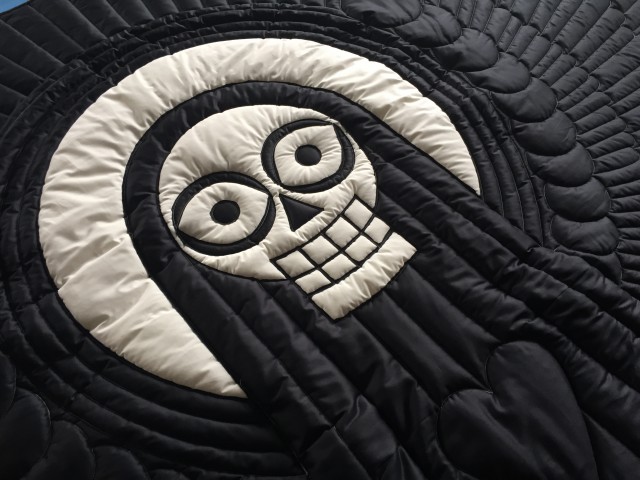
For $5,000 more, we will throw in PaleGray Labs quilting and embroidery designs, consultation/training with Theodore Gray, and disassembling and reassembling the Quilting Master machine! (Buyer covers loading, trucking, and unloading, plus lodging if destination is more than a couple hours from Urbana, IL.)

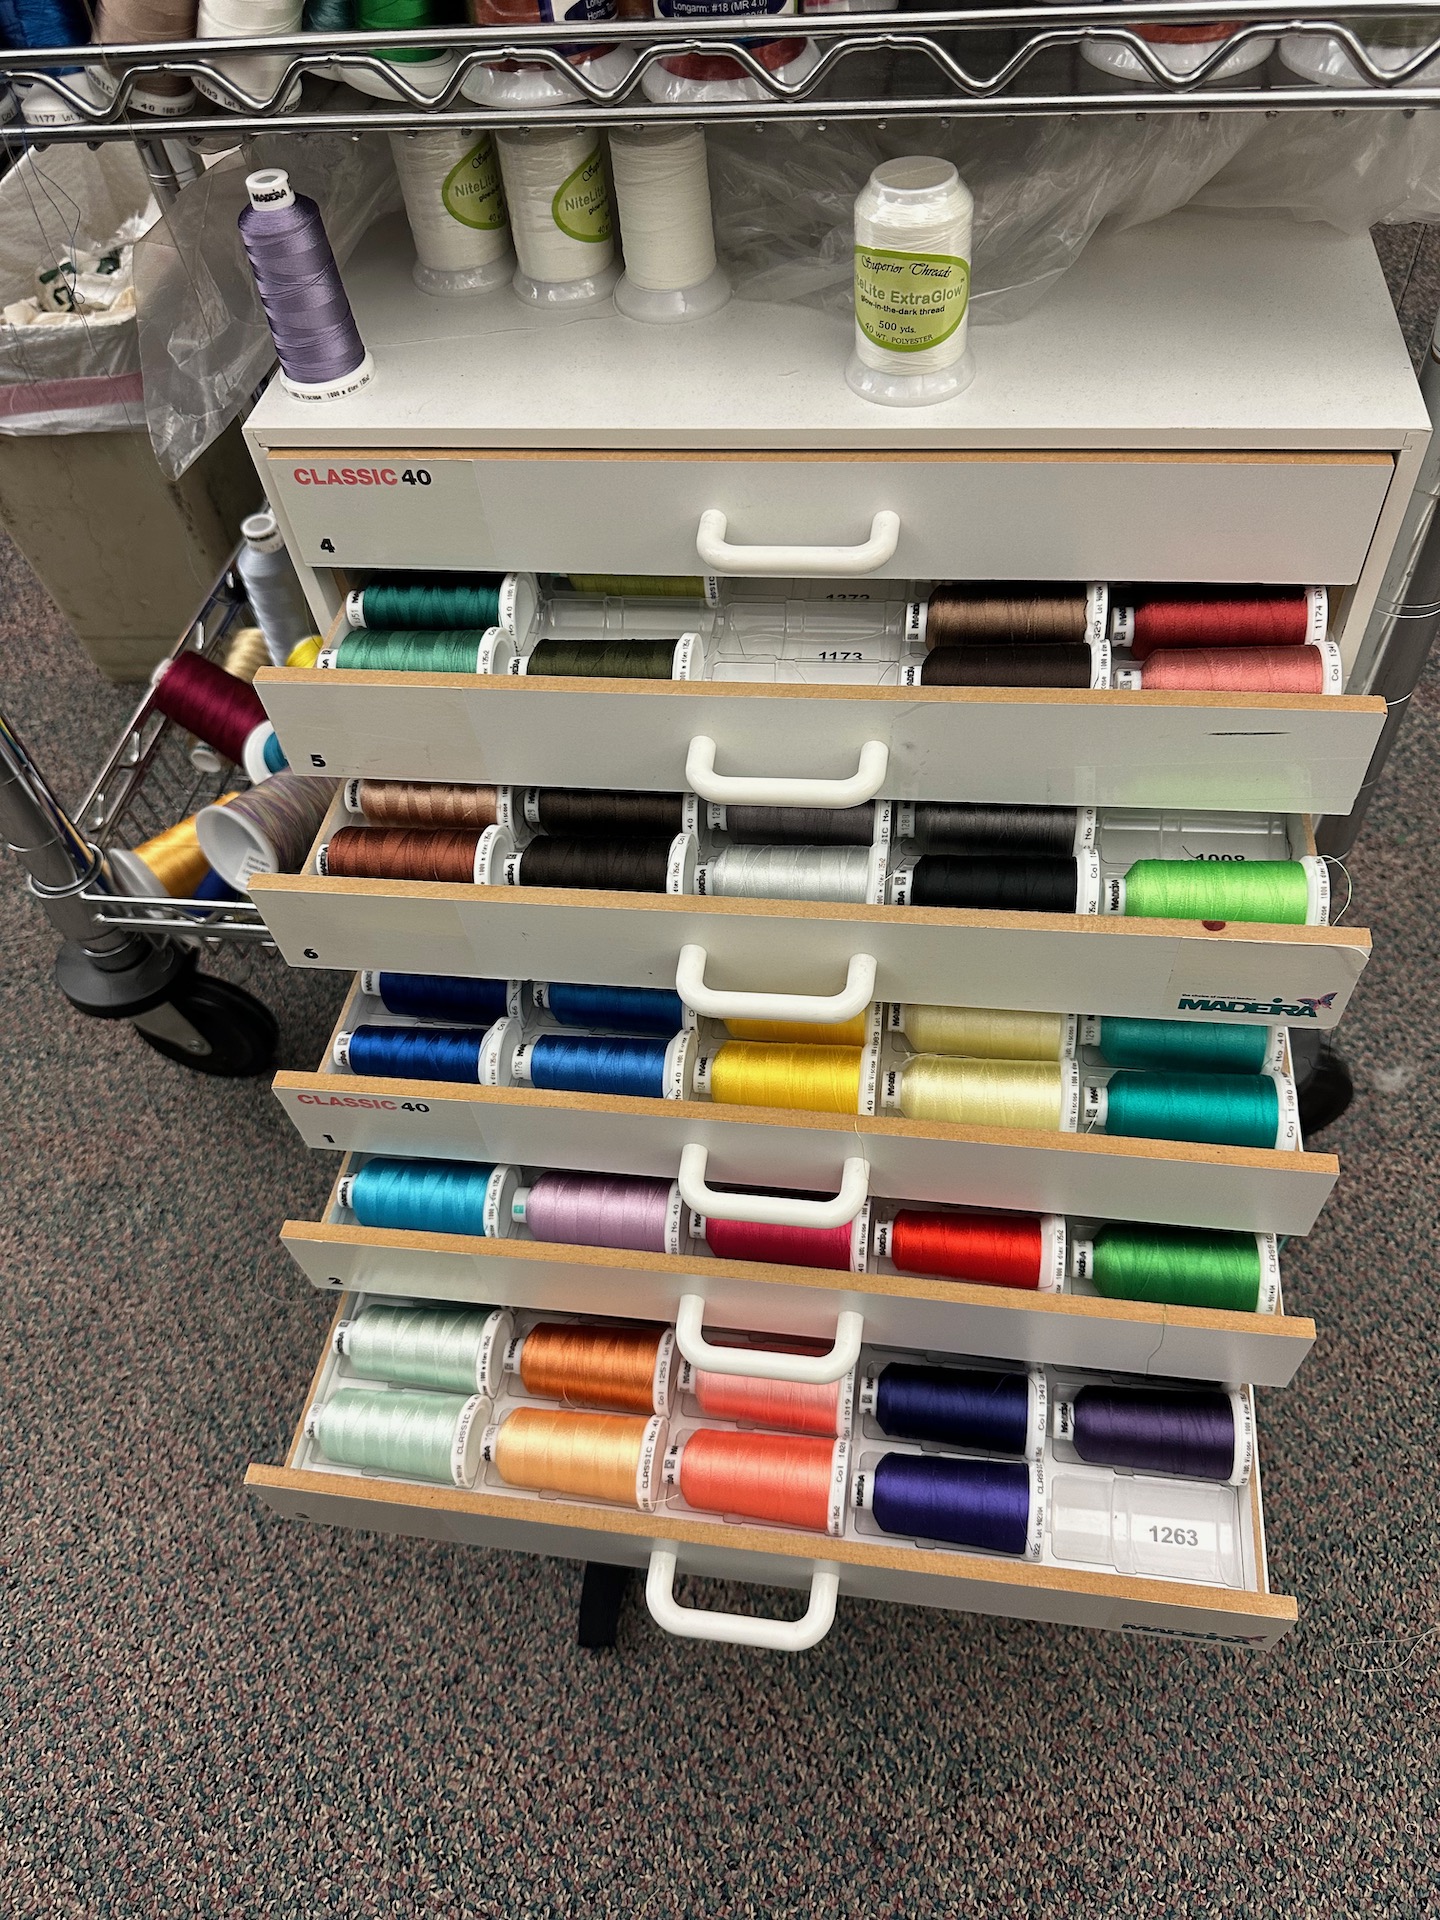
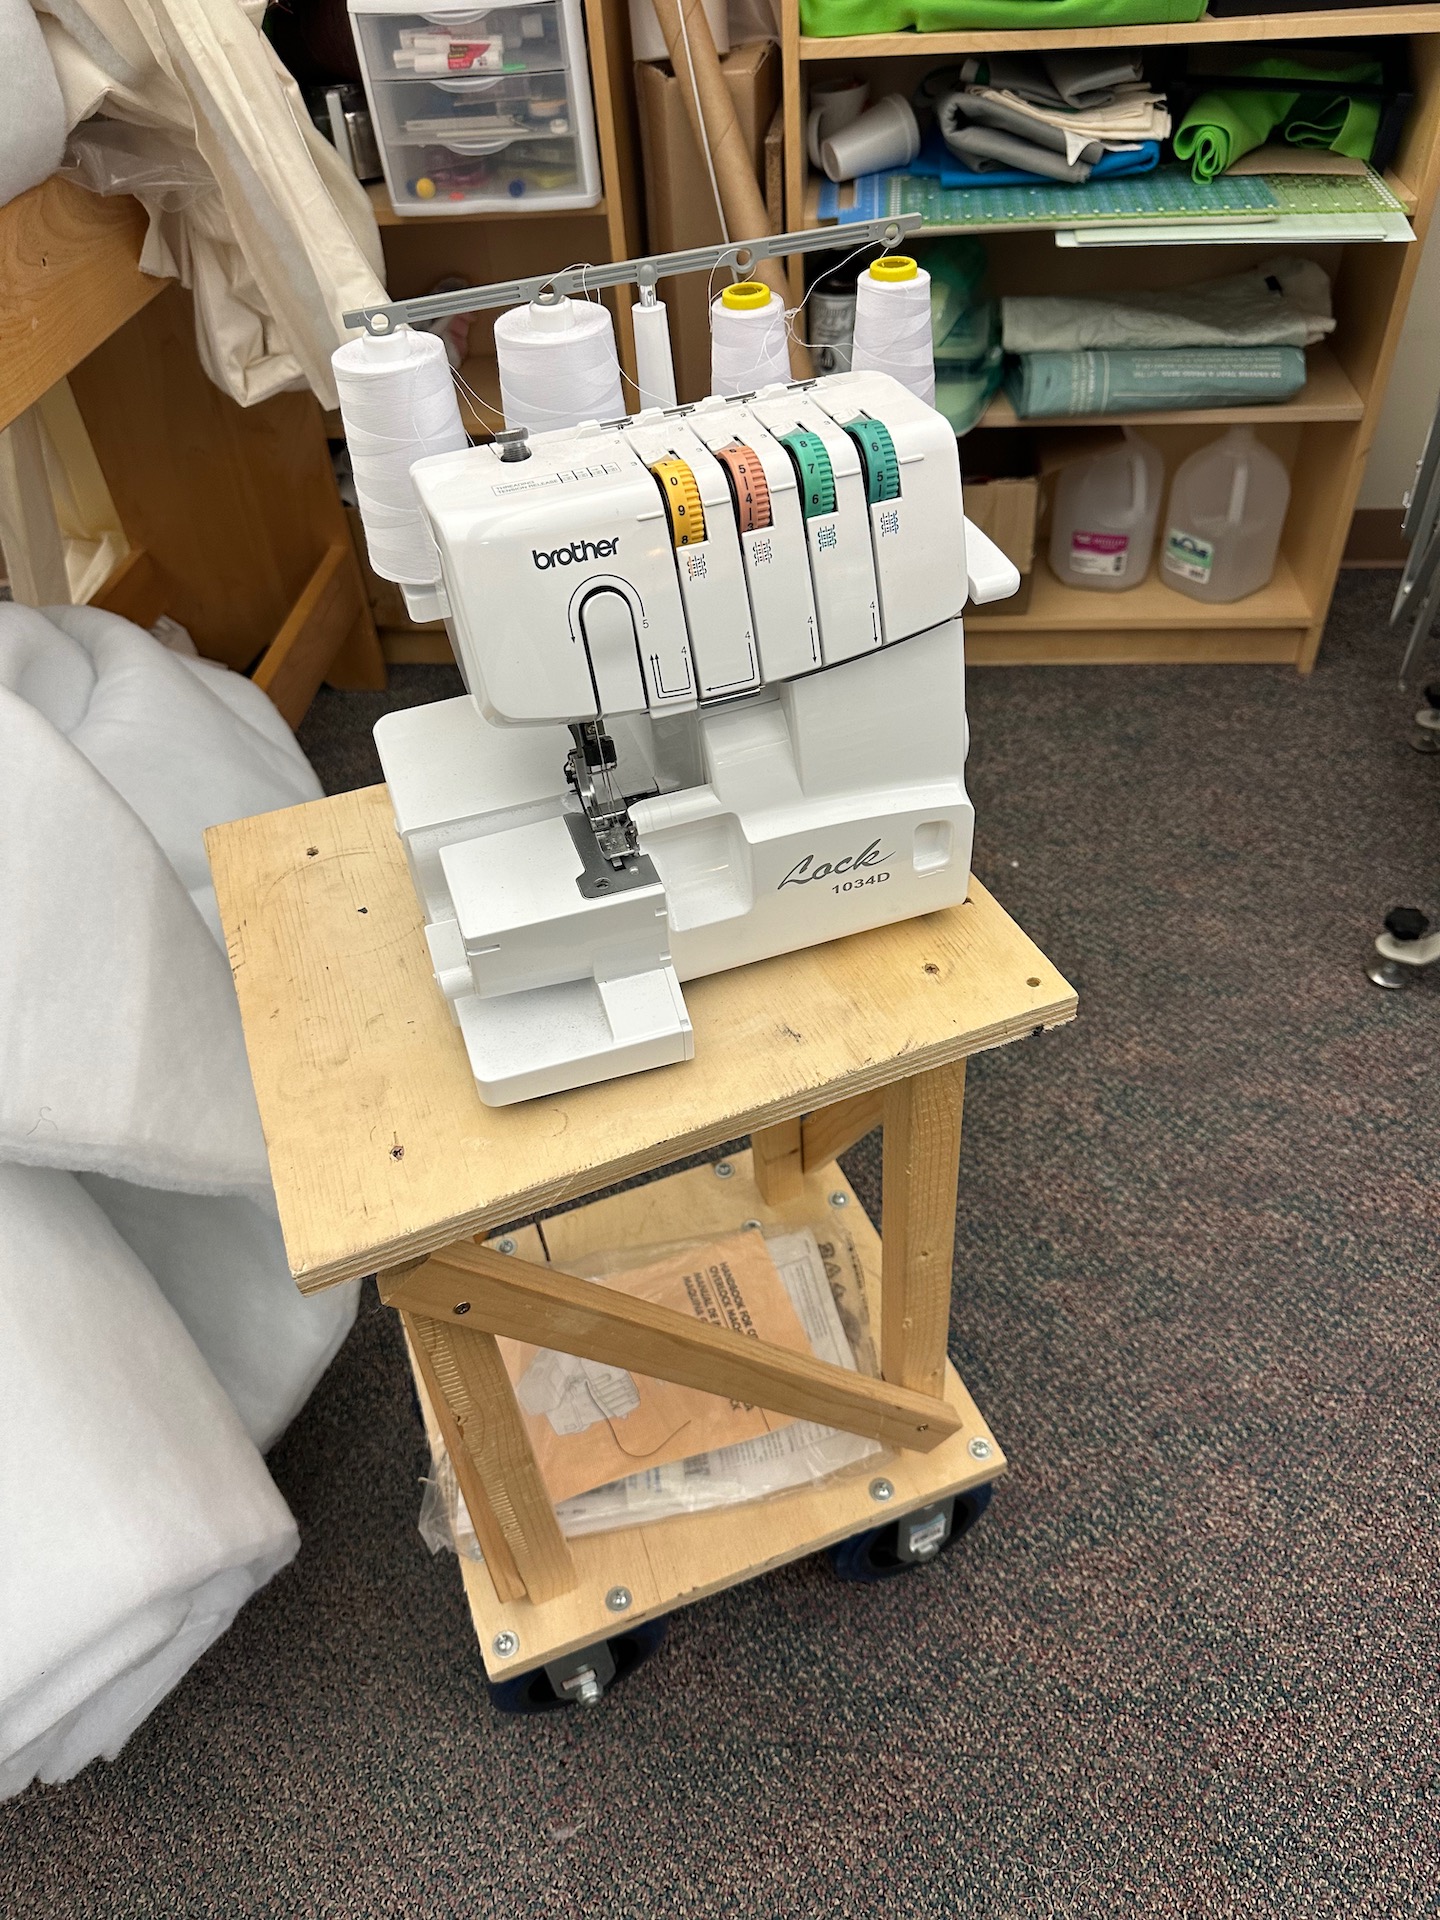
ALL THIS for just $50,000! Plus loads of extras including a wheeled stand for the embroidery machine, a serger, a barely-used 6-drawer Madiera “treasure chest” embroidery thread collection (retails at over $1,900).

It’s located at 300 S. Broadway Avenue, Urbana, Illinois 61801.
You will need at least 500 sq feet to configure these machines and tables into a functional workspace. But what a workspace you will have! The extremely heavy quilt plotter needs a solid, non-bouncy floor for stability.

Why are we selling? We lost our lease last year when our building was sold to the Champaign County Sheriff’s office and they evicted all non-government tenants. Our new space in the basement of Lincoln Square is overpriced and unpleasant, and Theo and I have become occupied with other projects. We are not giving our machines and materials the love and attention they deserve, and we have to move everything out by end of May.

Interested? Email me at

Quilting Master IV with extra frames
Quilting Master IV cutting/framing/work tables

Brother Entrepreneur Pro 1000e 10-needle embroidery machine
Extra embroidery hoops & accessories
Amazing fabric measuring/cutting station
Mostly-intact Madeira “Treasure Chest” embroidery threads & cabinet
More thread. So many colors.
So much thread. Cones and spools. We also have an automated bobbin winder.
A mere sampling of the many bolts of quality quilting fabrics in the deal.
A serger. One of many less-pricey tools we have lying around, that come in the package. Like rotary cutters and cutting mats and notions of all kinds.We don’t even know what-all else we have.


Share

QUANTITATIVE STRETCHING by Theodore Gray

Crossposted from Theo’s new stitchblog. We’re rearranging palegraylabs.com and will hopefully have a functioning blog there soon. –Nina

Welcome to my new Stitching Blog. It’s like my regular blog except all about quilting and embroidery. I’ve separated the two, because I get the feeling that people interesting in my science writing and app-making activities may find all the stitching a bit tedious, and vise-versa. Also, I have taken the liberty of using the same list of subscribers to my stitchcam as the list to be notified (via rss feed) when there’s a new post on this blog. I figure if you’re interested enough in stitching to get real-time notifications of a quilting machine running, you’re probably interested enough to hear about an occasional blog post.

So without further ado, my first new stitching-related blog post. I’m afraid it’s a rather technical one….

One of the big problems with fabrics and quilting is that fabric is not a proper engineering material. It’s stretchy and sloppy and never goes exactly where you want it to. The situation only gets worse when you add batting to the equation.

We’ve been experimenting with extra-thick batting, as much as two inches thick, and have had a problem with the resulting “quilts” not lying flat, because some parts of the pattern shrink the dimensions of the fabric more than other parts, resulting in a sheet that is internally stressed.

You might think it’s a simple case of more stitches equals more shrinkage (as it more or less is with embroidery), but this is not the case.

To see why, consider a cross section of a quilt with different spacings between the quilting lines. When there are no lines, the fabric on the top and bottom are flat, and the piece overall will be just as long as the fabric originally was. As you add more lines, the fabric is forced to go up and down, so even if the fabric isn’t physically compressed, the piece overall will get shorter.

Here is a schematic illustrating this fairly obvious fact. Clearly if the lines (the top and bottom fabric) stay the same length, the overall length of the quilt must get shorter.

But what if you keep going? There is a fallacy in this drawing: The thickness of the quilt is staying the same. Clearly the following is NOT what happens if you add even more lines:

These diagrams get more and more absurd, because of course what actually happens is that the batting gets hammered down, the piece gets thinner overall, and the fabric goes back to being flatter. And that means the overall piece should start getting LONGER again, at a certain point. That’s what I wanted to confirm and quantity, so I had Behemoth stitch twelve different test strips like these, each about a meter long:

Here is the diagram again, except this time the widths shown are real, measured widths from my experiment. (In the diagram below, the number of humps is real and the relative lengths are real, but the thicknesses are schematic, because I didn’t measure the actual thicknesses):

As you can see, there is a minimum length around 30 humps, and by the time you get to 200 humps (0.5cm line spacing) the thing is well on its way back to its original length.

Here is a plot of the lengths as a function of line spacing (the right-most data point represents infinite line spacing, in other words the original fabric length):

The interesting fact about this is that, because there’s a minimum, there are going to be two ways to get any given amount of shrinkage, a large-spacing way and a small-spacing way, one on either side of the valley. In order to get a quilt that lays flat, you don’t have to keep all the spacings the same, you can have zones of stitching width spacings on either side of the minimum.

These tests were all with lines in only one direction, but what if you add crossed lines in the other direction? I did a second set of twelve test strips with lines going in both directions, like these:

The following graph is a bit harder to read. The horizontal axis represents the line spacing in the direction of shrinkage (just like in the graph above). The vertical scale is again overall length of the piece. The lines connecting data points represent sets of similar spacing in the lines going the other direction. The bottom set has no cross-lines (i.e. it’s the same data points as the graph above, except a smaller number of them shown). As you go up, each line represents more and more closely spaced cross-lines. The data points are labeled with the line spacing in the shrinkage and crossed directions respectively.

The result is as expected: The more closely spaced the crossed lines are, the less shrinkage there is, regardless of how closely spaced the lines are in the shrinkage direction.

Now all we need to do is actually use this information to make something pretty that doesn’t warp…. In the mean time, we’ve been experimenting with the other solution: Stretching on a frame.

This quilt is “double-quilted”, using the term Nina invented for a thing I decided to try because why not. It’s basically a quilt on top of a quilt, so we can have a secondary level of relief that isn’t hammer down overall. I’ll write a full blog post about this technique later, but here’s a closeup that gives an idea of what it looks like:

Was all the quantitative measuring useful? Maybe…. So far I’ve used it only to create an interpolating function that I have used in some calculations involving how wide to make flaps that wrap around the wooden frame holding up stretched quilts like this. Hm, that’s probably another blog post too.

Share

More Single Line Art

I am a better line processor than any algorithm we currently have access to. Behold what I turned into a SINGLE LINE by hand:

Look upon my works, ye mighty, and despair!

Many people think we’re using Mathematica to do the drawings of our Quilt Money. We’re not! I am drawing all this stuff by hand. Theo uses Mathematica to route my drawings that contain T-intersections, but I’m learning to make my drawings single lines without T-intersections by hand, because they route much better that way. Everything below was drawn by me, by hand:

$100_new_19_all

Only a few bits (the seals and part of the border) need to be routed in Mathematica. Everything else I drew as single paths. Which is quite a brain-hurter, lemme tell ya. Here’s a screen capture of me working on this same project last week:

I could do this much more efficiently now, using what I’ve learned since then. Which is good, because the better I get at this, the more I can help someone else create algorithms to automate this kind of work.

And yes, at some point we hope to offer an affordable $100 Quilt. But first I have to get the design right, and then our potential partner has to be able actually produce it without losing money. We’re working on it.

Our quilted money is one of the few things I don’t share source (in this case, vector) files for, because currency isn’t exactly like other culture, as I explain here.

Share

The holy grail of quilting design


grail1

Single-line art is the holy grail of quilting design: the sewing machine head can stitch the entire design without starting, stopping, or breaking thread. To illustrate this for an upcoming talk I drew a holy grail as a single-line drawing. I did this by hand in Flash, and made this simulation of a simulator by deleting line segments one at a time.

I would love a program that intelligently automatically converts my line art into single-line art. Theo made something like that already, which preserves all the line segments and relies on back-tracking. But I’d also like something that replicates what I did here by hand: removing and adding small line segments so no back-tracking is needed. It would need to analyze which smaller line segments could be sacrificed, and which segments could be doubled (parallel lines can be easily added to a design like this).

You need single line art for automated quilting, and that’s what we do. But getting from regular line art to single-line art is currently no small task, for humans or computers.

grail1

Share