Hand Sewing a Mask

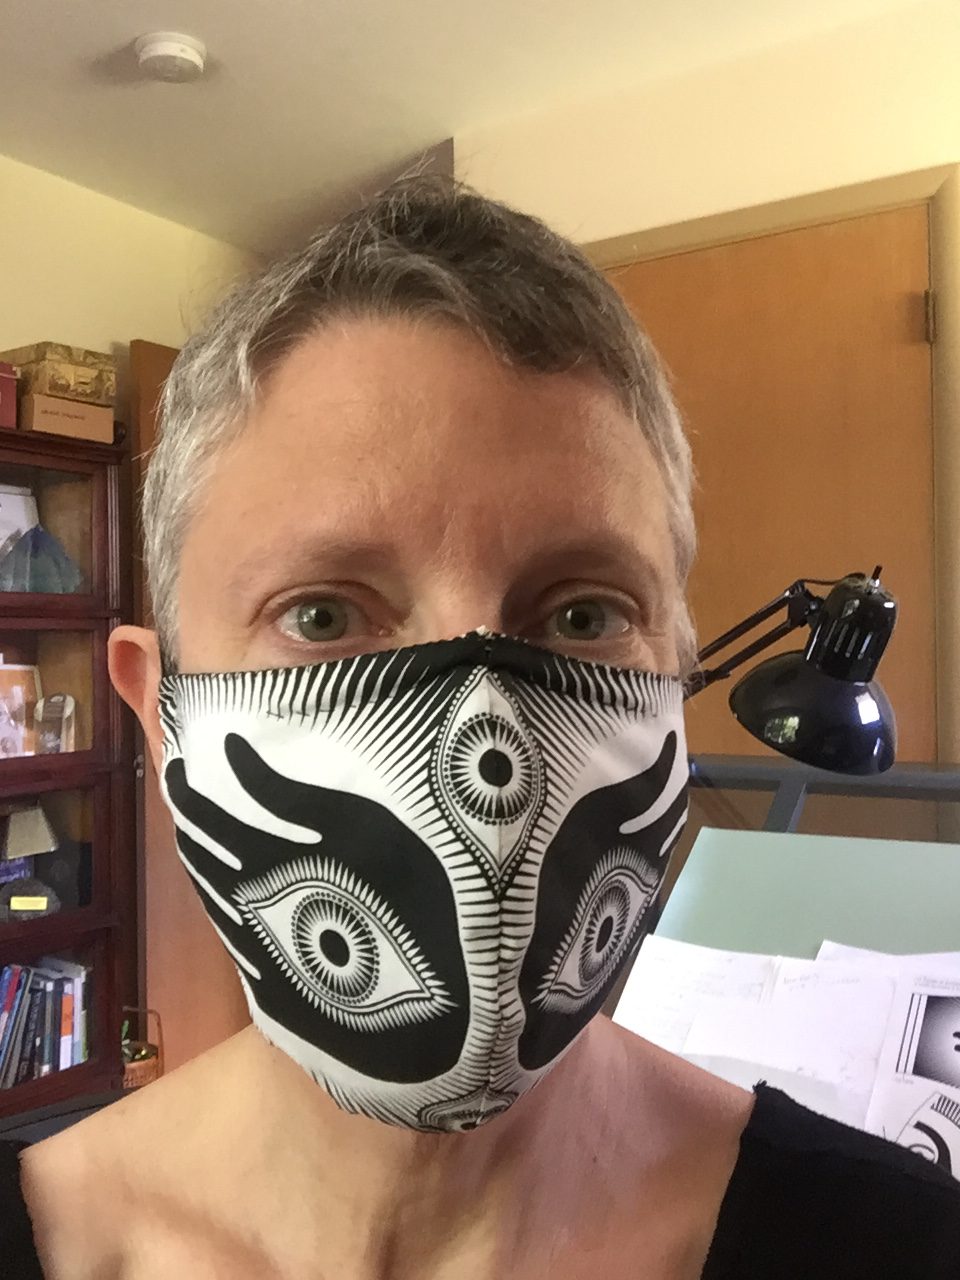
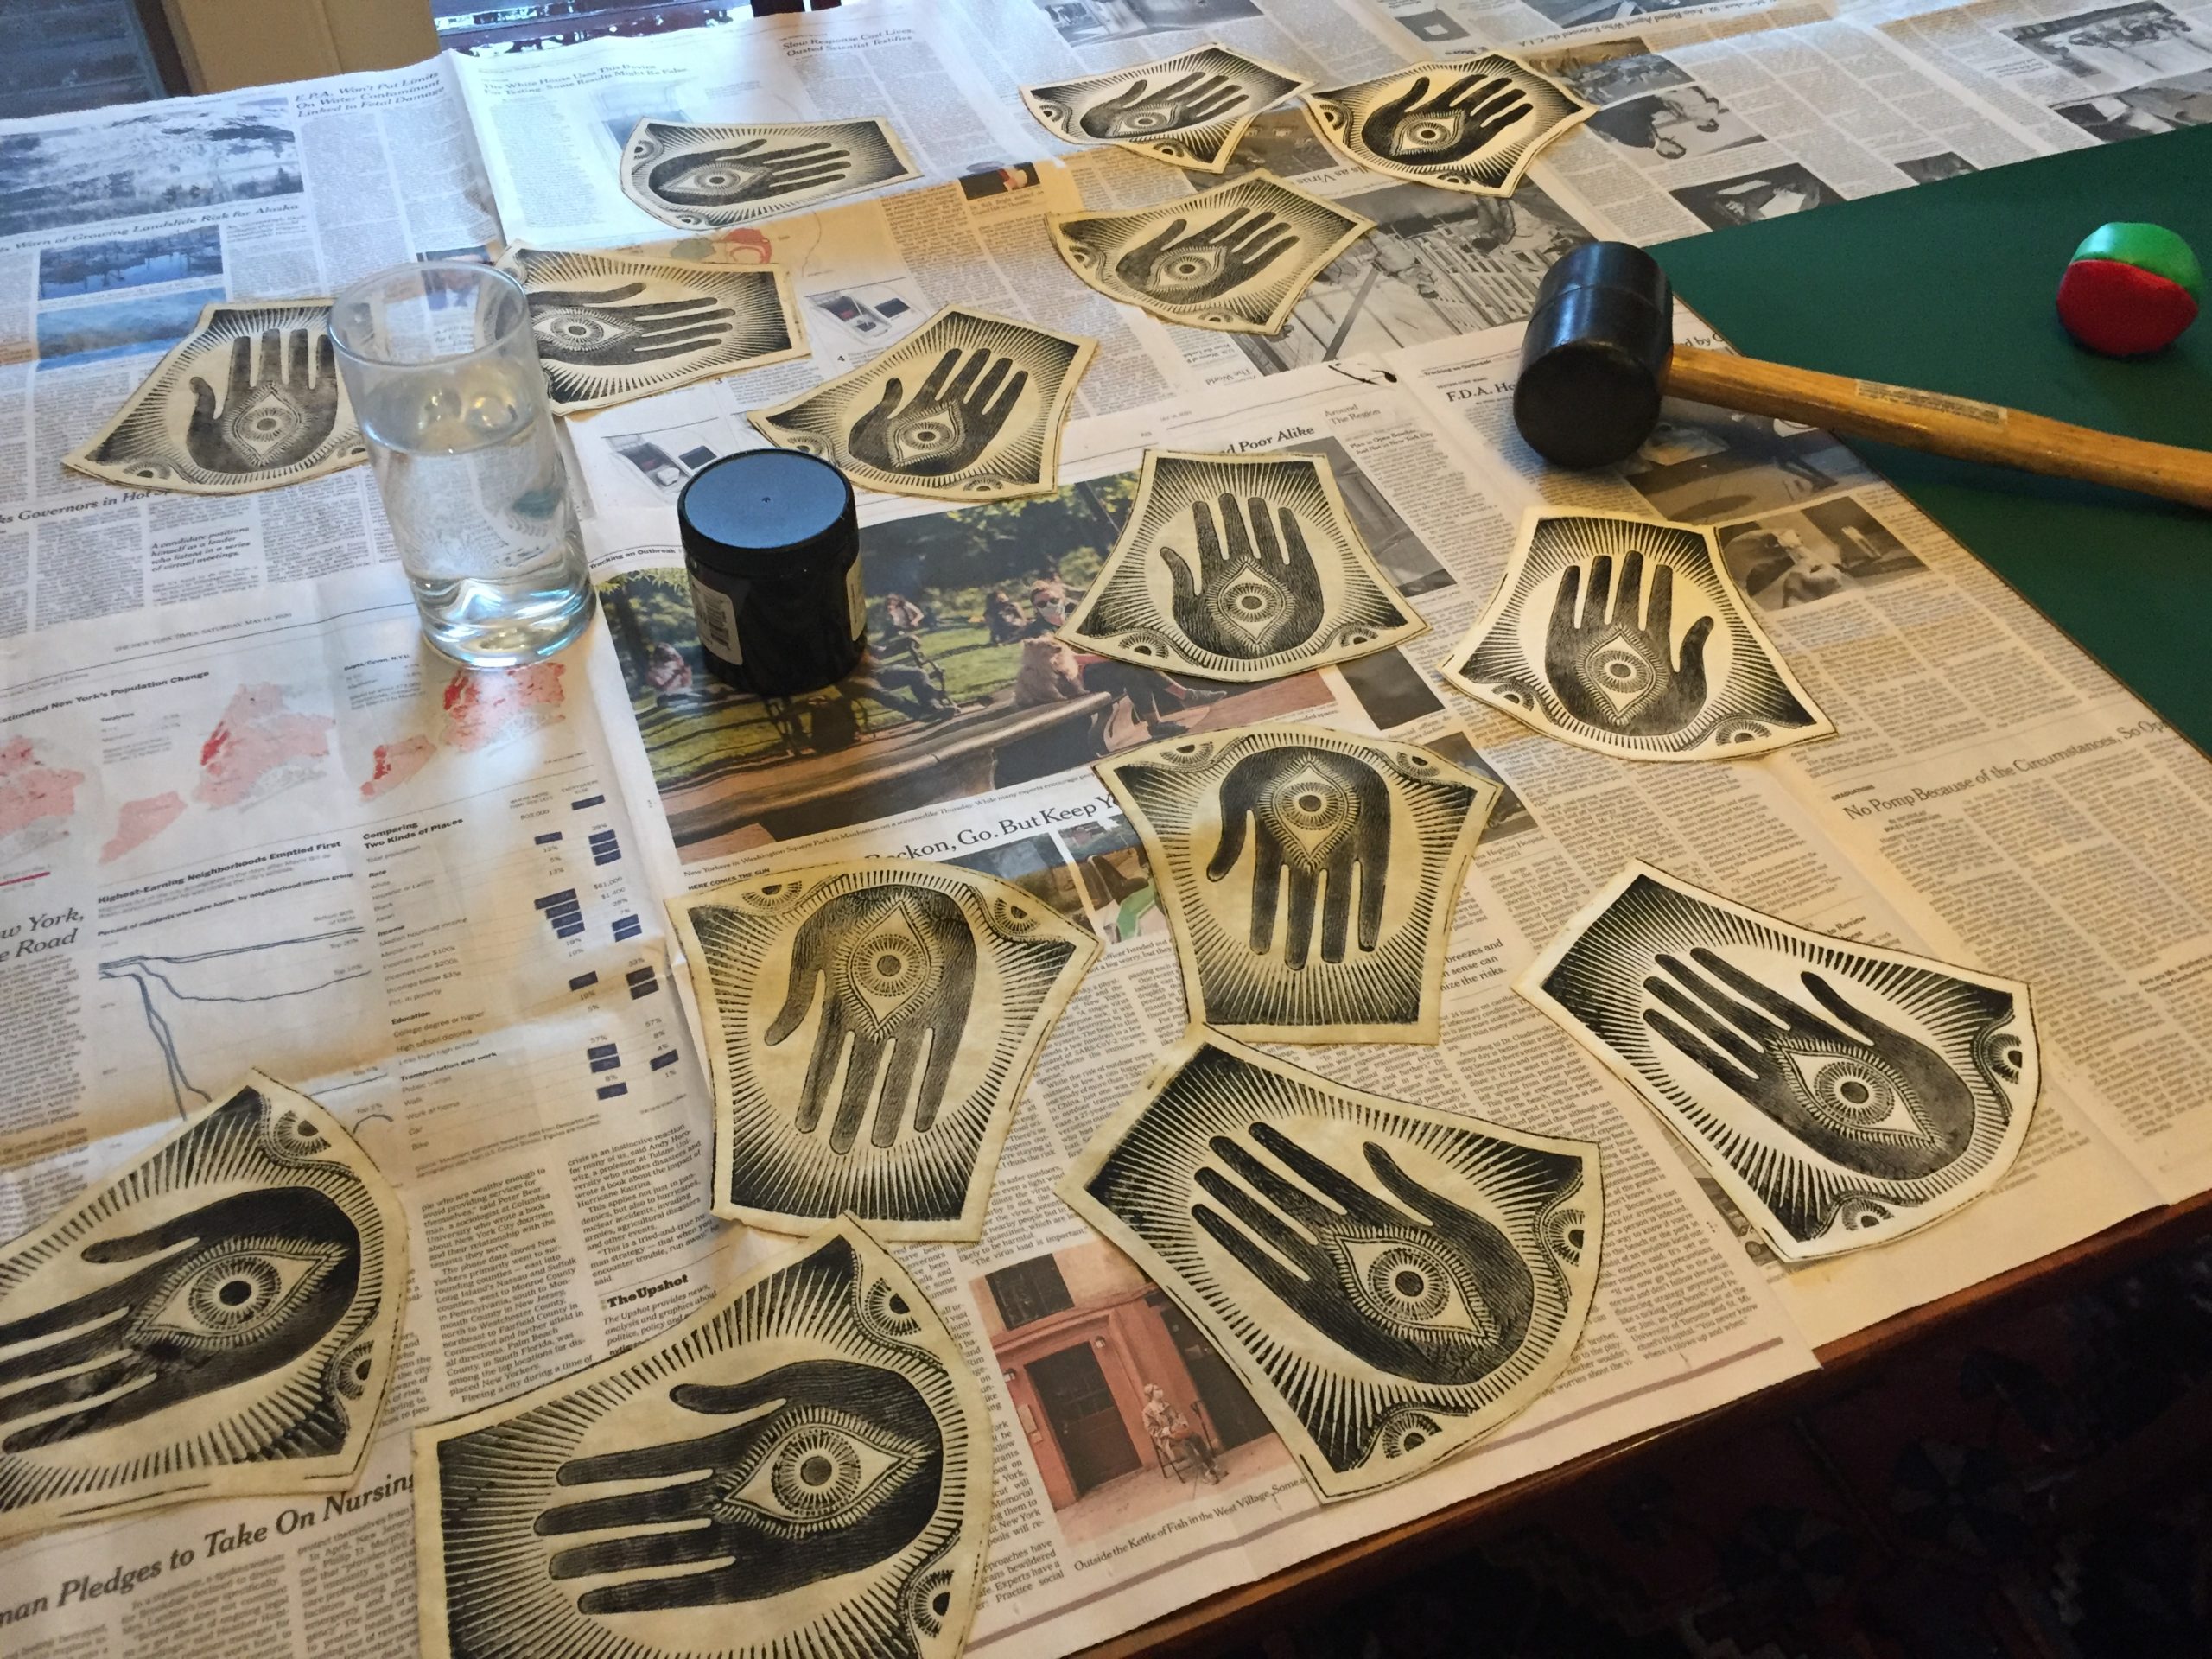
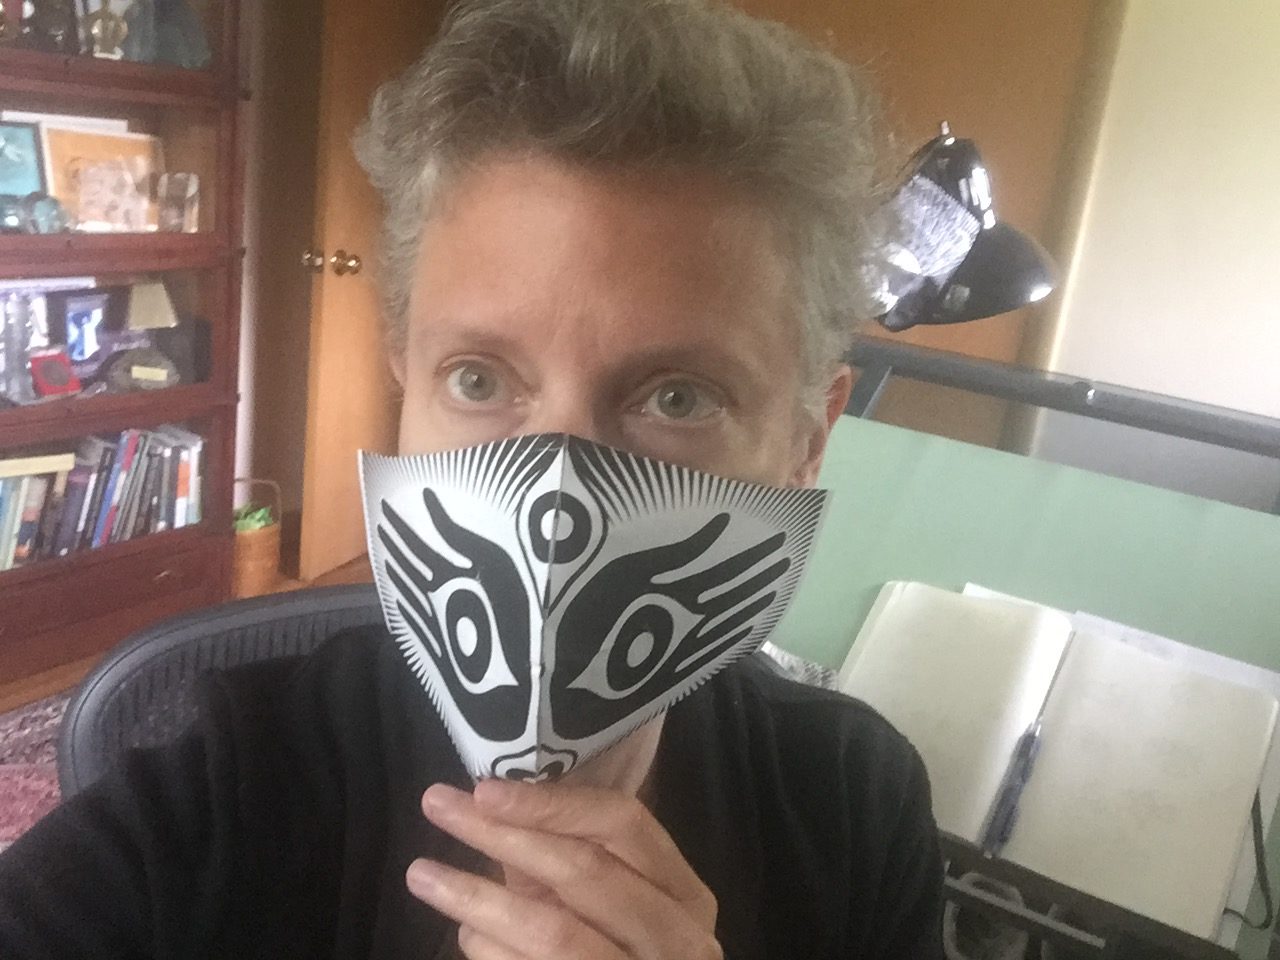
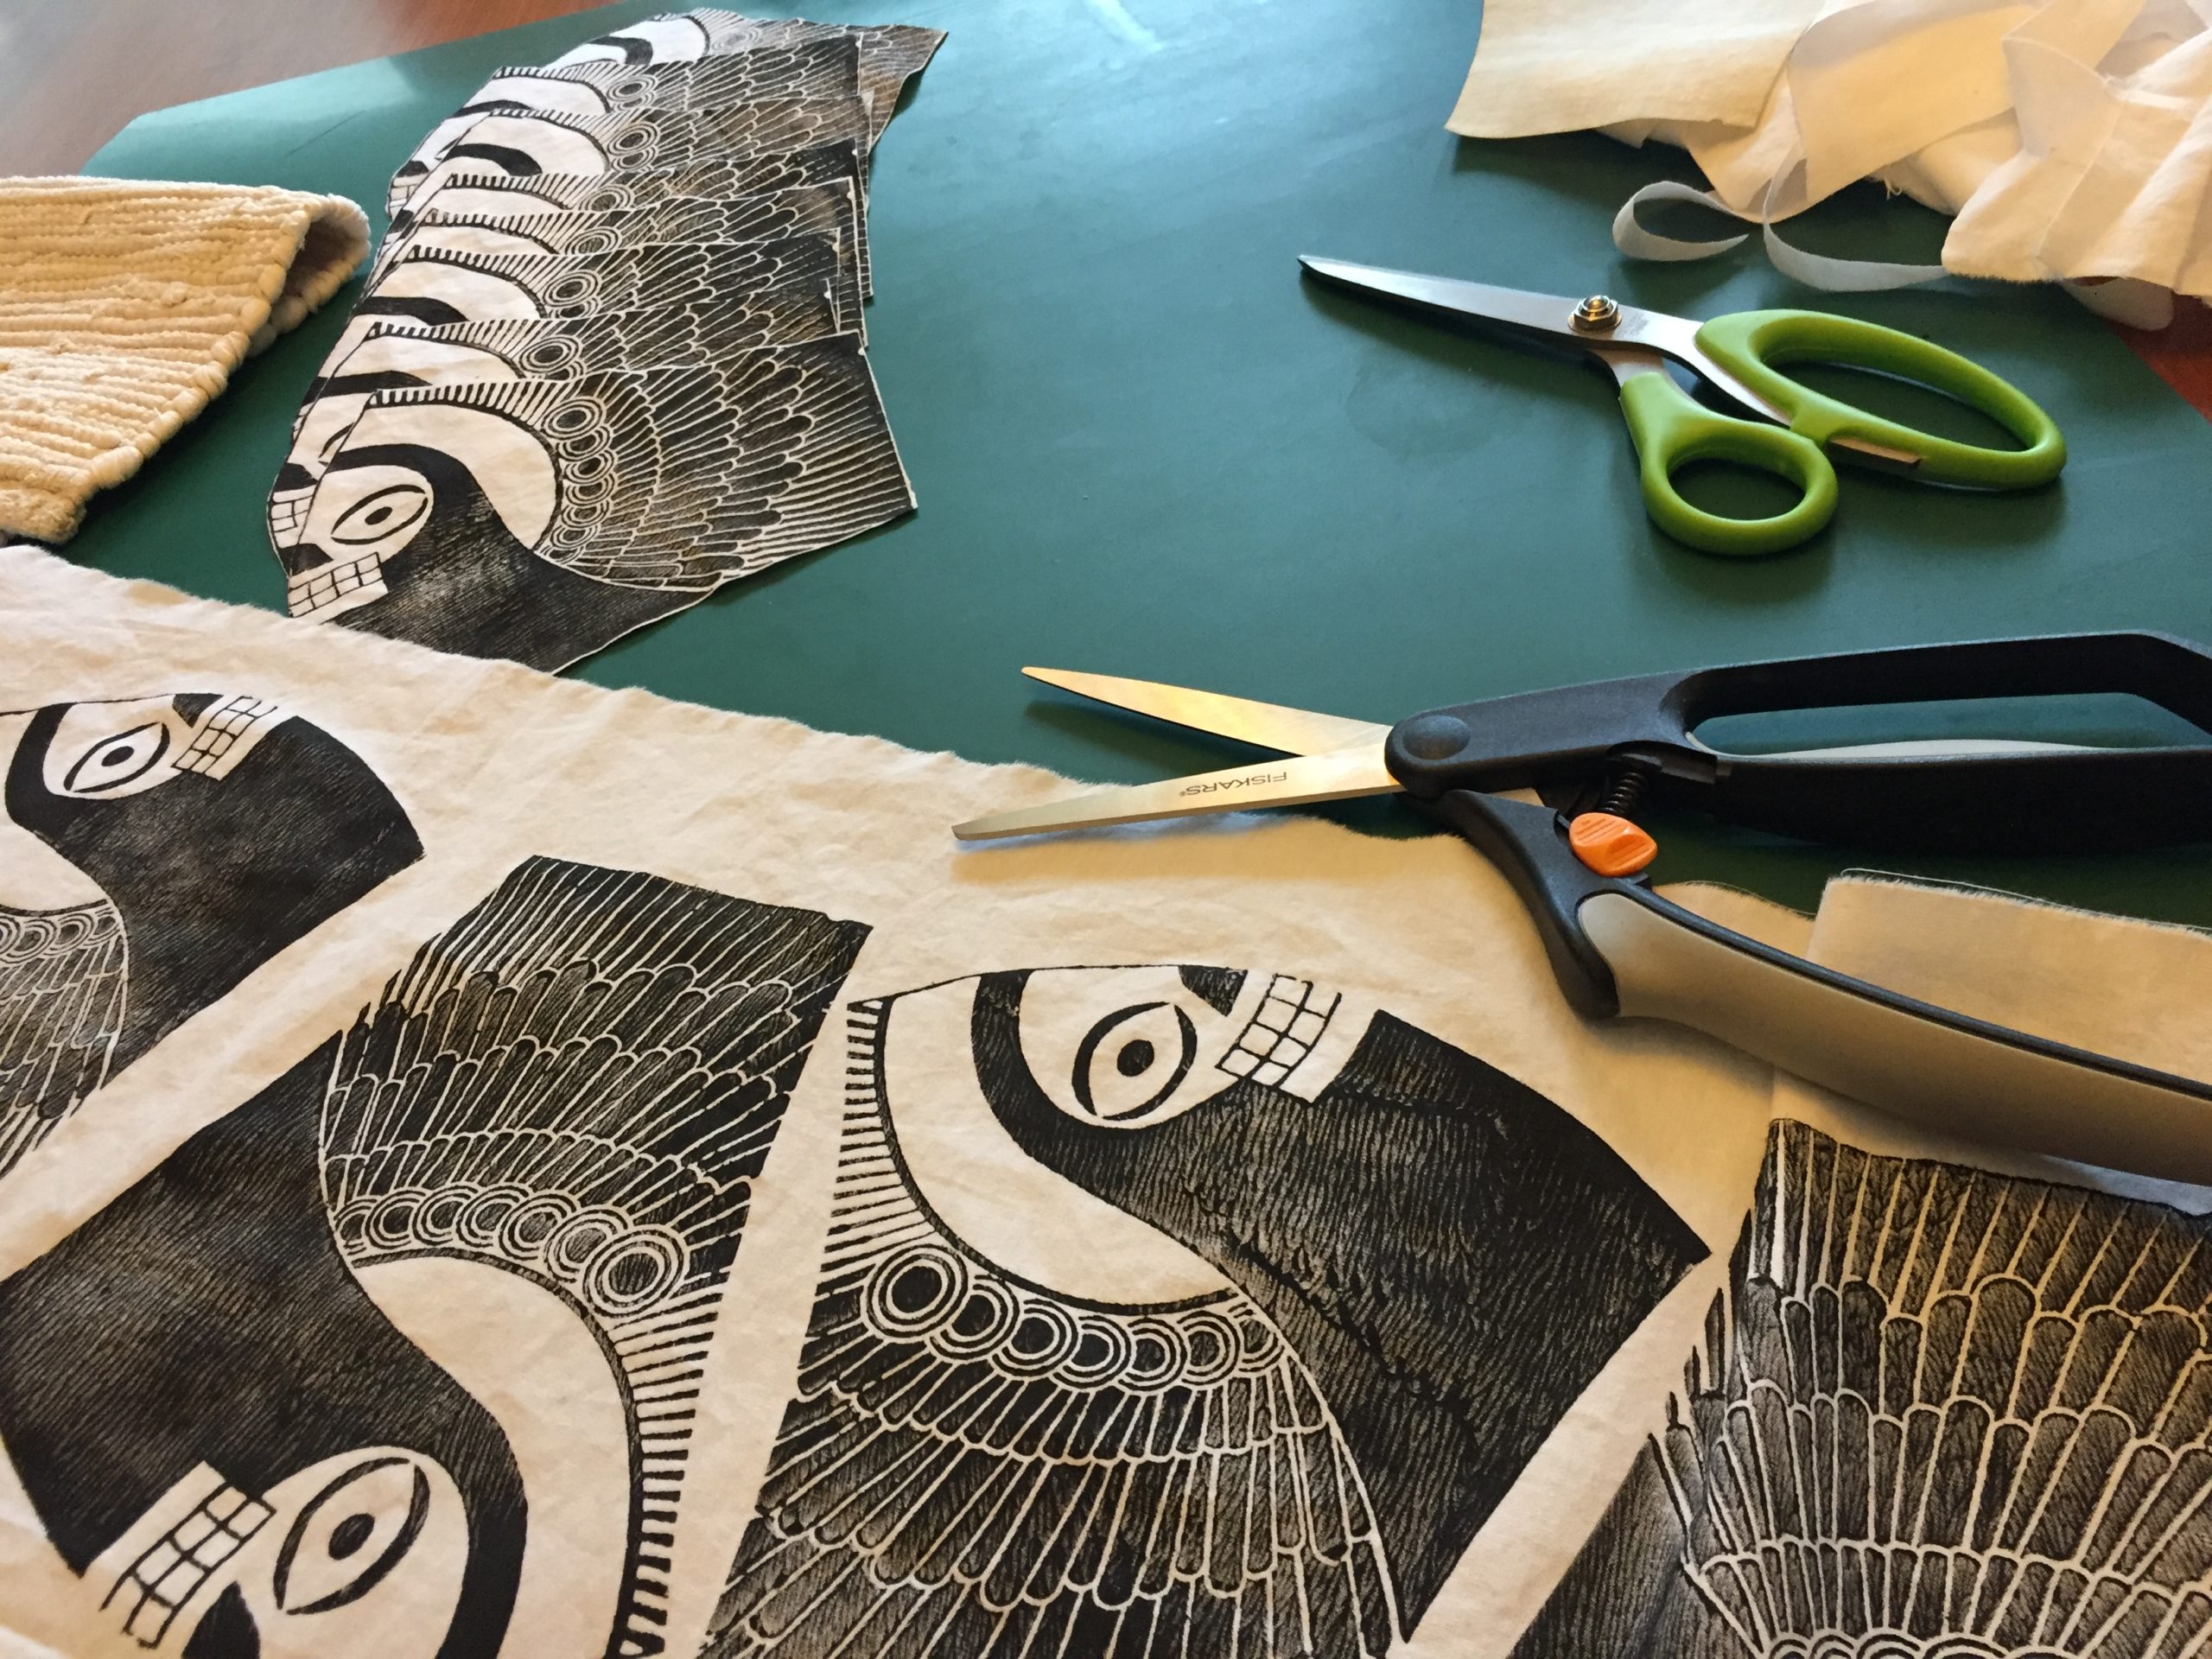
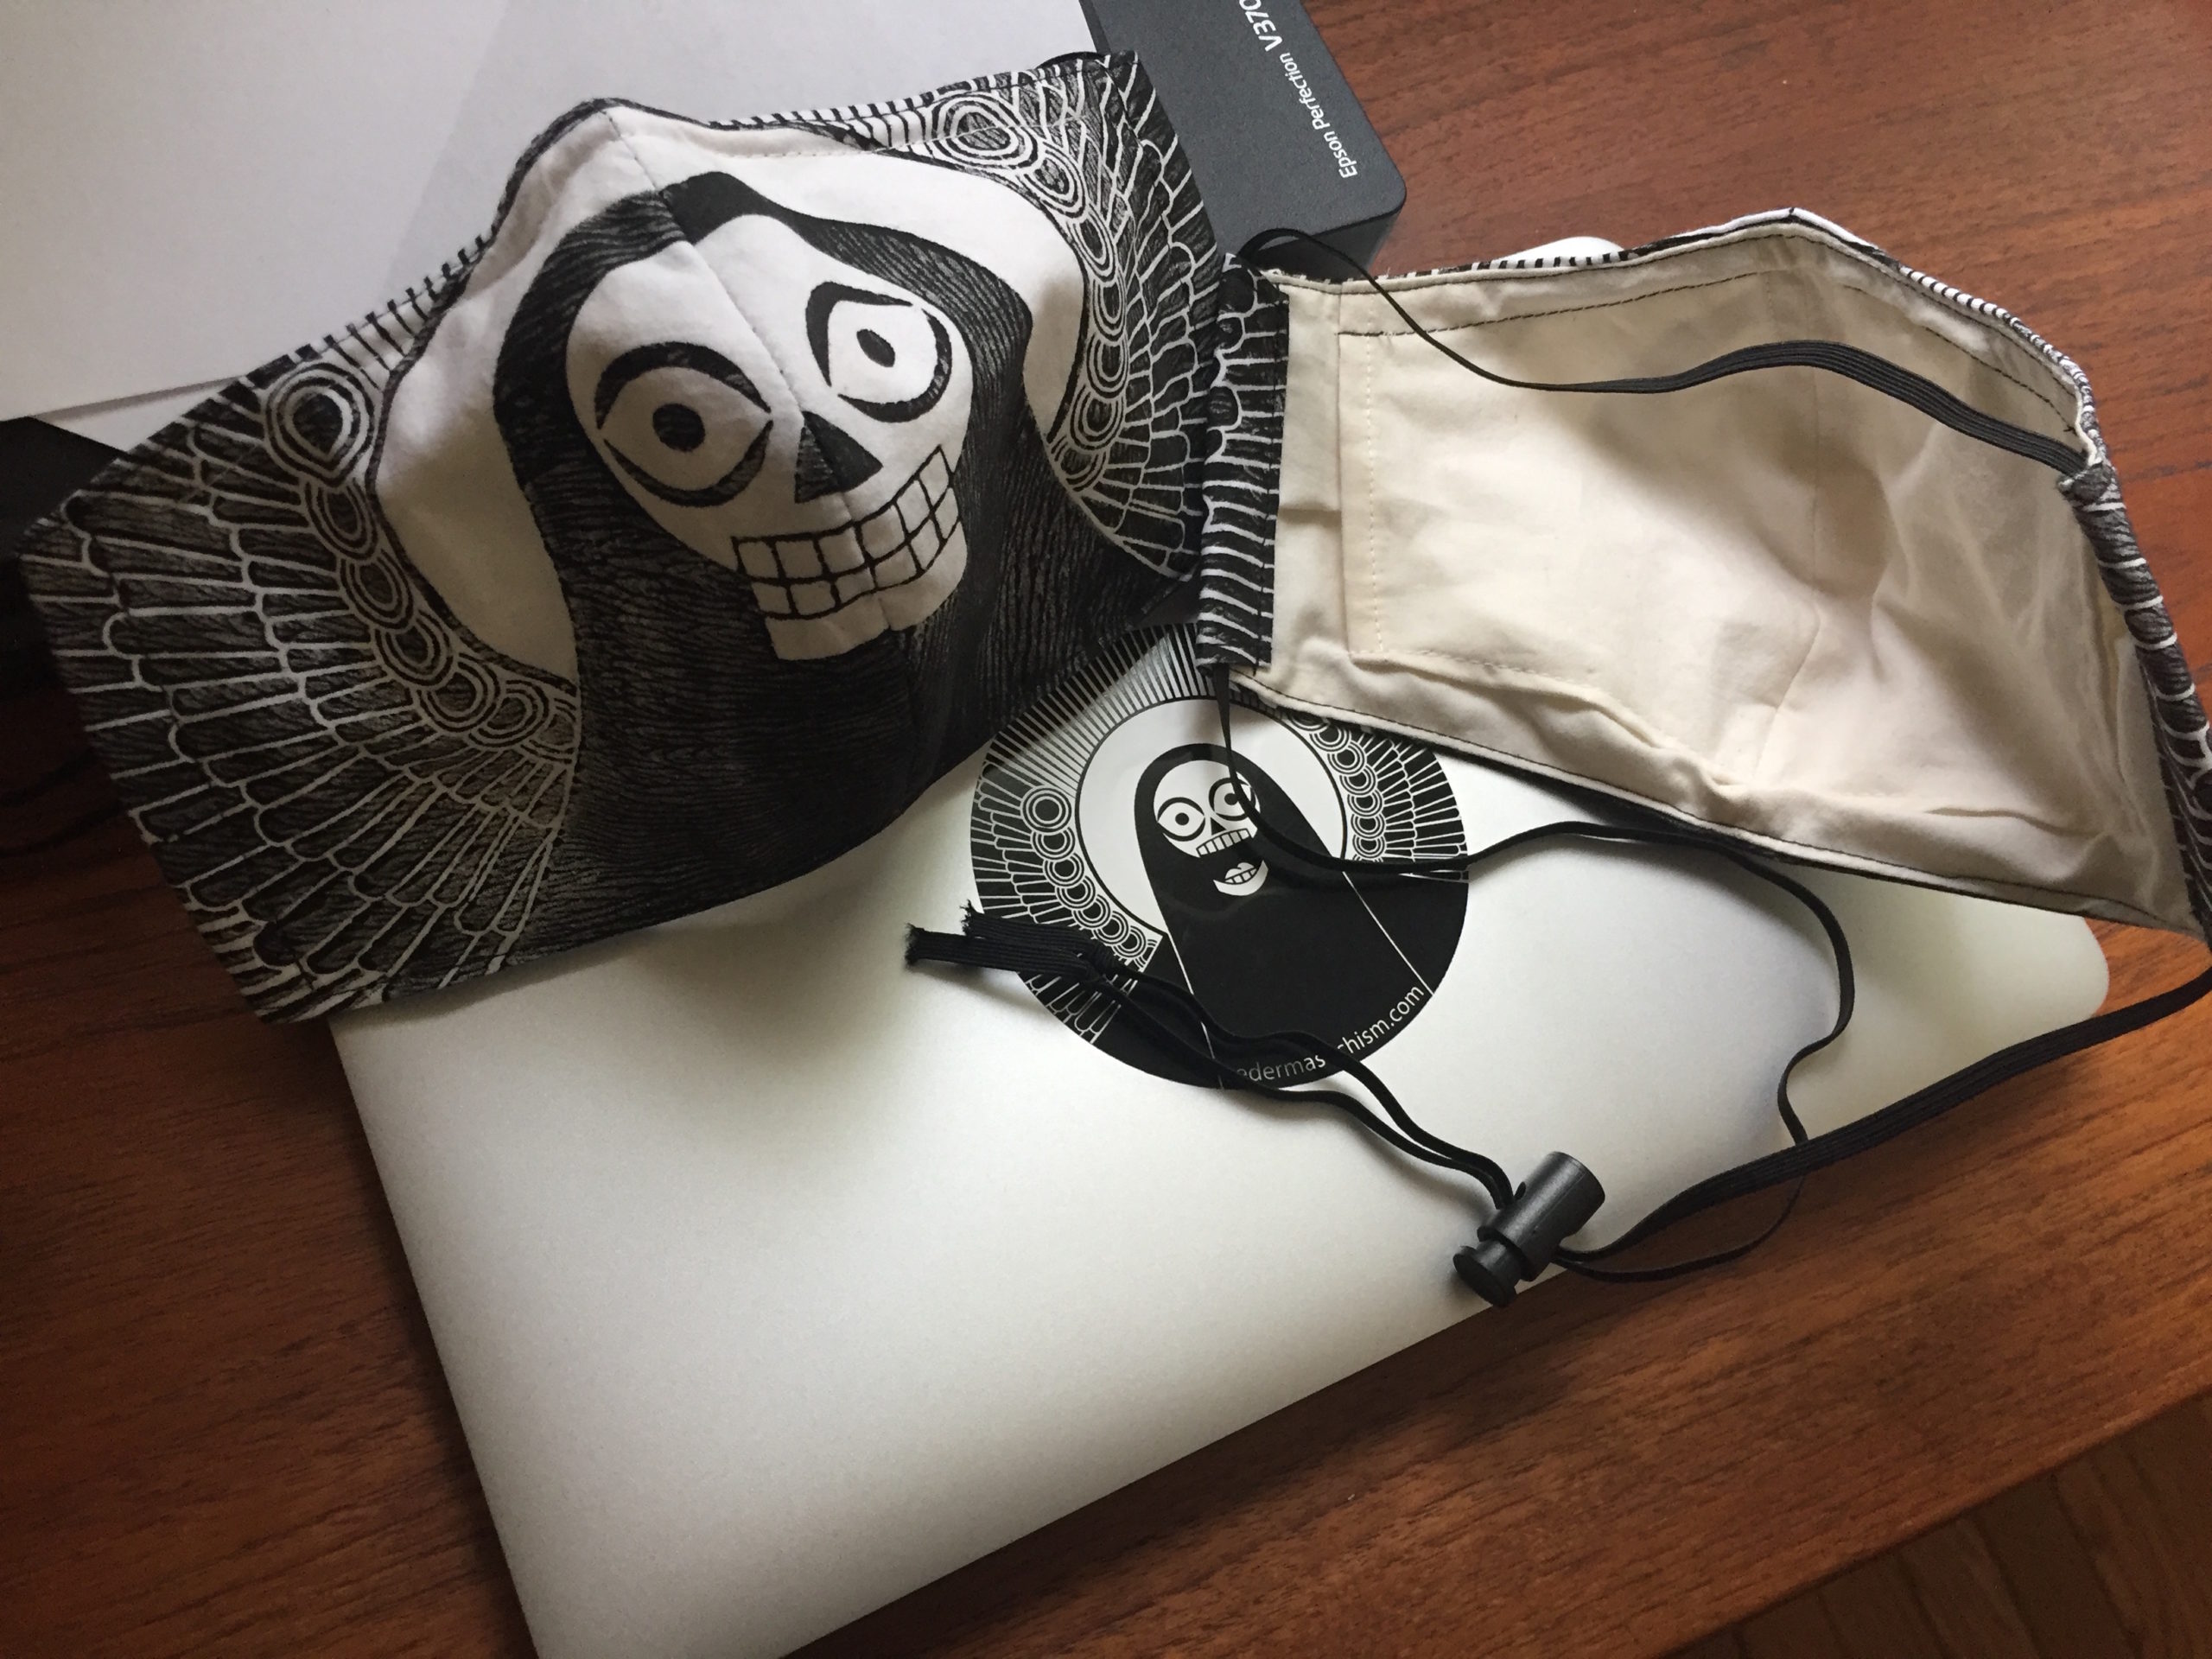
Yes, you can sew a mask with no iron, no pins, and no sewing machine. Just a needle and thread, scissors, mask kit, and a lot of time. My trial run (photographed below) took a couple hours, giving me plenty of time to catch up on podcasts. I could probably learn to do it faster, but one was enough for me.

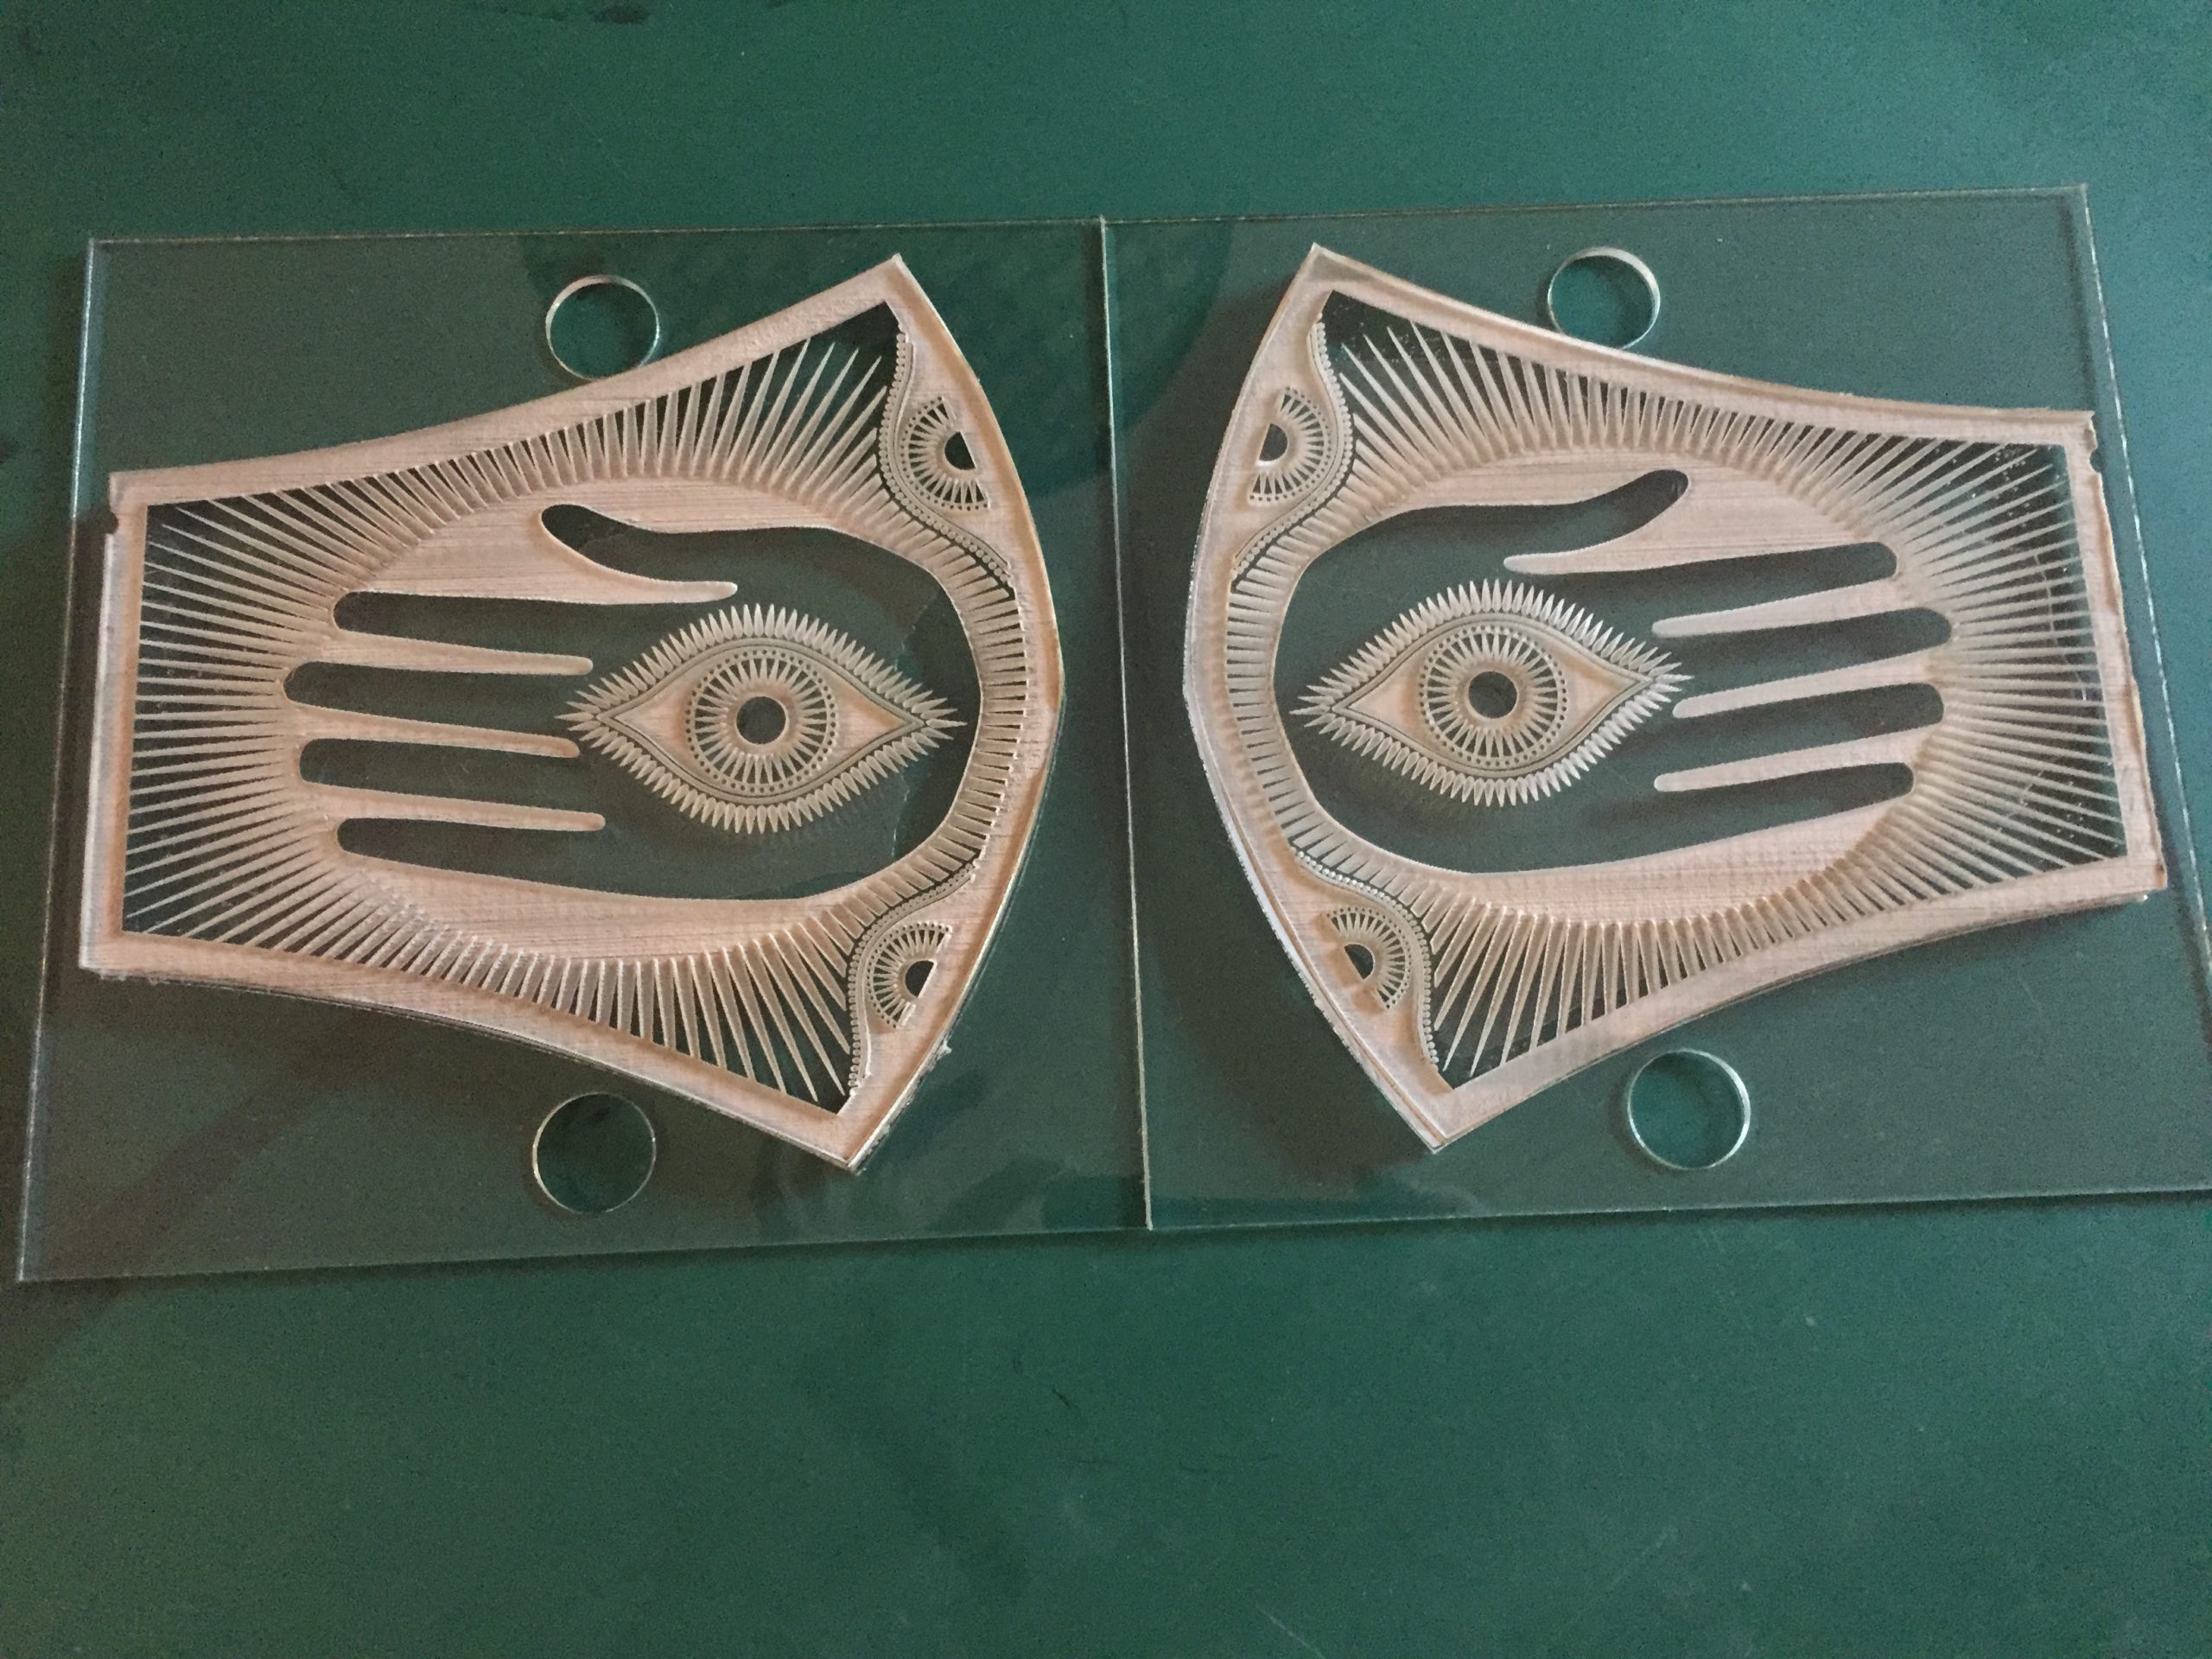
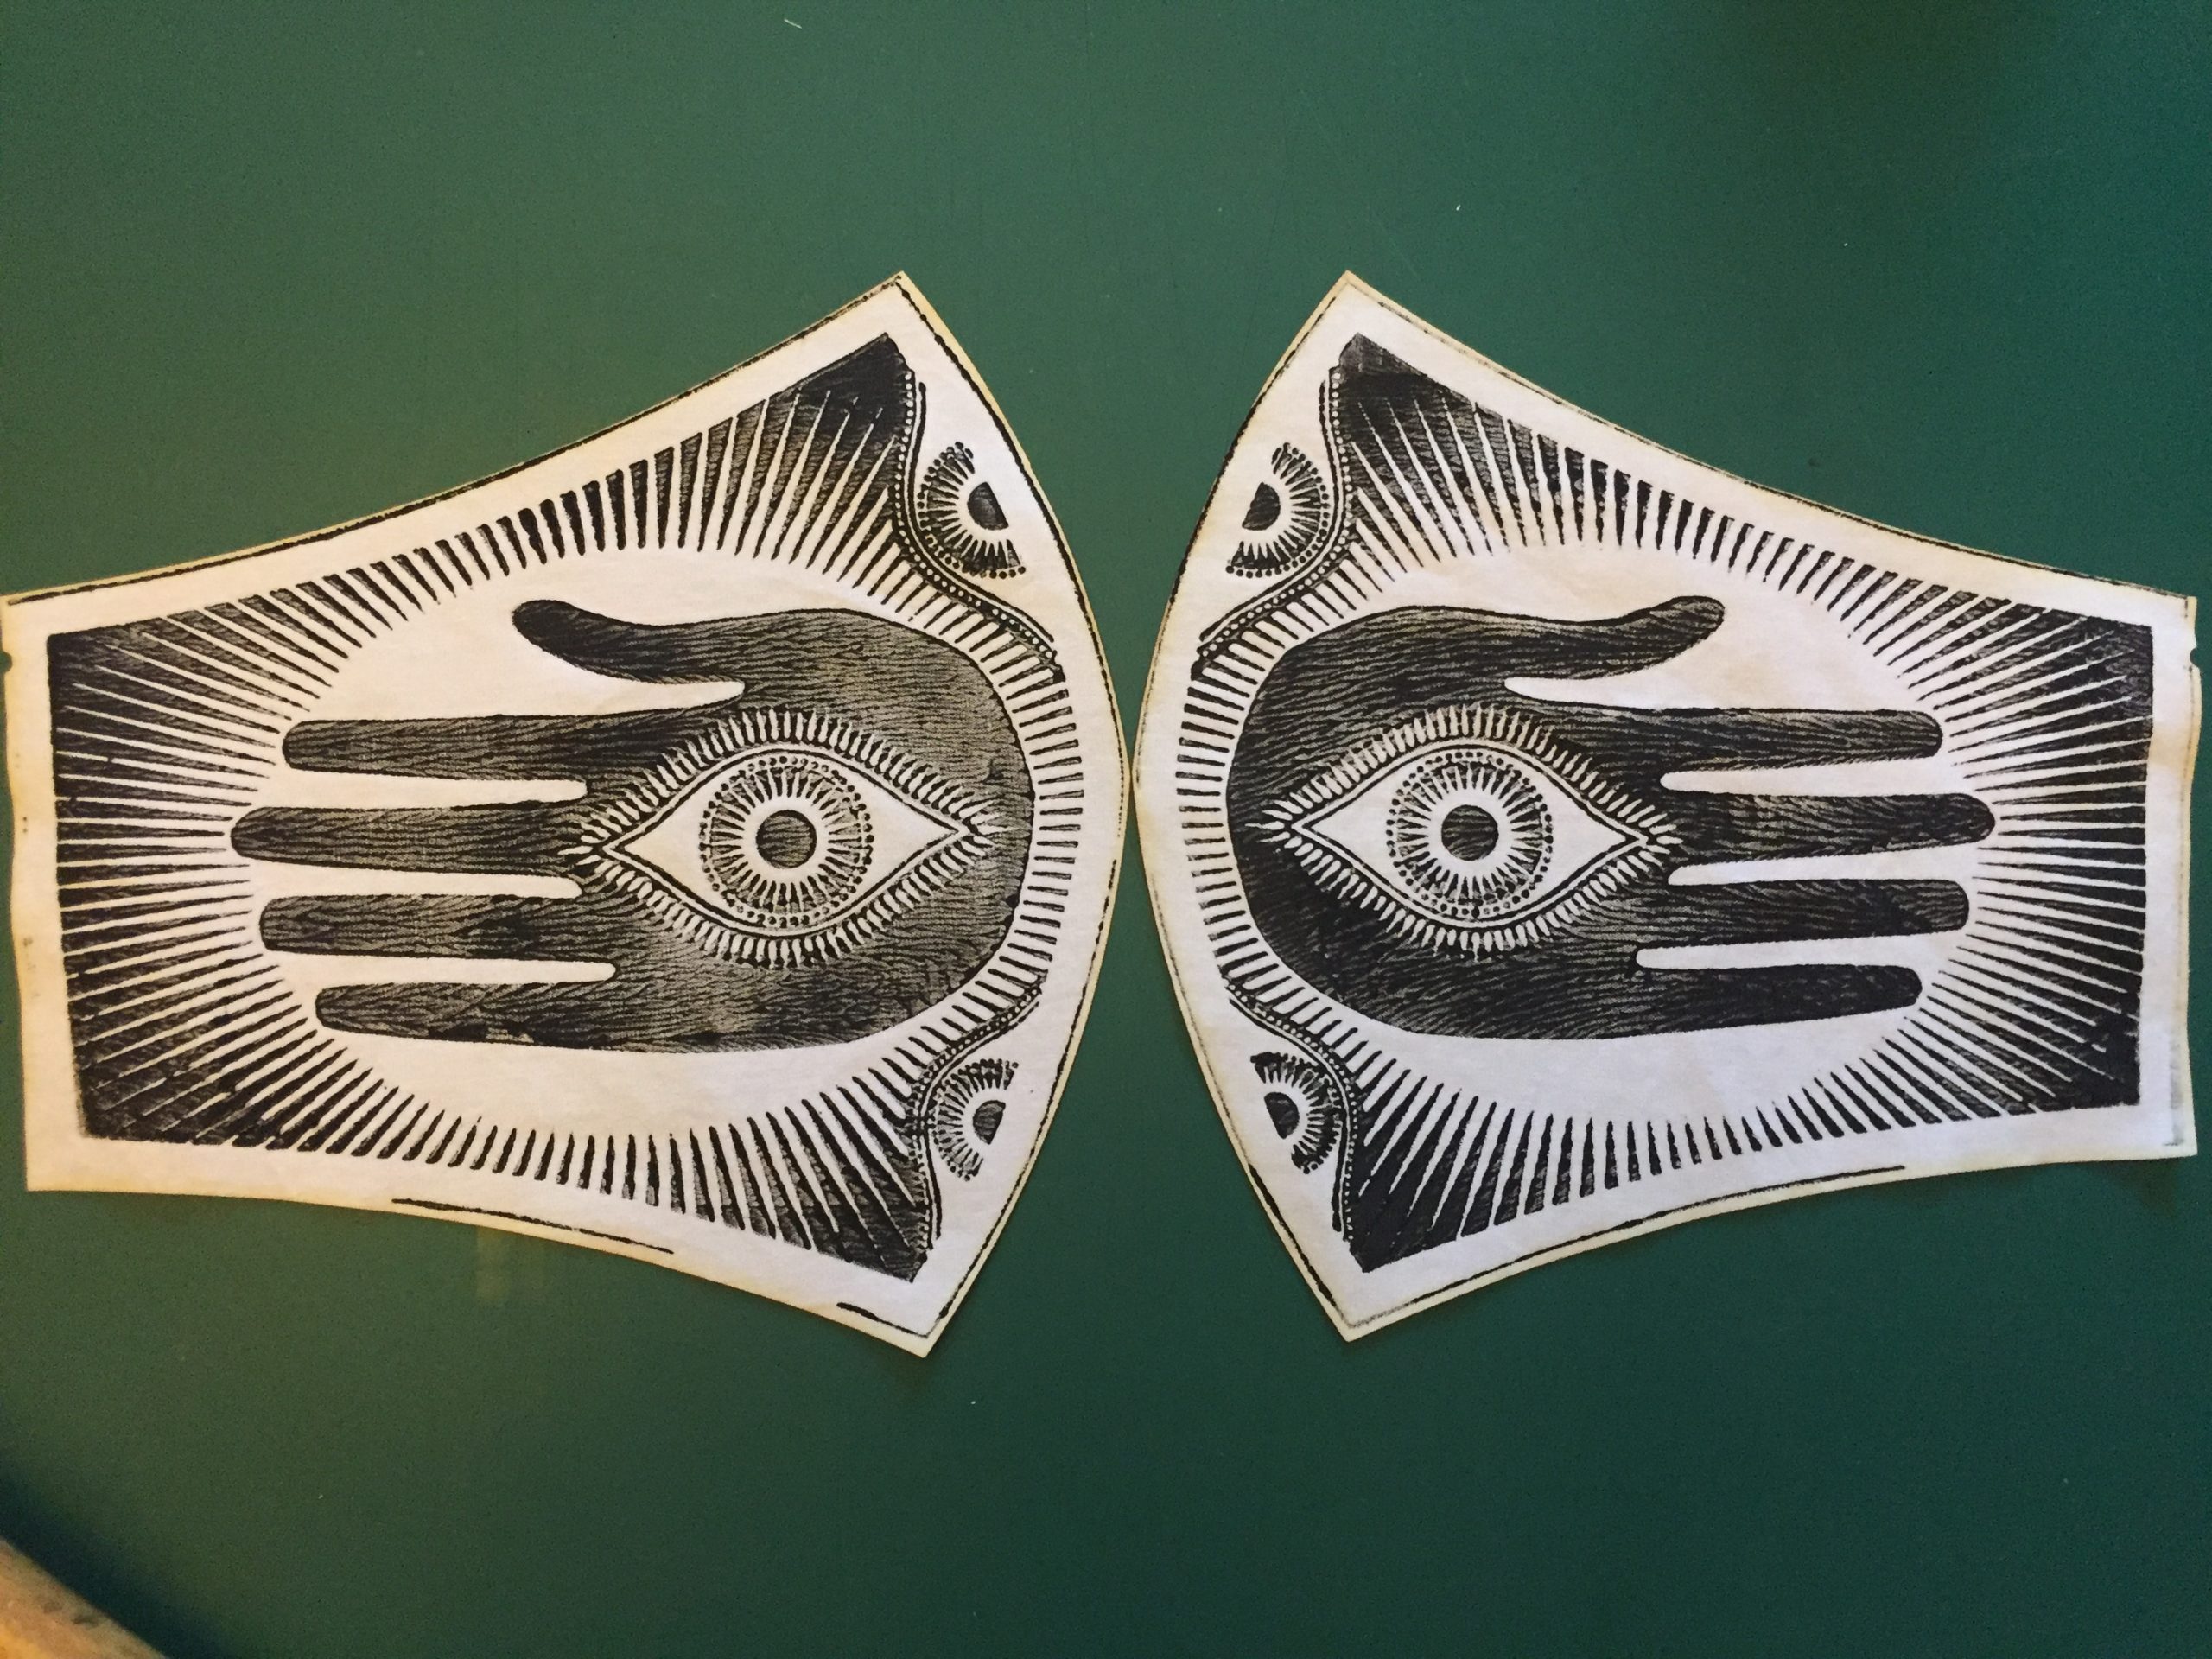
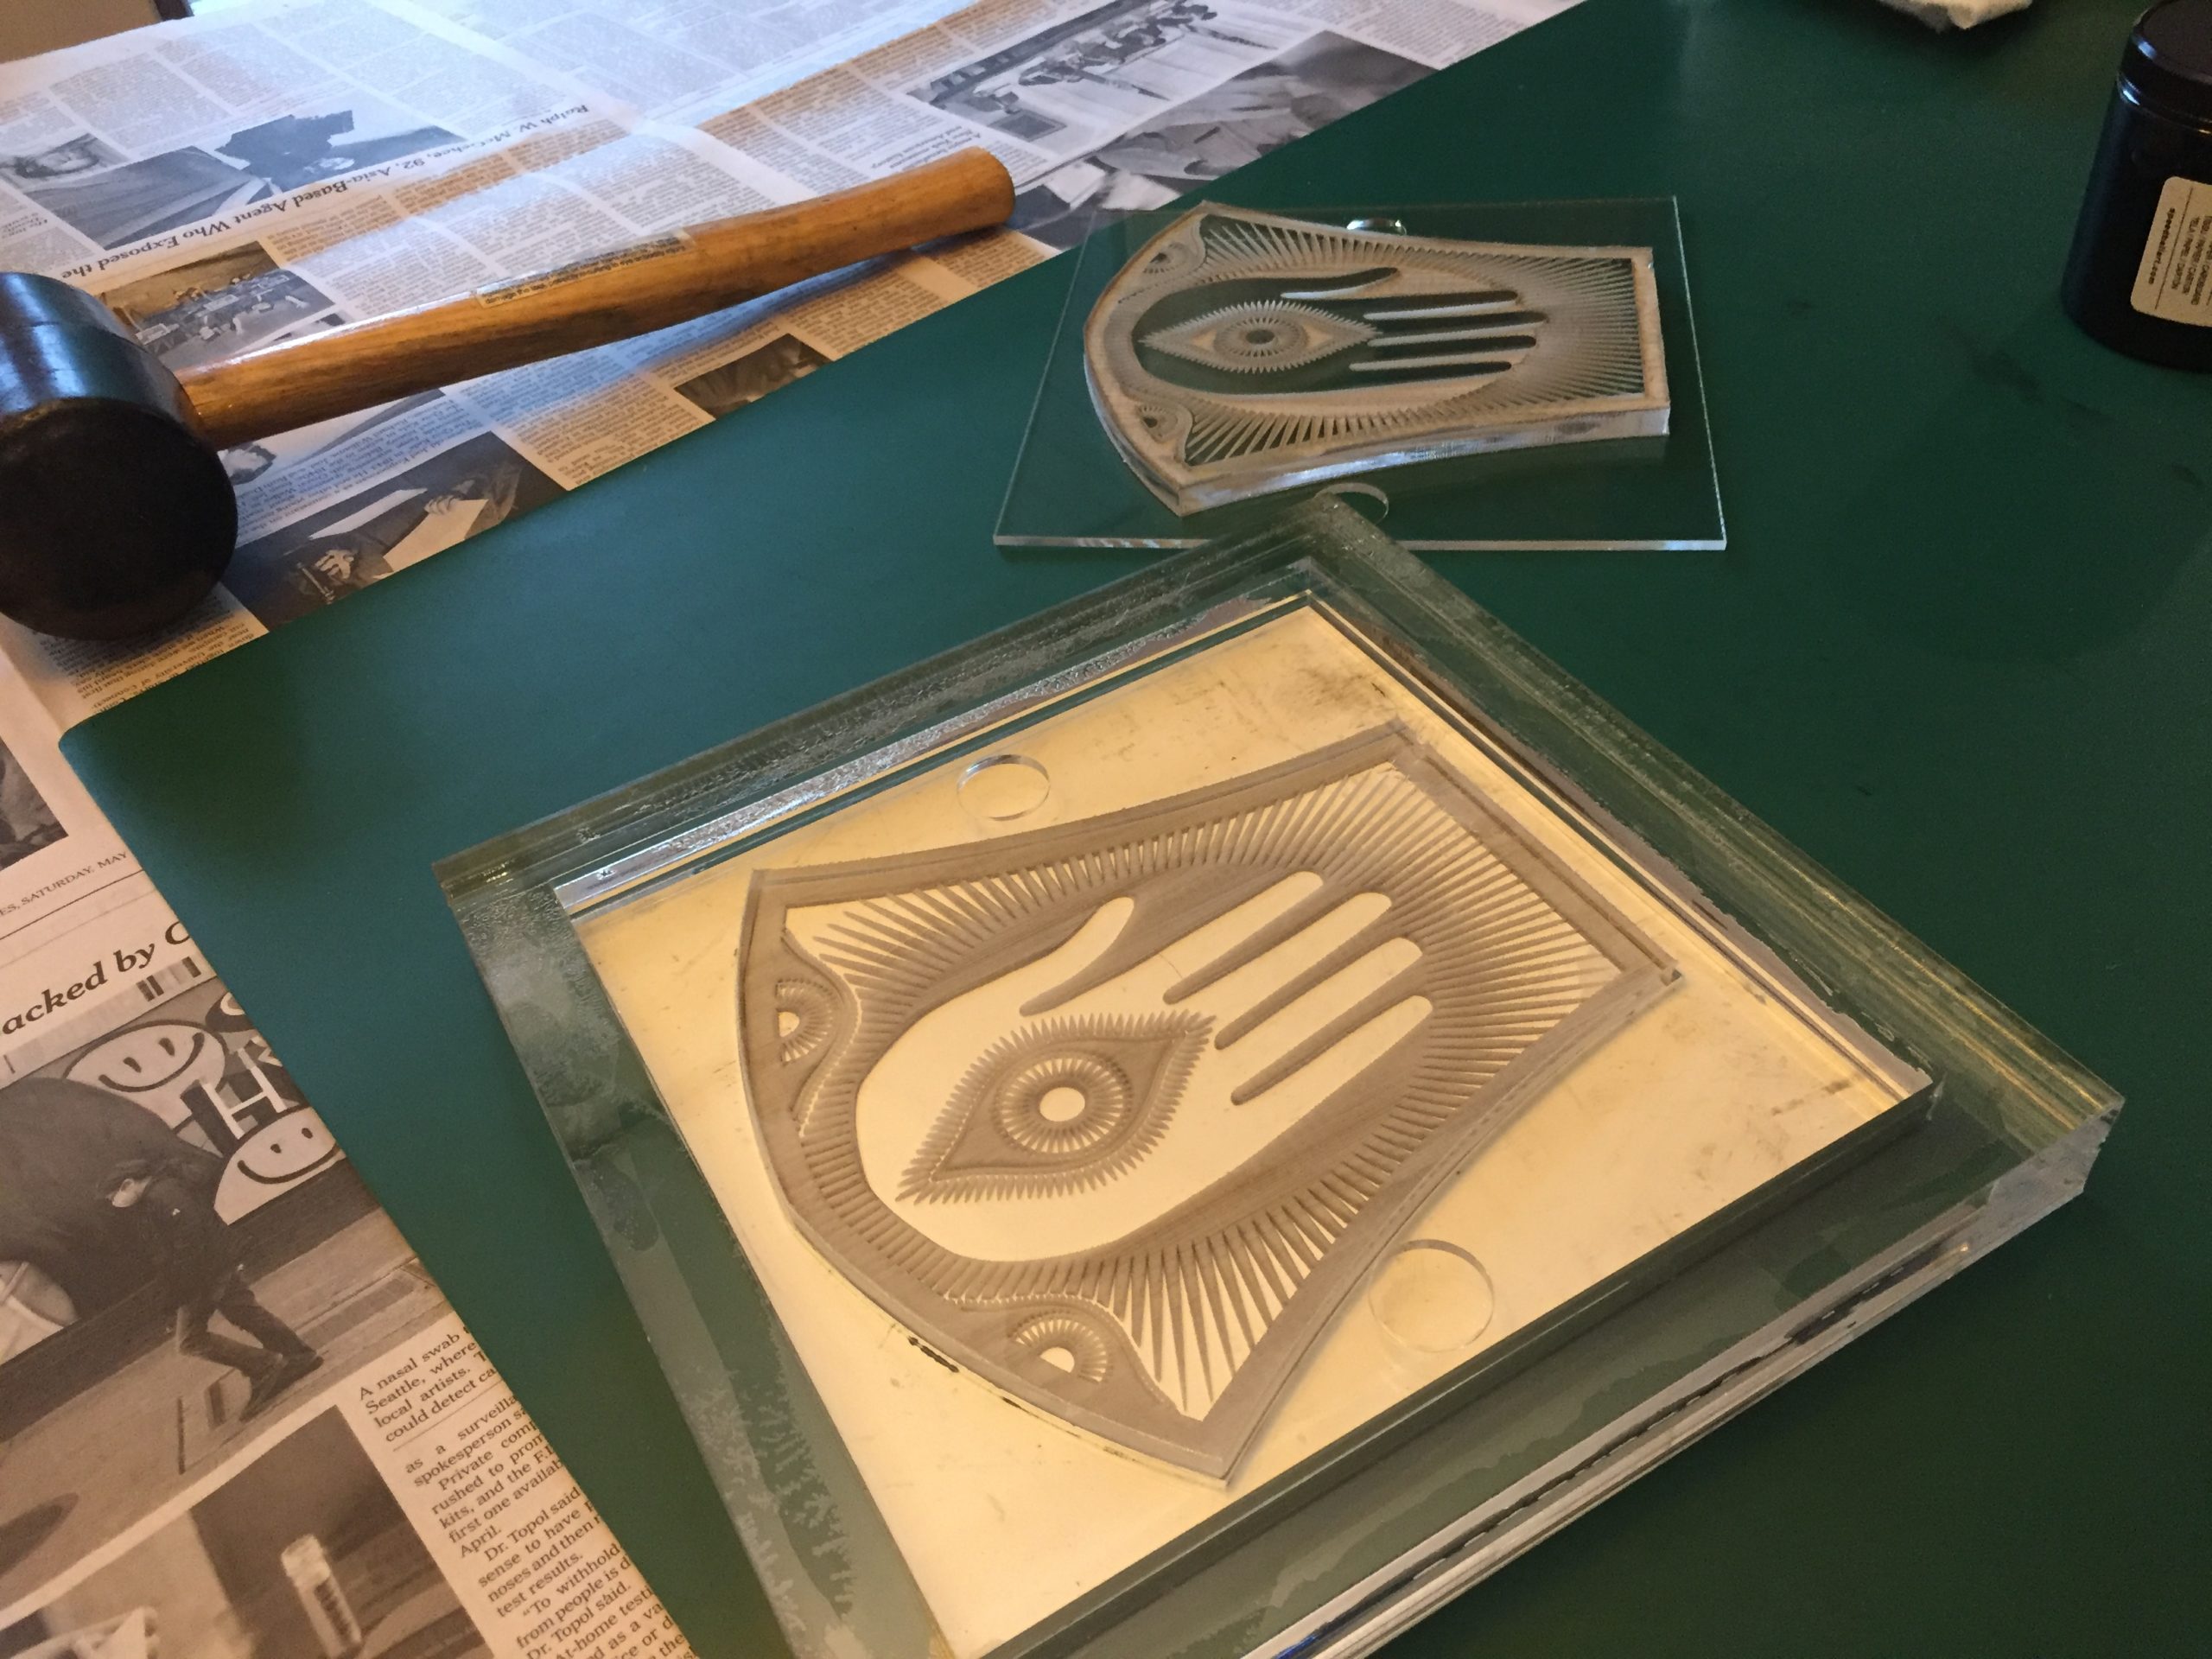
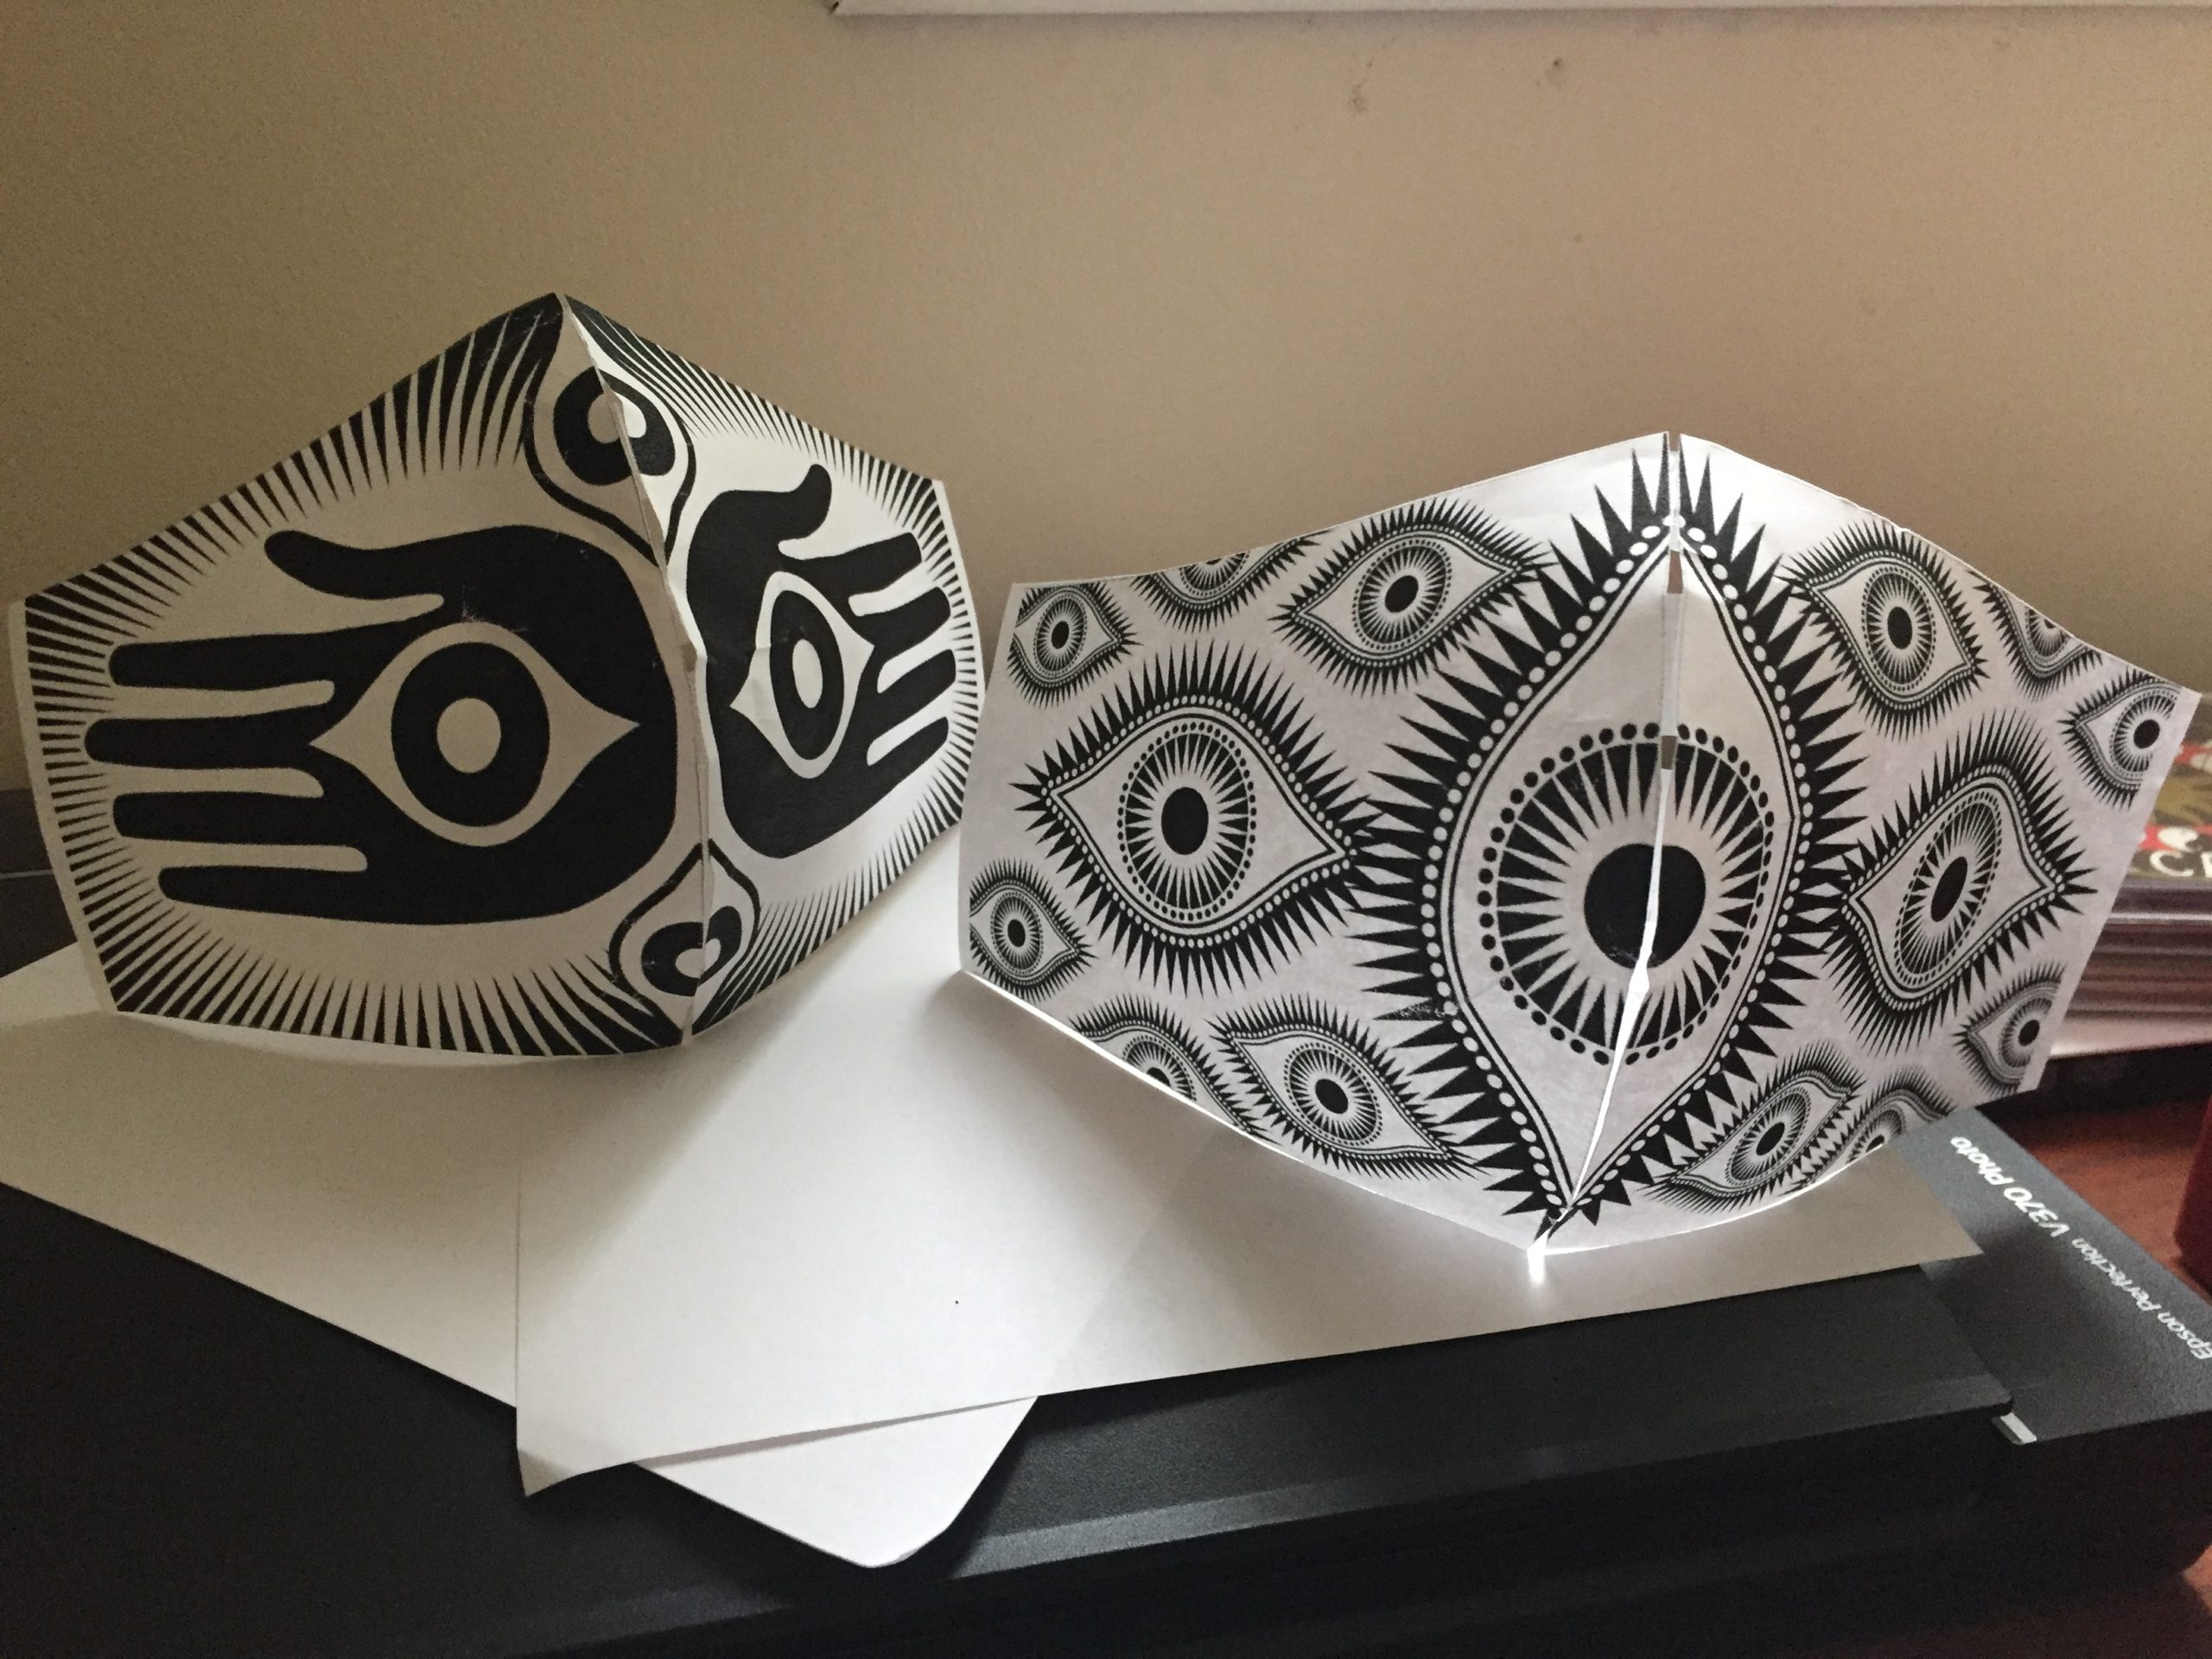
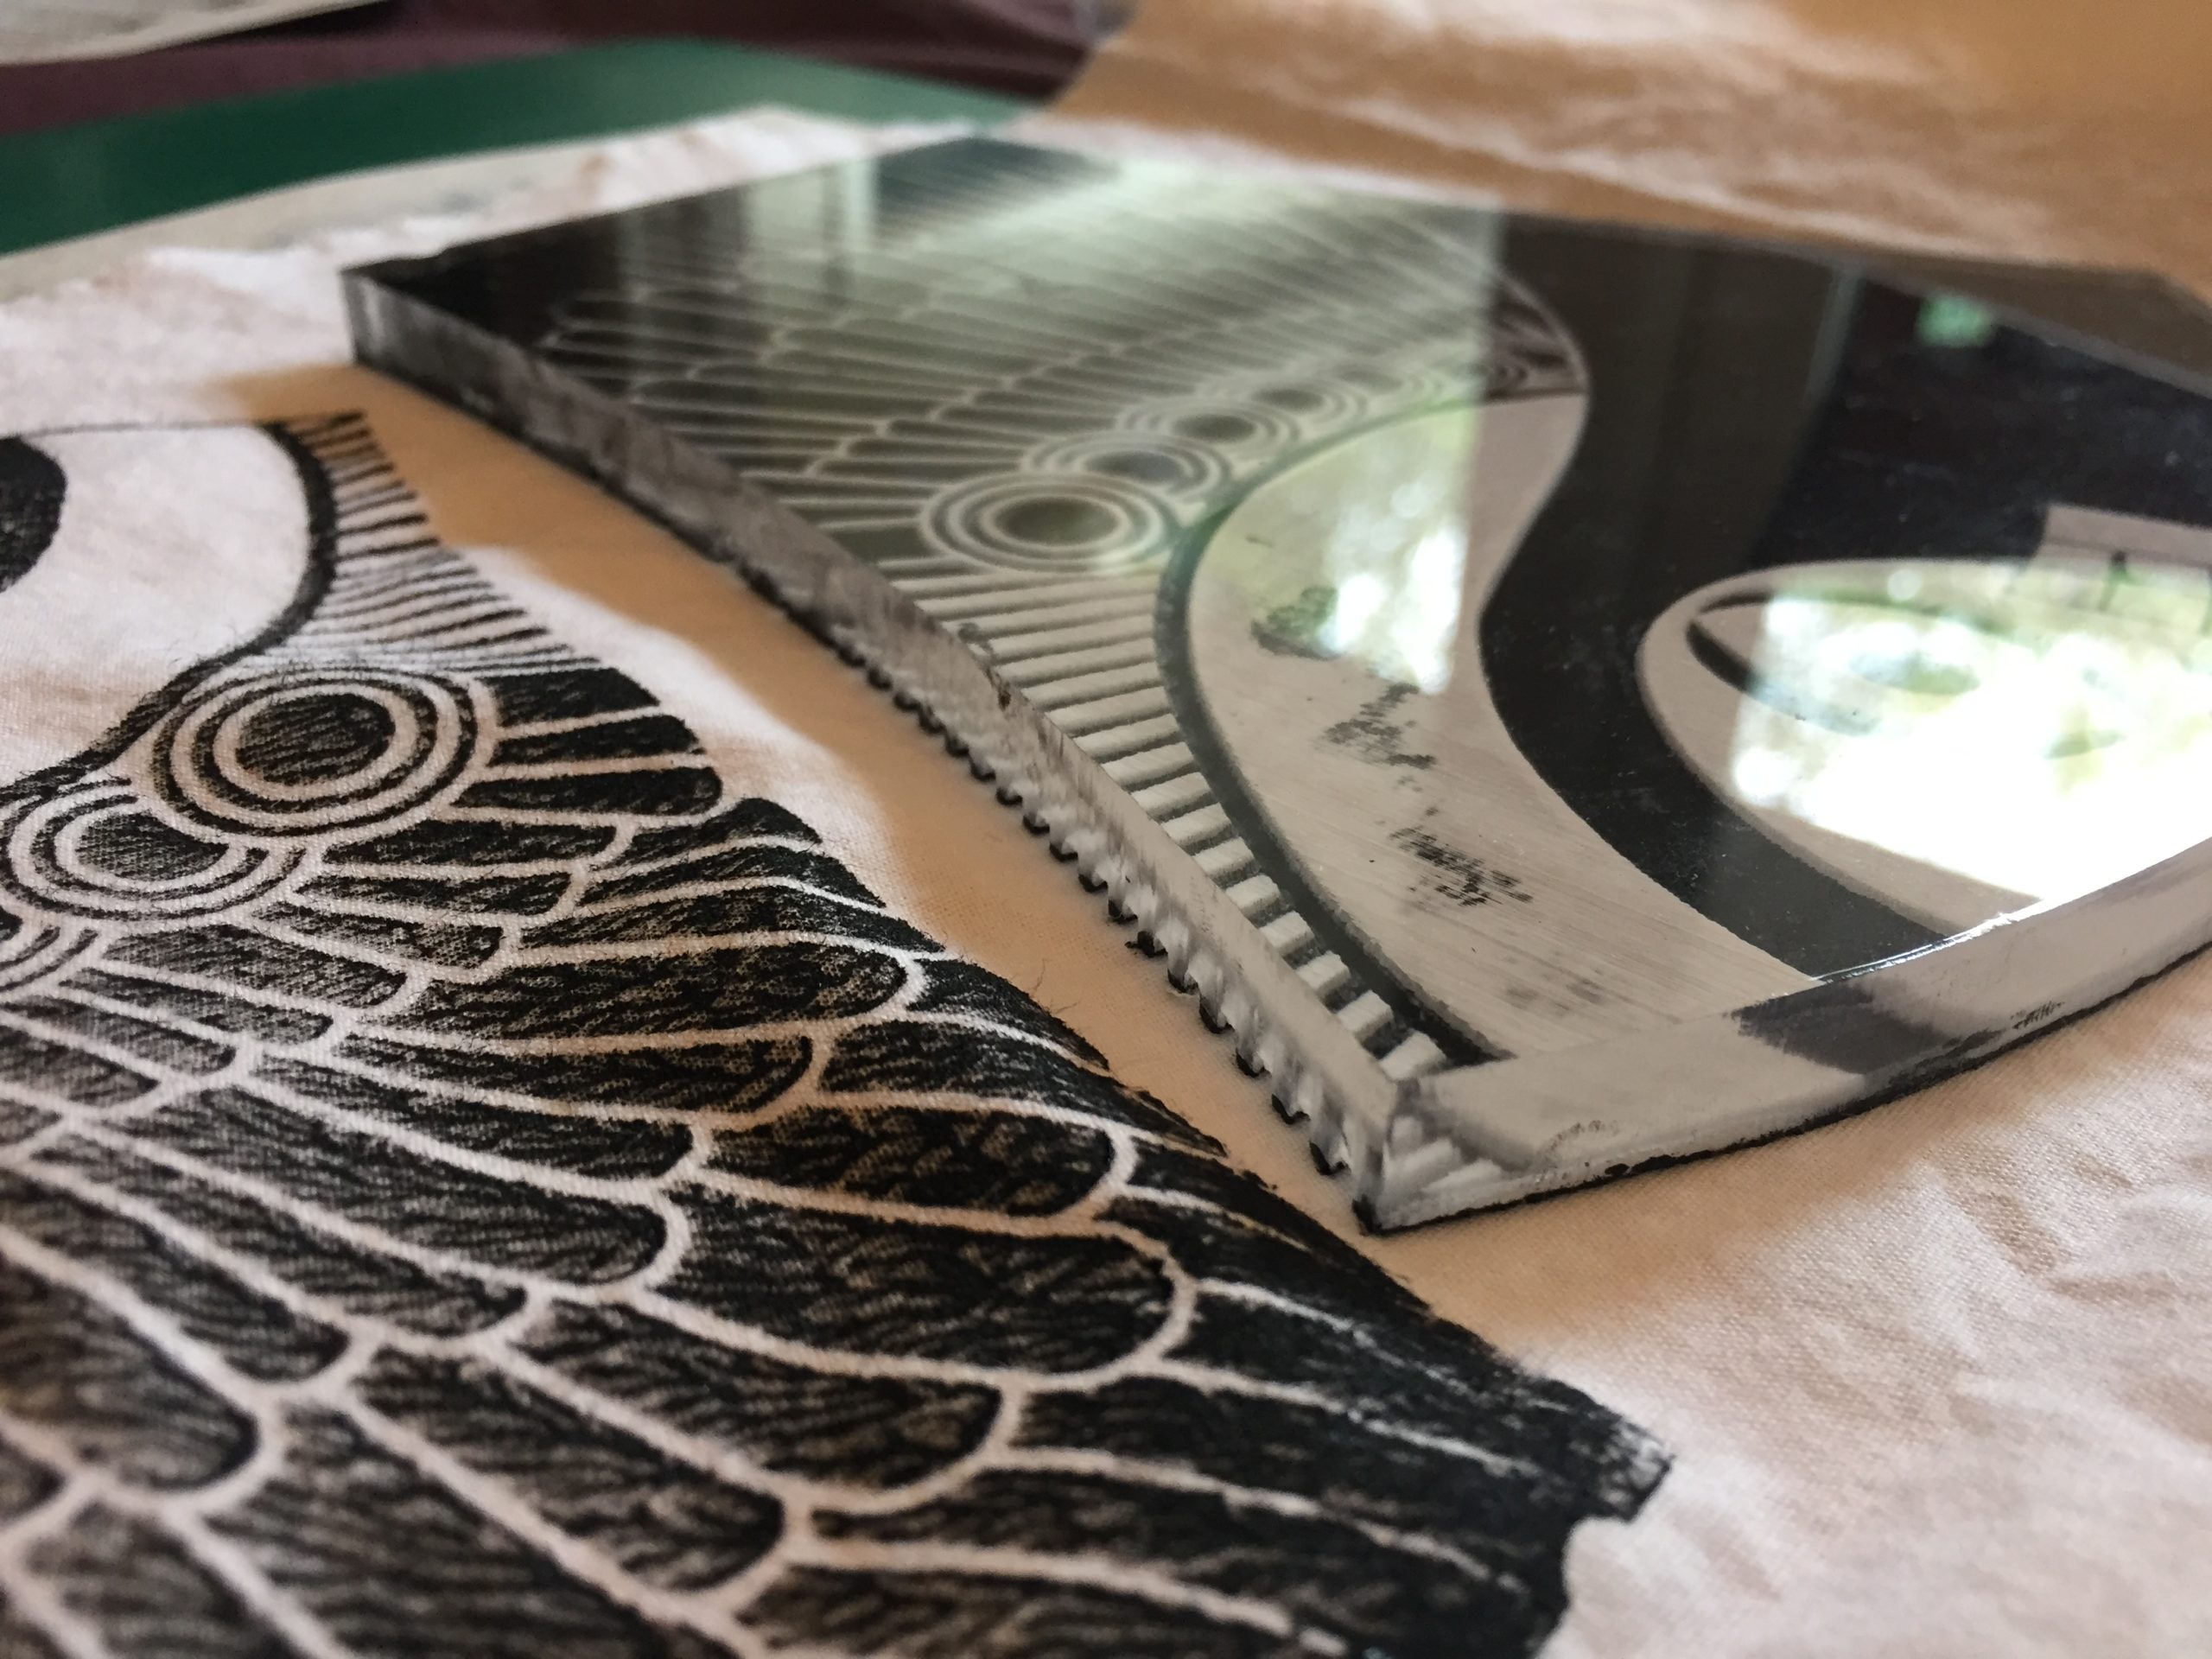
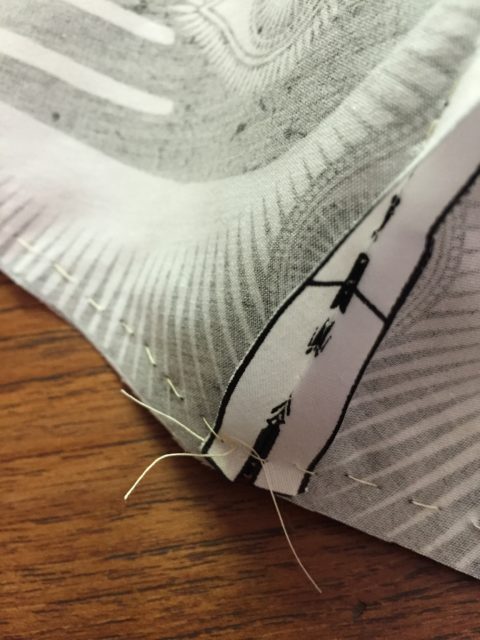
To hand sew, more or less follow the instructions here, but knot your thread every time, and avoid any extra stitching. Remember that screen printing stretches and distorts the fabric a little, so the pieces won’t line up perfectly. The important bit is to get those center seams properly aligned. Don’t worry about the rest being wonky, it will all come out OK. I used a simple running stitch:

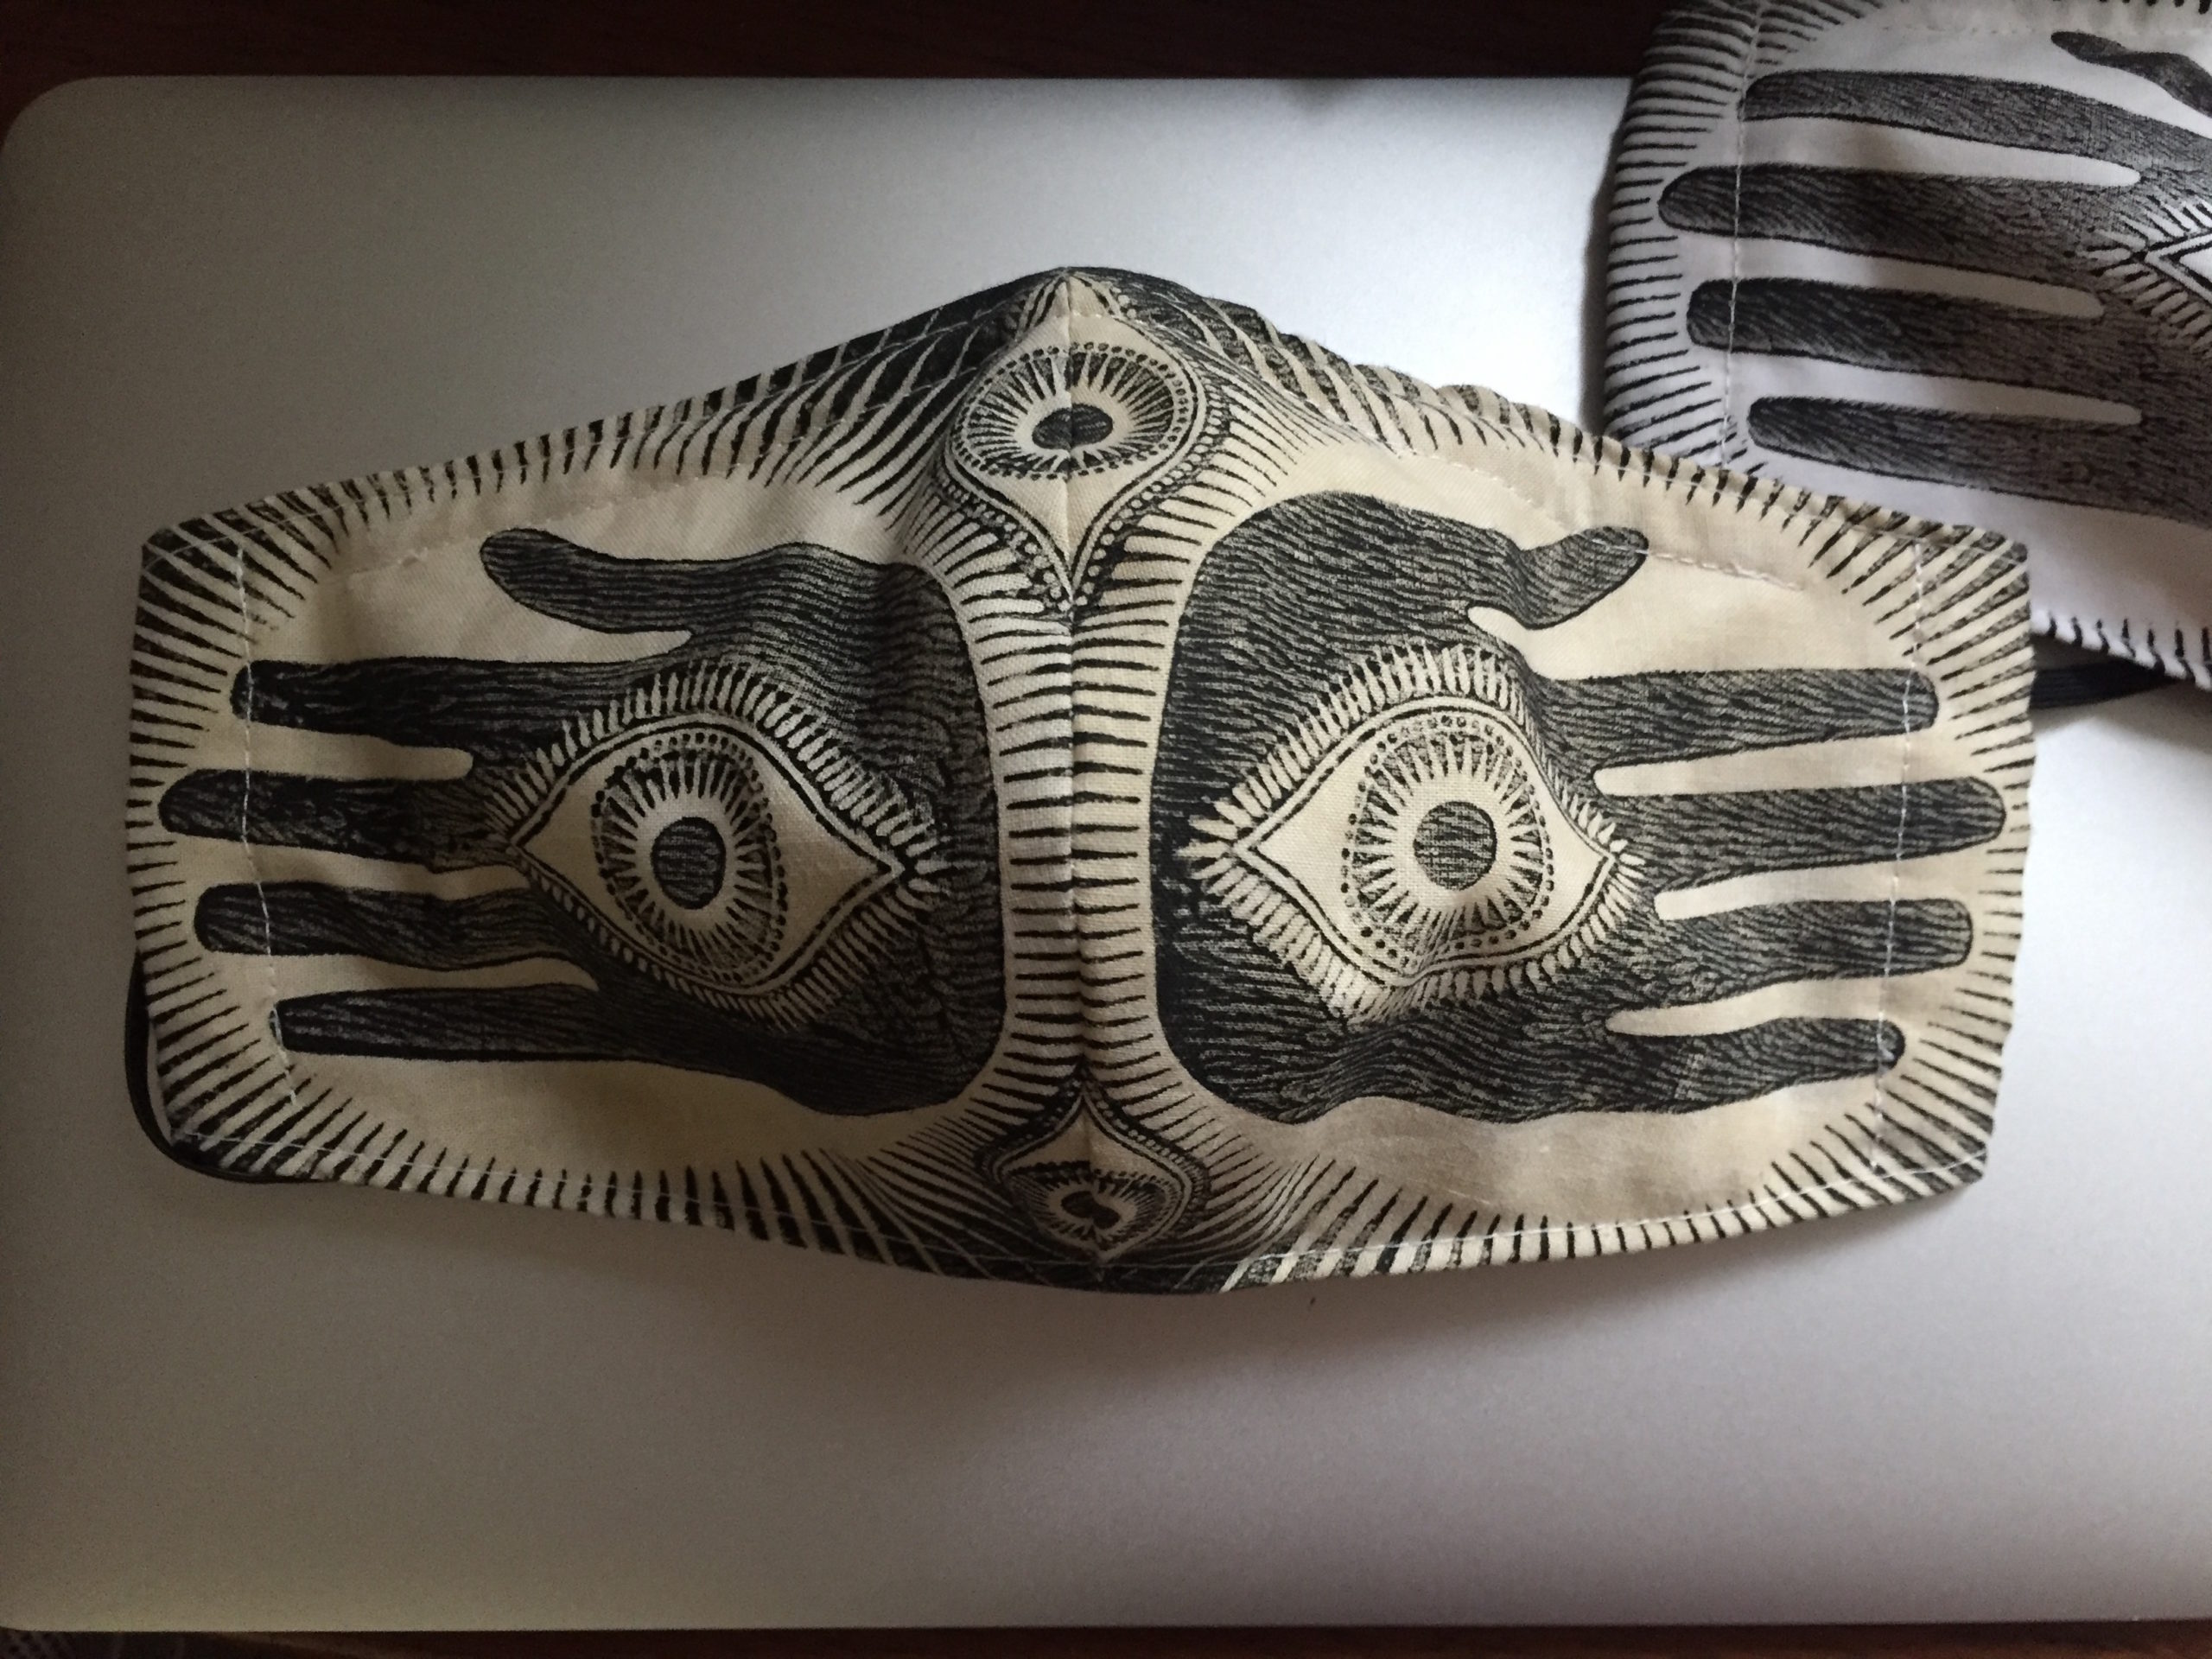
Notice that I still sewed a little bit inside the print area. It looks better when it’s turned inside-out, trust me.

When I sewed the two faces together, I started at the center seam, which allowed me to skip the pins. Hand sewing is slow and meditative, and allows you to gradually align the fabric as you go, instead of pinning everything before. But you can still use pins if you prefer.

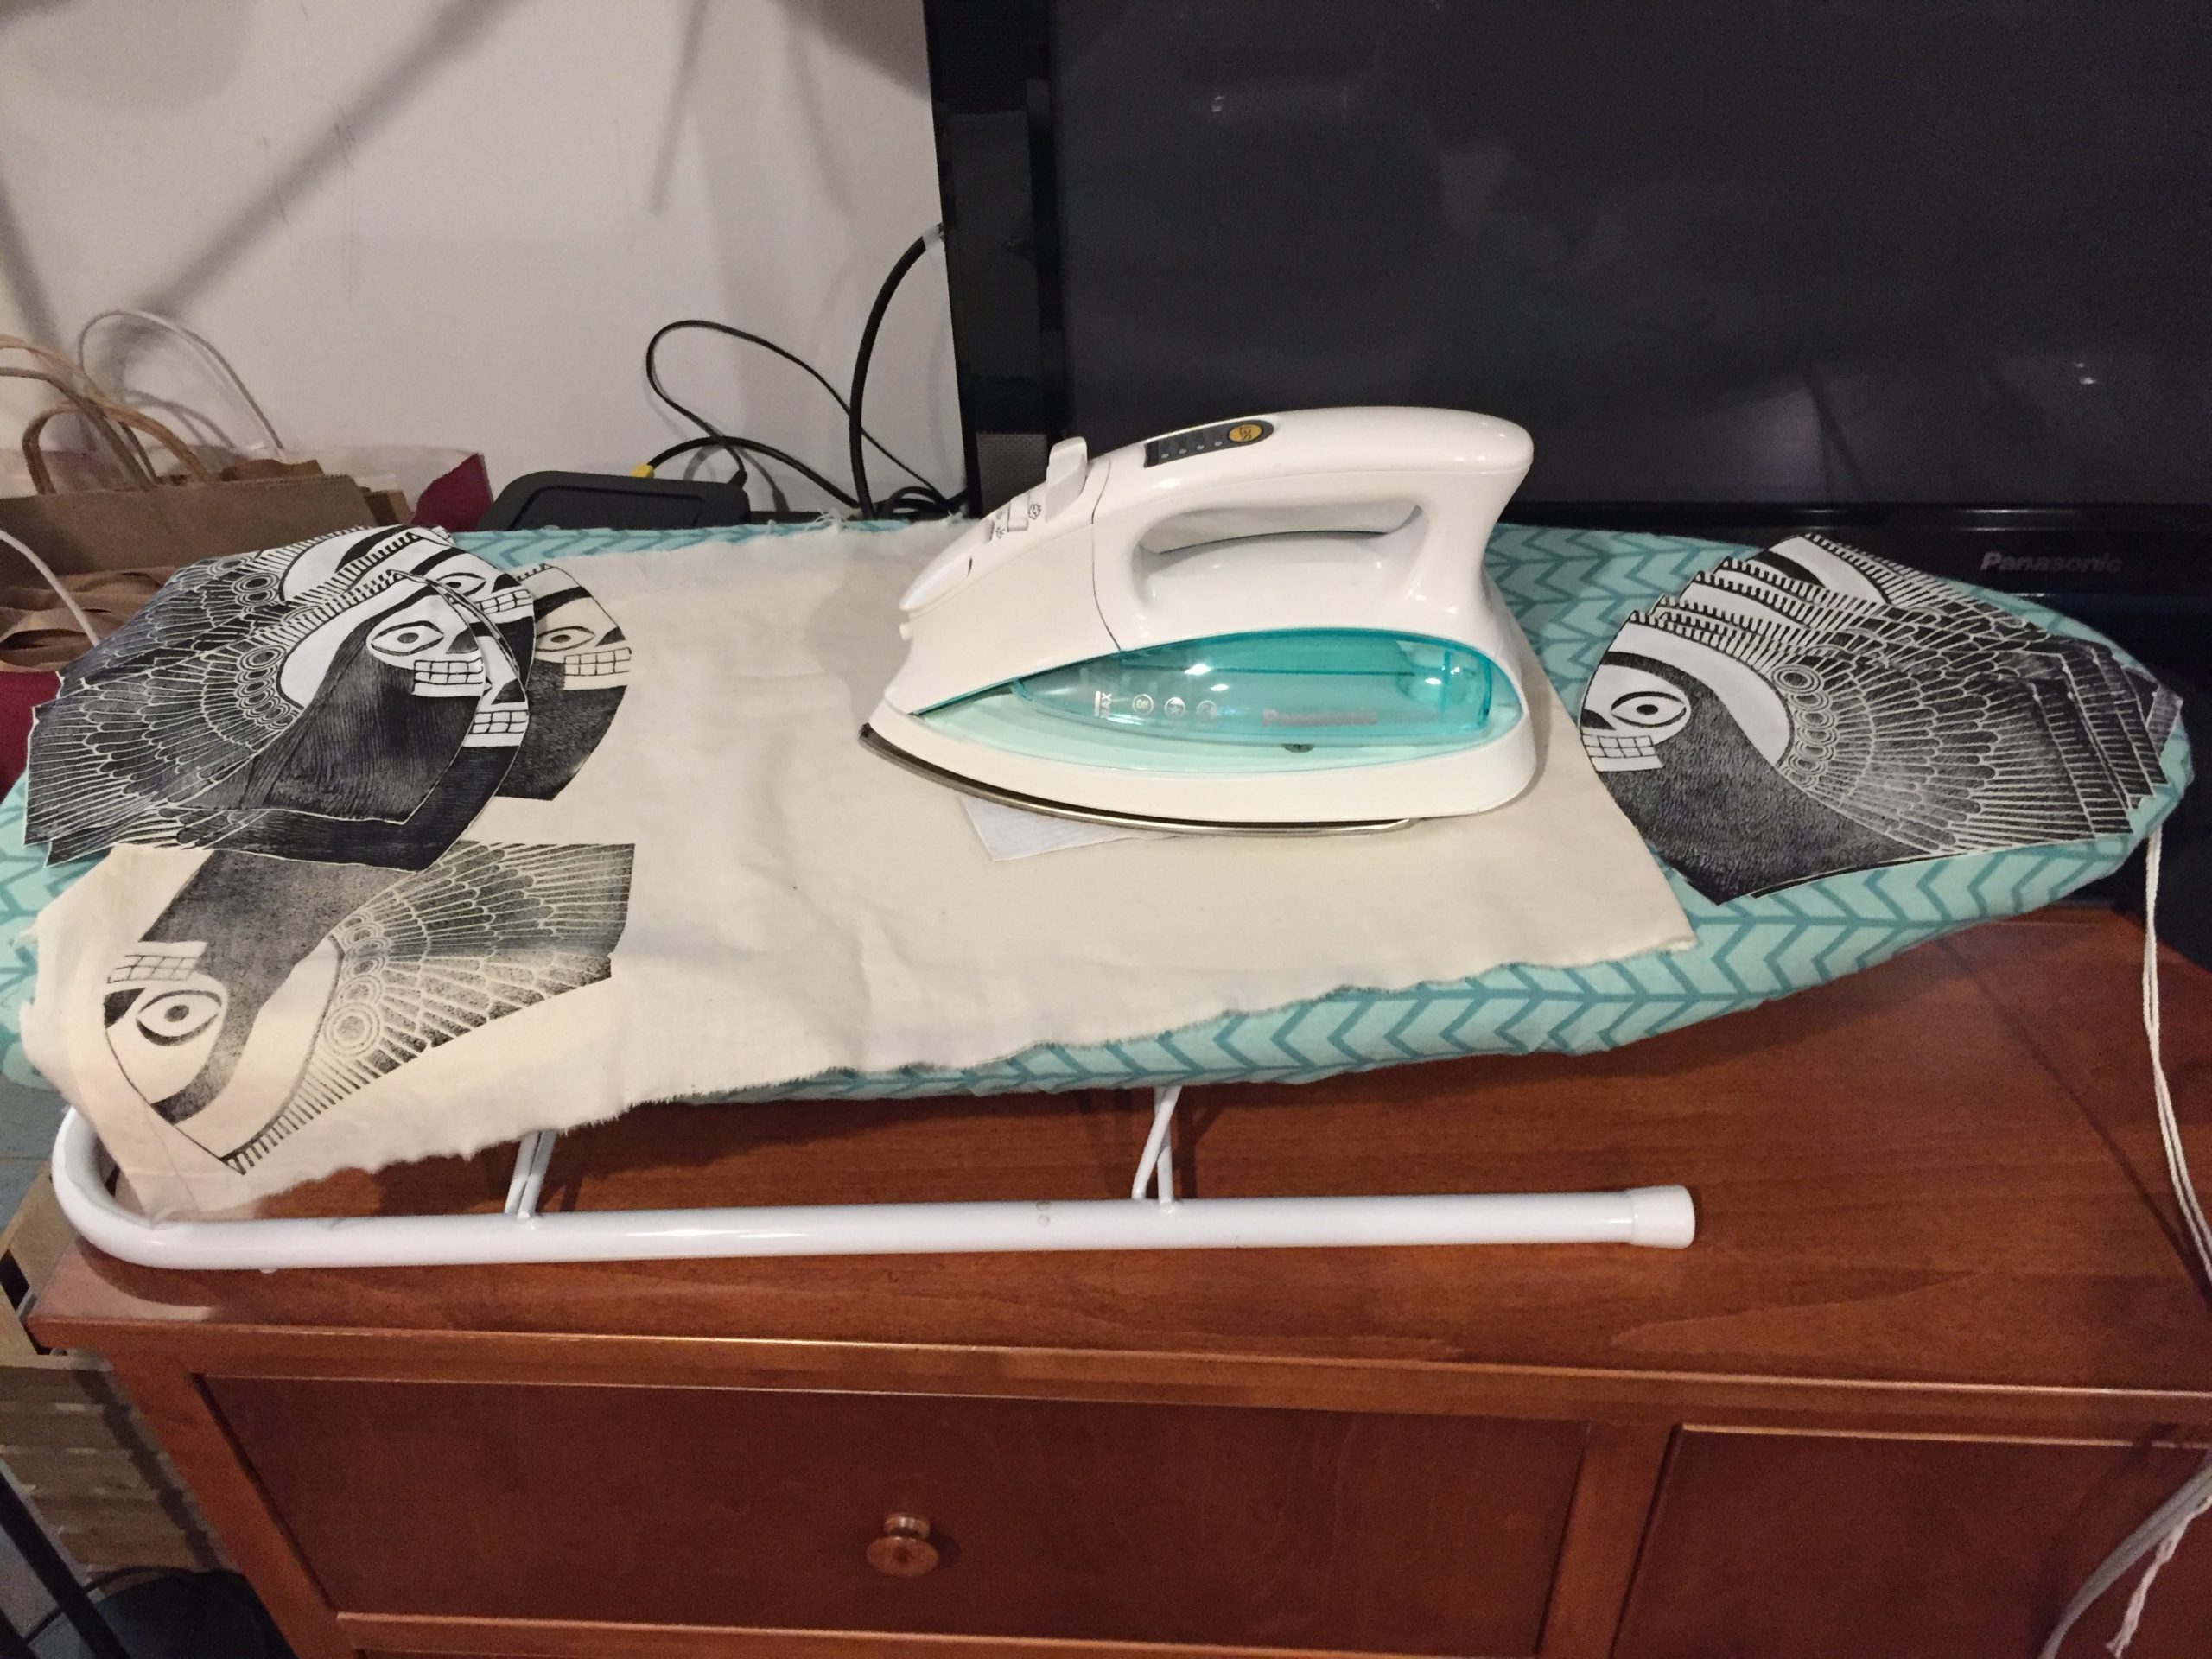
I also skipped the iron, and just finger-pressed. Of course you can still use an iron if you want.

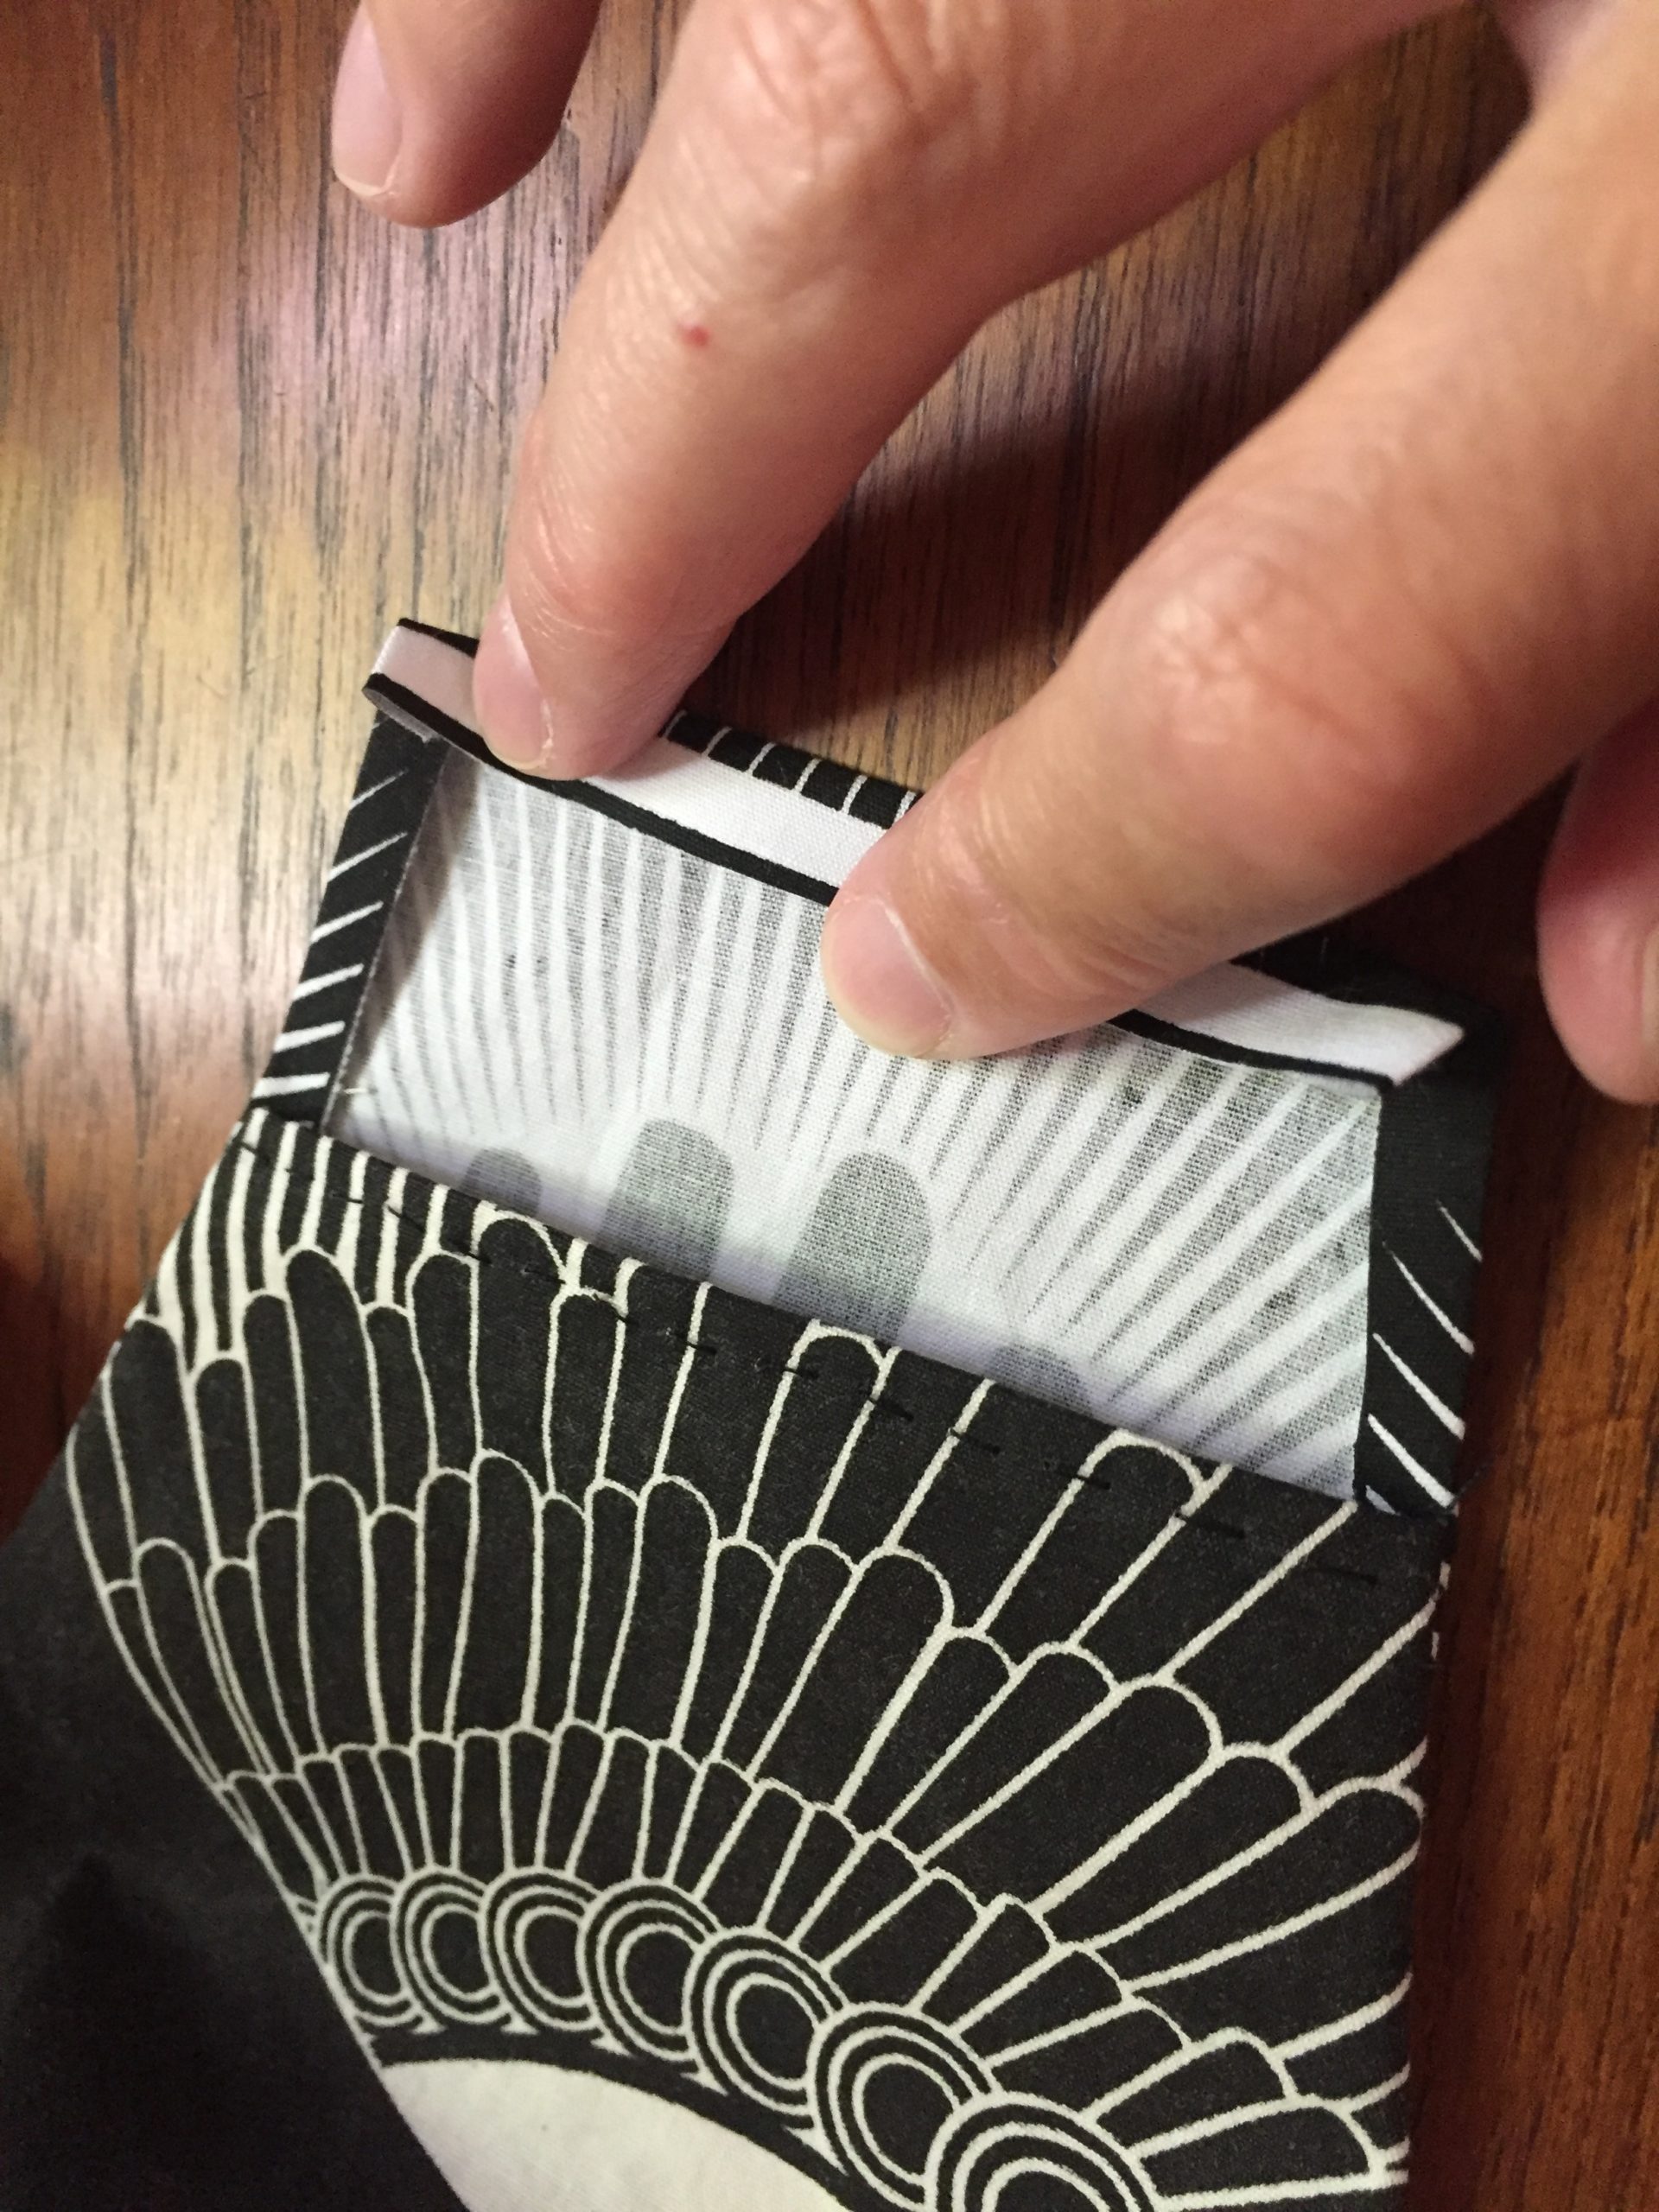
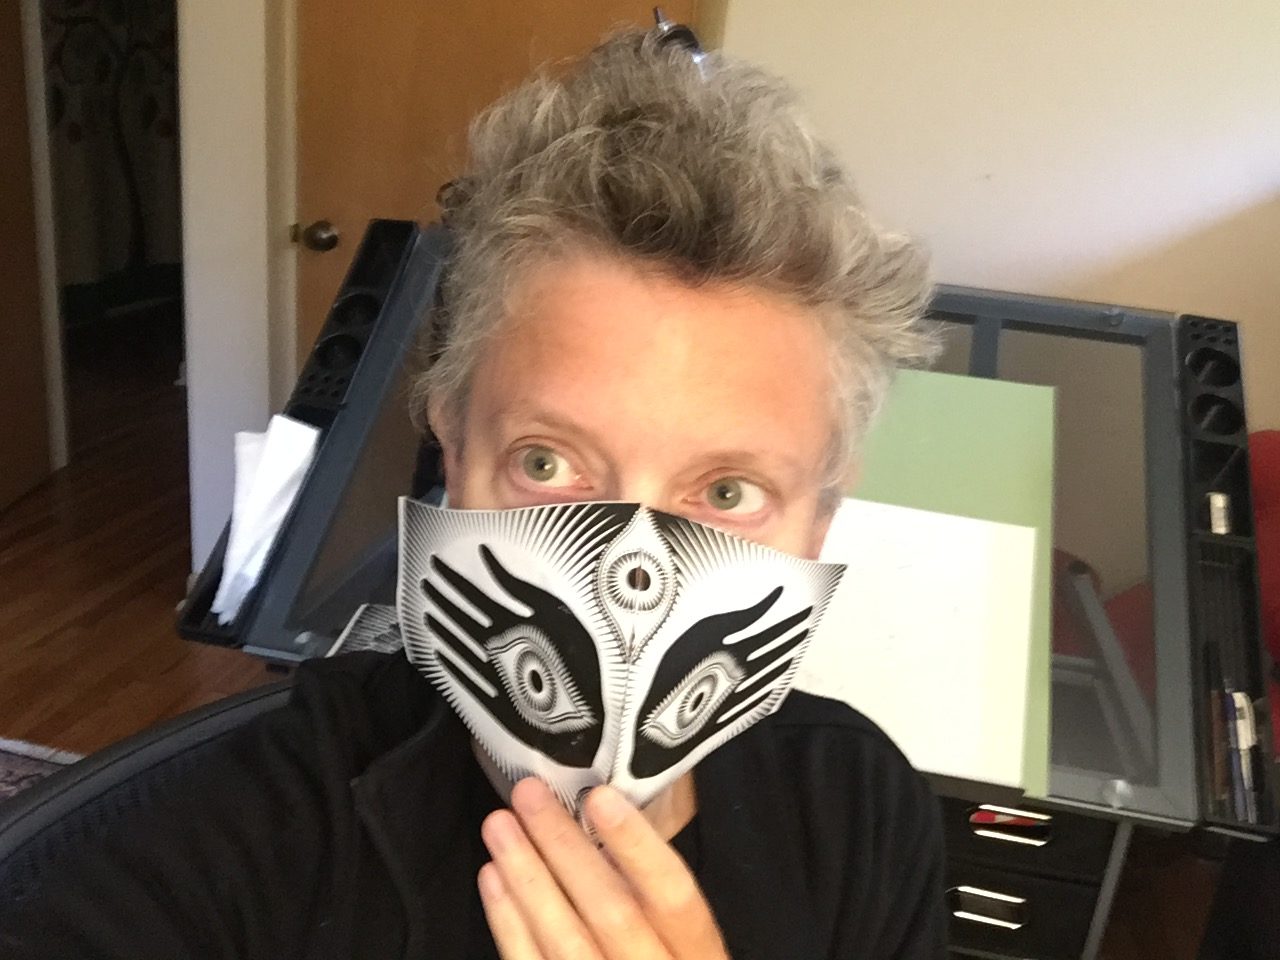
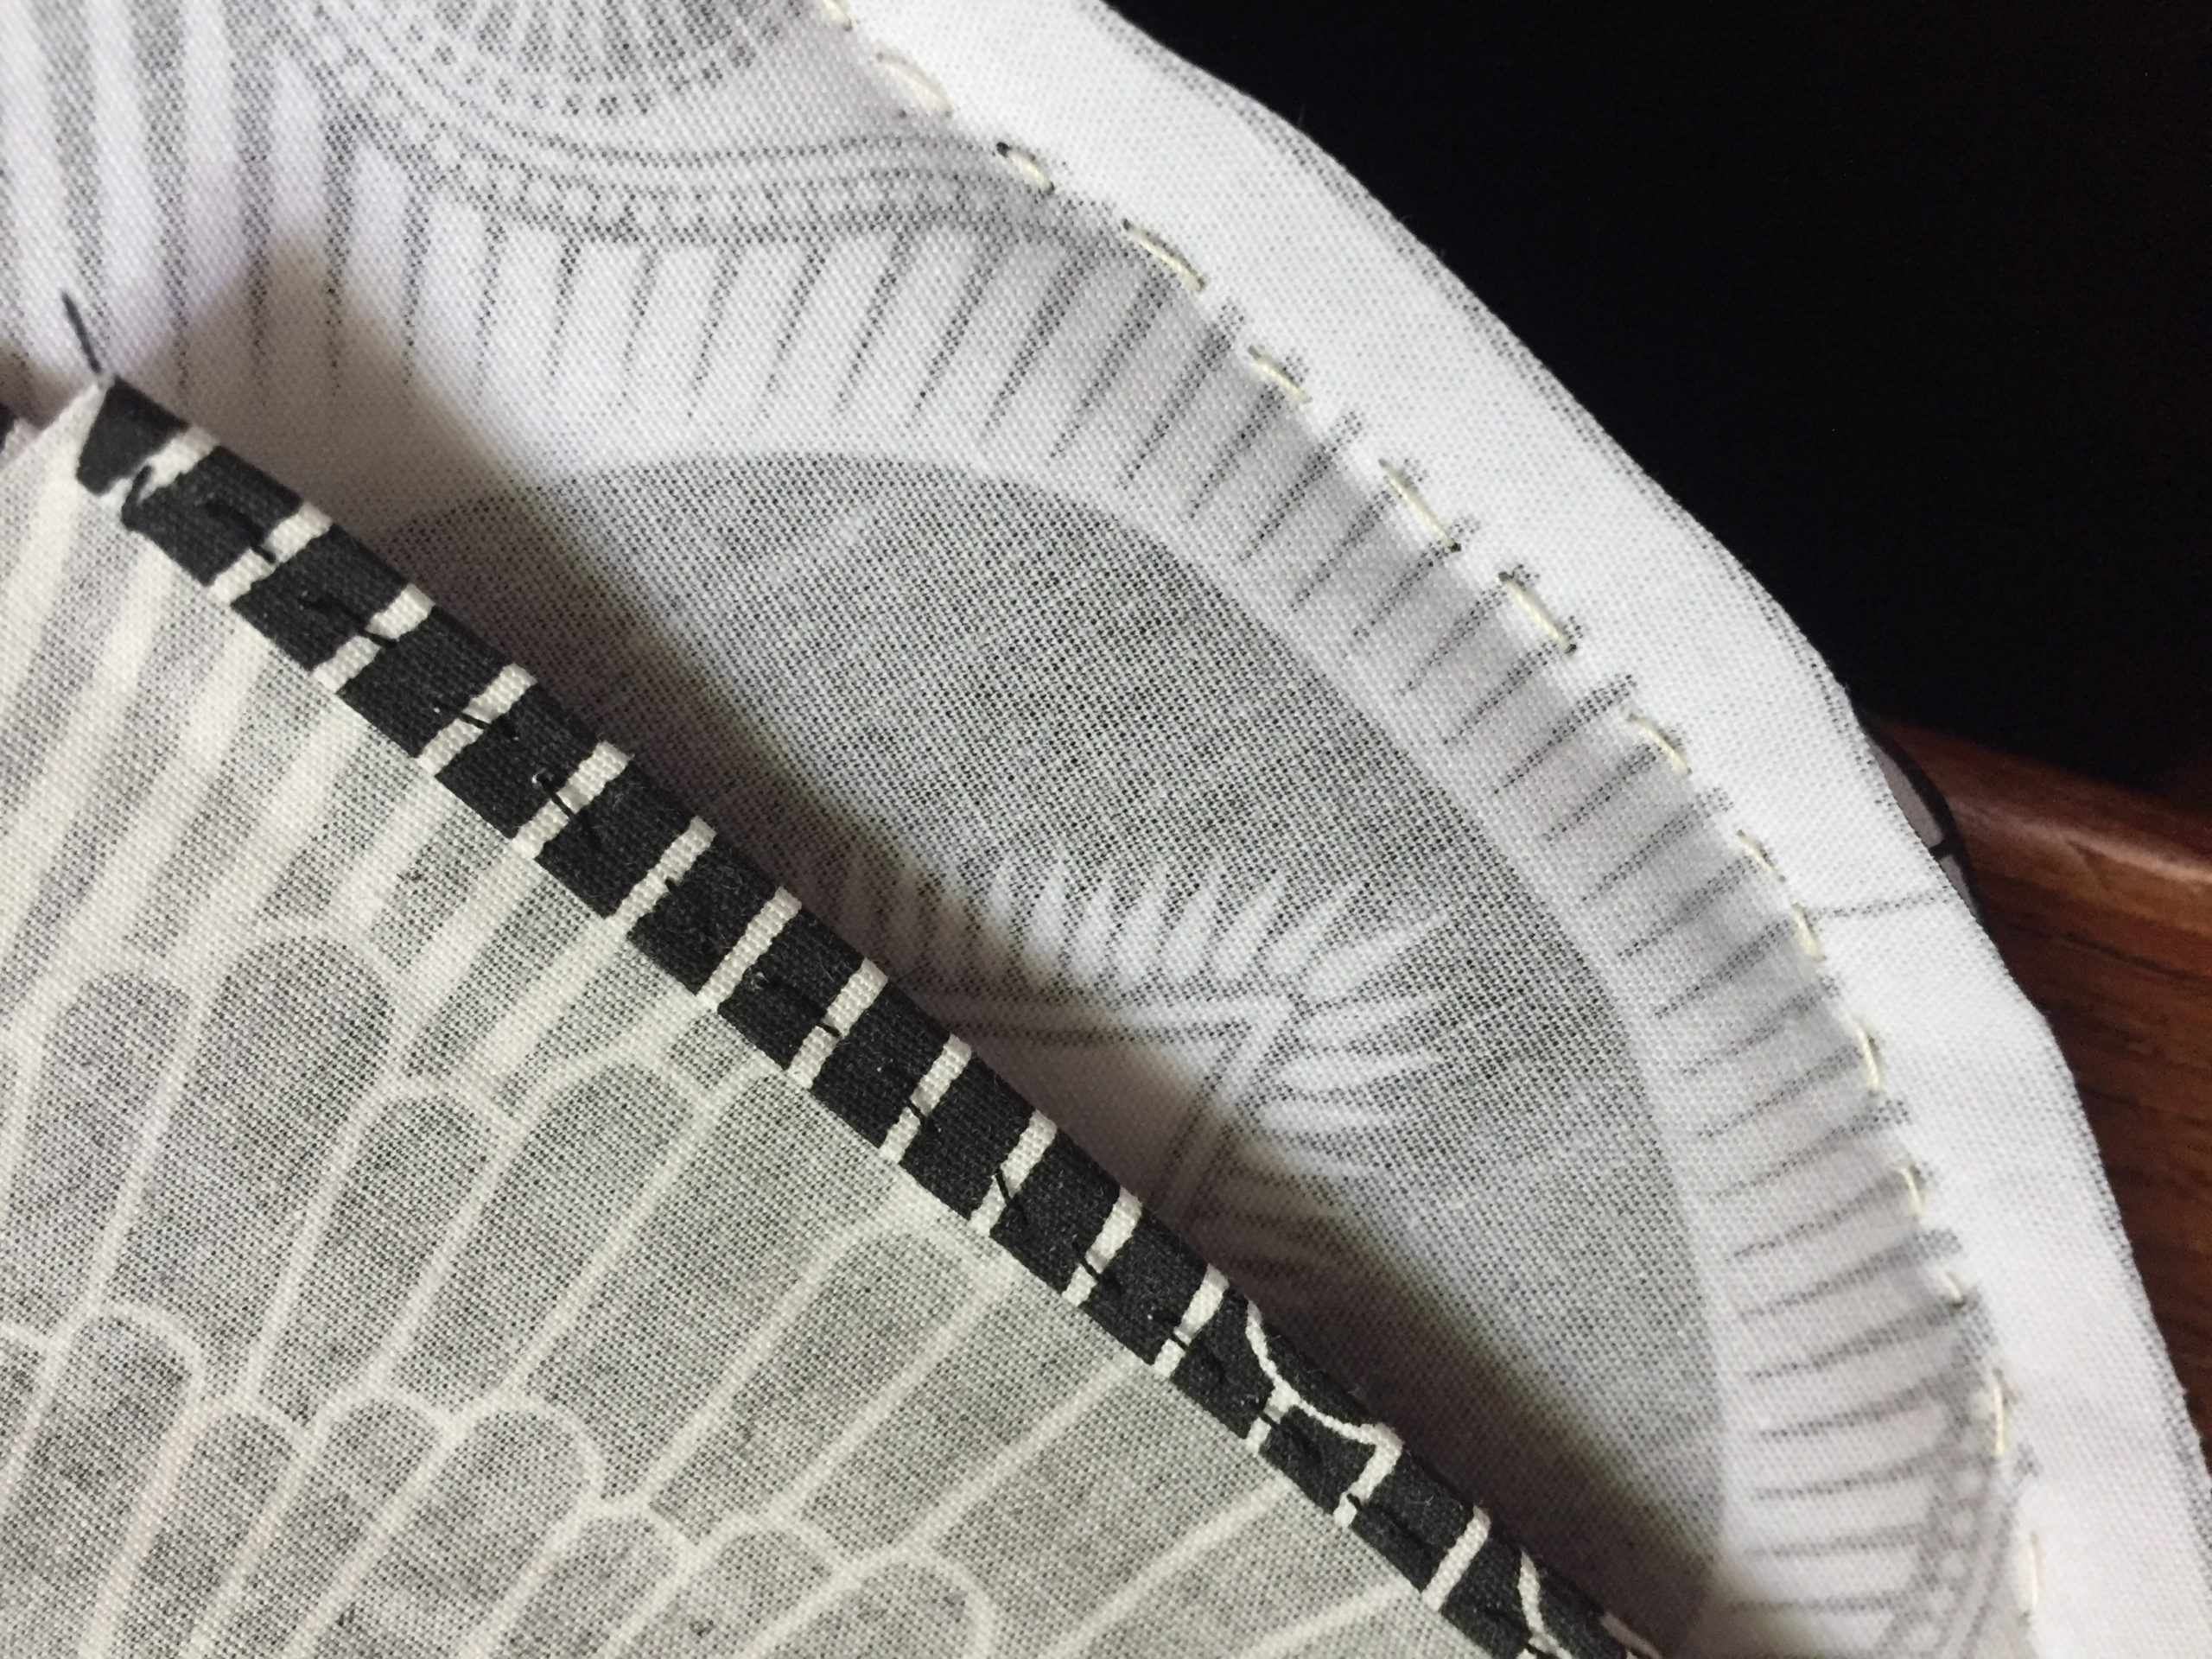
You can skip the top stitching, although my Momz says that without it, the masks sort of puff up in the laundry and have to be re-ironed. I whip-stitched mine after turning it inside out:

Above, you can see the running-stitched nose wire channel.

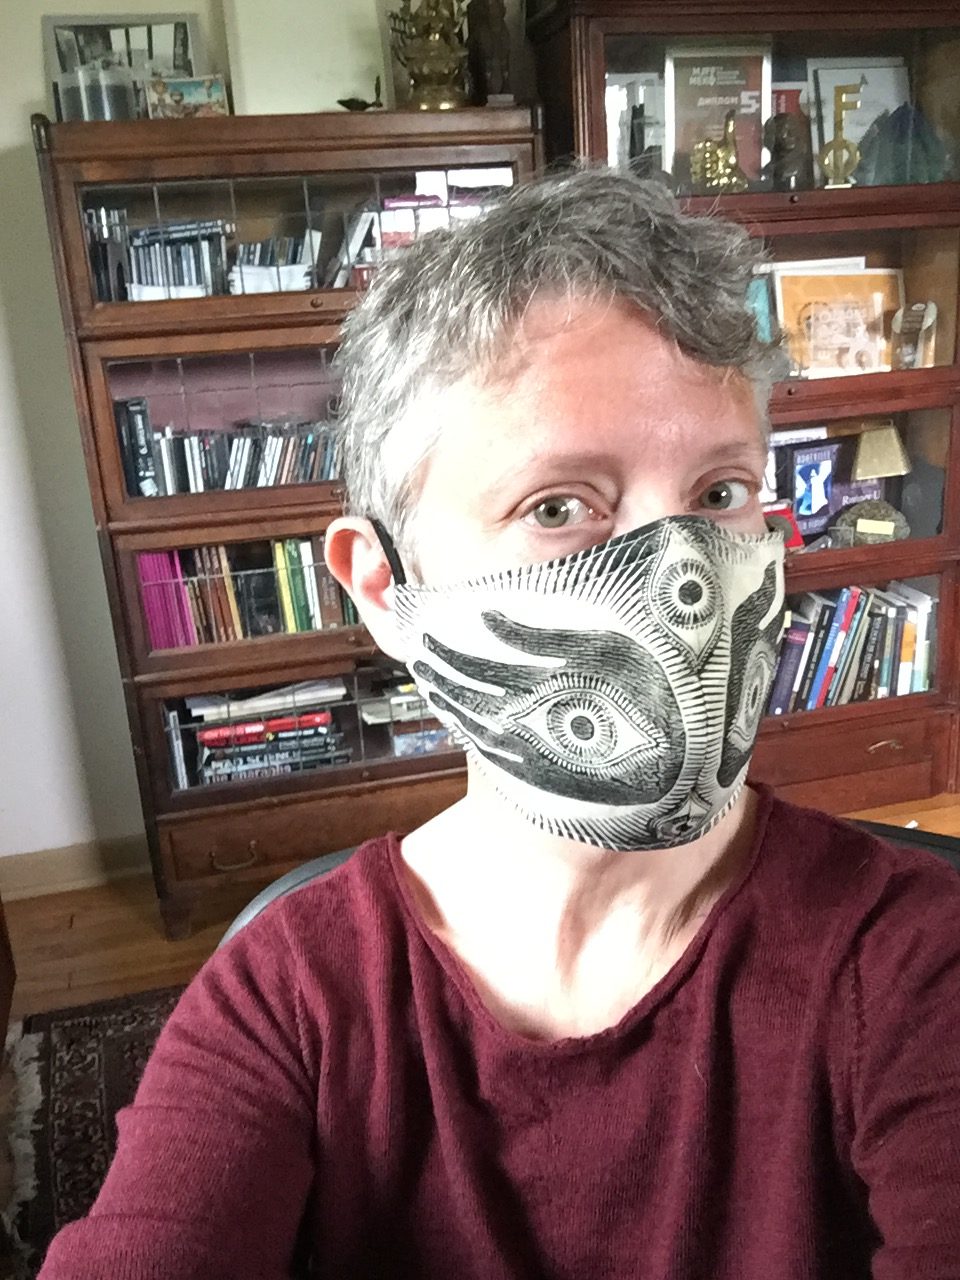
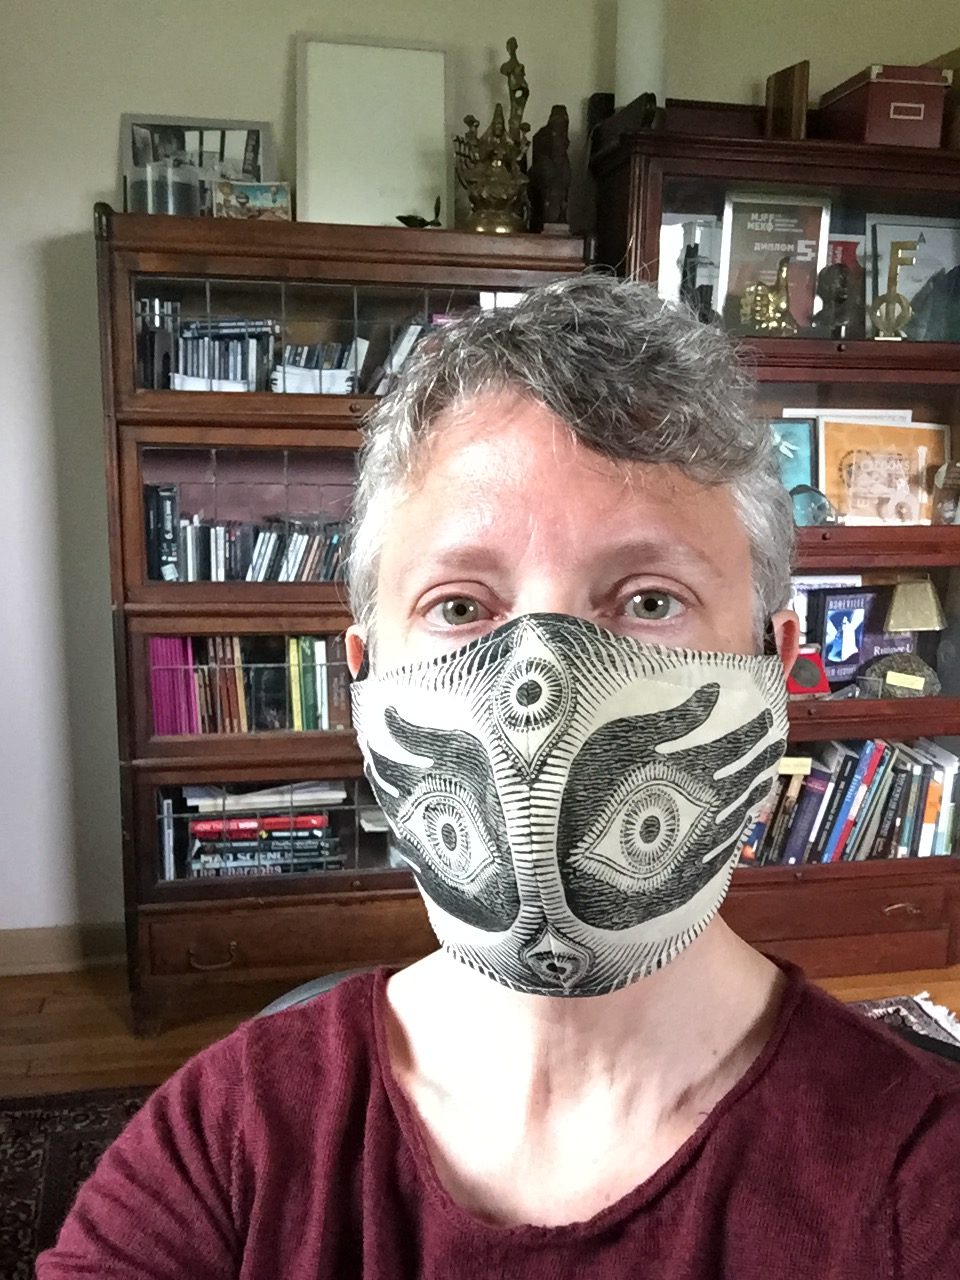
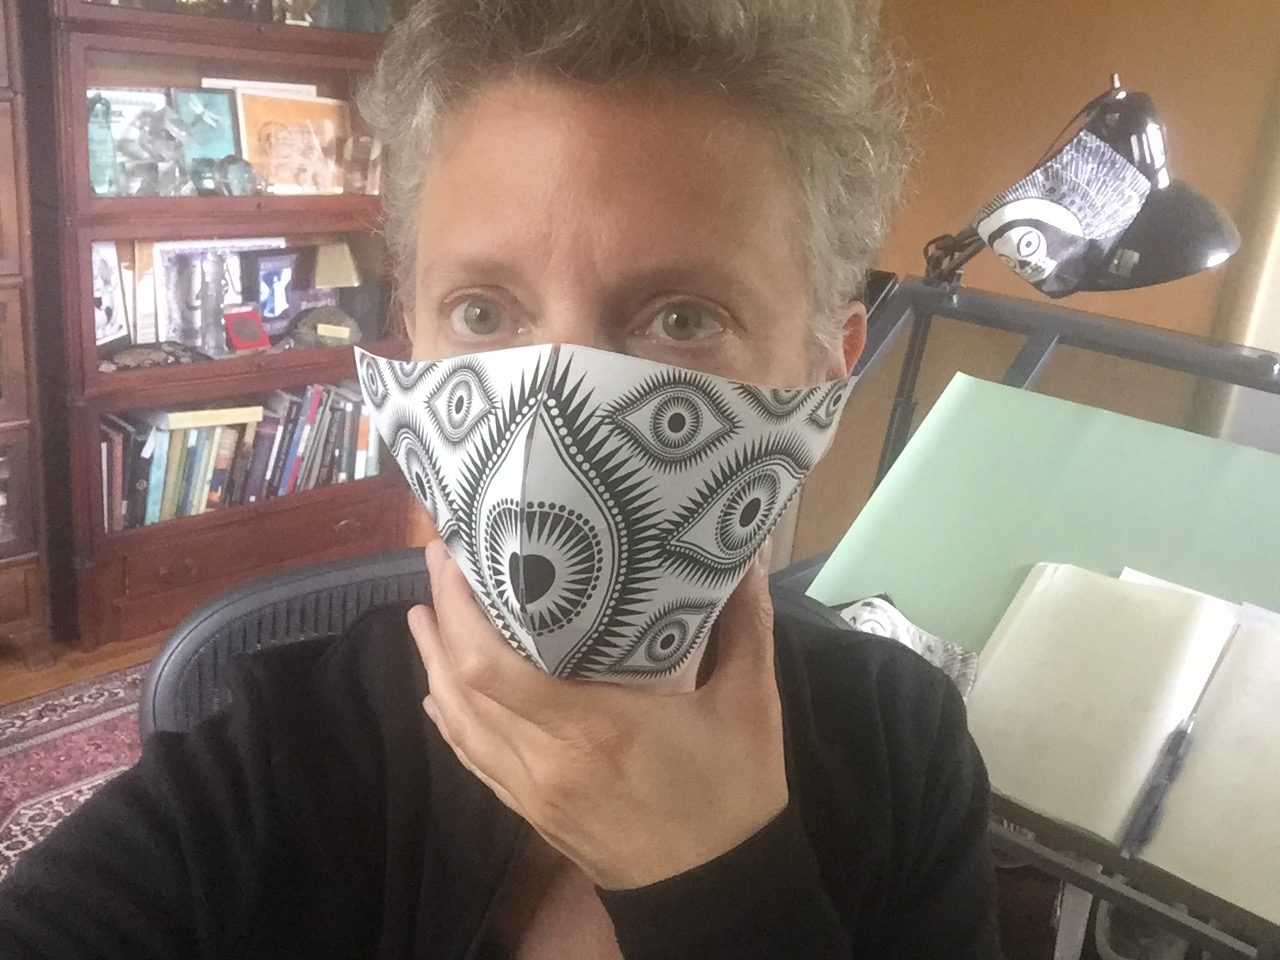
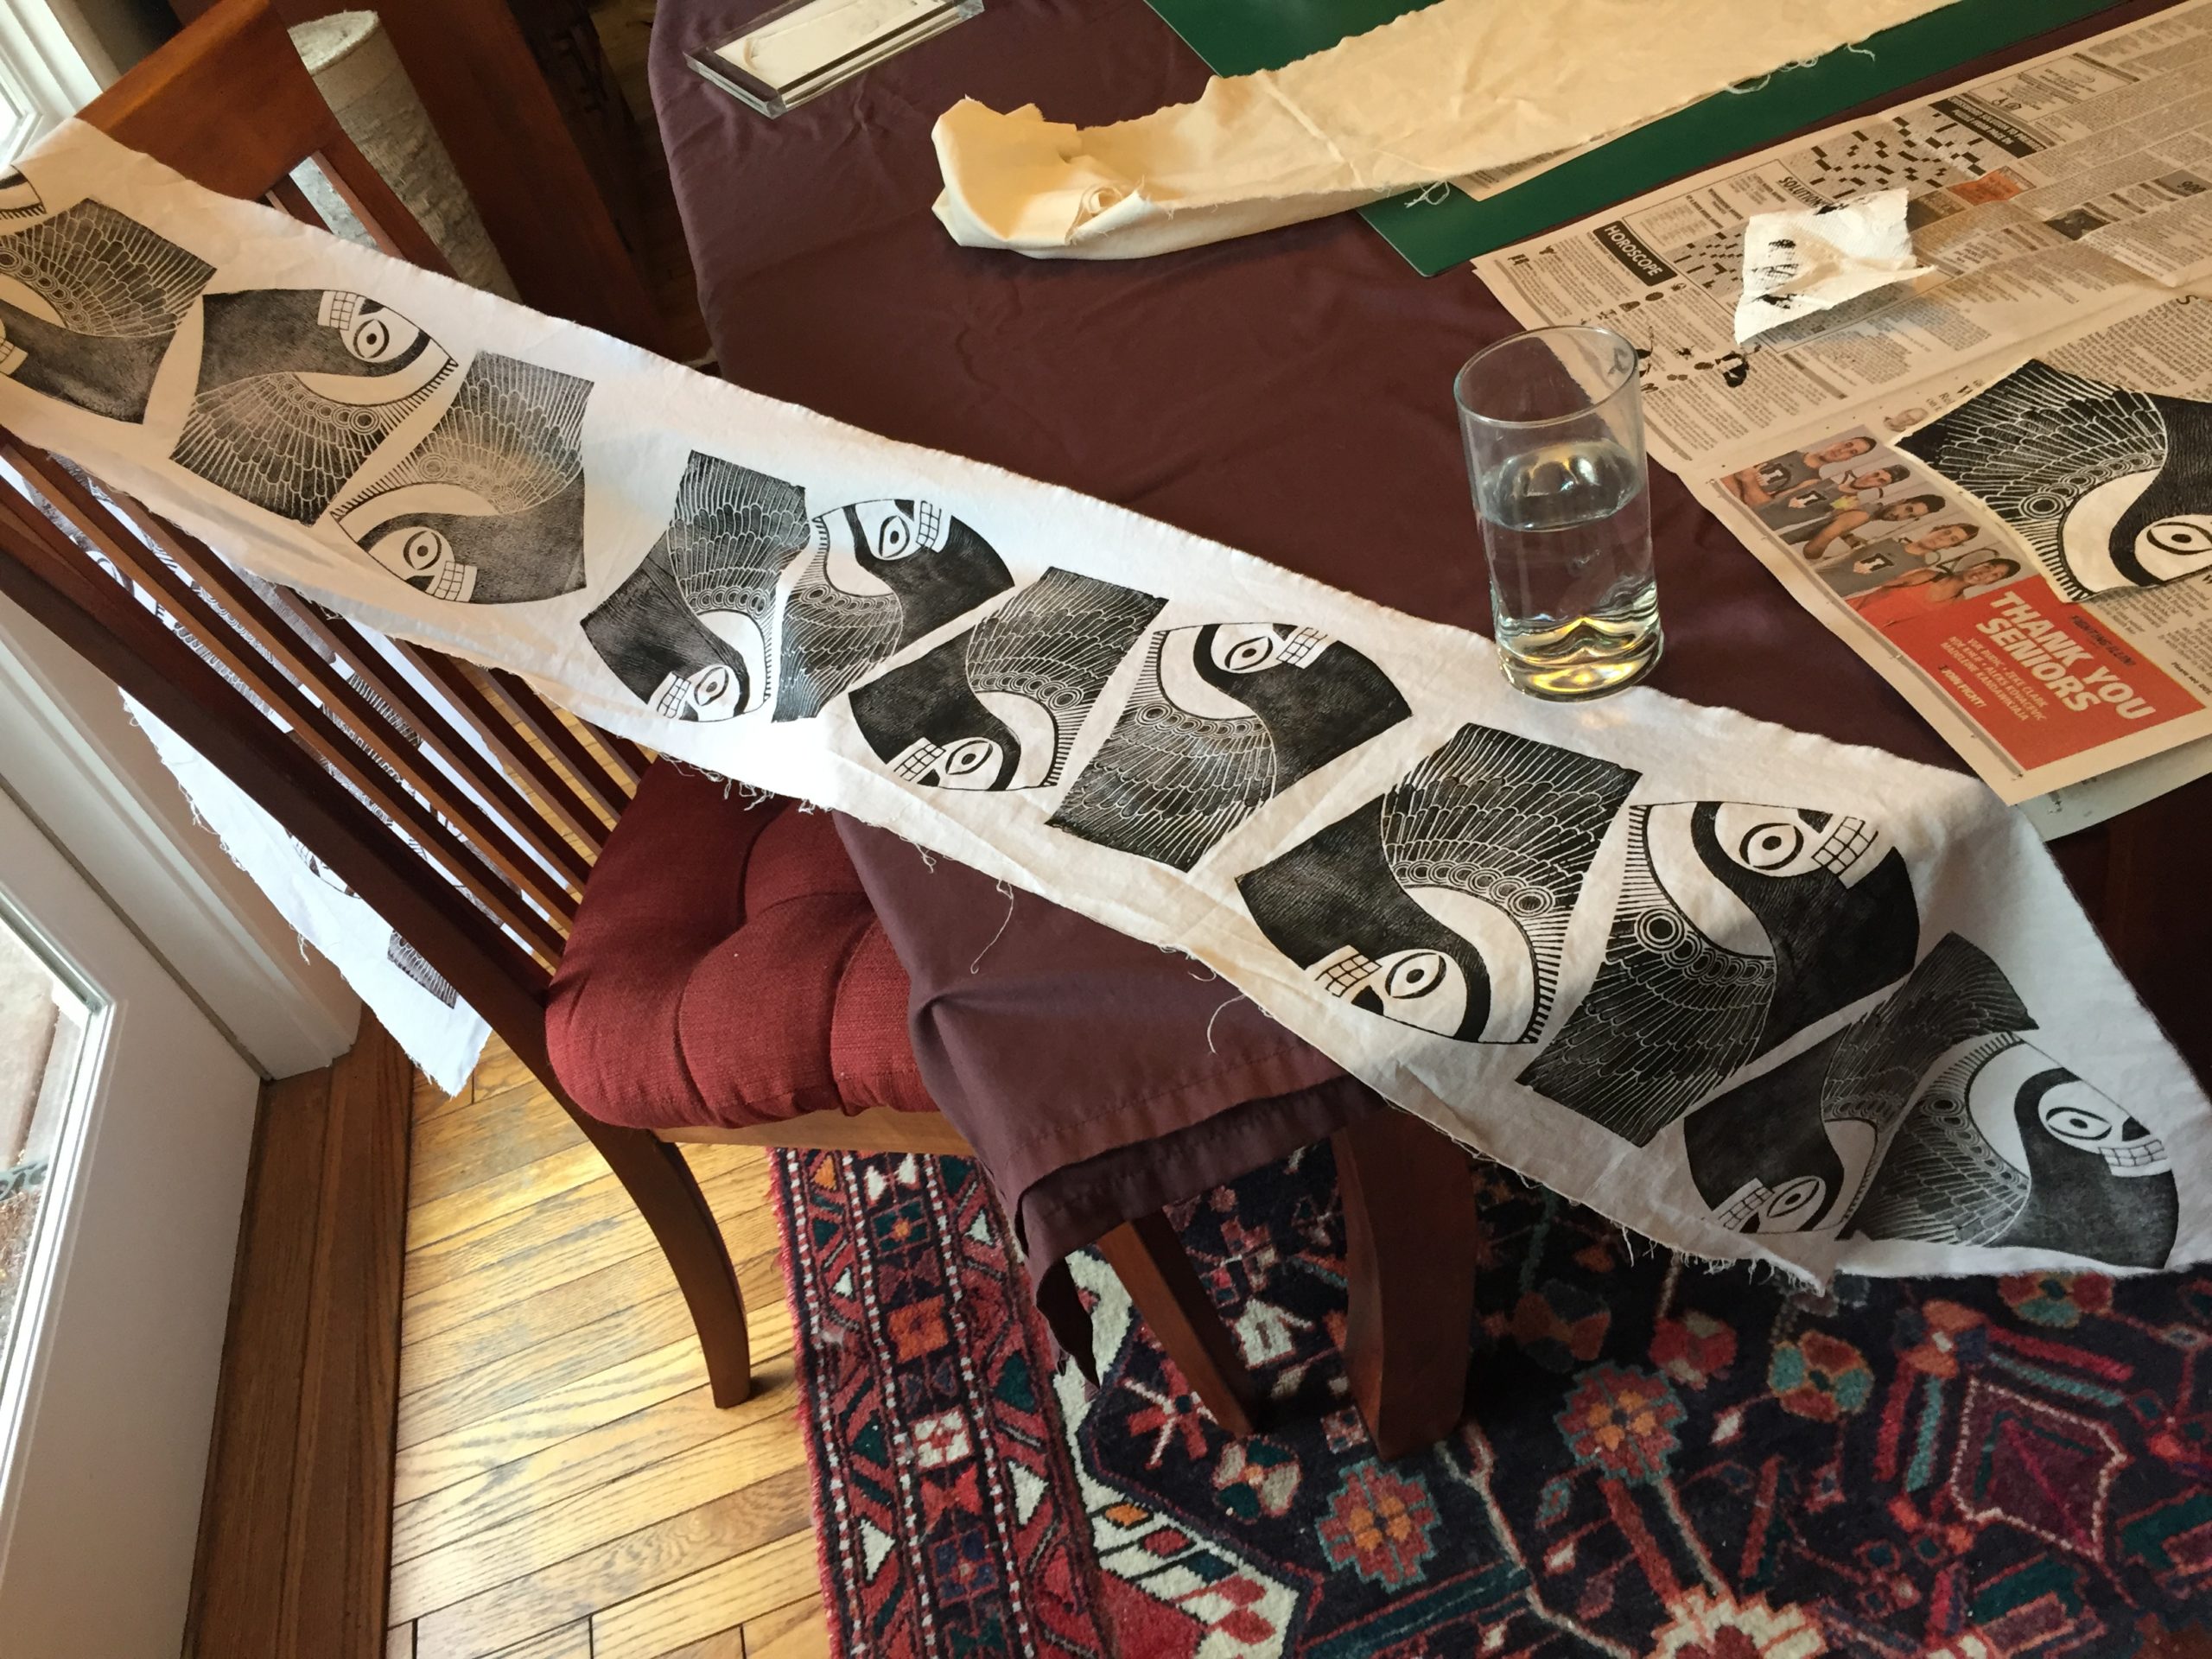
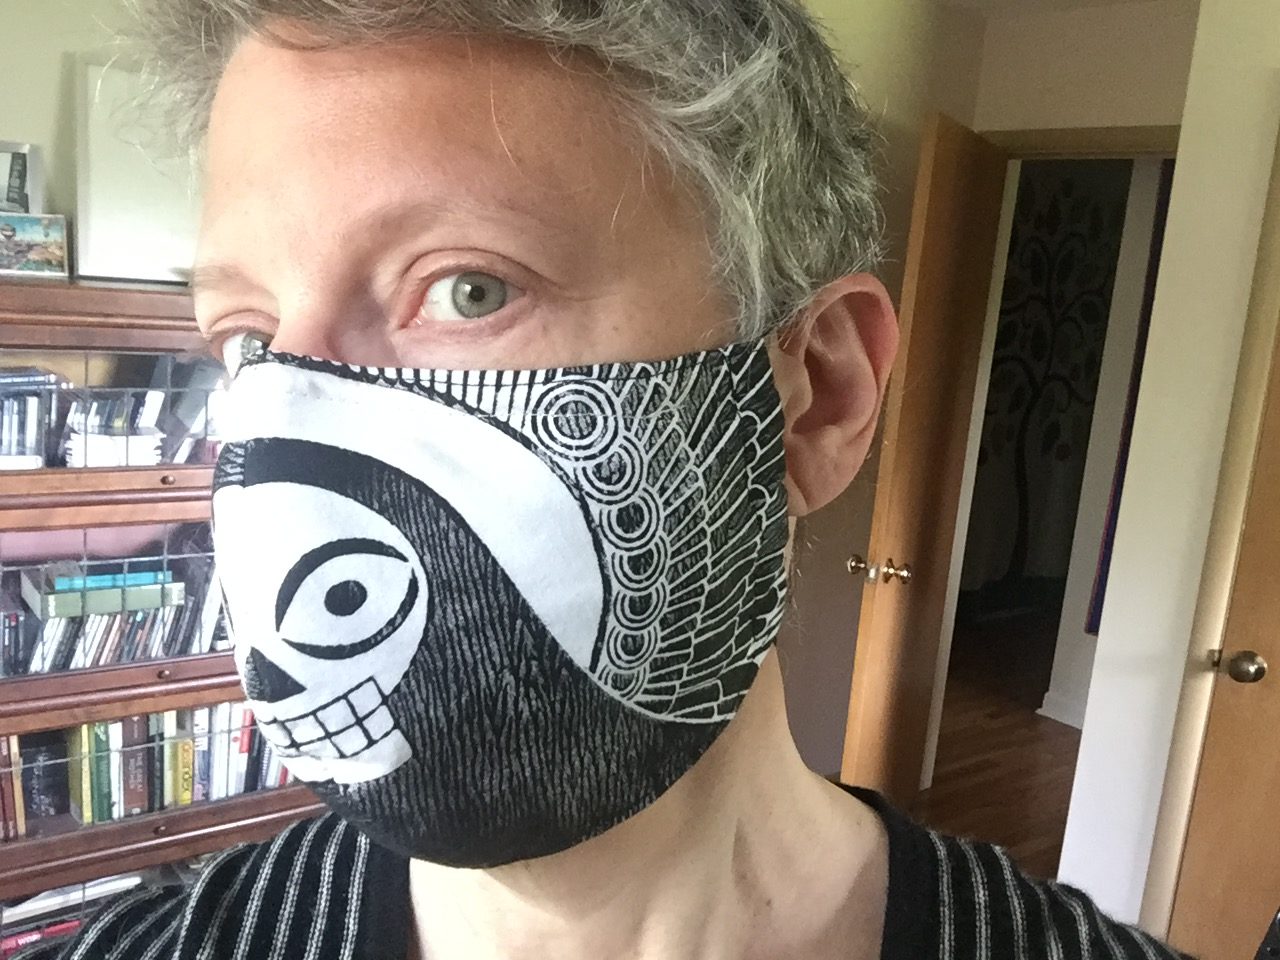
The result is a perfectly good, very time-consuming mask, and that surprising sense of satisfaction that comes from making something entirely by hand.


Share

Masks Now Available to Order

Angel O’ Death masks (screen prints as complete masks and kits) and hand-printed Angel O’ Death and Eyes of the Goddess masks are now available at http://www.palegraylabs.com/seder-masochism . Eyes of the Goddess screen print masks will be available later, once I get a batch screenprinted. Please be patient as these aren’t all sewn and packaged yet. But the materials are all ready, and the production has been proven!

Share

Hand prints

The pristine, just-laser-cut blocks.
A pair of resultant prints.
Just before the blocks’ maiden voyage. I photographed them before they got little bits of ink stuck in them.

Next step is to heat-set them with the iron, and sew them into a test mask.

UPDATE: Masks!
My face is a little red because I rode my bike 67 miles today, including 10 miles in rain so heavy I couldn’t see and had to stop every few yards to wipe my eyes because OW rainwater stings, but I was sufficiently excited to come home to these masks to take these pix anyway.

Share

Eye mask design in progress

First I made this one…
Then I made this one…
Then I posted them on social media, where the feedback favored the hands…
This morning I designed this one, which combines traits of the first 2 designs.
Then I took this blurry selfie, because it’s raining this morning and very little light is coming through my windows.
A few more tweaks…
Ah, there we go. Still blurry, but the design feels much better to me.
Share

Angel O’ Death Mask Take 3: I’m getting tired

I’m now on my third set of laser-cut acrylic printing plates. Third time’s a charm. Even if it’s not, I’m not going through this again.

Below is design 3 (top) vs design 1 (bottom).

The Angel O’ Death face has become smaller still, so the wings could become proportionally bigger. Honestly I’m not sure I like this, but I’m tired and don’t want to go through yet another design iteration, so this may be it.

Momz sewed this new mask prototype, but I sewed the center seam, because it has to be sewn along the image line rather than the exact quarter-inch-from-the-fabric-edge she sews to. If I make a signed, numbered, limited edition handprinted mask run, I will be sewing all the center seams (and hopefully someone else will assemble the rest of them).

The new plates have finger holes, which are a vast improvement for handling, and work with a registration frame. Even with all the precision laser cutting, exact registration of the image on the pre-cut fabric pieces remains impossible, but this might be good enough.

Behold the glorious print process:

Registering a pre-cut fabric piece in the precision-cut frame.
Using the finger holes to line up the inked plate in the frame, which will drop right into the depression in which lies the pre-cut fabric.
Whacking with the rubber mallet. Whack, whack.
Lifting the plate with the finger holes.
The fabric is now stuck to the plate by the sticky ink.
A little finger burnishing. Not much is needed, as long as I slather on that gooey ink.
Peeling off the fabric.

Printed fabric pieces drying.
The finger-hole plates work fine without the registration frame as well, but then I have to hand-cut the pieces.

Oh, I actually wore one of these masks yesterday, while bicycling to Theo’s laser-cutting bunker to pick up the new plates. I’d been laid low with allergies, sneezing my face off, and thought the mask might reduce my inhalation of allergens. Maybe it did, but I will not bike with a mask again. I got out of breath quickly, and the mask became moist from my exhalations (which I then re-inhaled, hence feeling out of breath, because I’m inhaling my own CO2 instead of fresh oxygen), and when my nose got runny it got even more gross. So, not for biking. But I will wear one for shopping or other indoor public activities I can’t avoid. Still, all this work for something that’s just a drag to wear… No wonder I feel tired.


Share

Angel O’ Death Masks Take Two

“Show more wing,” said the peanut gallery on fecebook. To make the Angel O’ Death’s face slightly smaller to make room to show a little more wing, I had to make all these paper prototypes. Each one is different. Resizing the image is an extraordinary PITA because the distortion increases at the center seam and I have to manually adjust it, print it, cut out the pieces, tape it together, turn it inside out, and then look at it head-on to see how bad the distortion is. The smaller Death’s head, the wider I have to make it, proportionally, going through this process over and over.

Finally I sent a new image to Theo, who laser cut new printing plates.

New plates shown drying in dish rack after washing. So much of this project is washing and cleaning things.

Unlike the first batch, these don’t have handles, making them easier to charge with ink, but much more difficult to use with the registration frame. So I just printed them on the uncut cotton yardage I picked up and laundered (to pre-shrink) this morning.

Looks pretty good, I think. I slather on a lot of screen printing ink with the brayer (rubber roller) to get a dark impression with swirly texture in the large flat areas.

I give the block a few whacks with the rubber mallet, because I read that traditional wood-block fabric printers hit their blocks with a hammer. I got all these impressions with no finger burnishing, so some labor was saved there.

But alas, labor was added when it was time to cut them out.

Cutting is time-consuming and fraught, which is why Theo uses his laser cutter to save vast amounts of production time. Even if we get it screen printed, it’s not certain the Angel O’ Death design on fabric can be laser cut, because the image needs to be aligned so precisely. For all-over fabric patterns, you can cut almost anywhere, but just a few millimeters off will make Death’s face all wonky.

Today’s test batch yielded enough for 8 masks. It looked (and felt!) like it should be more.

After cutting, I ironed the 16 pieces to heat set the ink.

Next, my Momz will sew one into a full-fledged mask, and if it looks good design-wise, I and/or Theo will prepare an image file to be screen printed this week or next (by the only local screen printer to answer their phone! I called 3, multiple times). Screen printing will also require a lot of work prepping and cutting, as well as money, but it’ll be less labor (for me) than block printing. It will also look less “artisanal,” but some people don’t want artisanal, they just want a big black and white Angel O’ Death on their face in a pandemic, and that’s what I aim to deliver.

UPDATE: Here is Version 2 sewn together by my talented Momz and modeled by me:

I’ve made one more modification, to make the Angel O’ Death even smaller and the wings even bigger. One more test and it’s off to the screen printers.

Share