For best results, launder and iron your mask kit fabric before cutting and sewing. Complete sewn masks and kits for sale here.
Instructions for machine sewing a 3-layer mask are here.
Hand sewing? Scroll down to the bottom of this page!
Instructions for machine sewing a 2-layer mask are below, starring my Momz, Jean Paley:
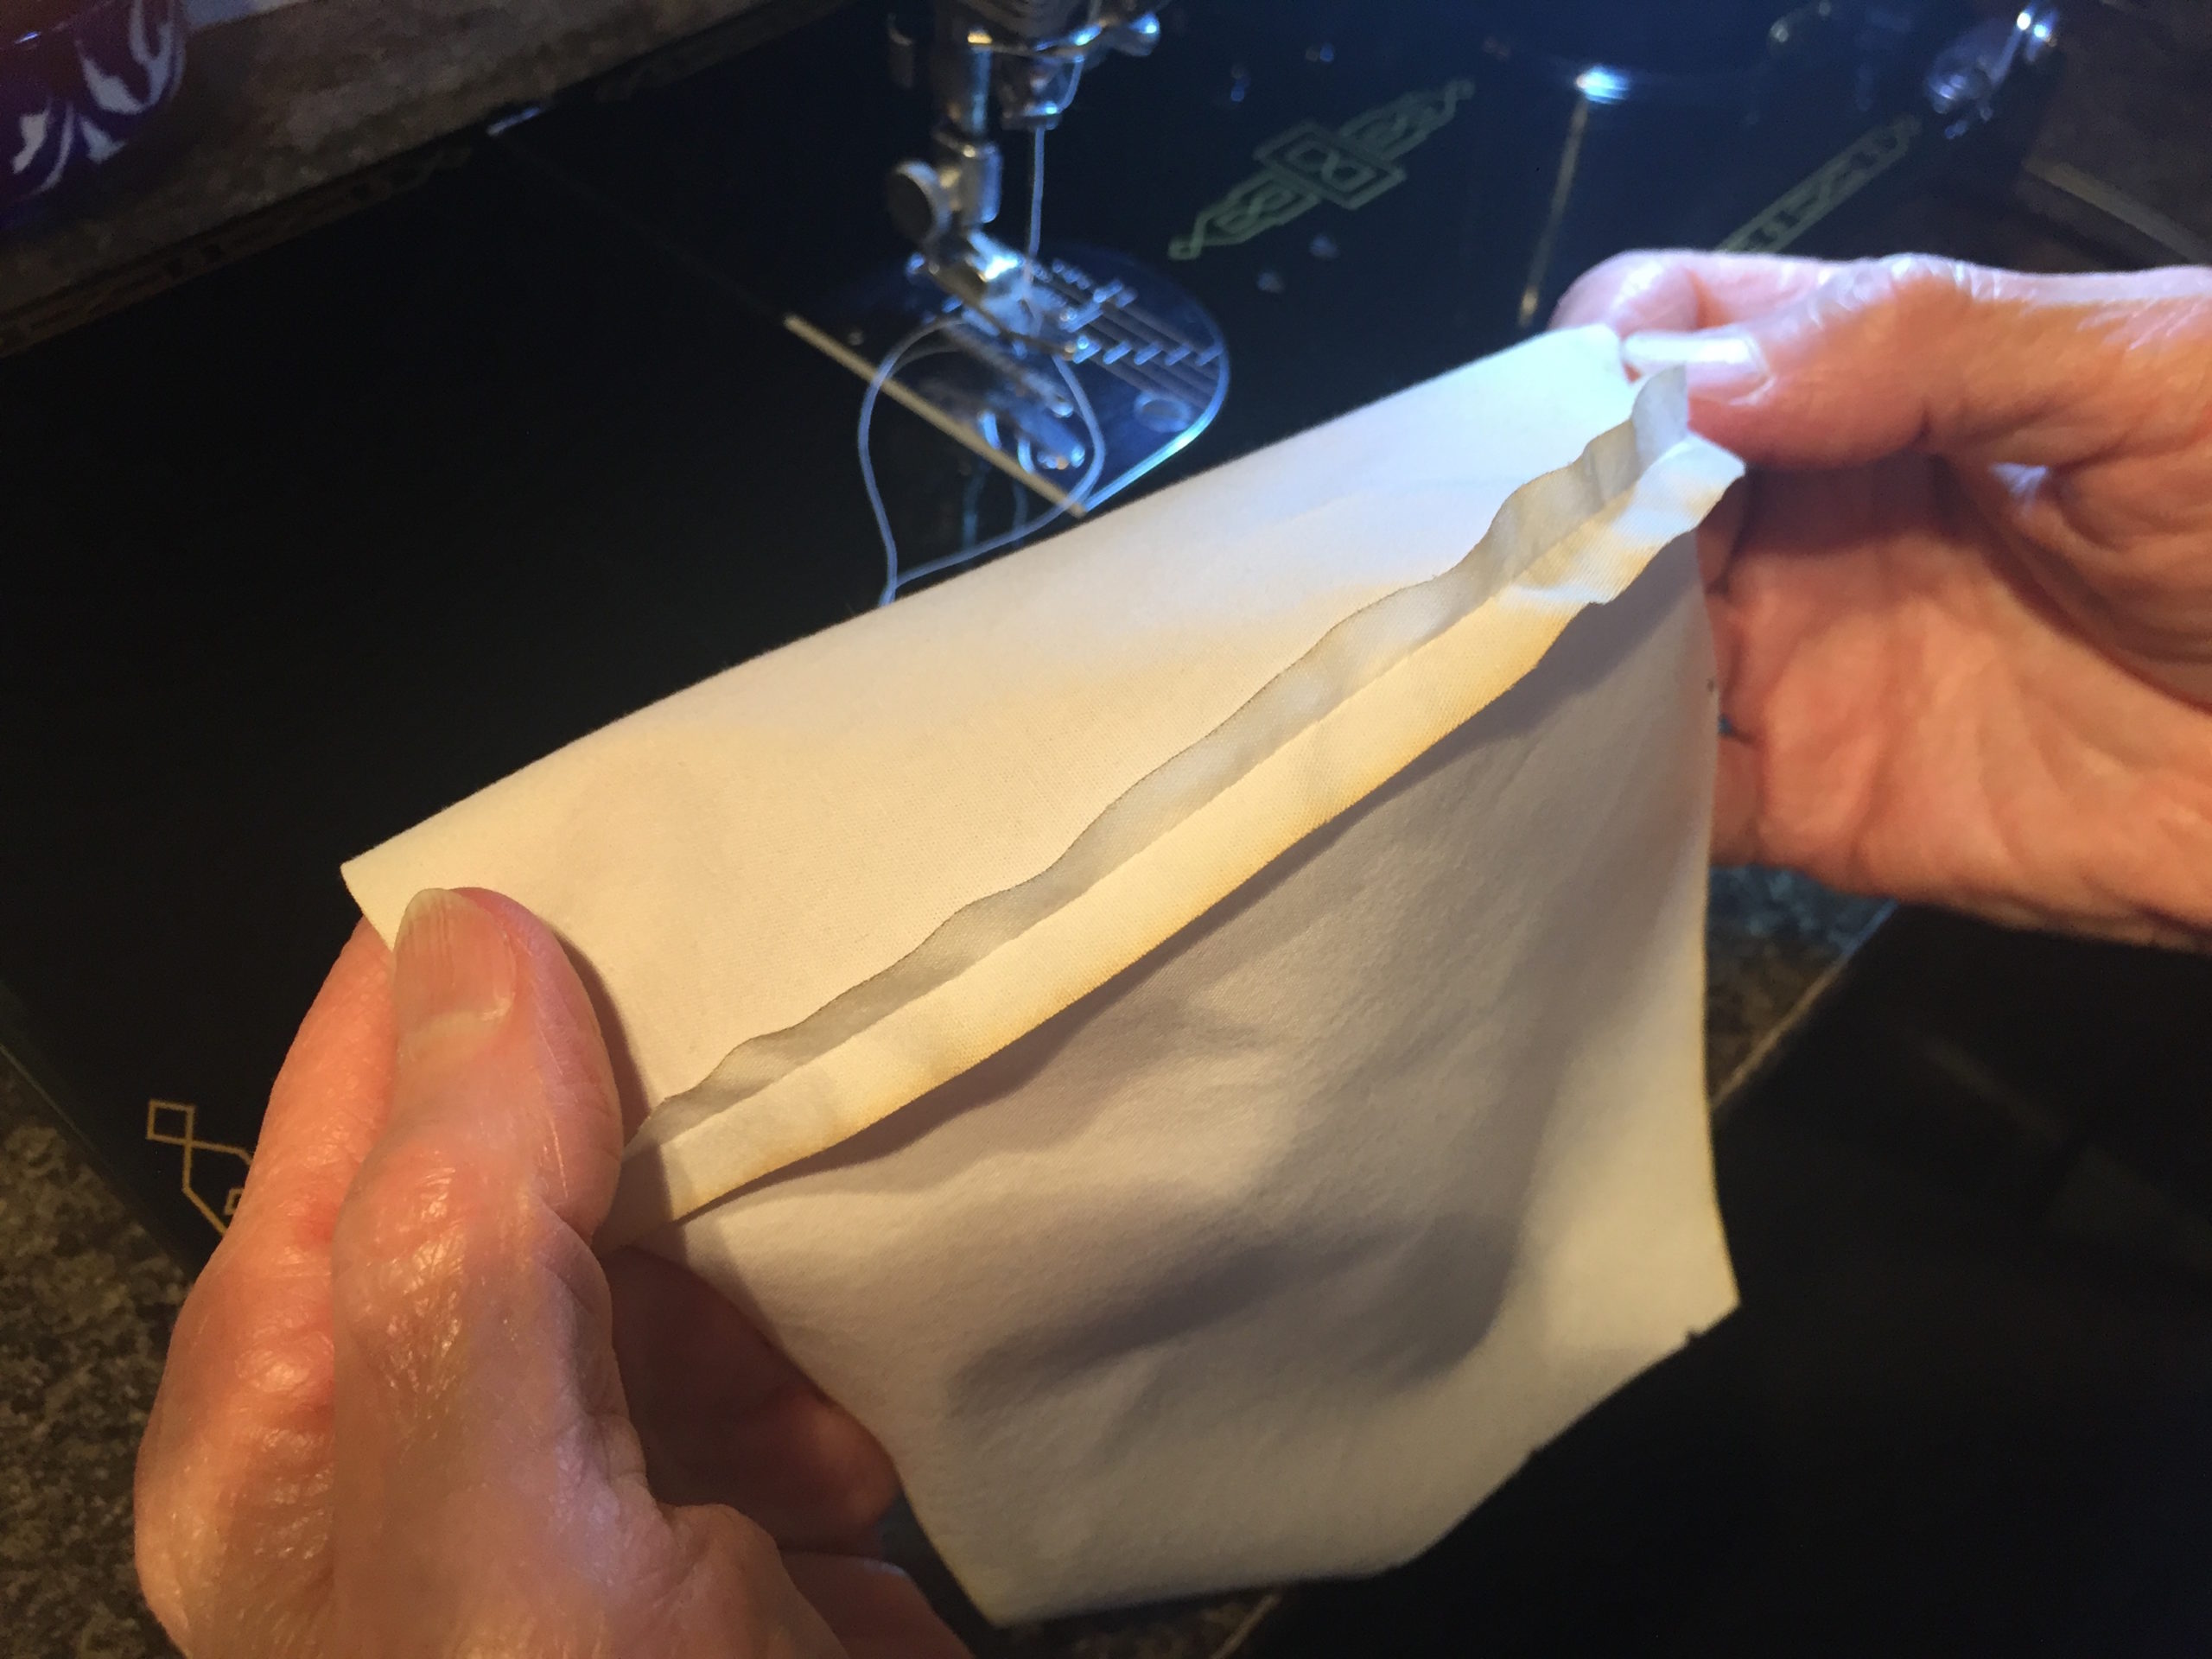
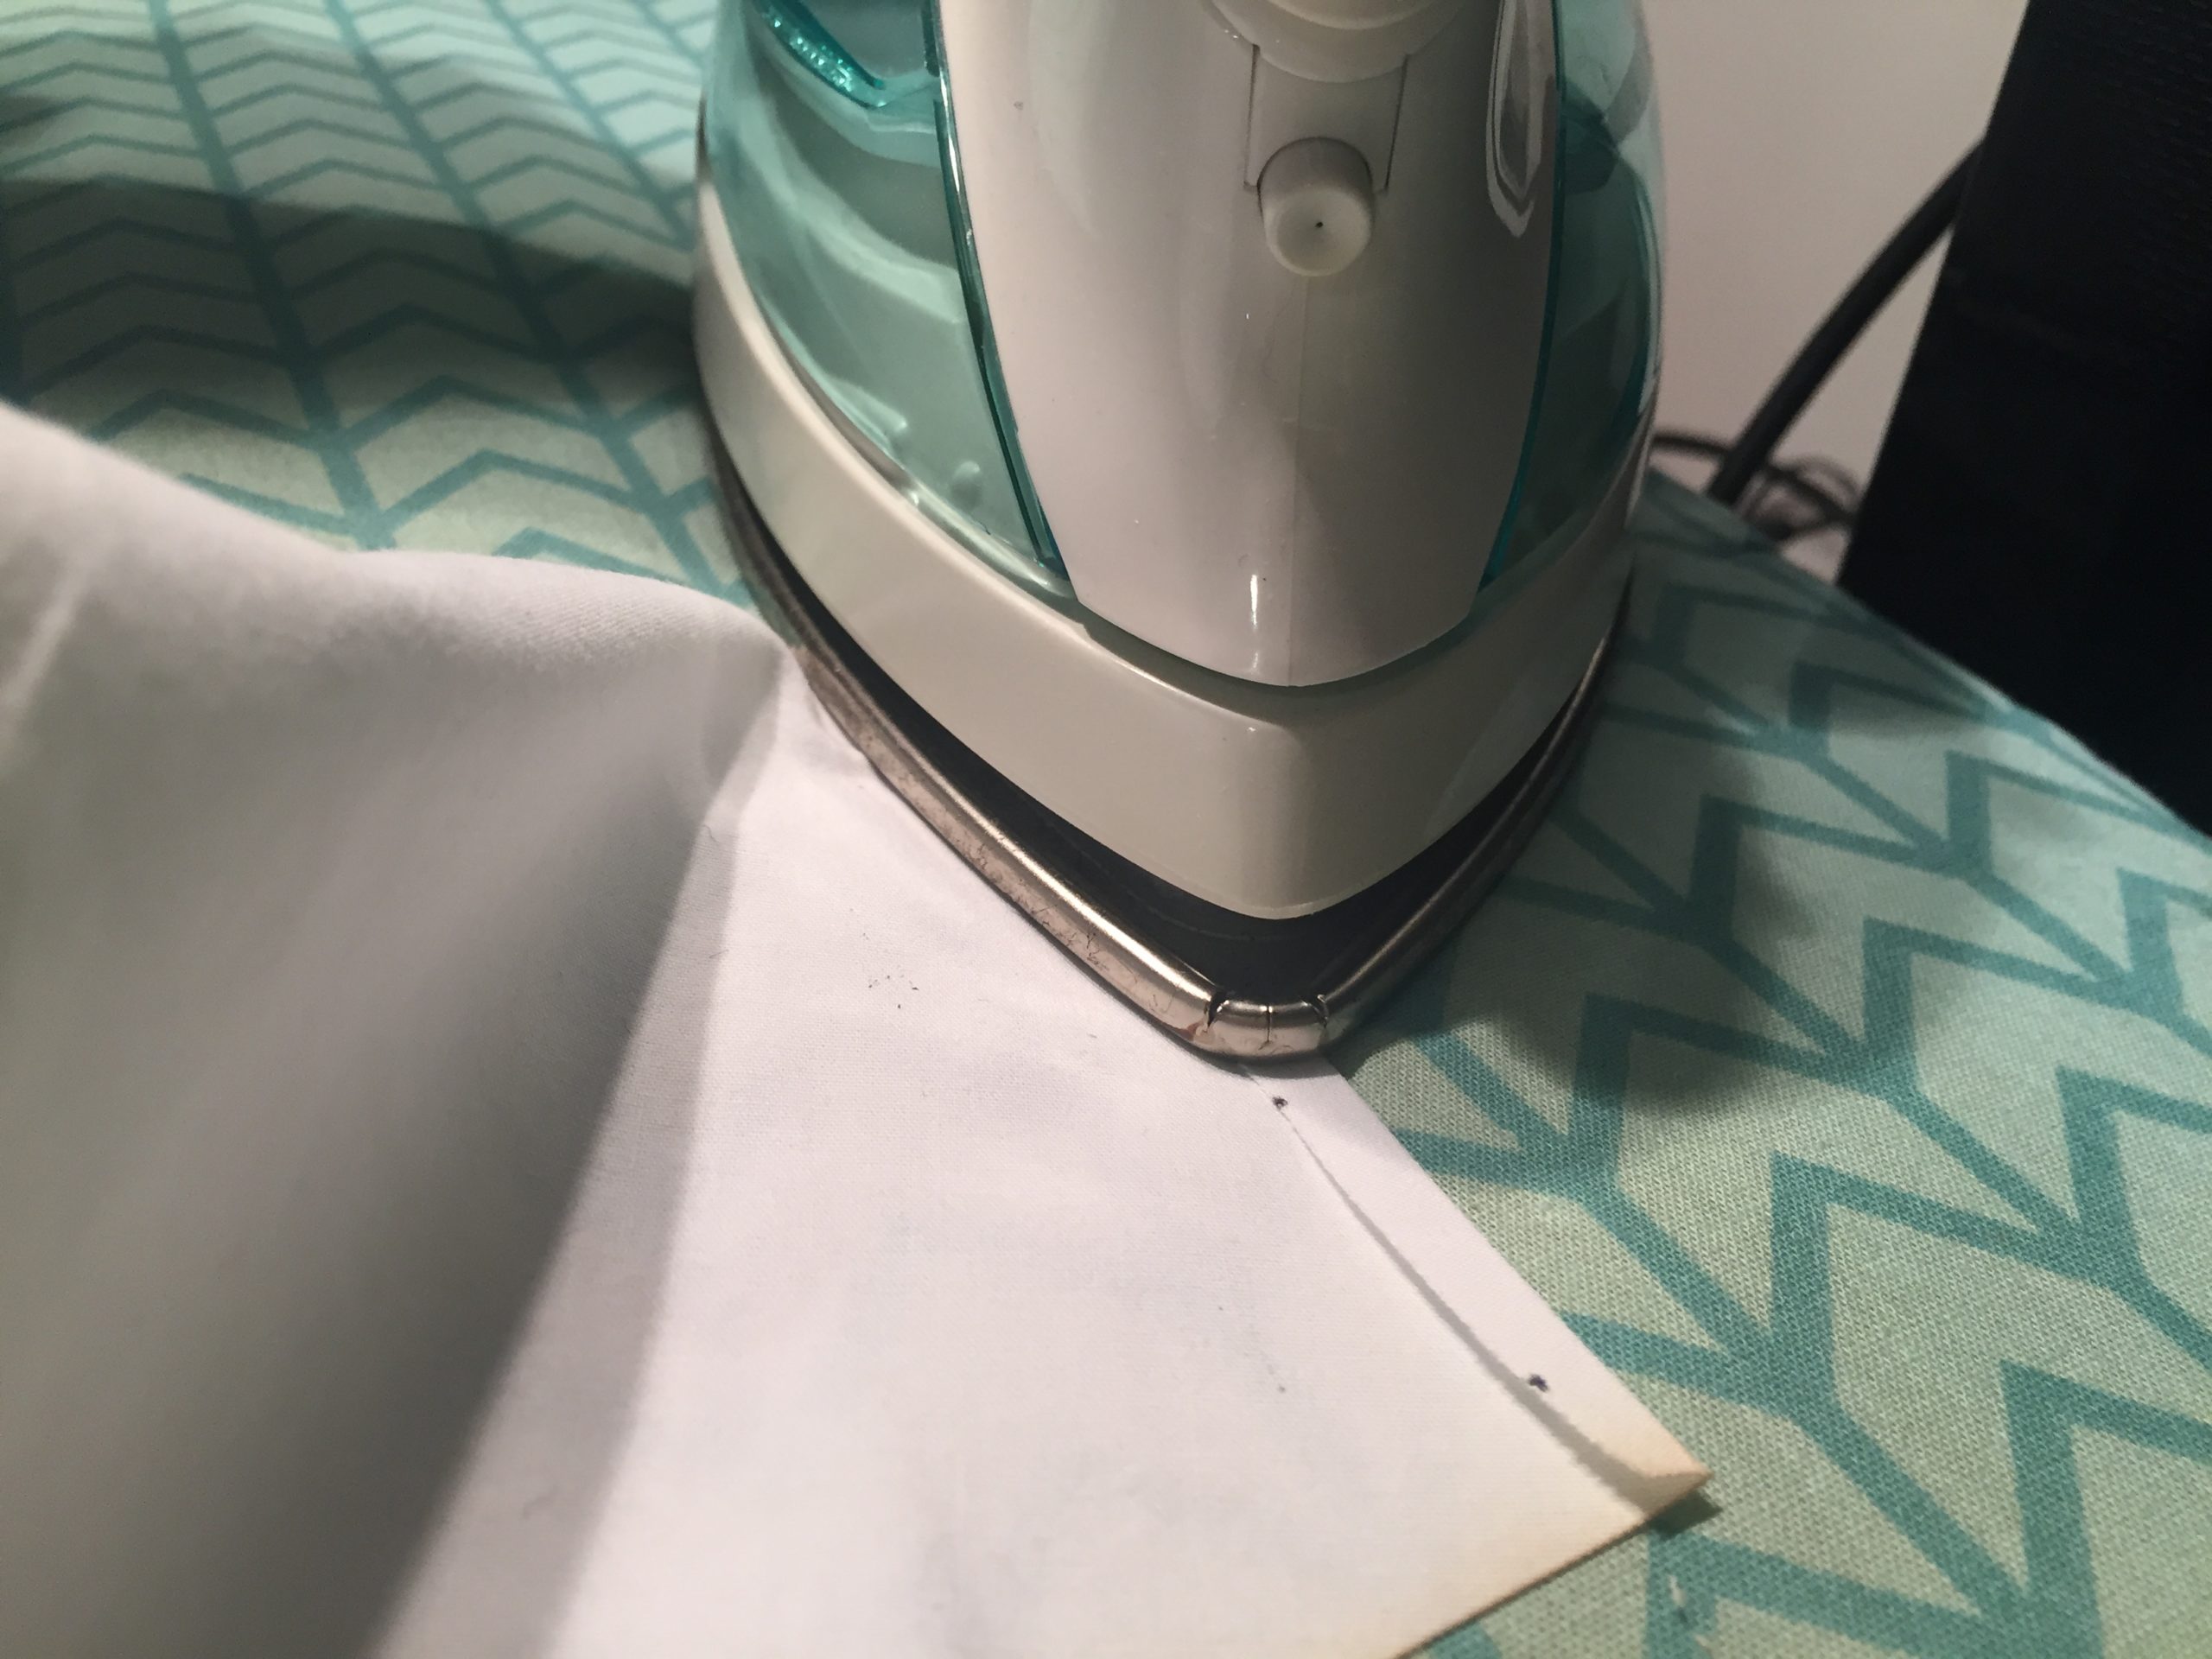
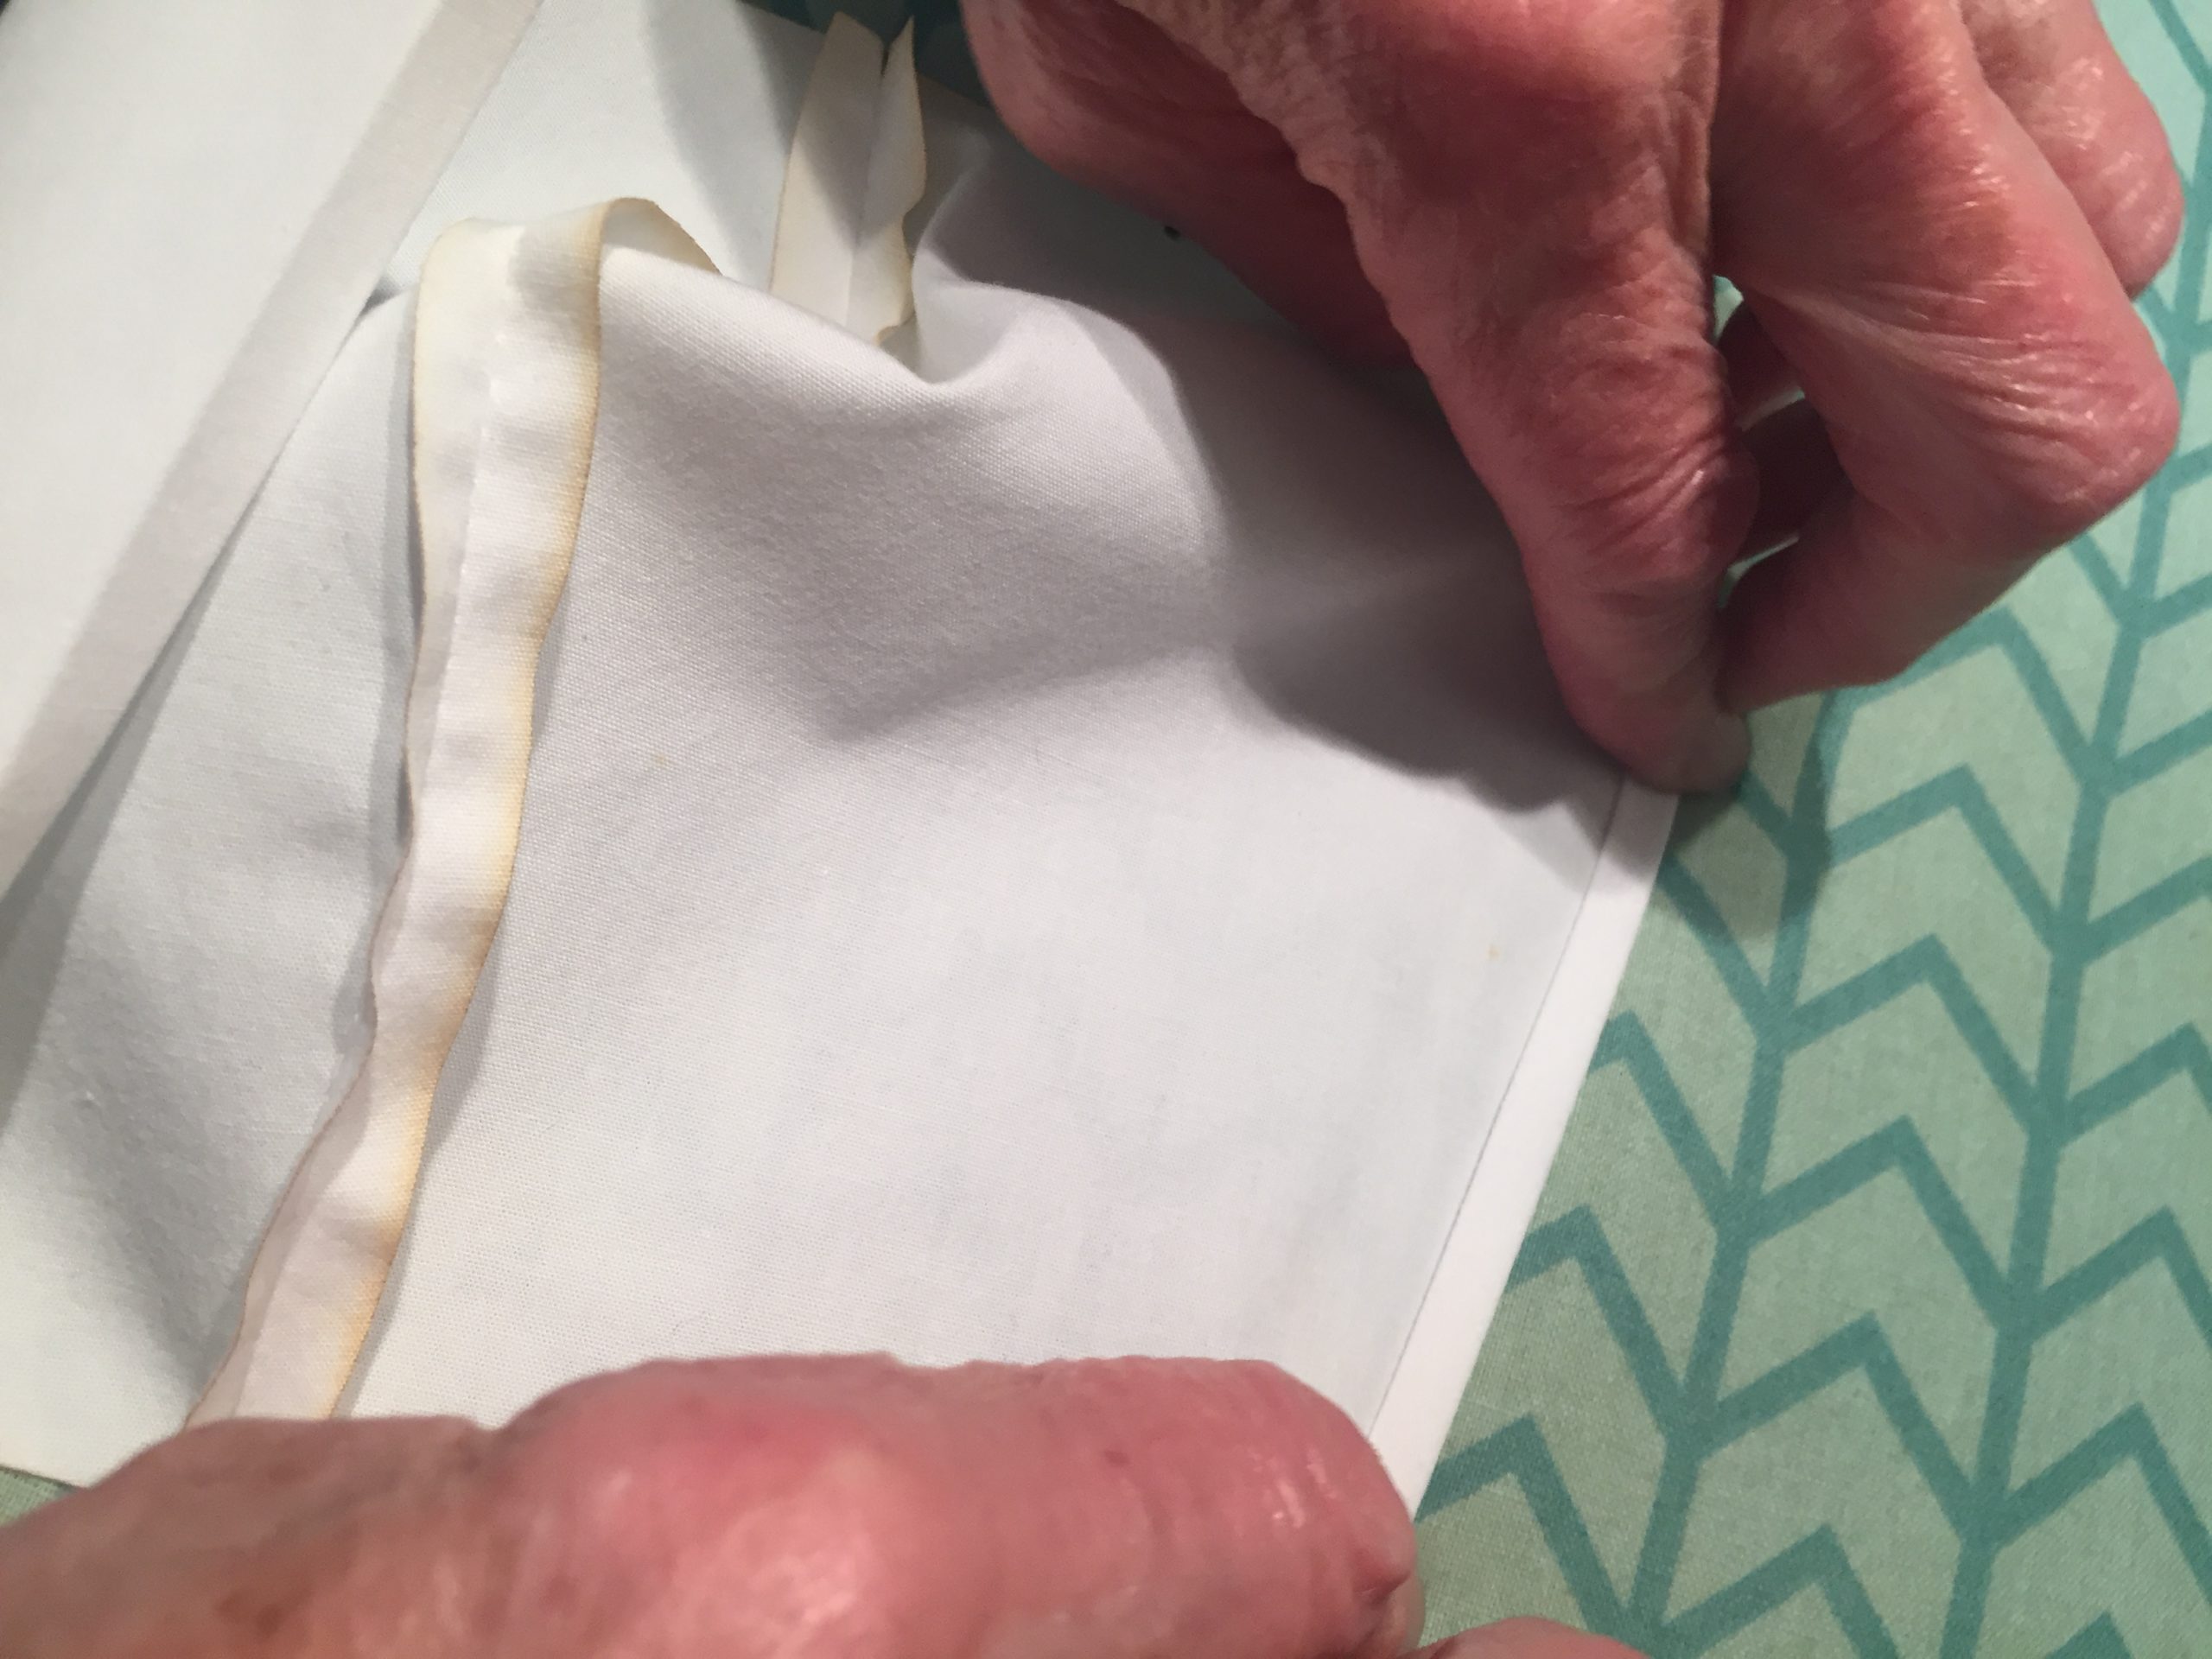
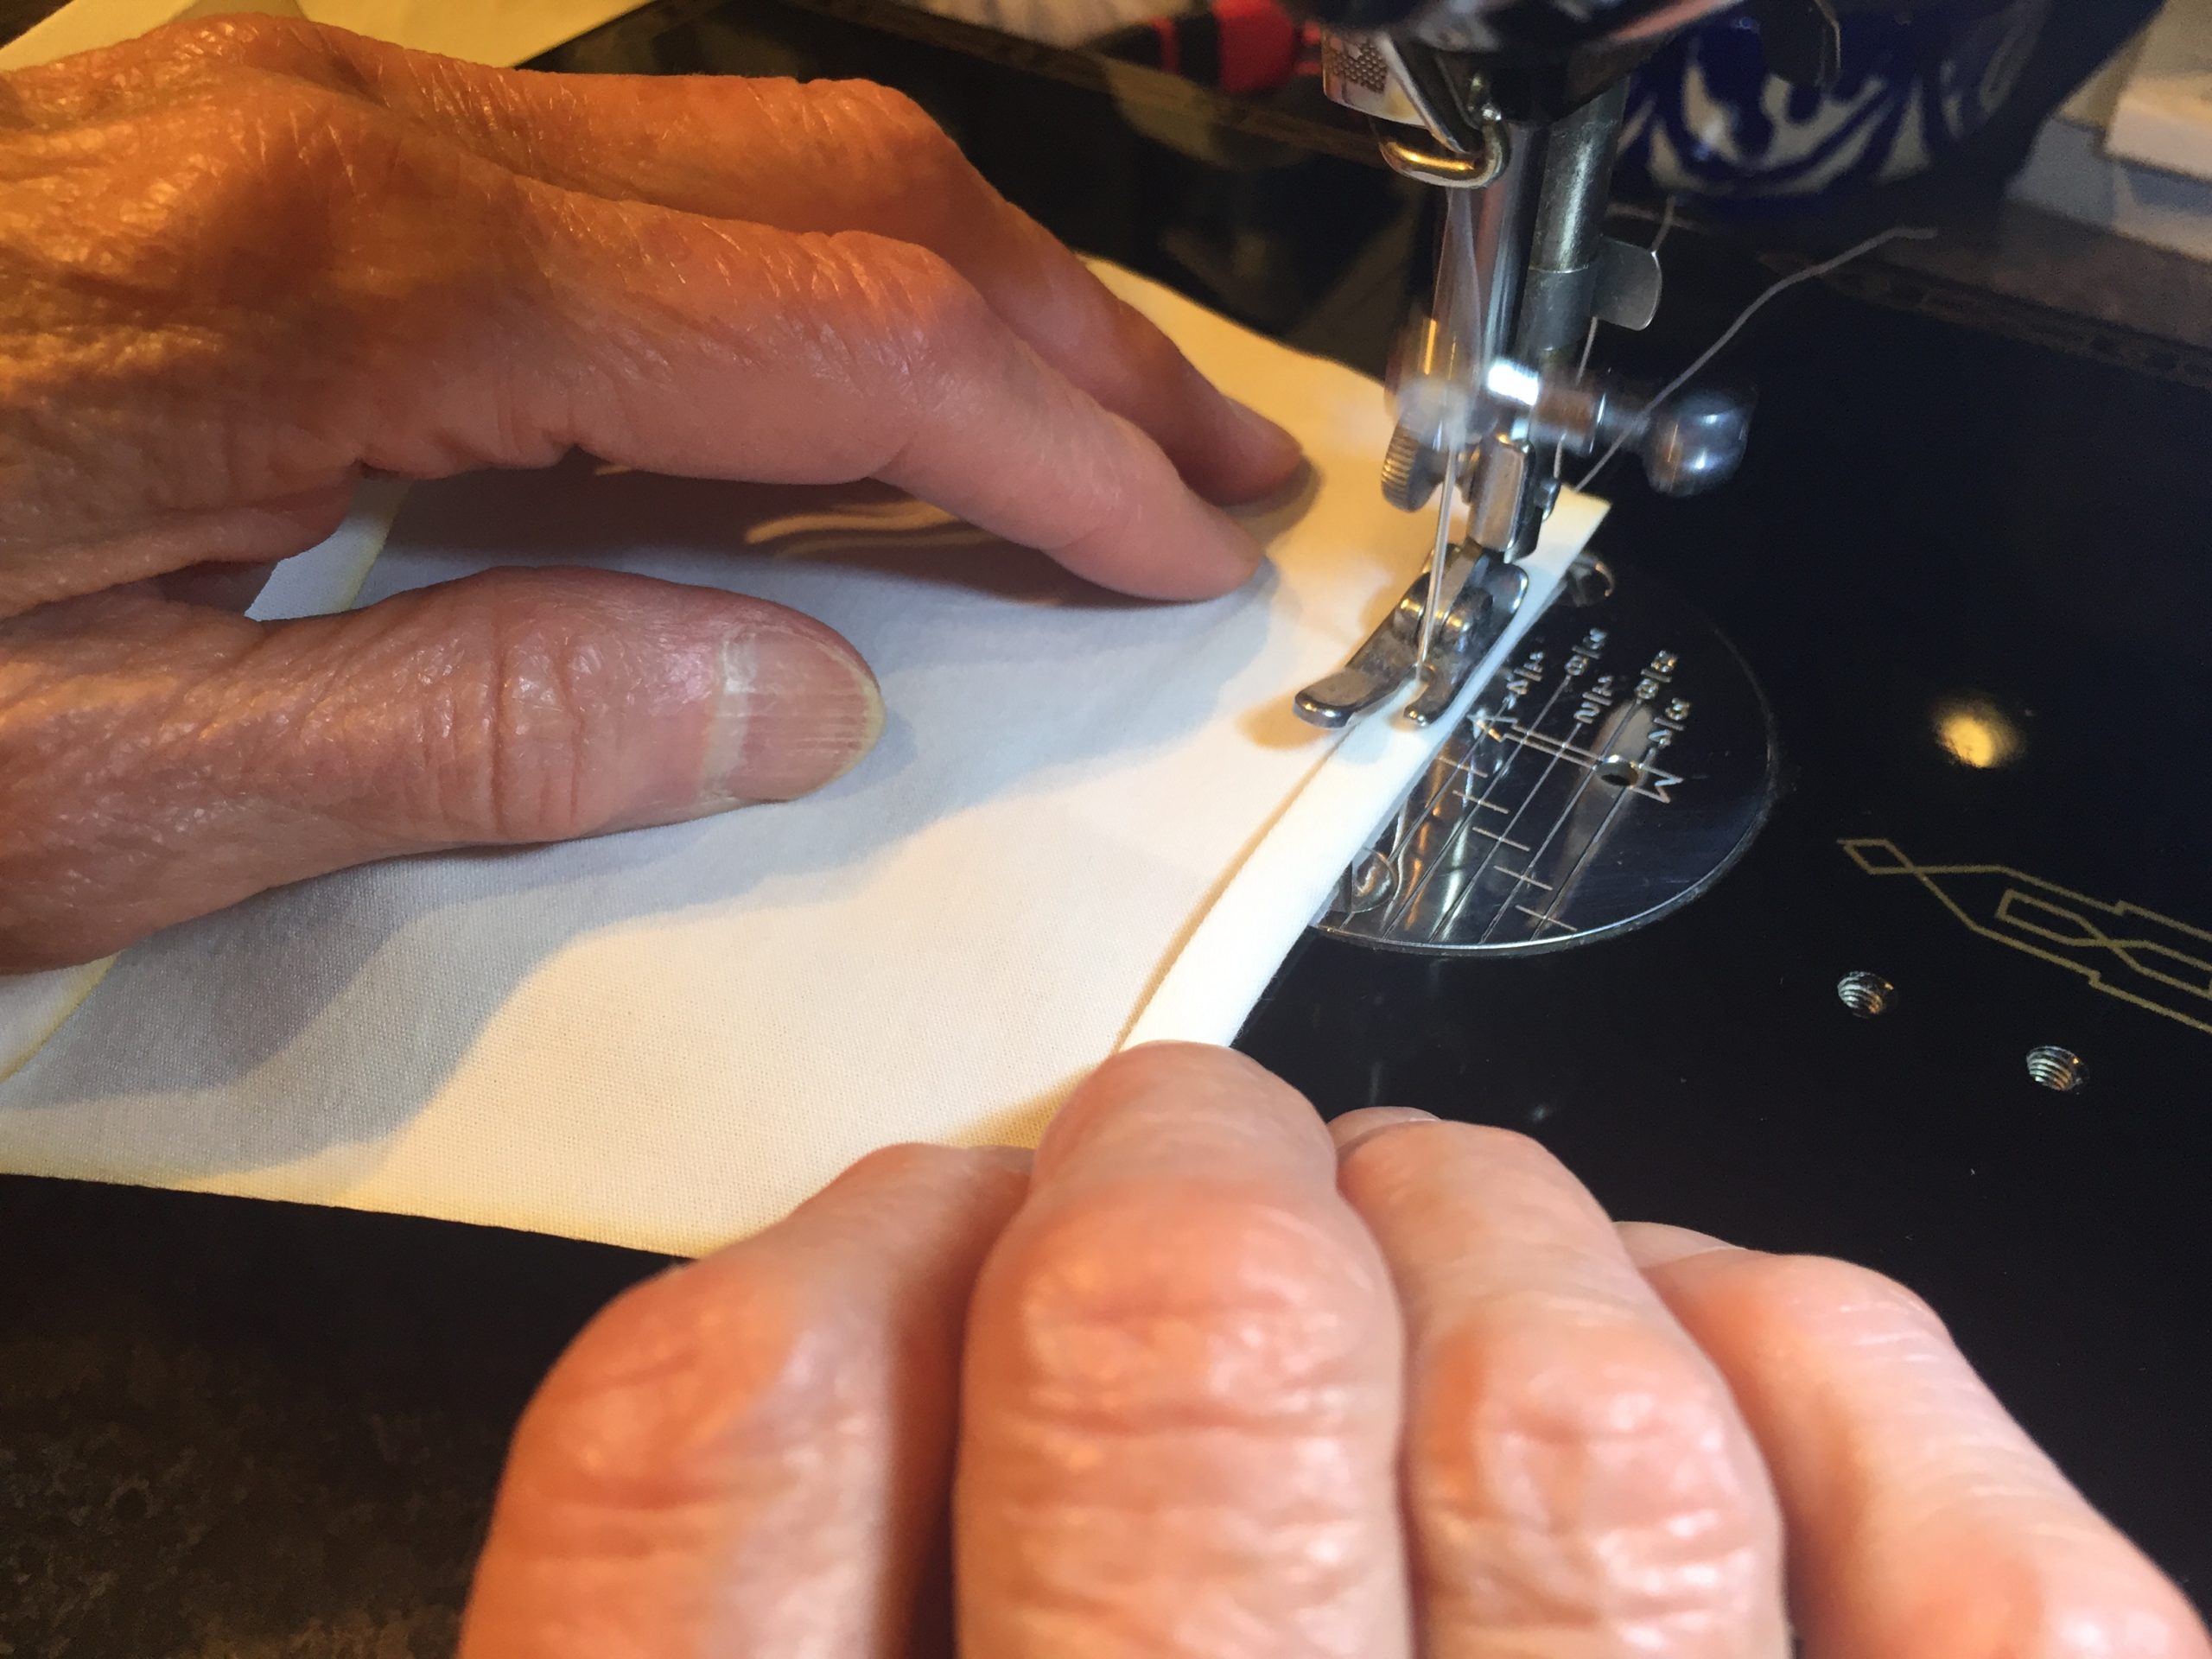
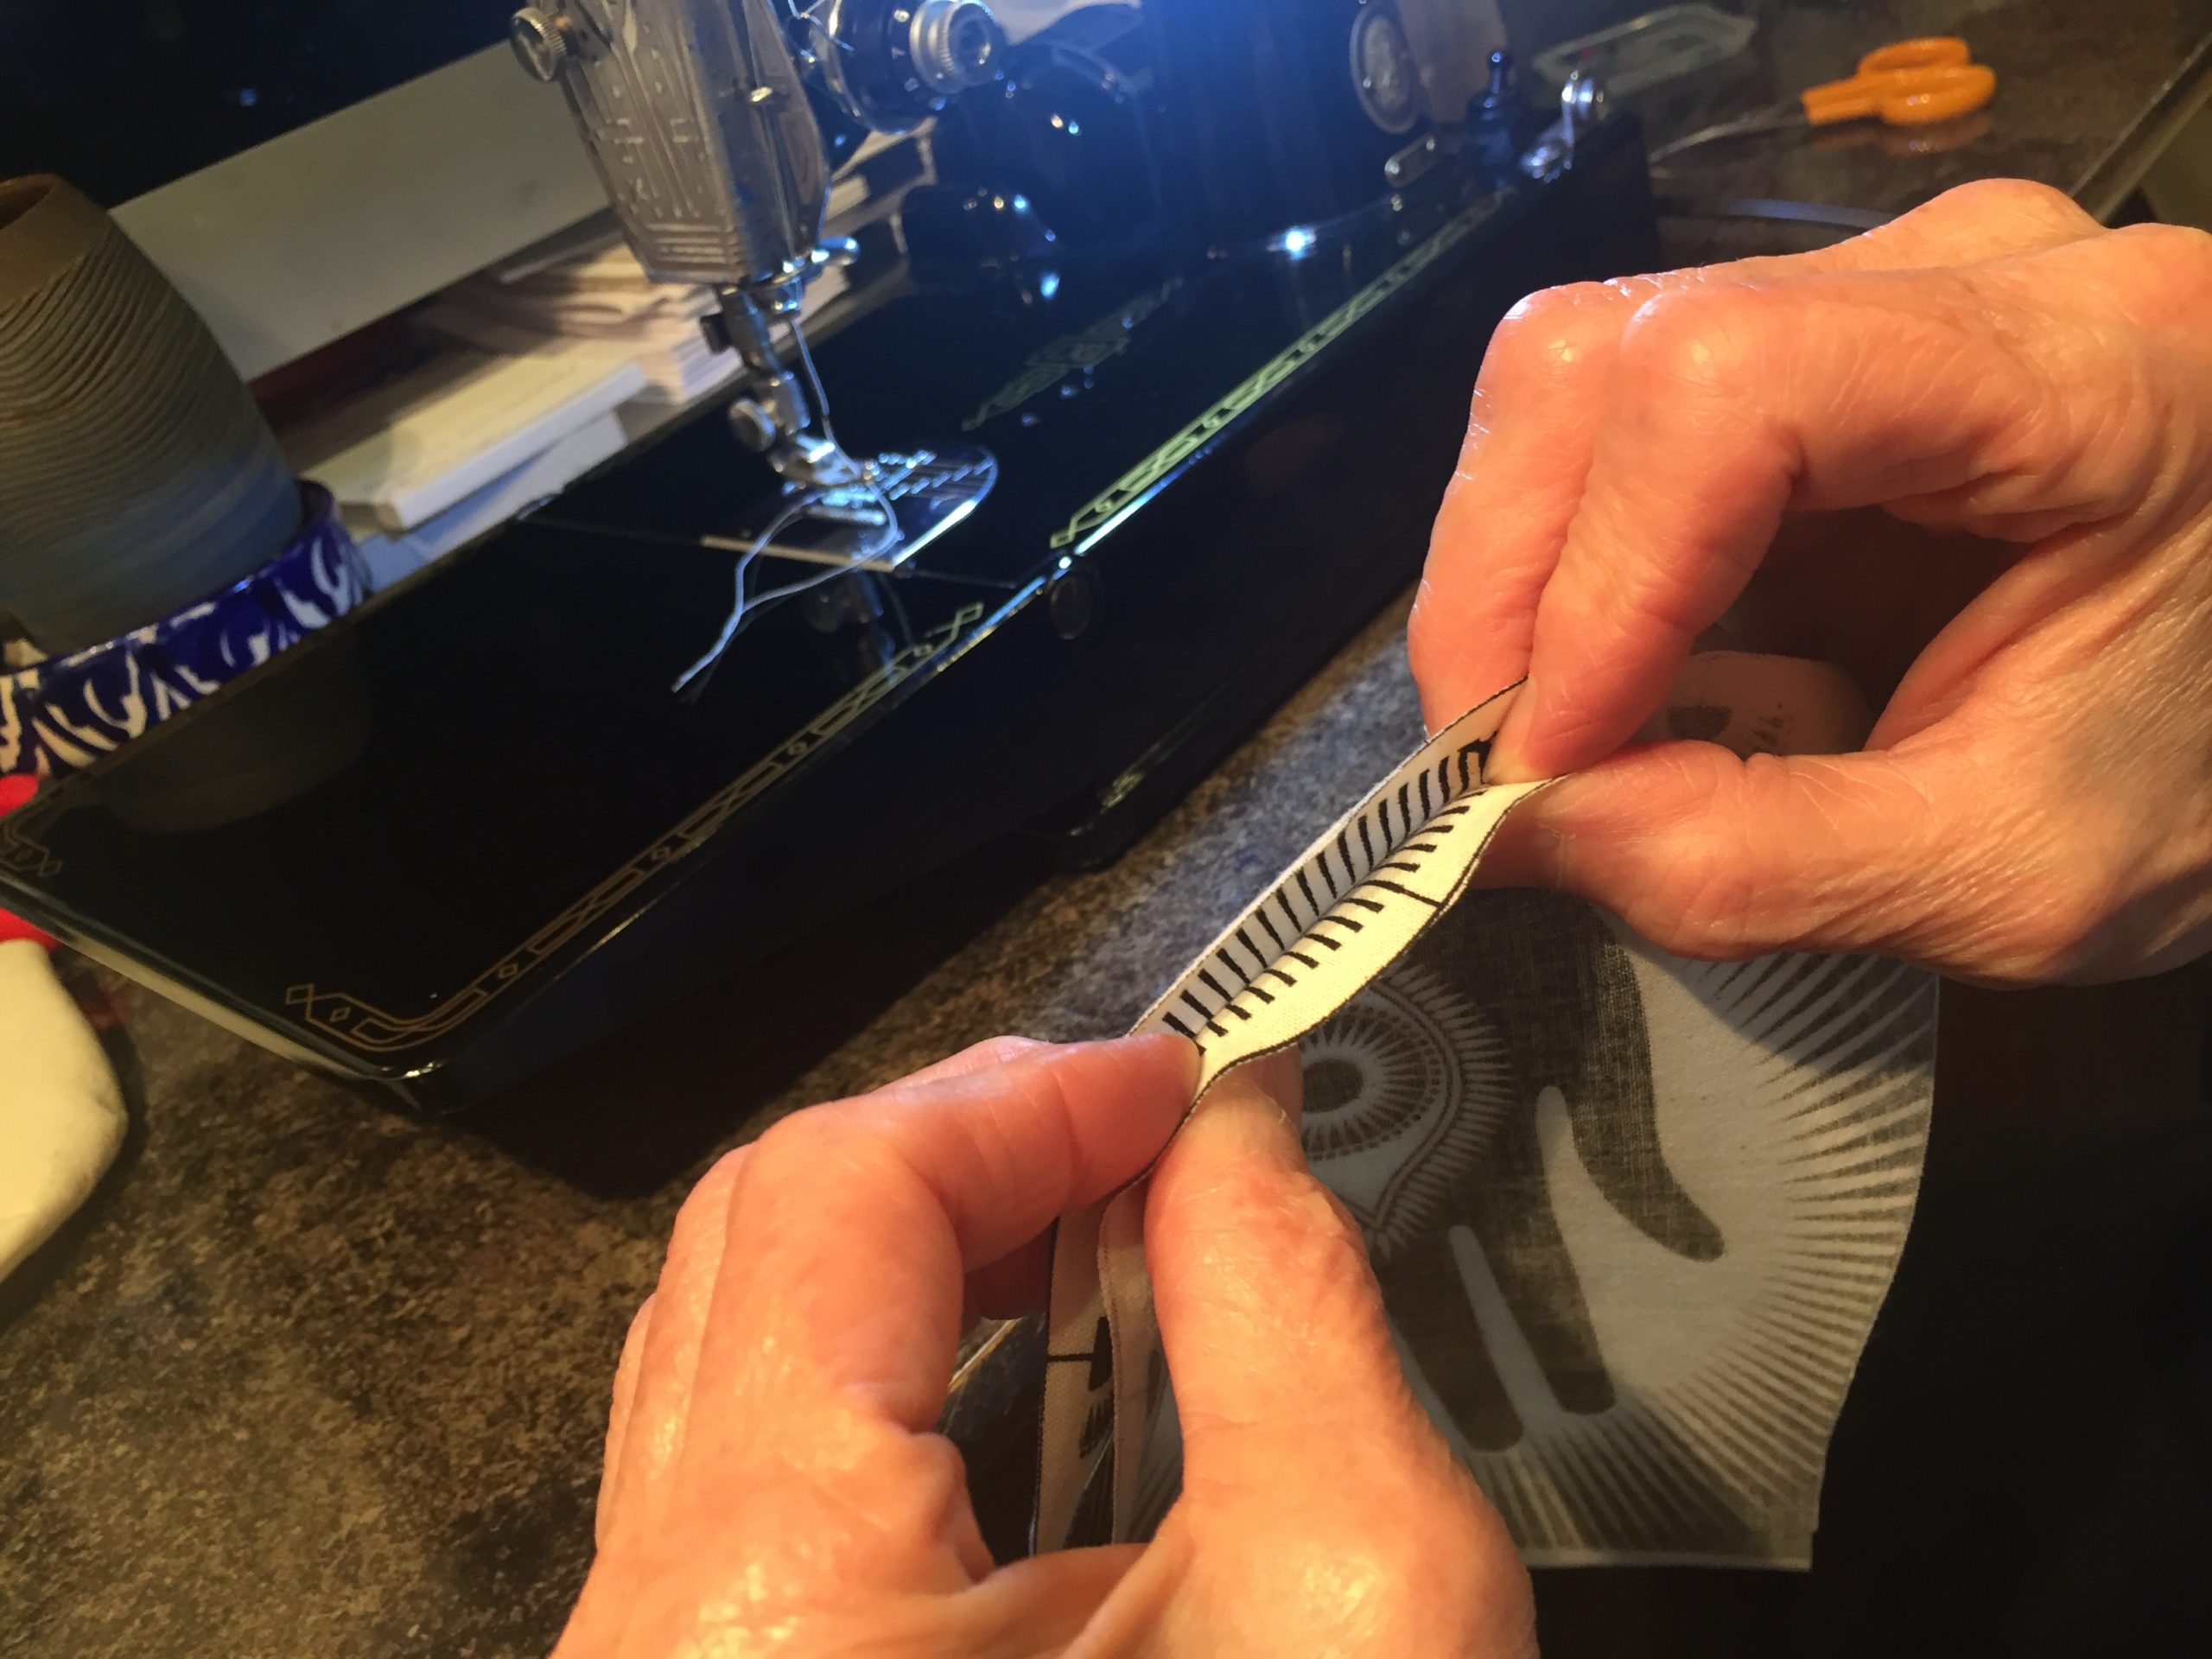
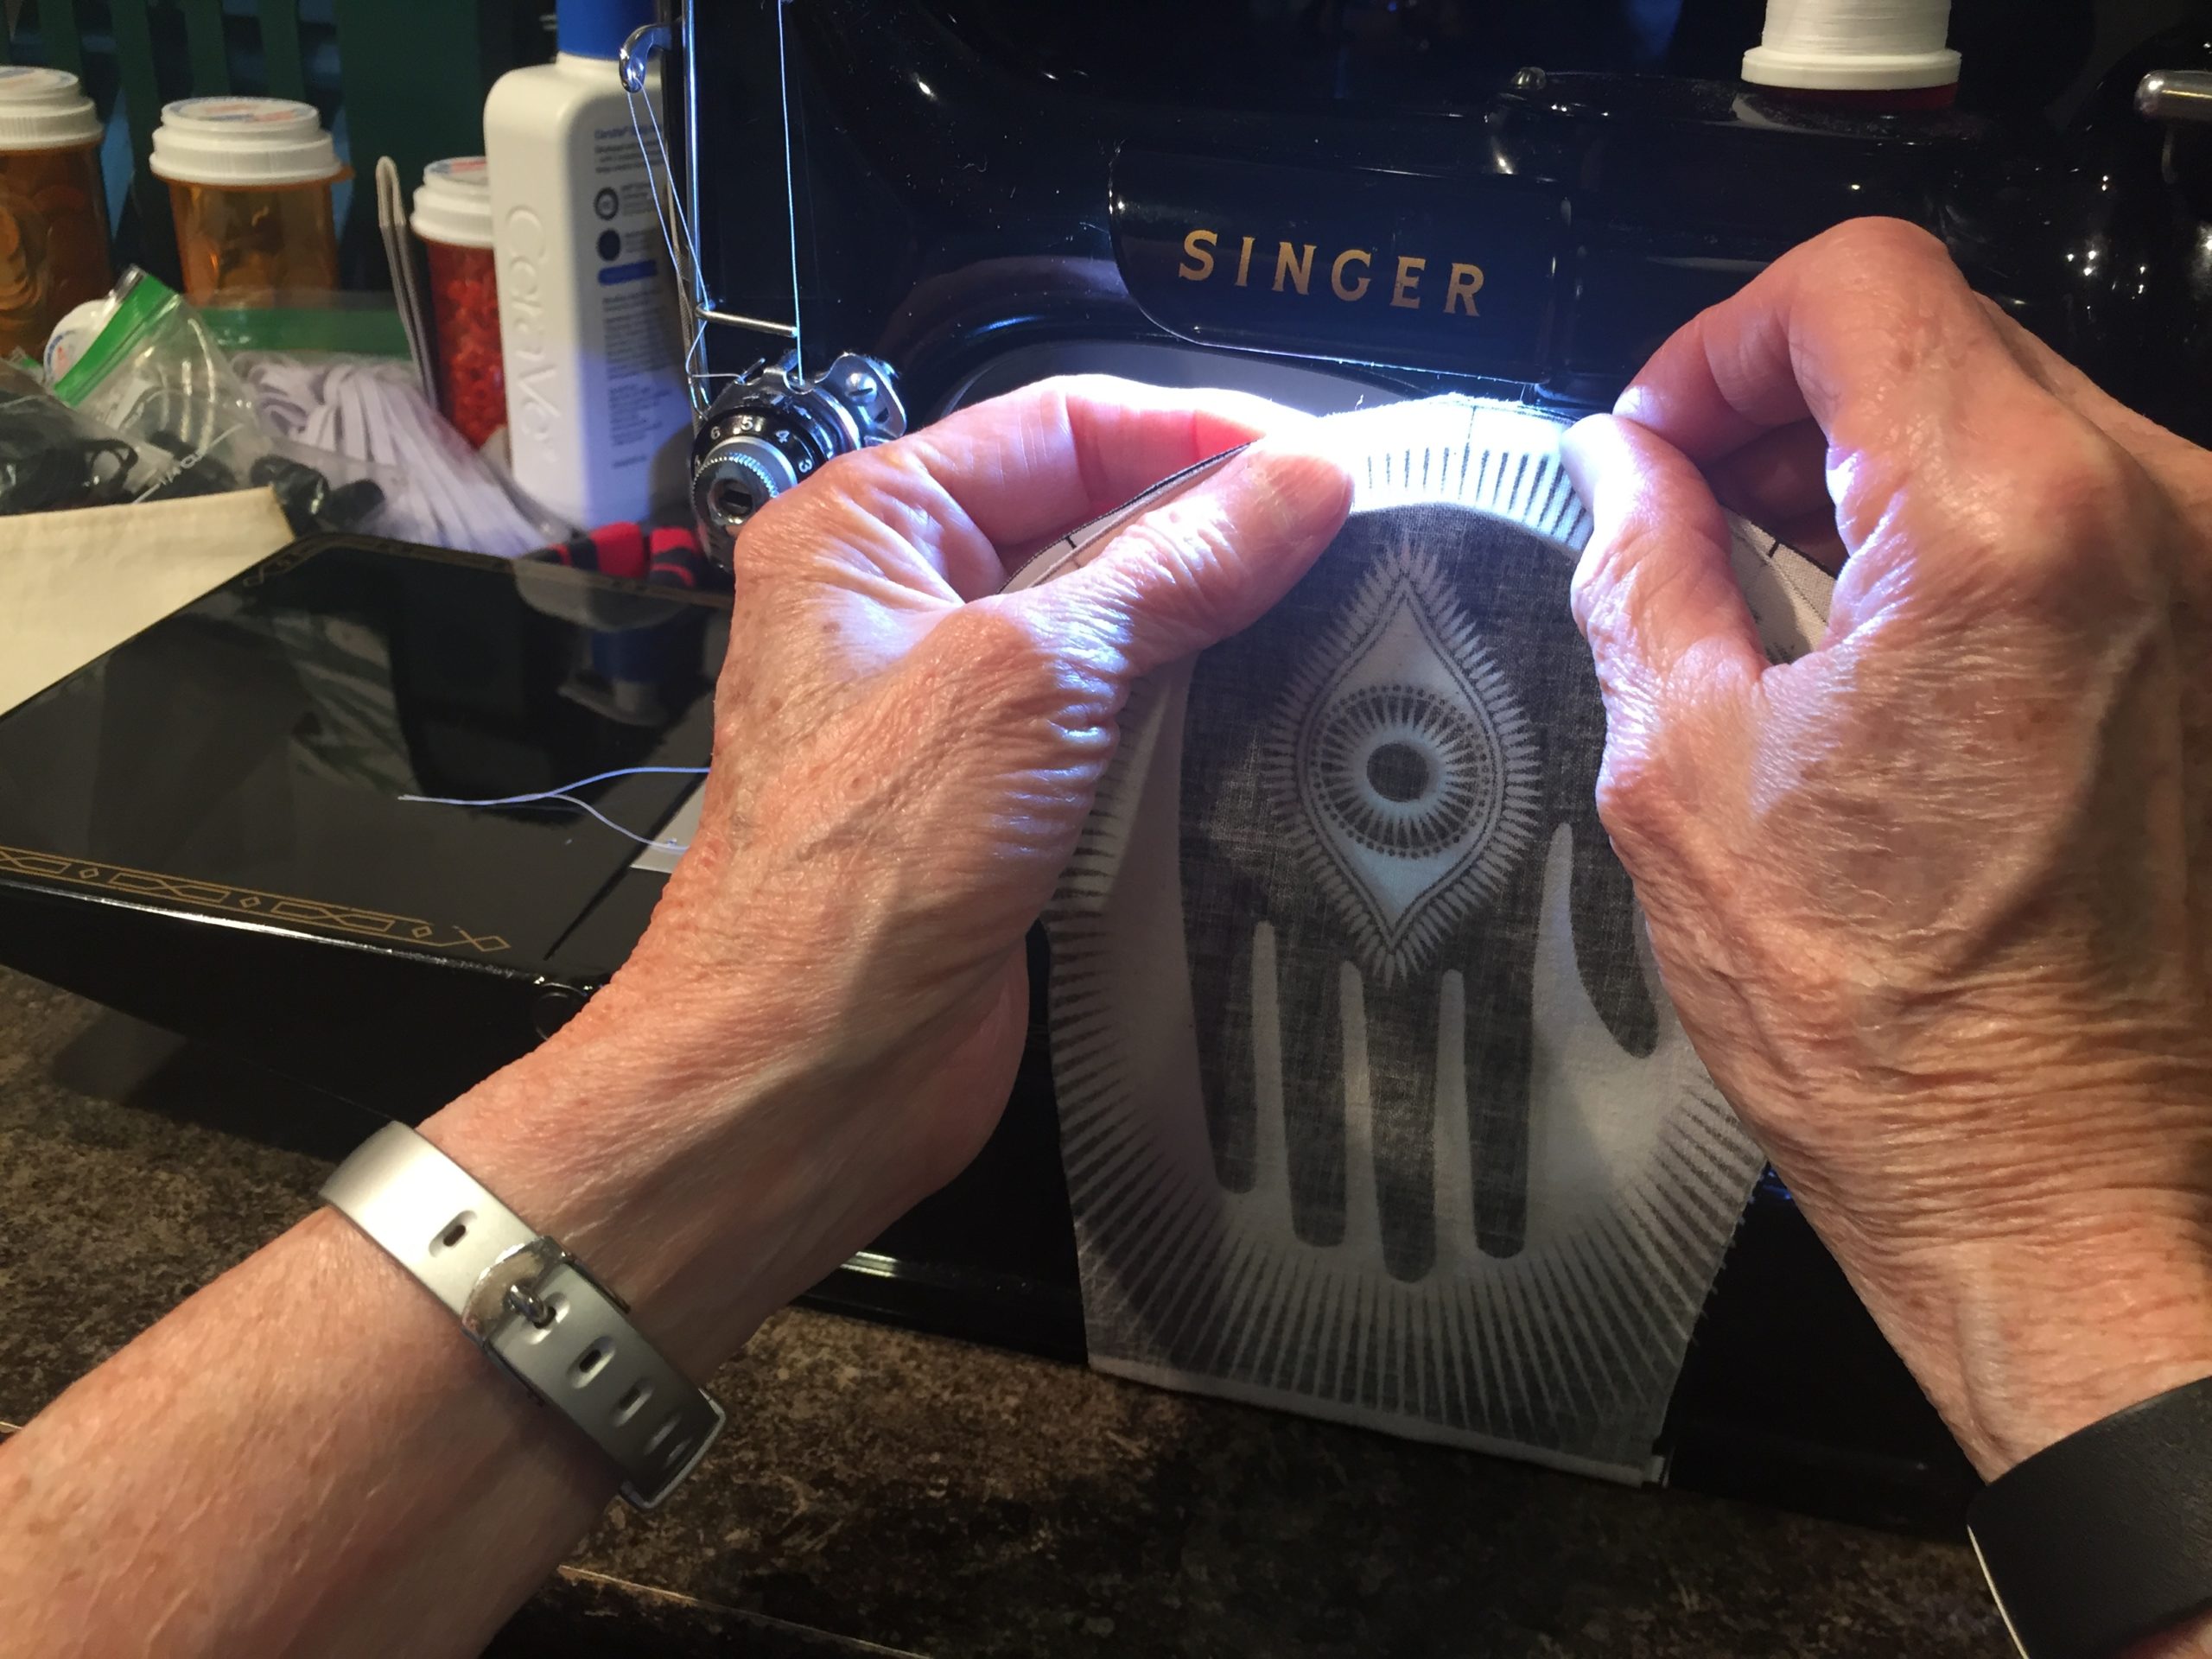
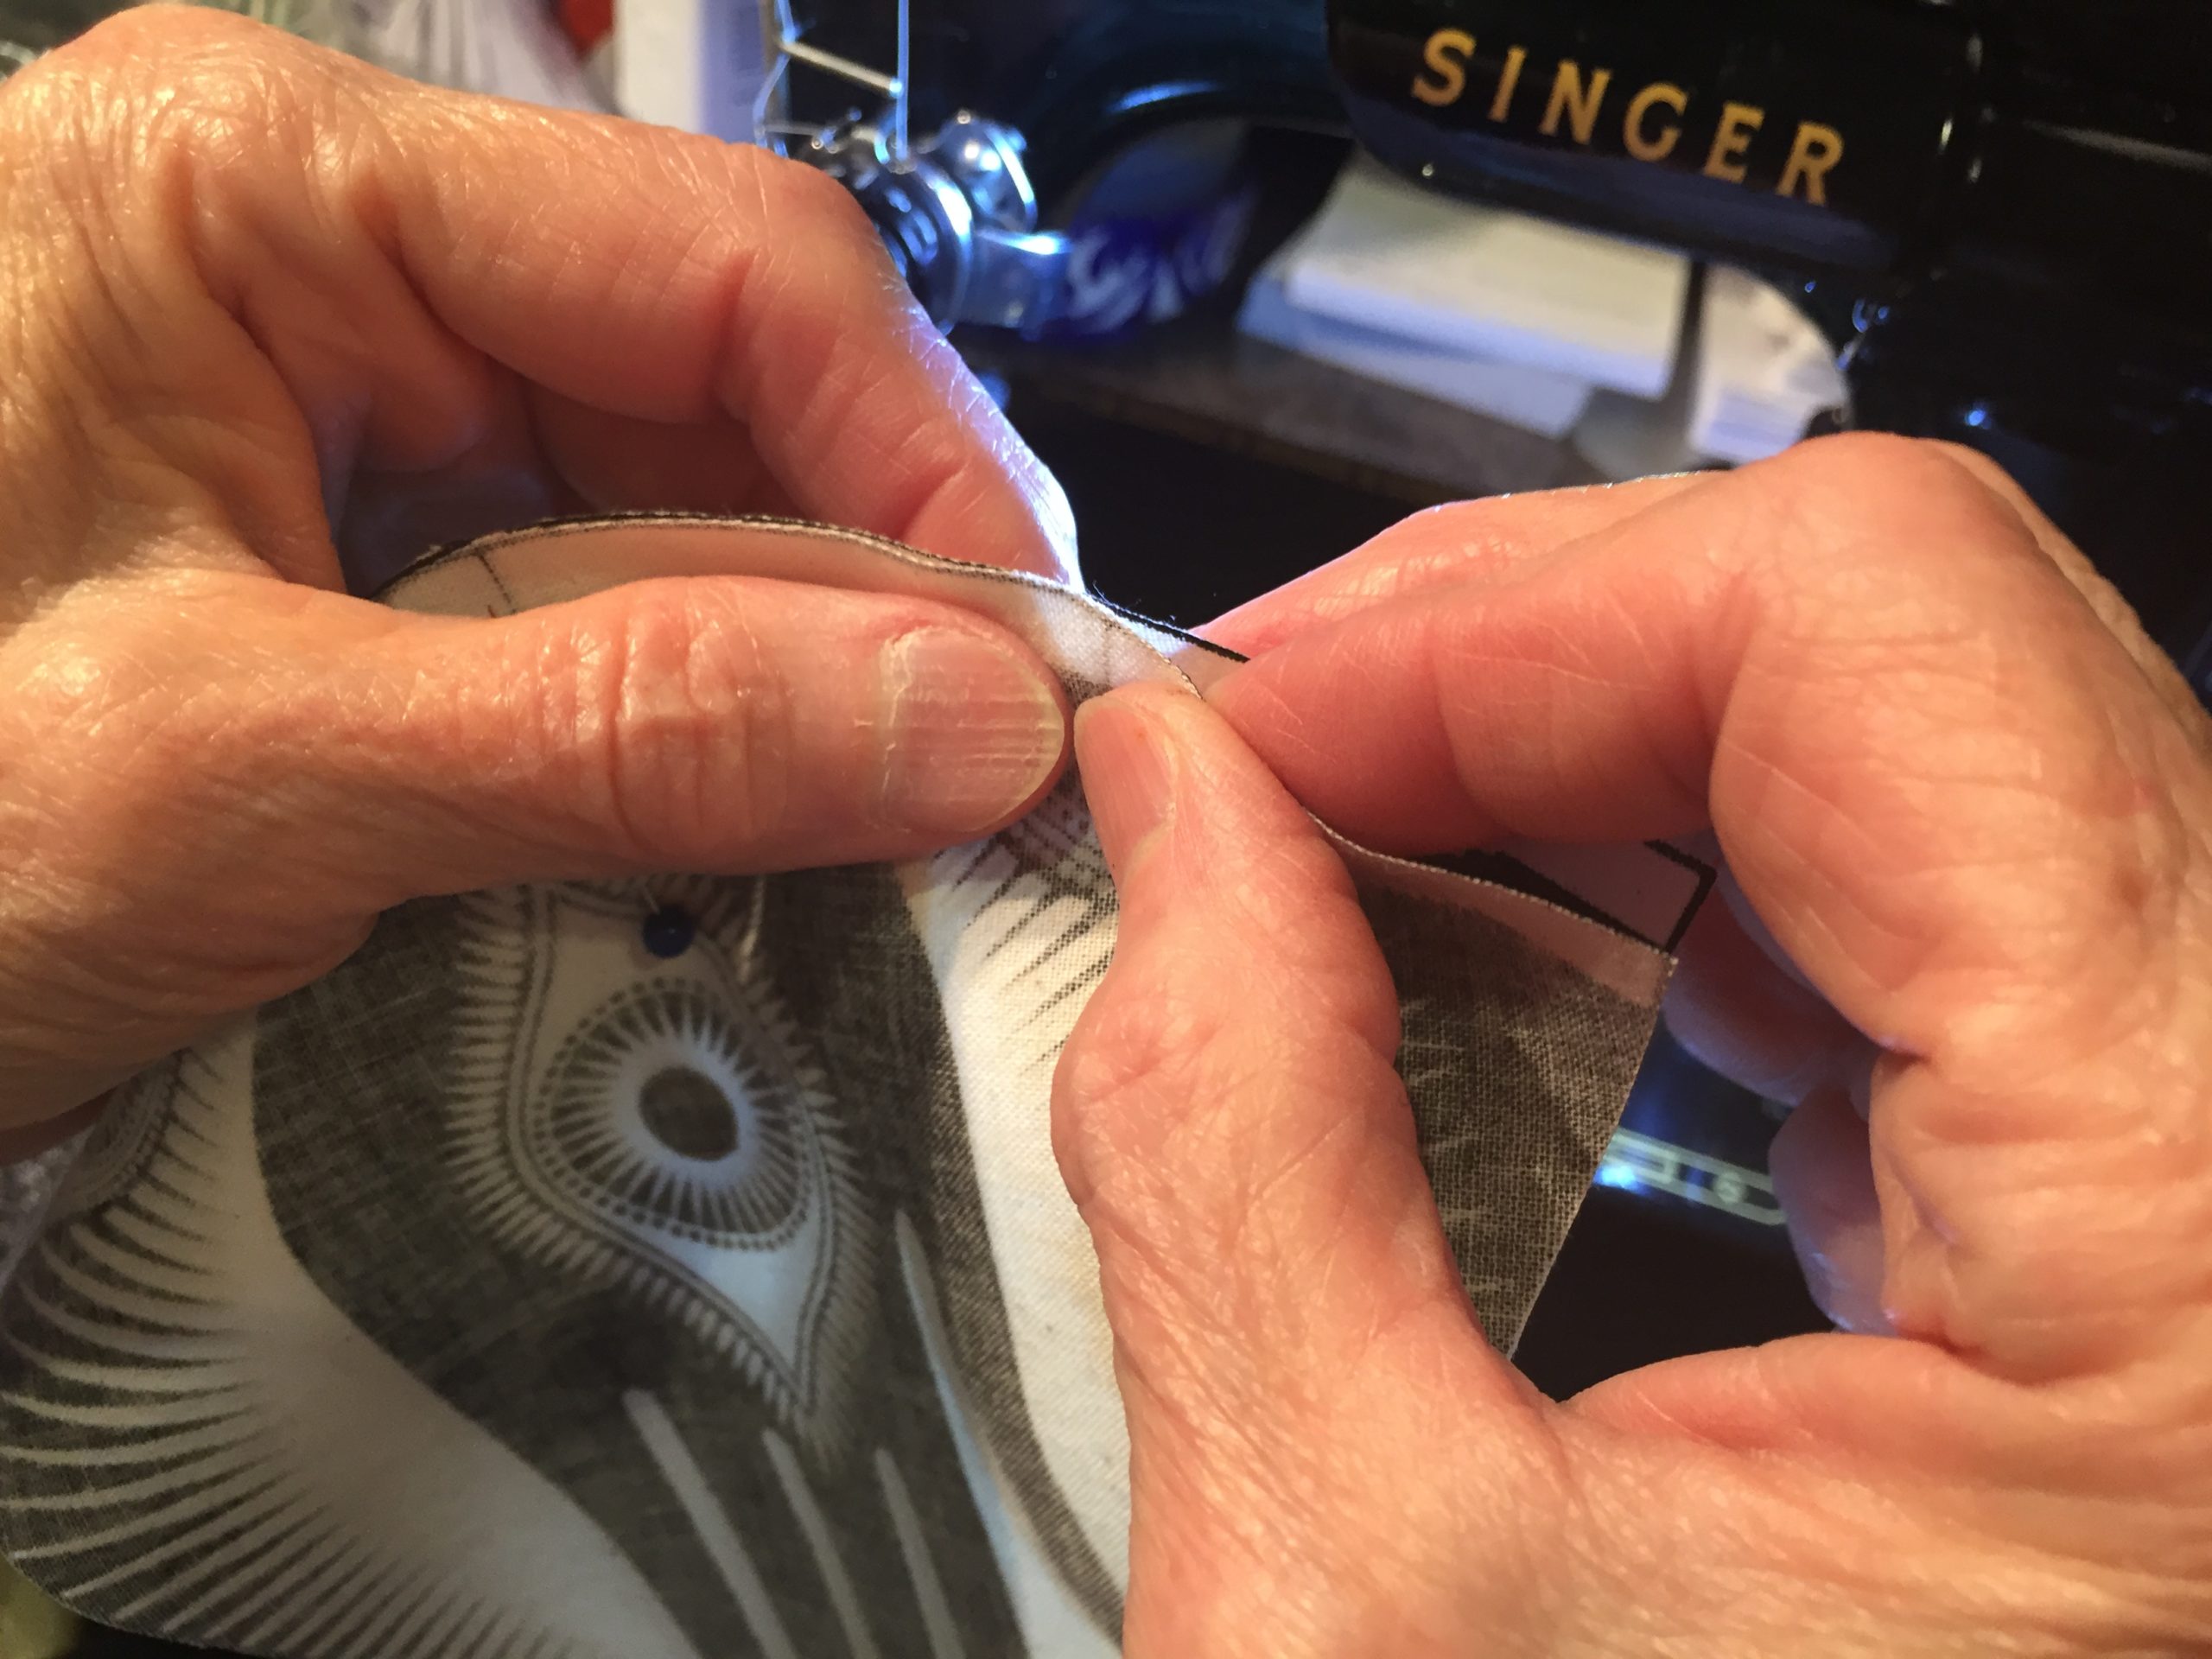
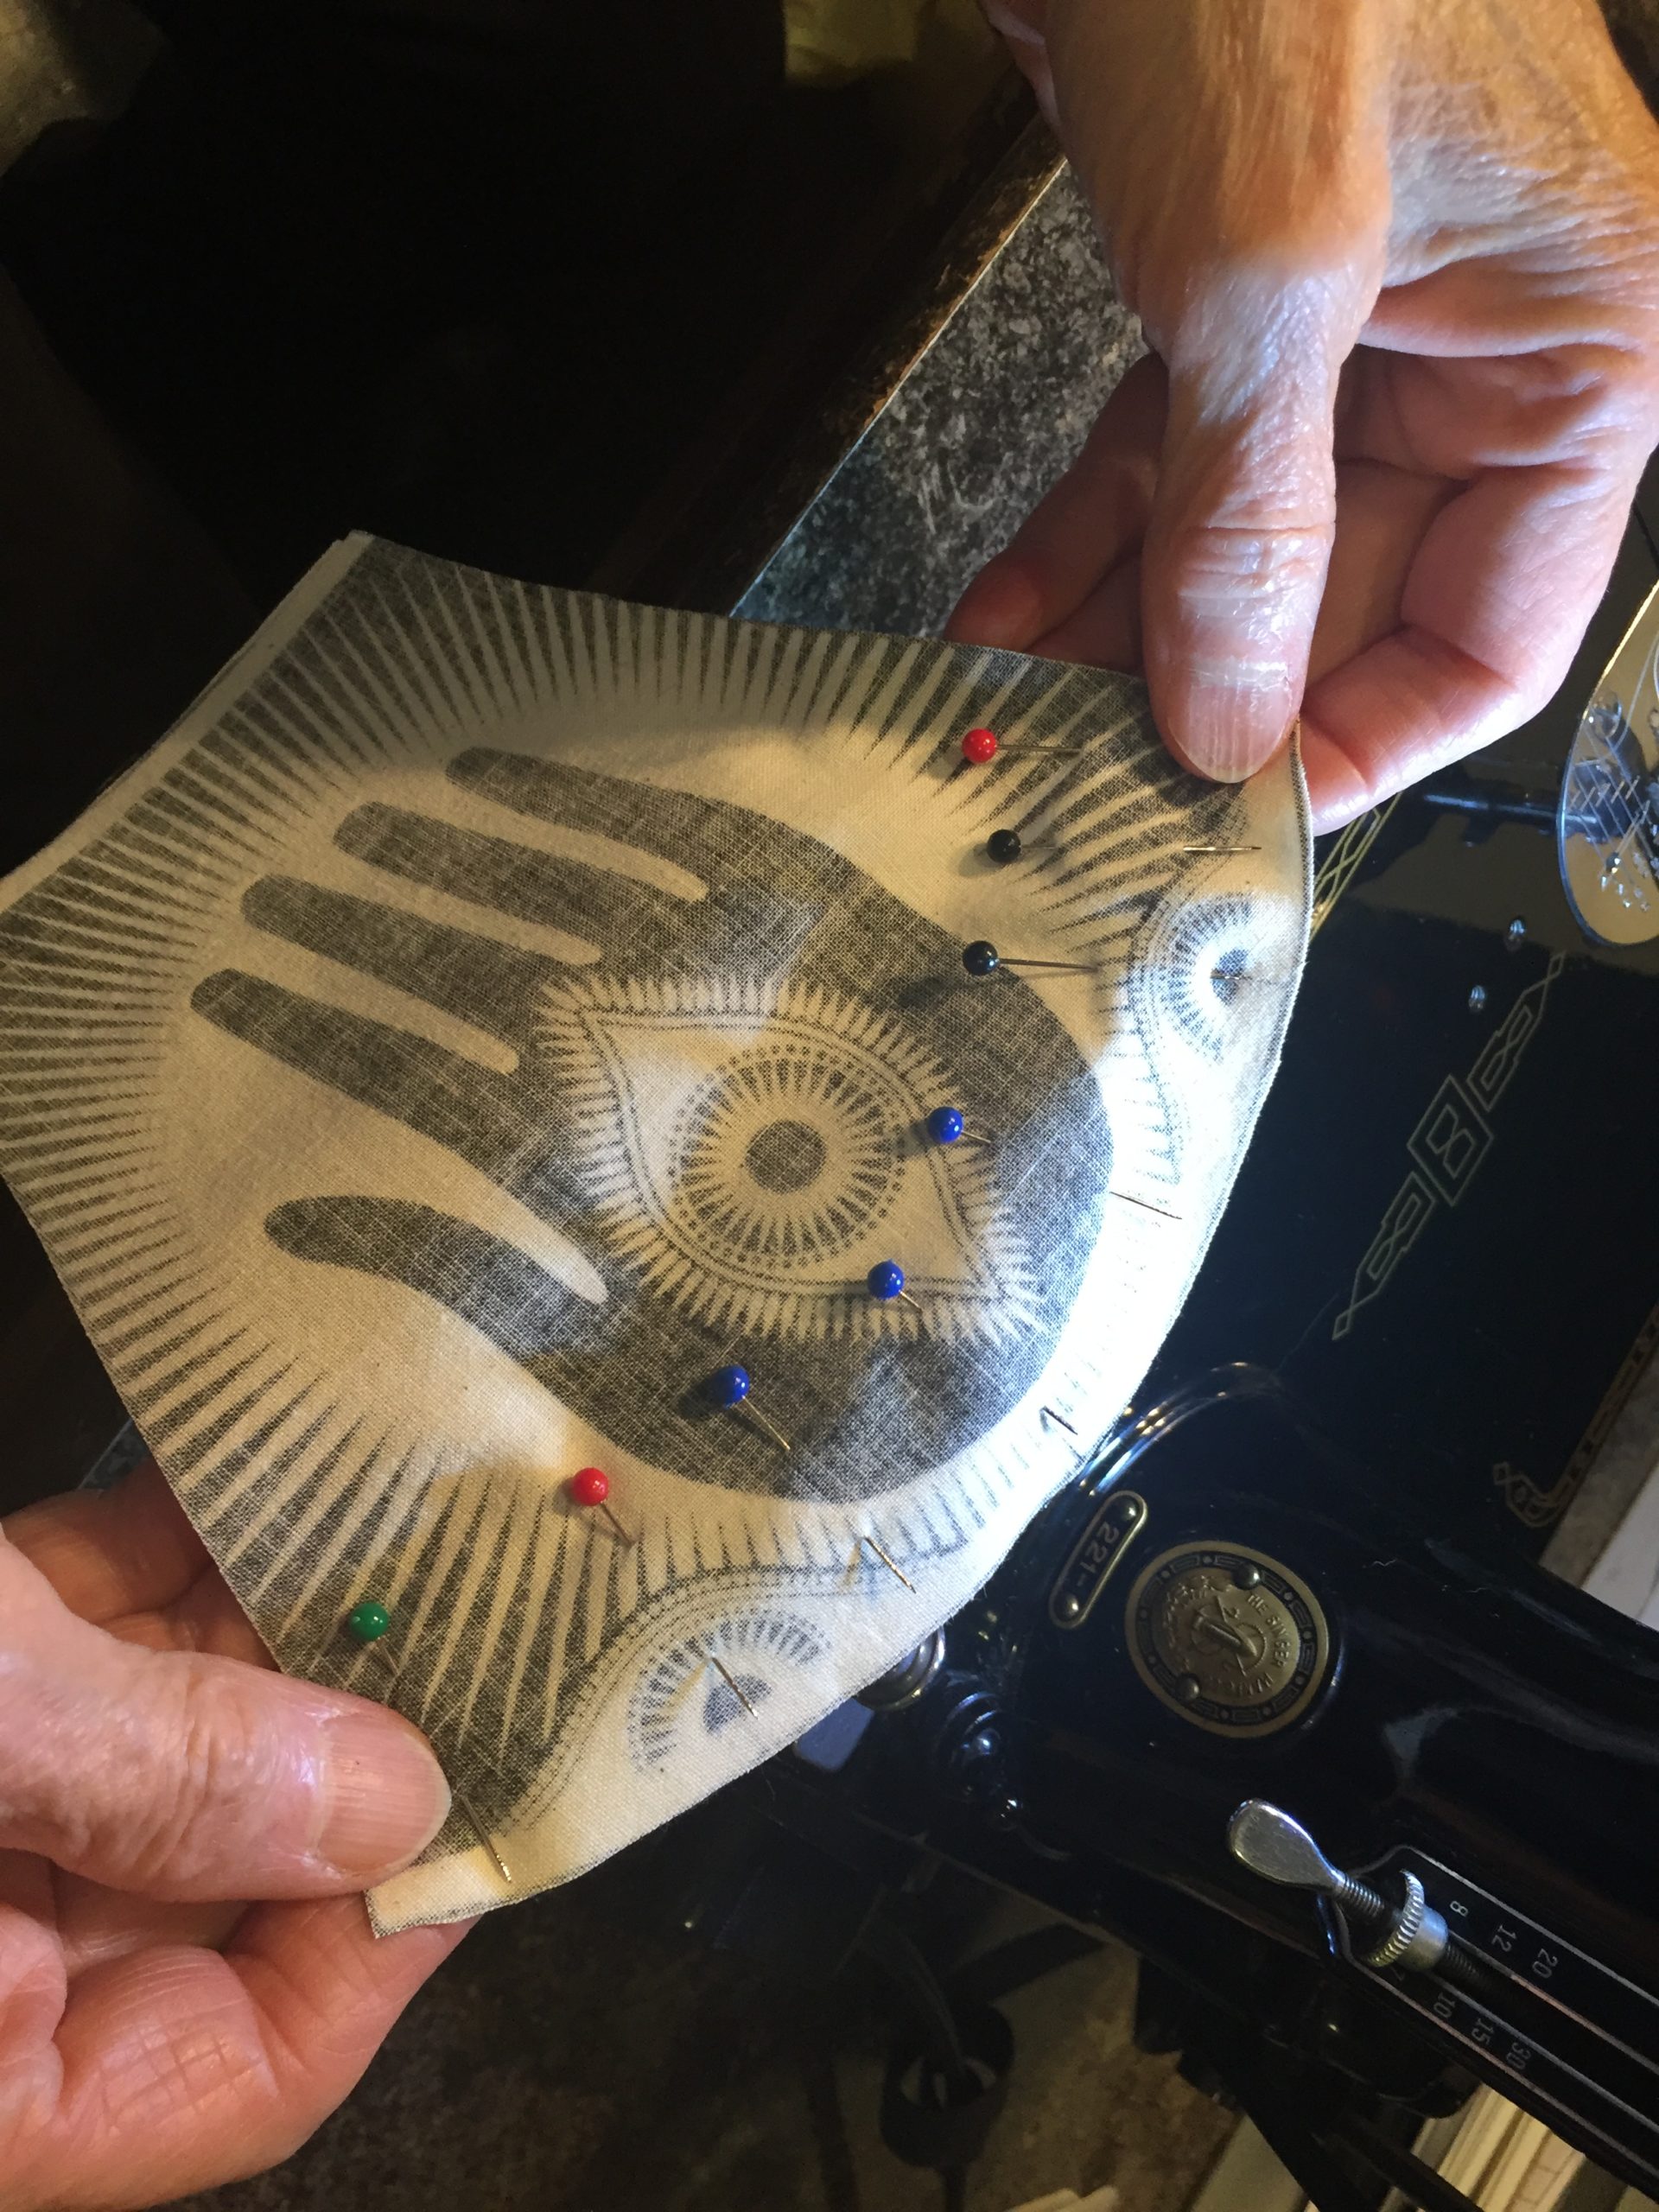
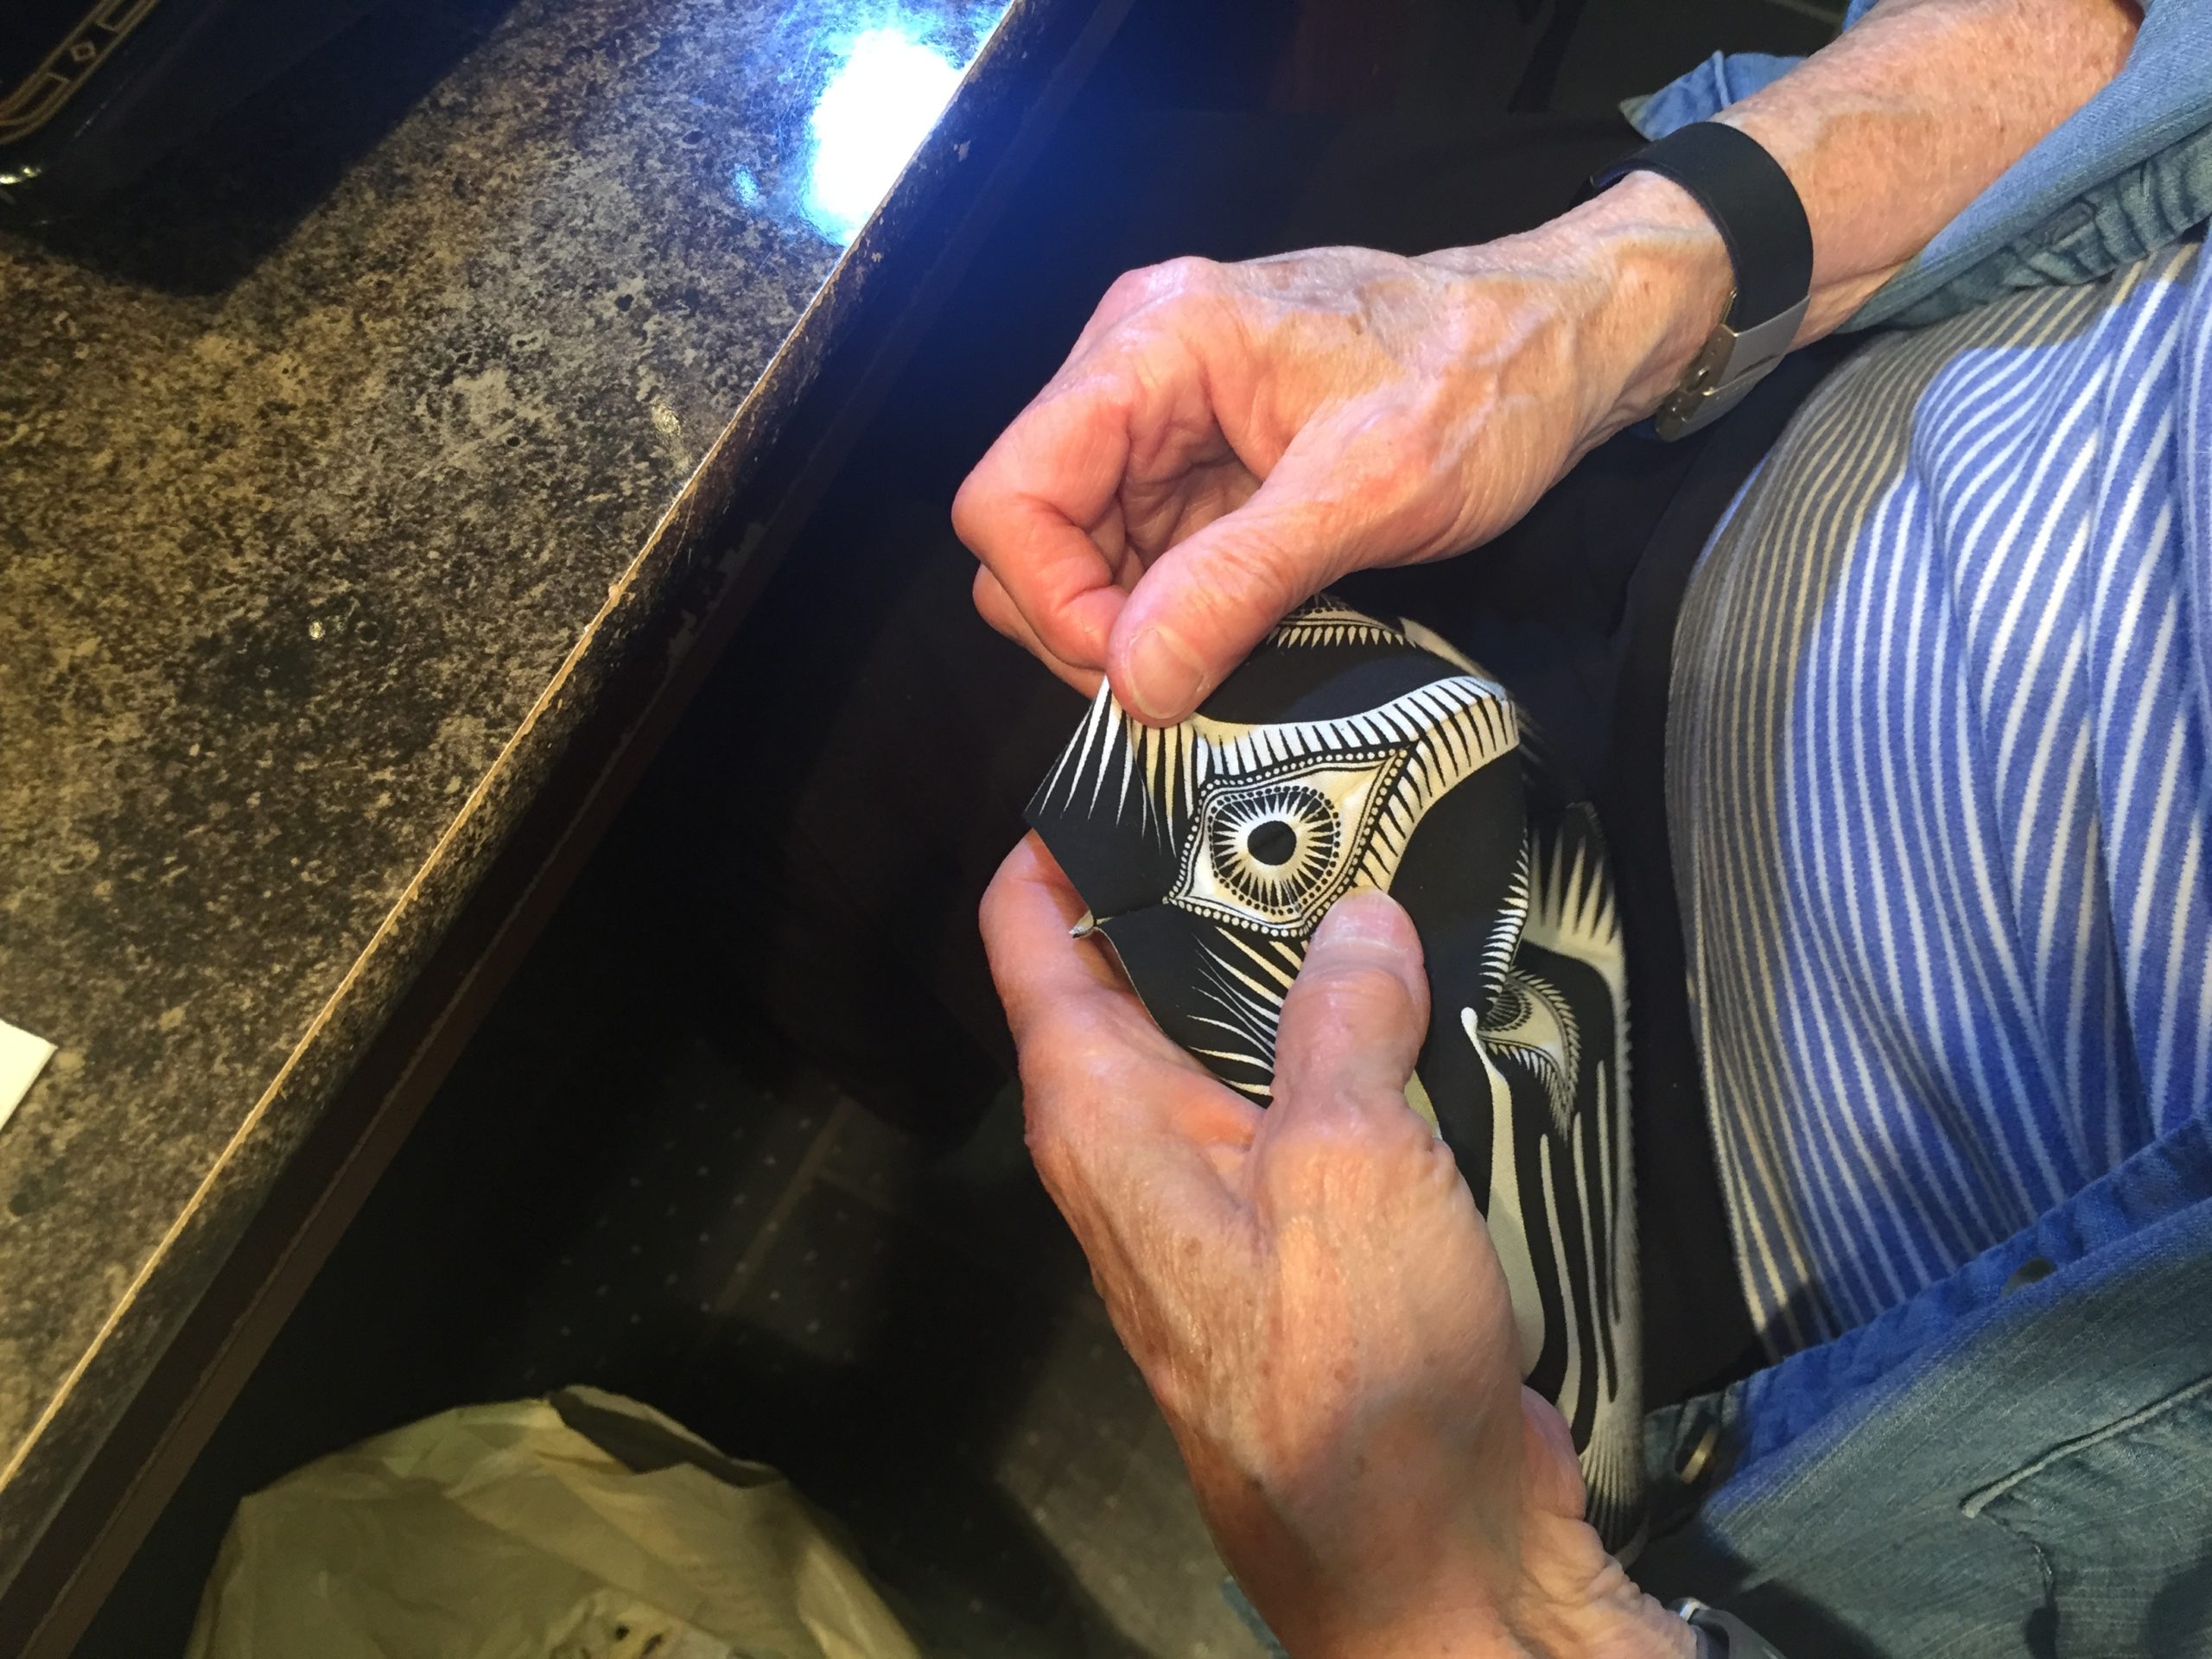
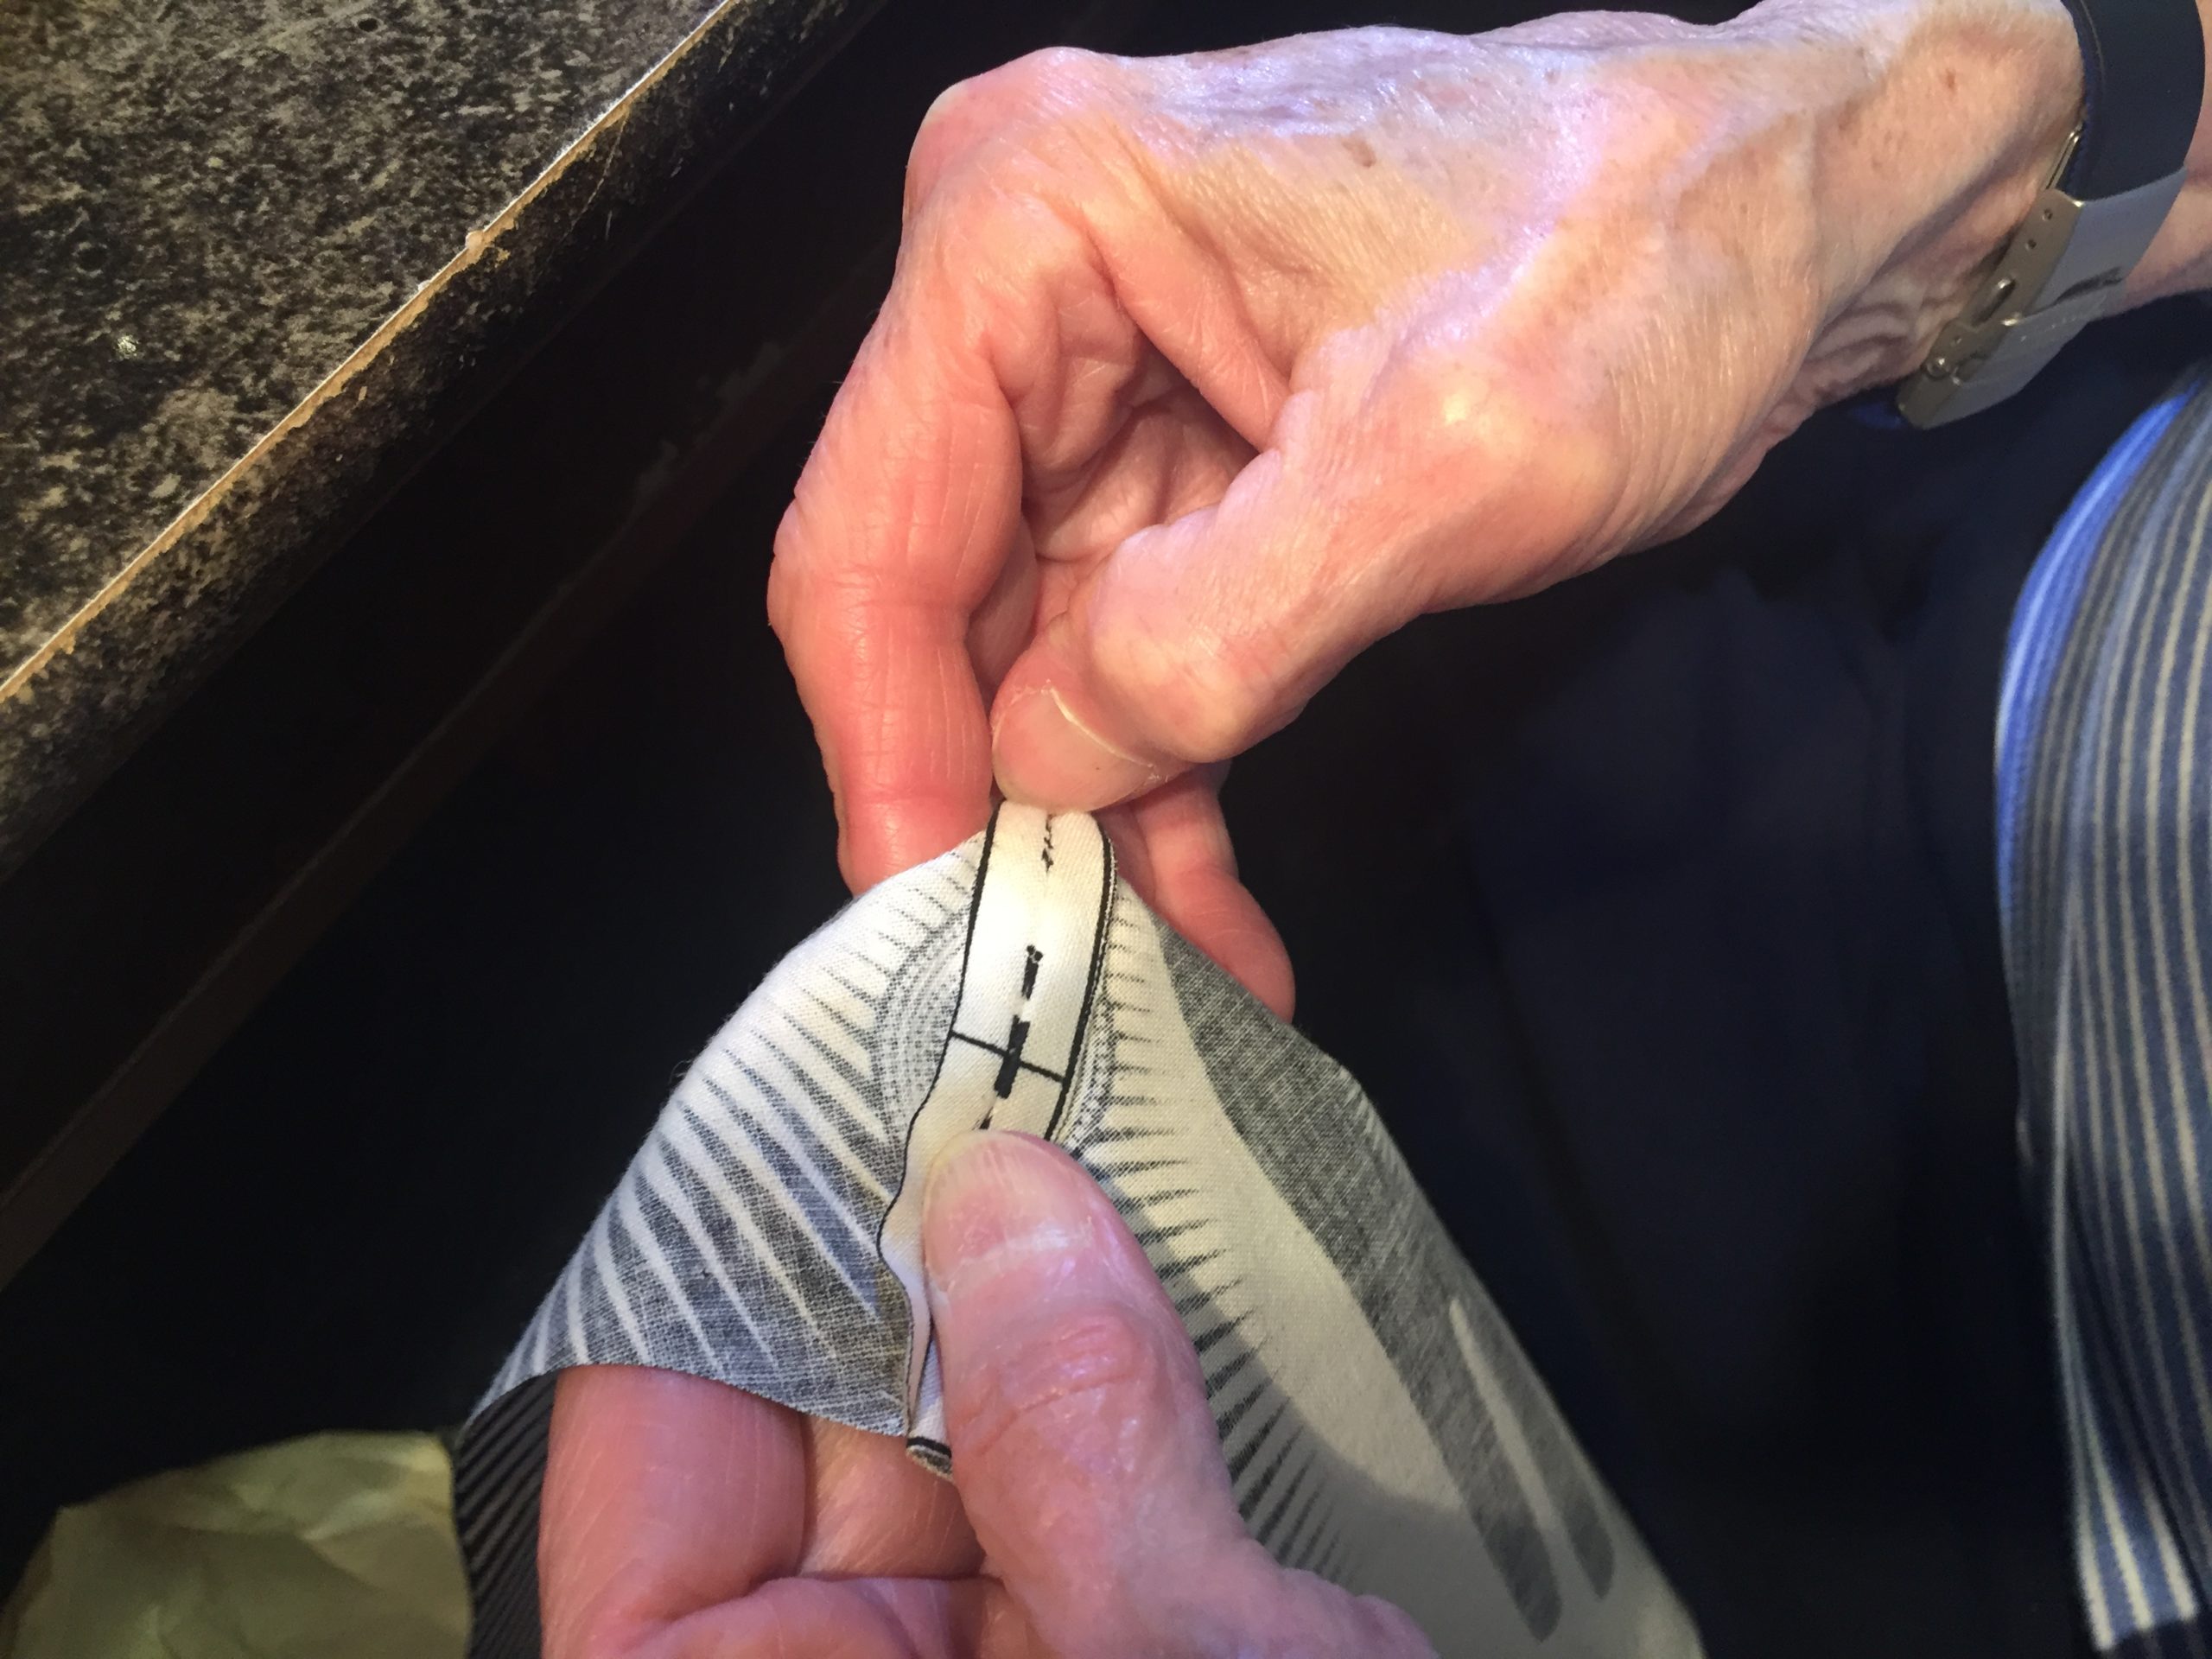
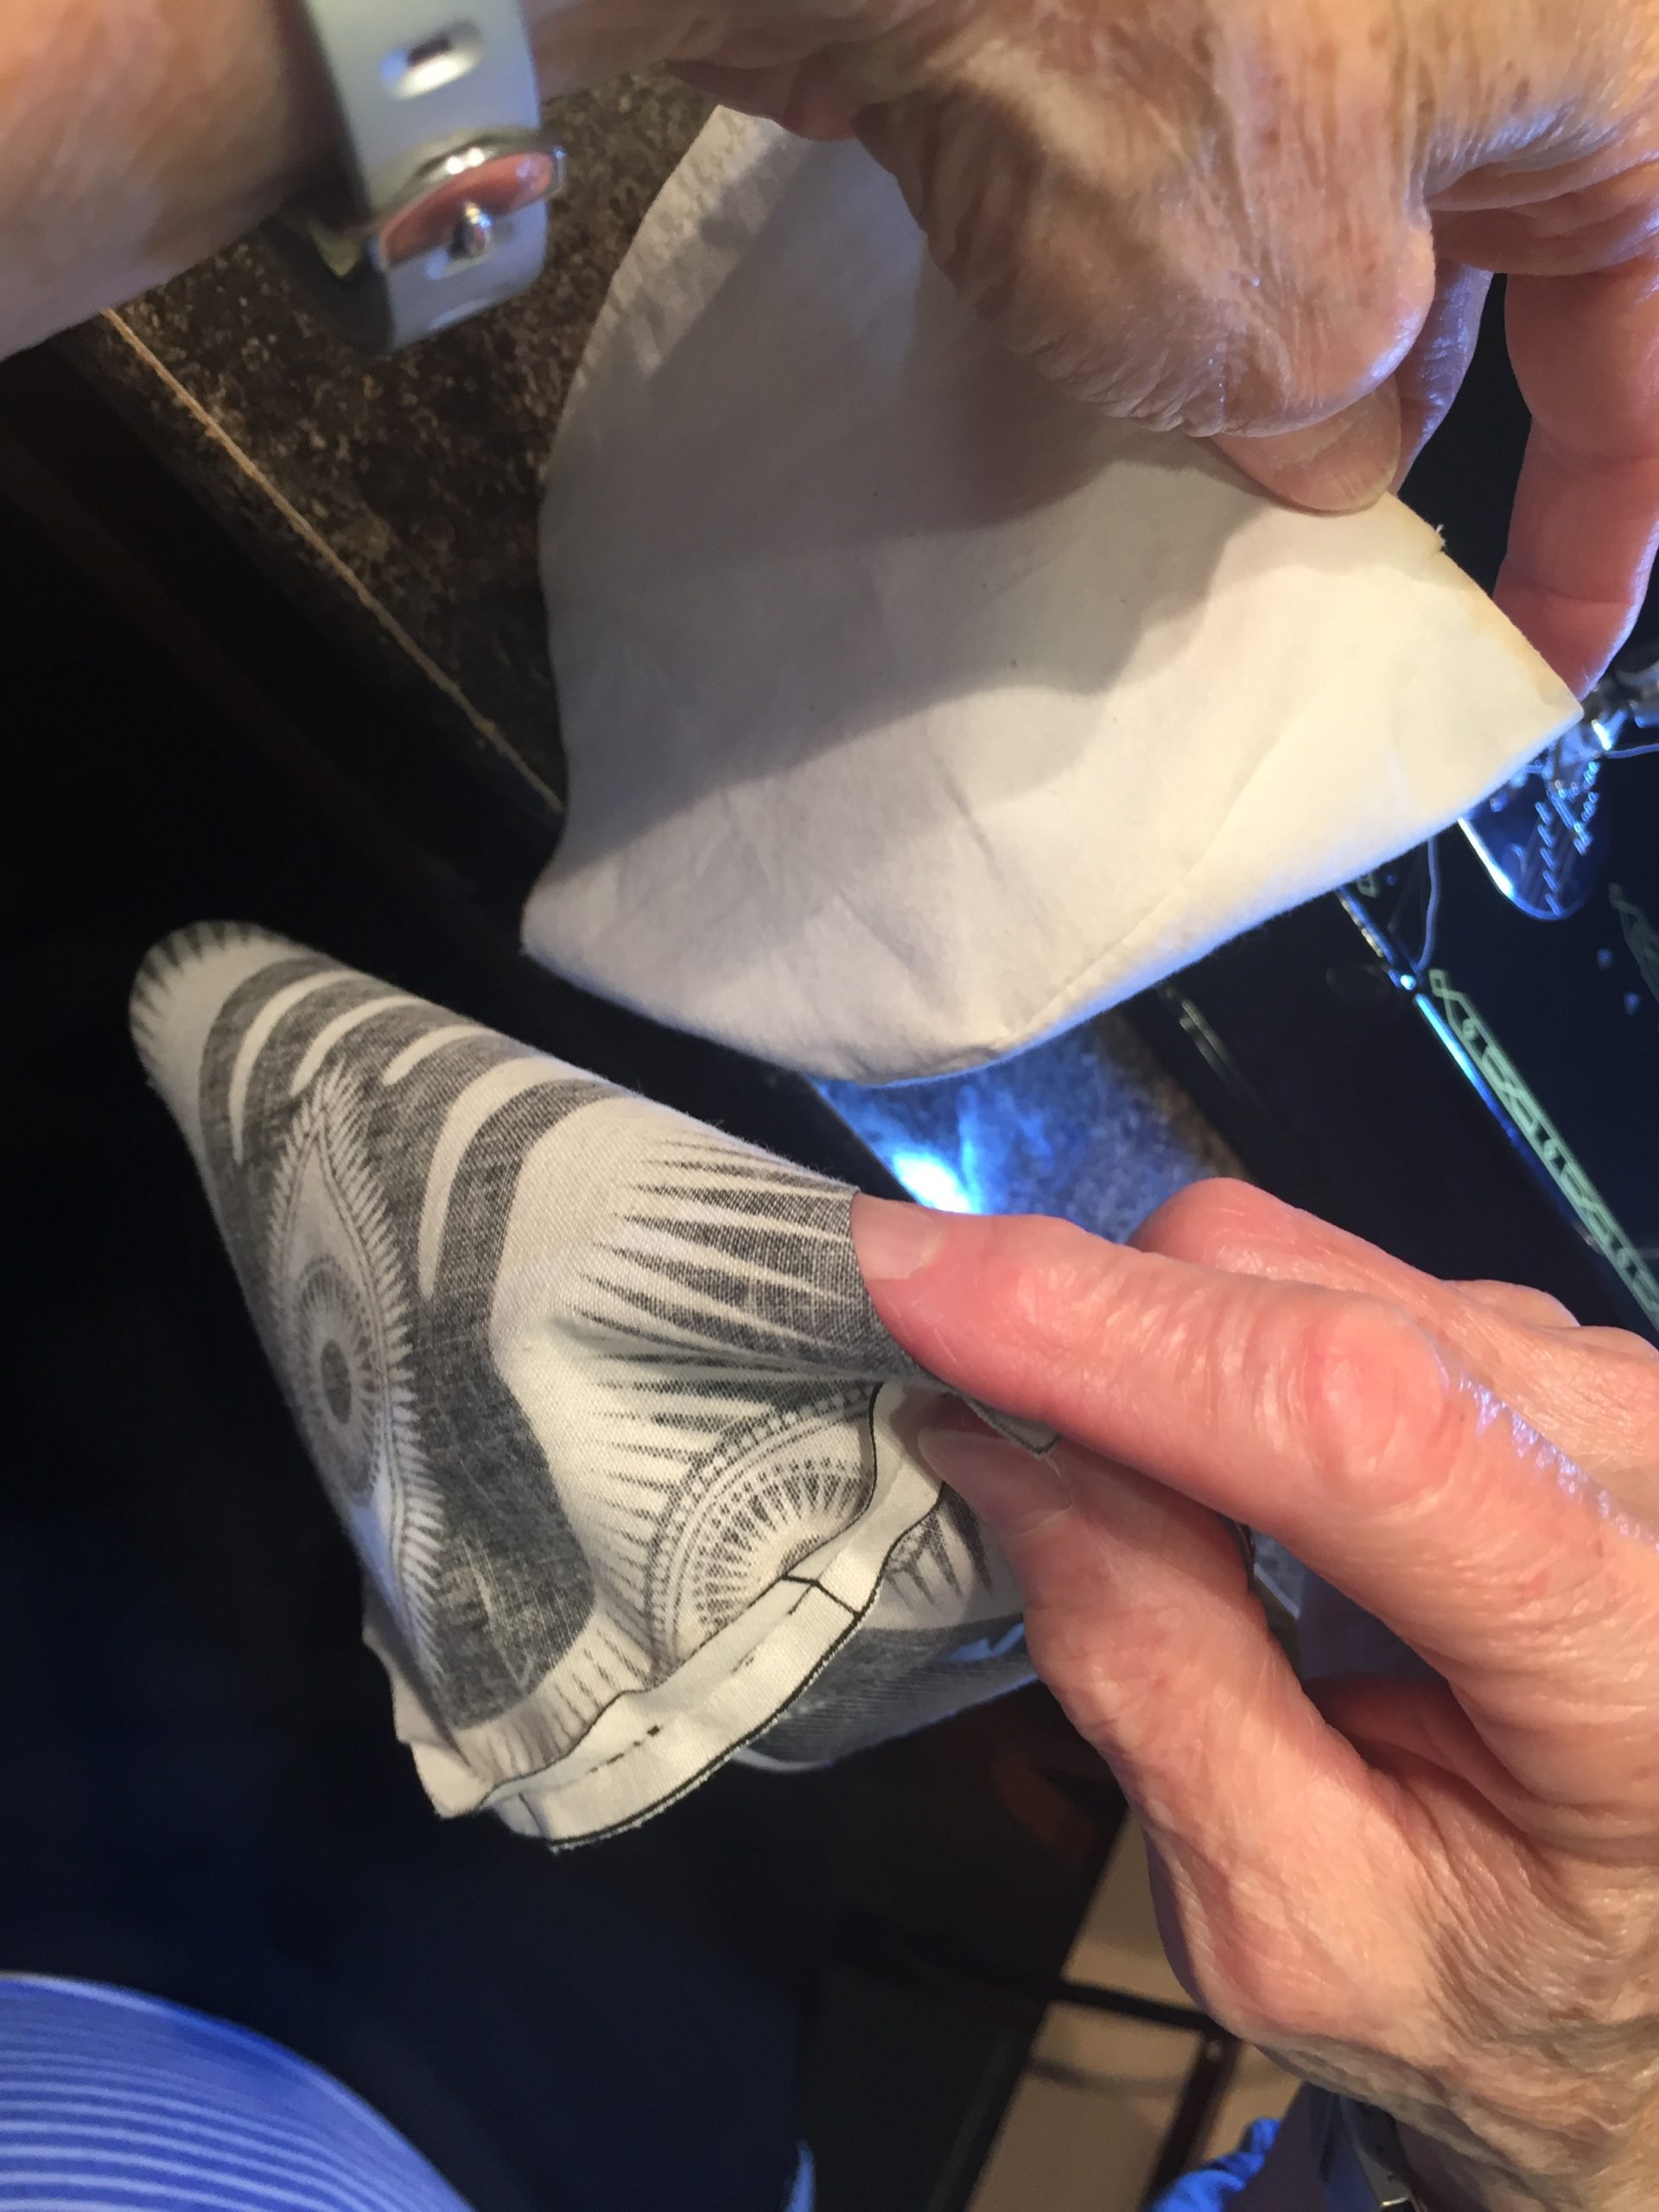
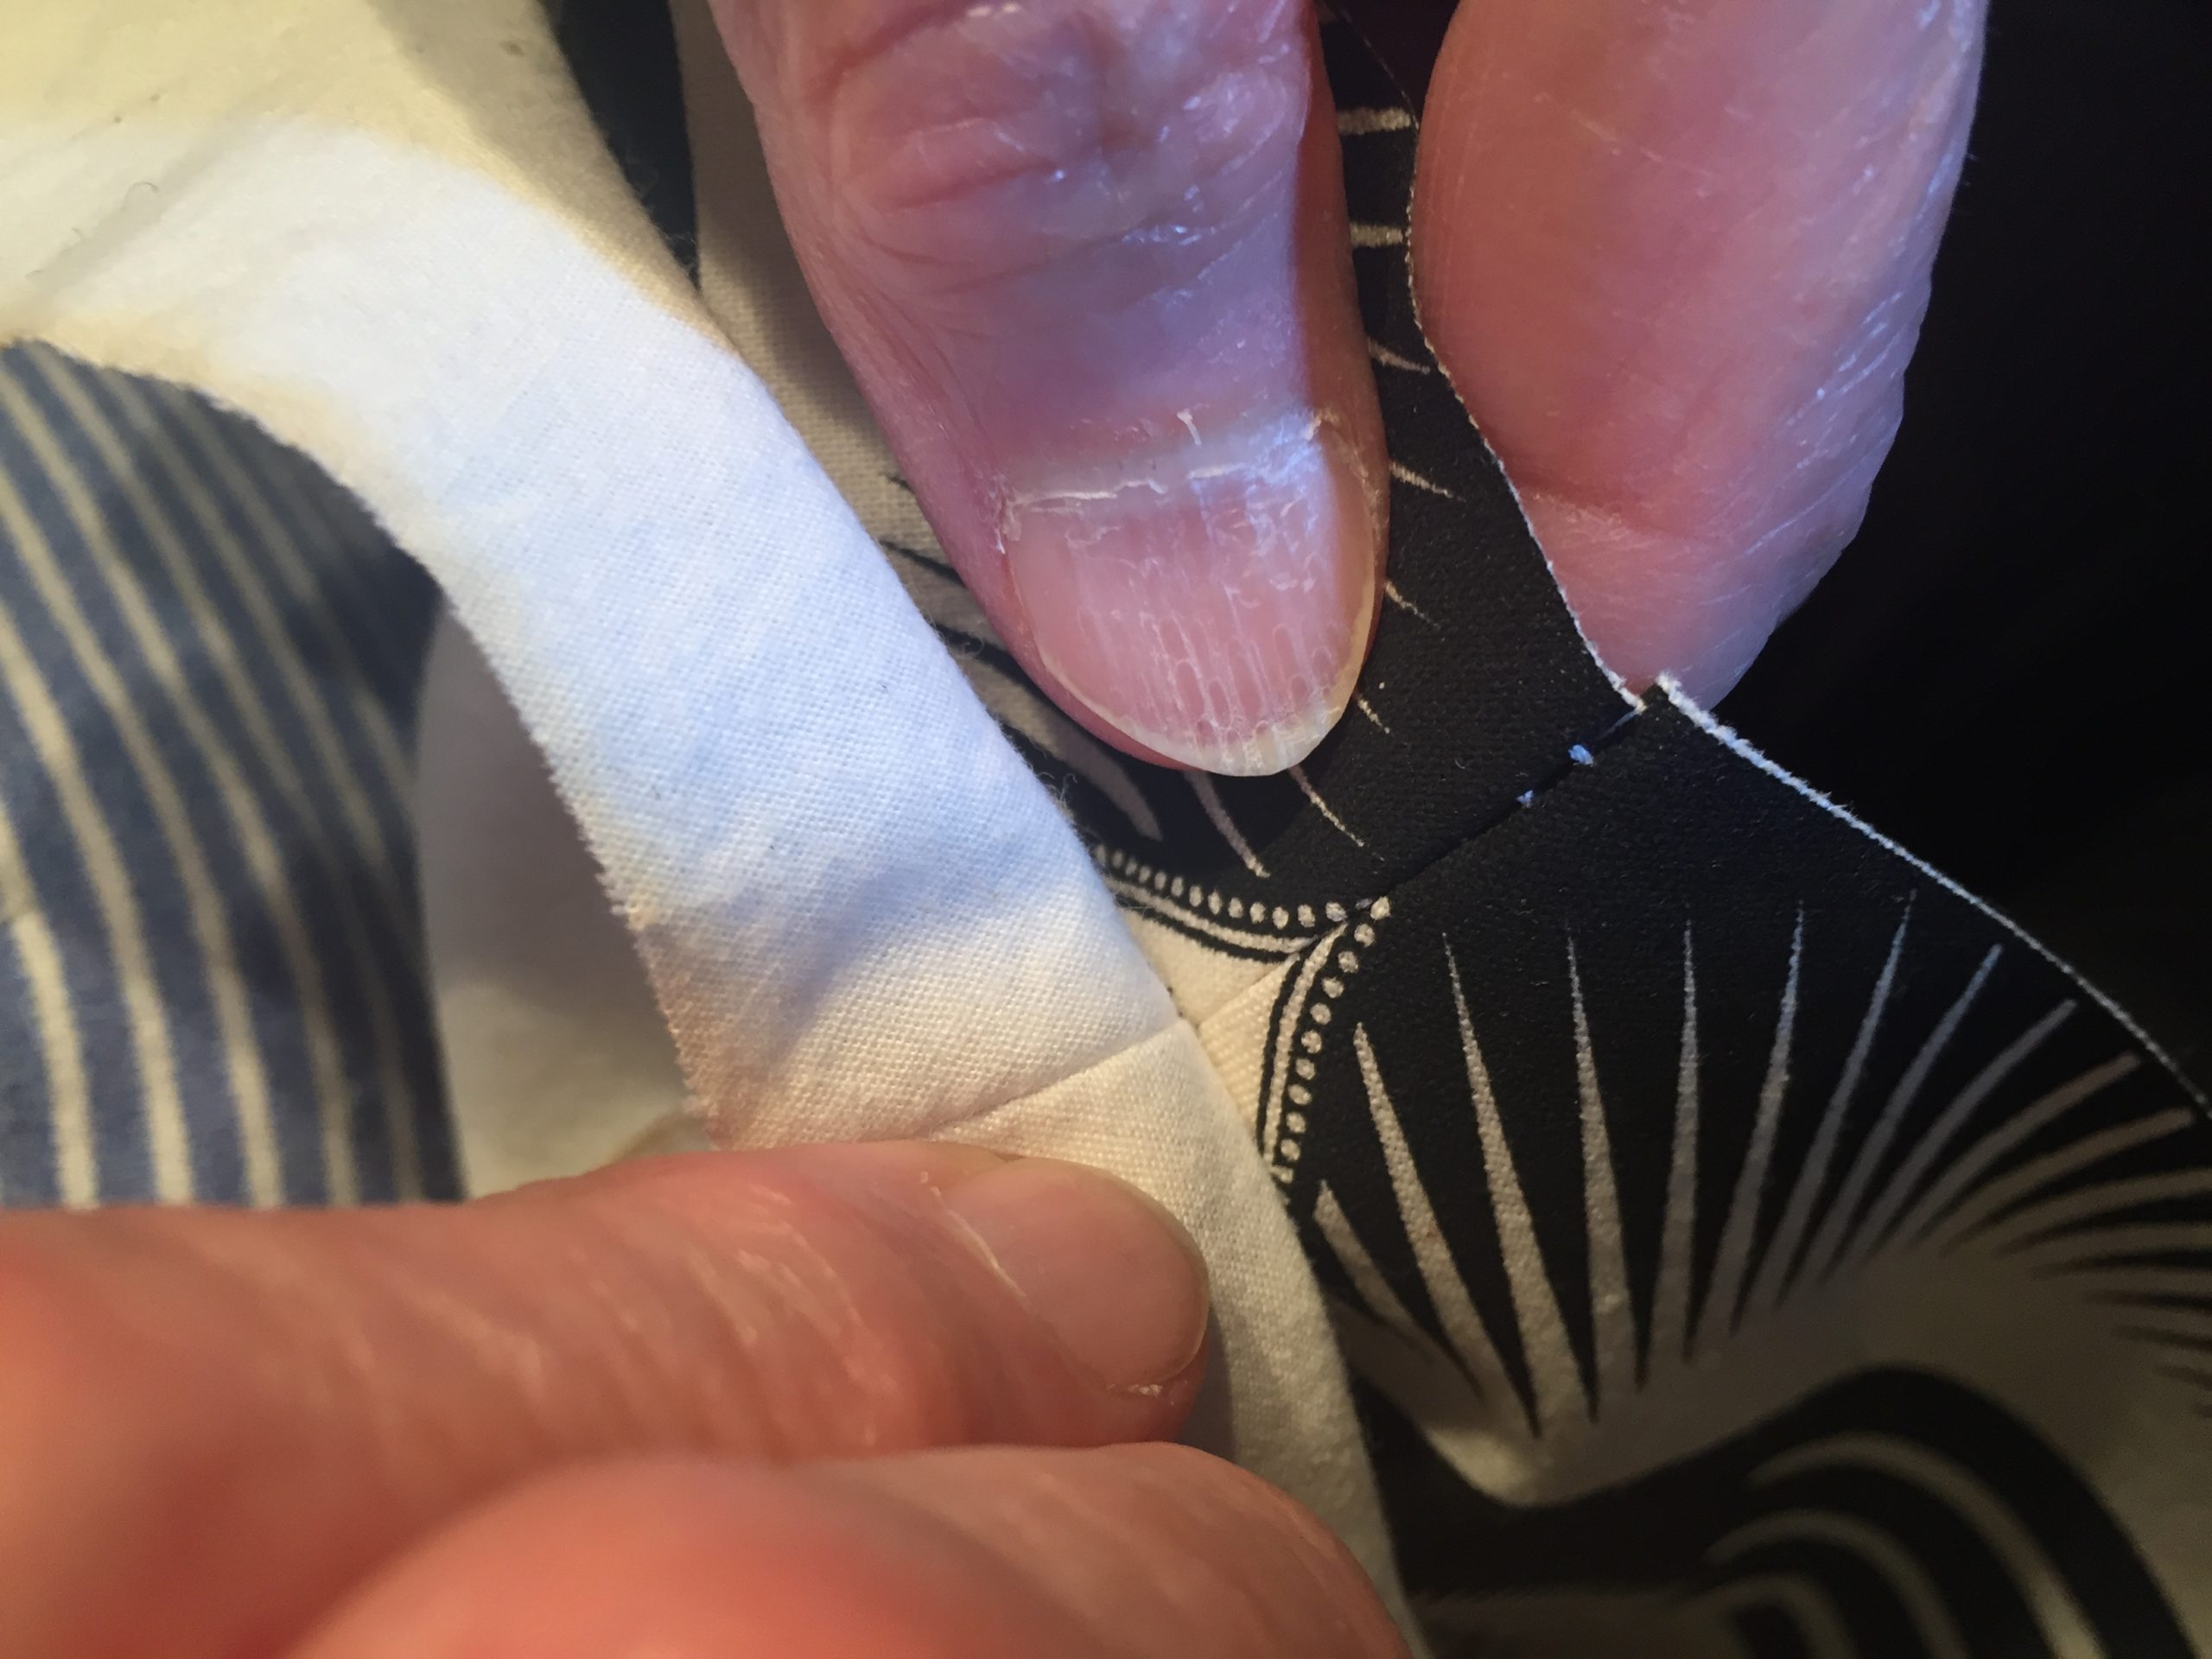
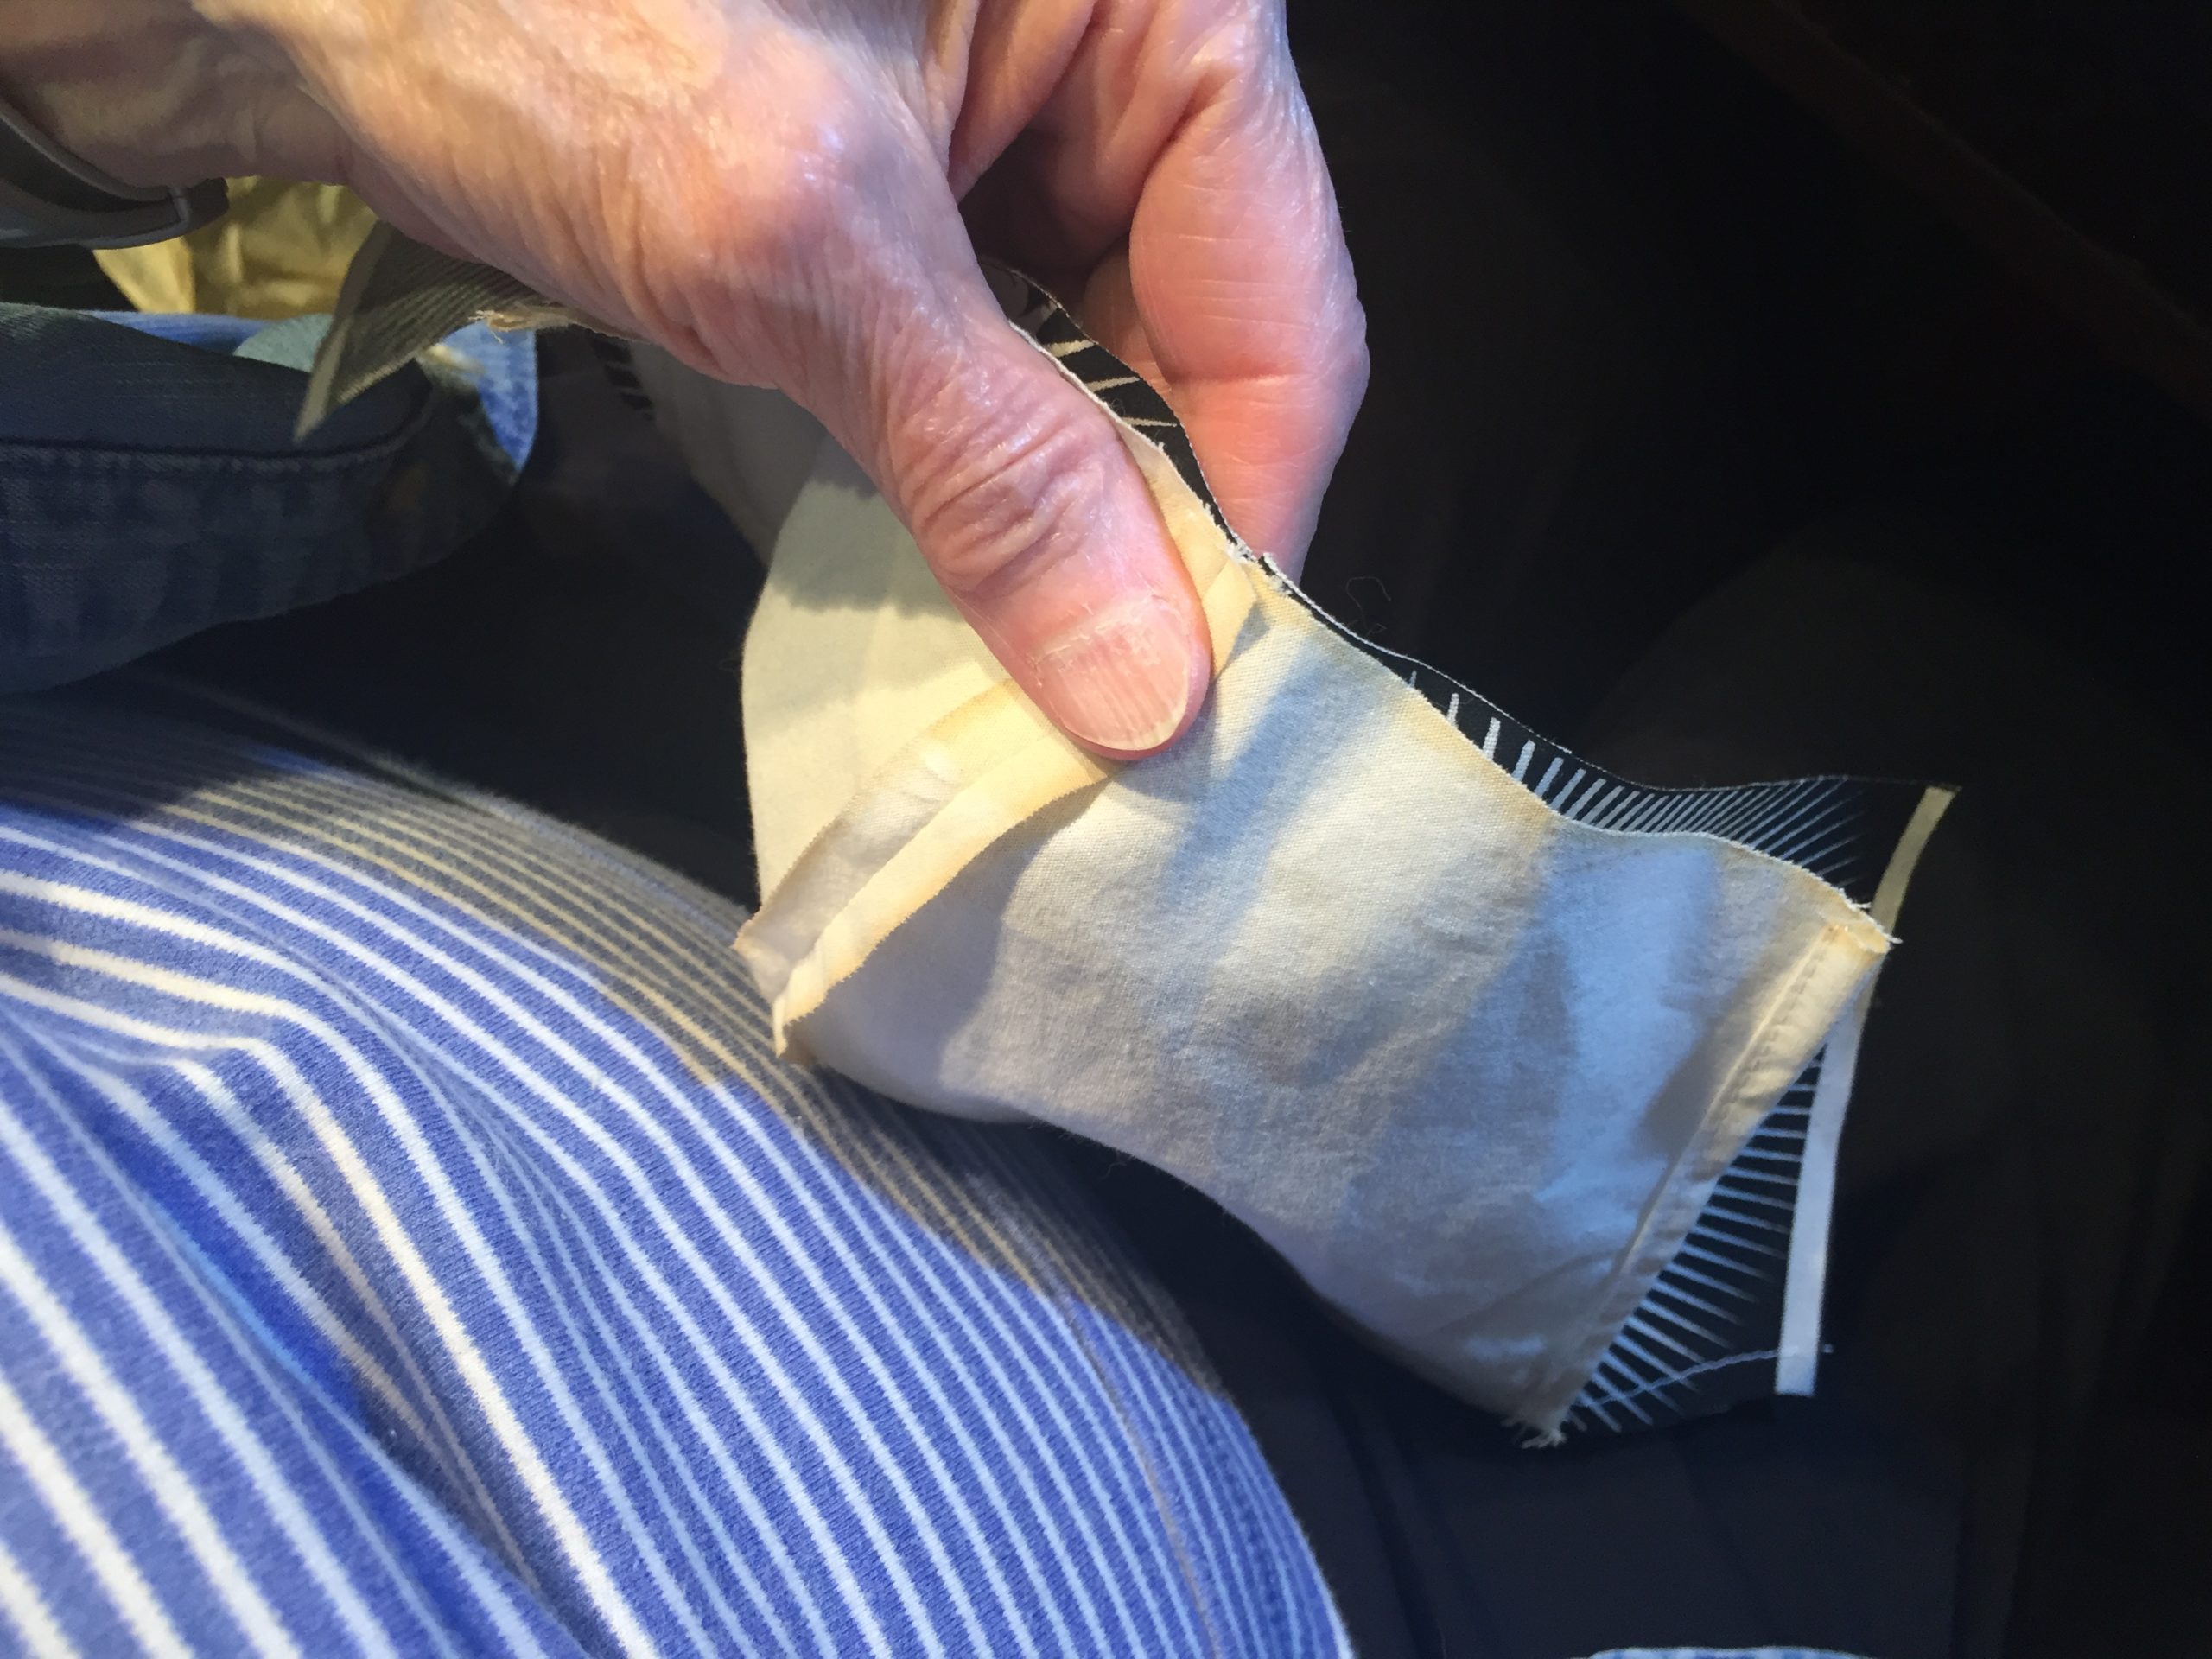
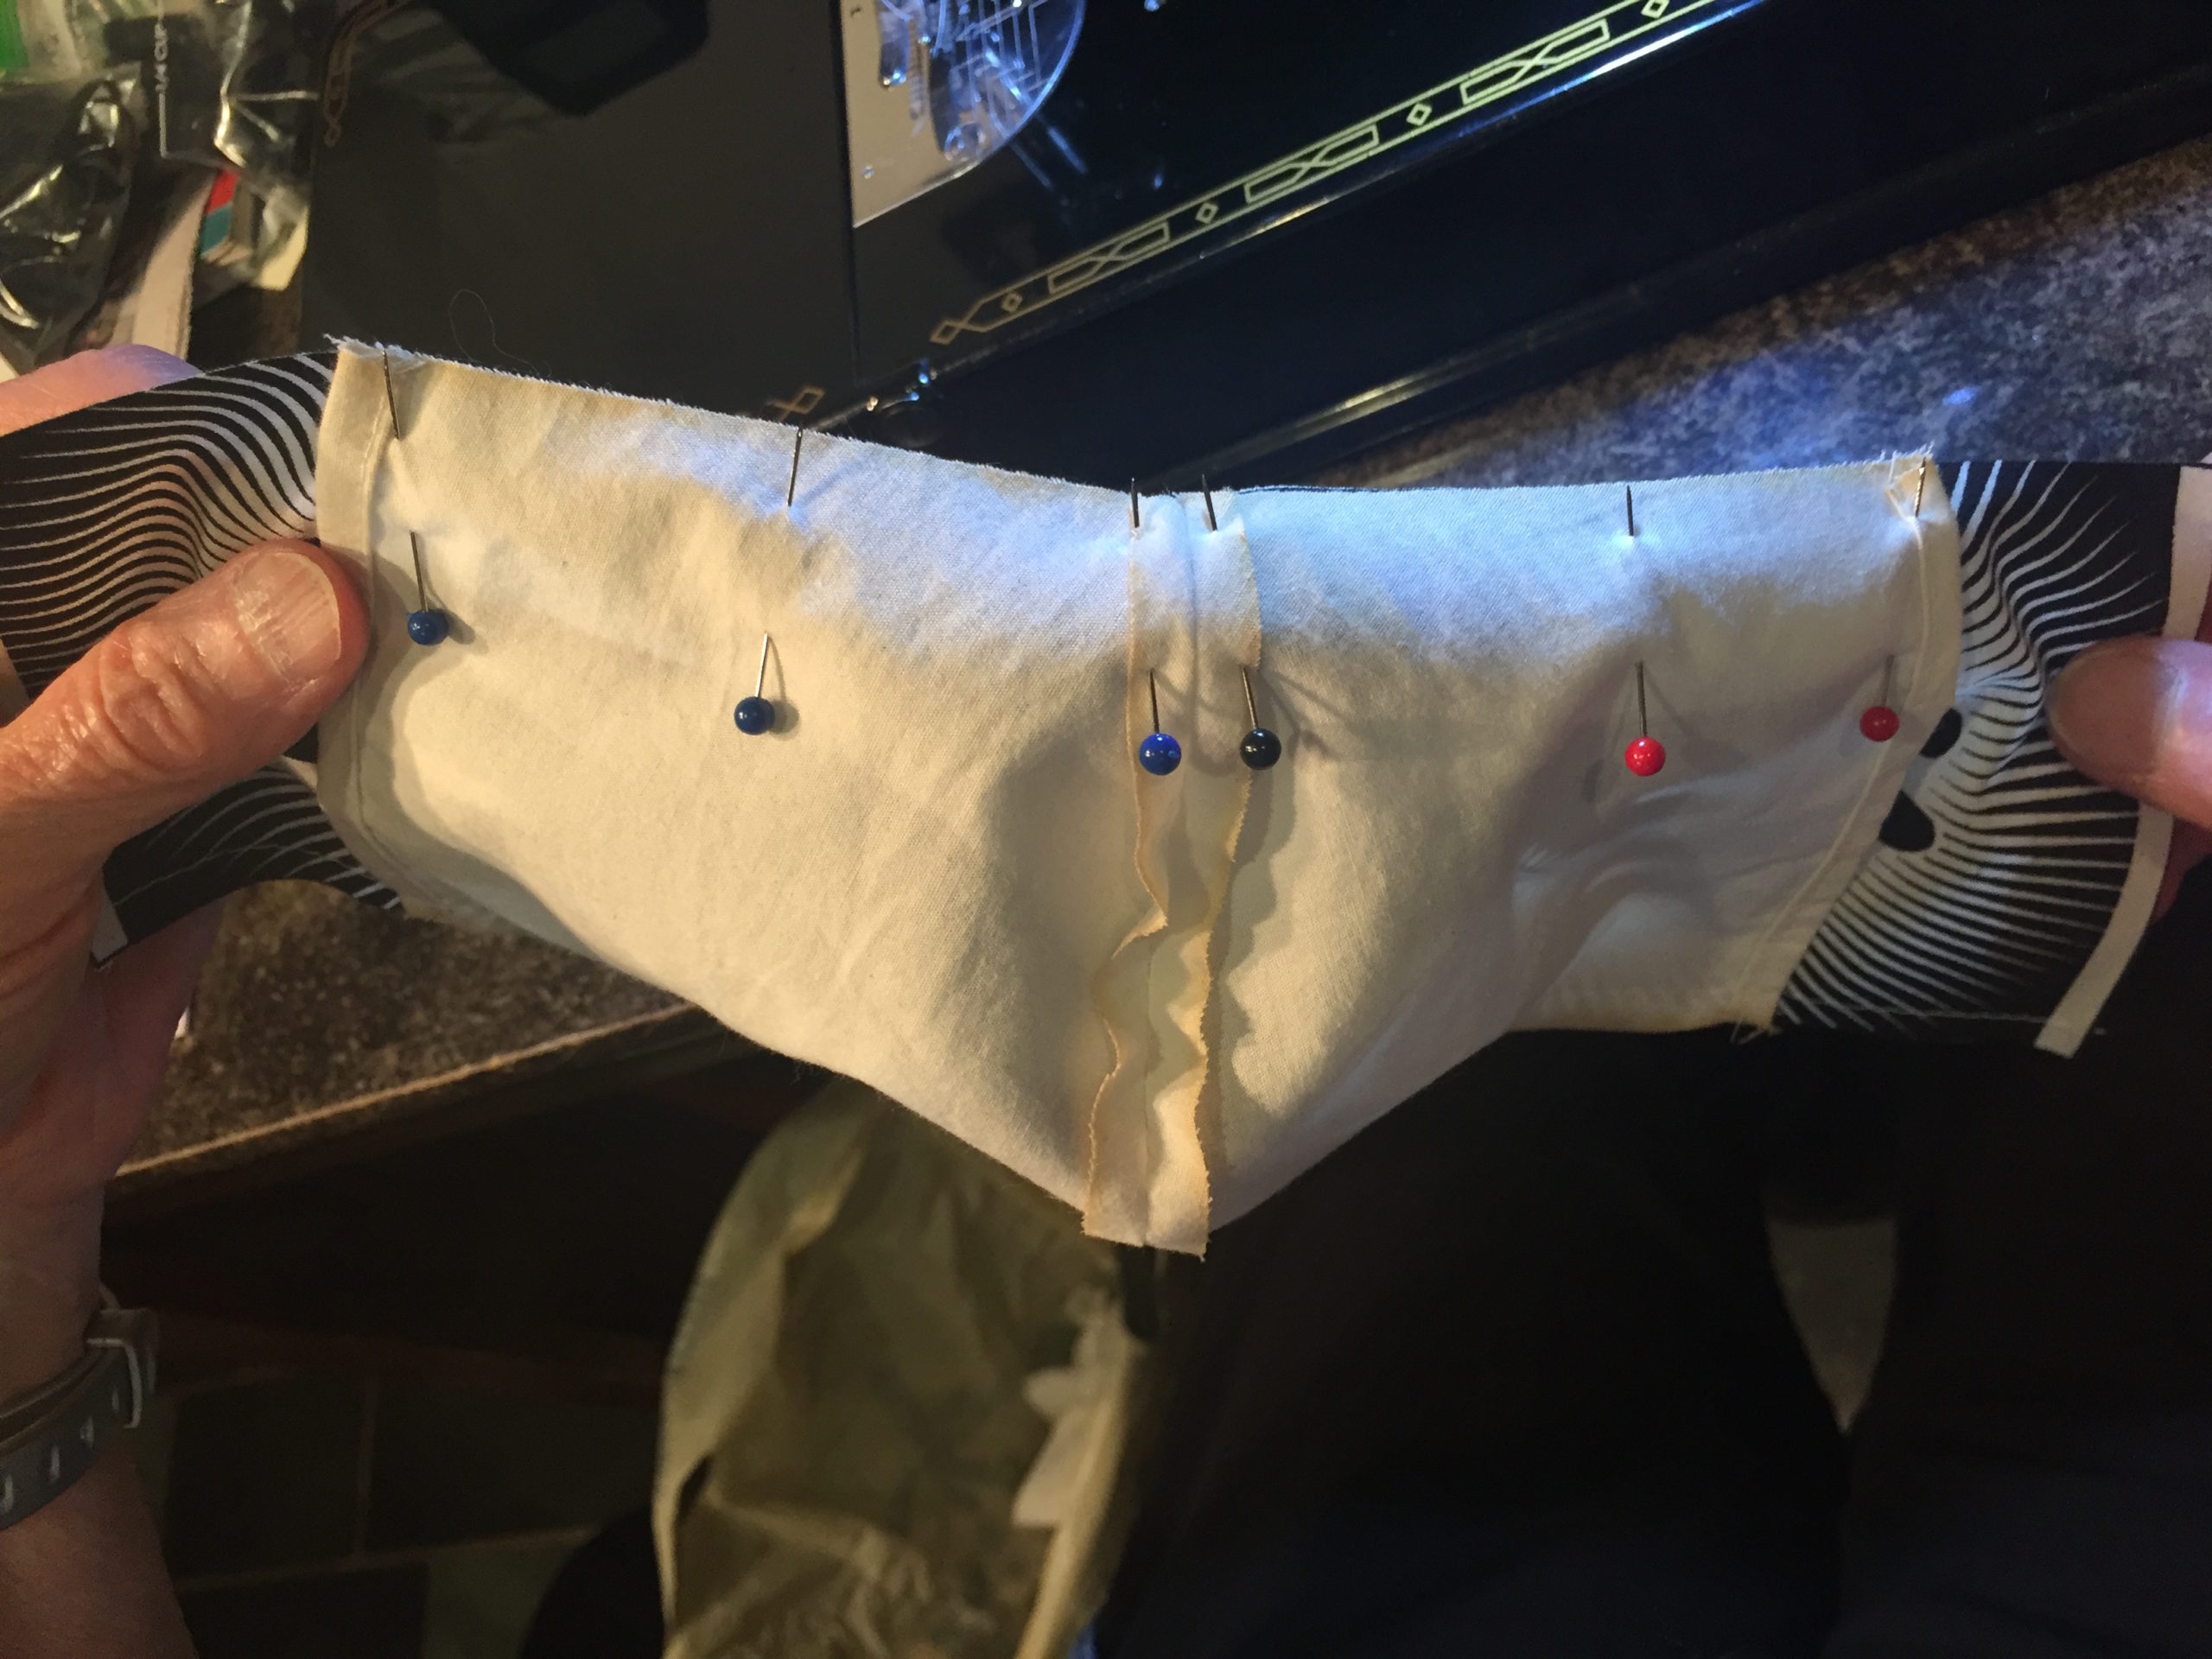
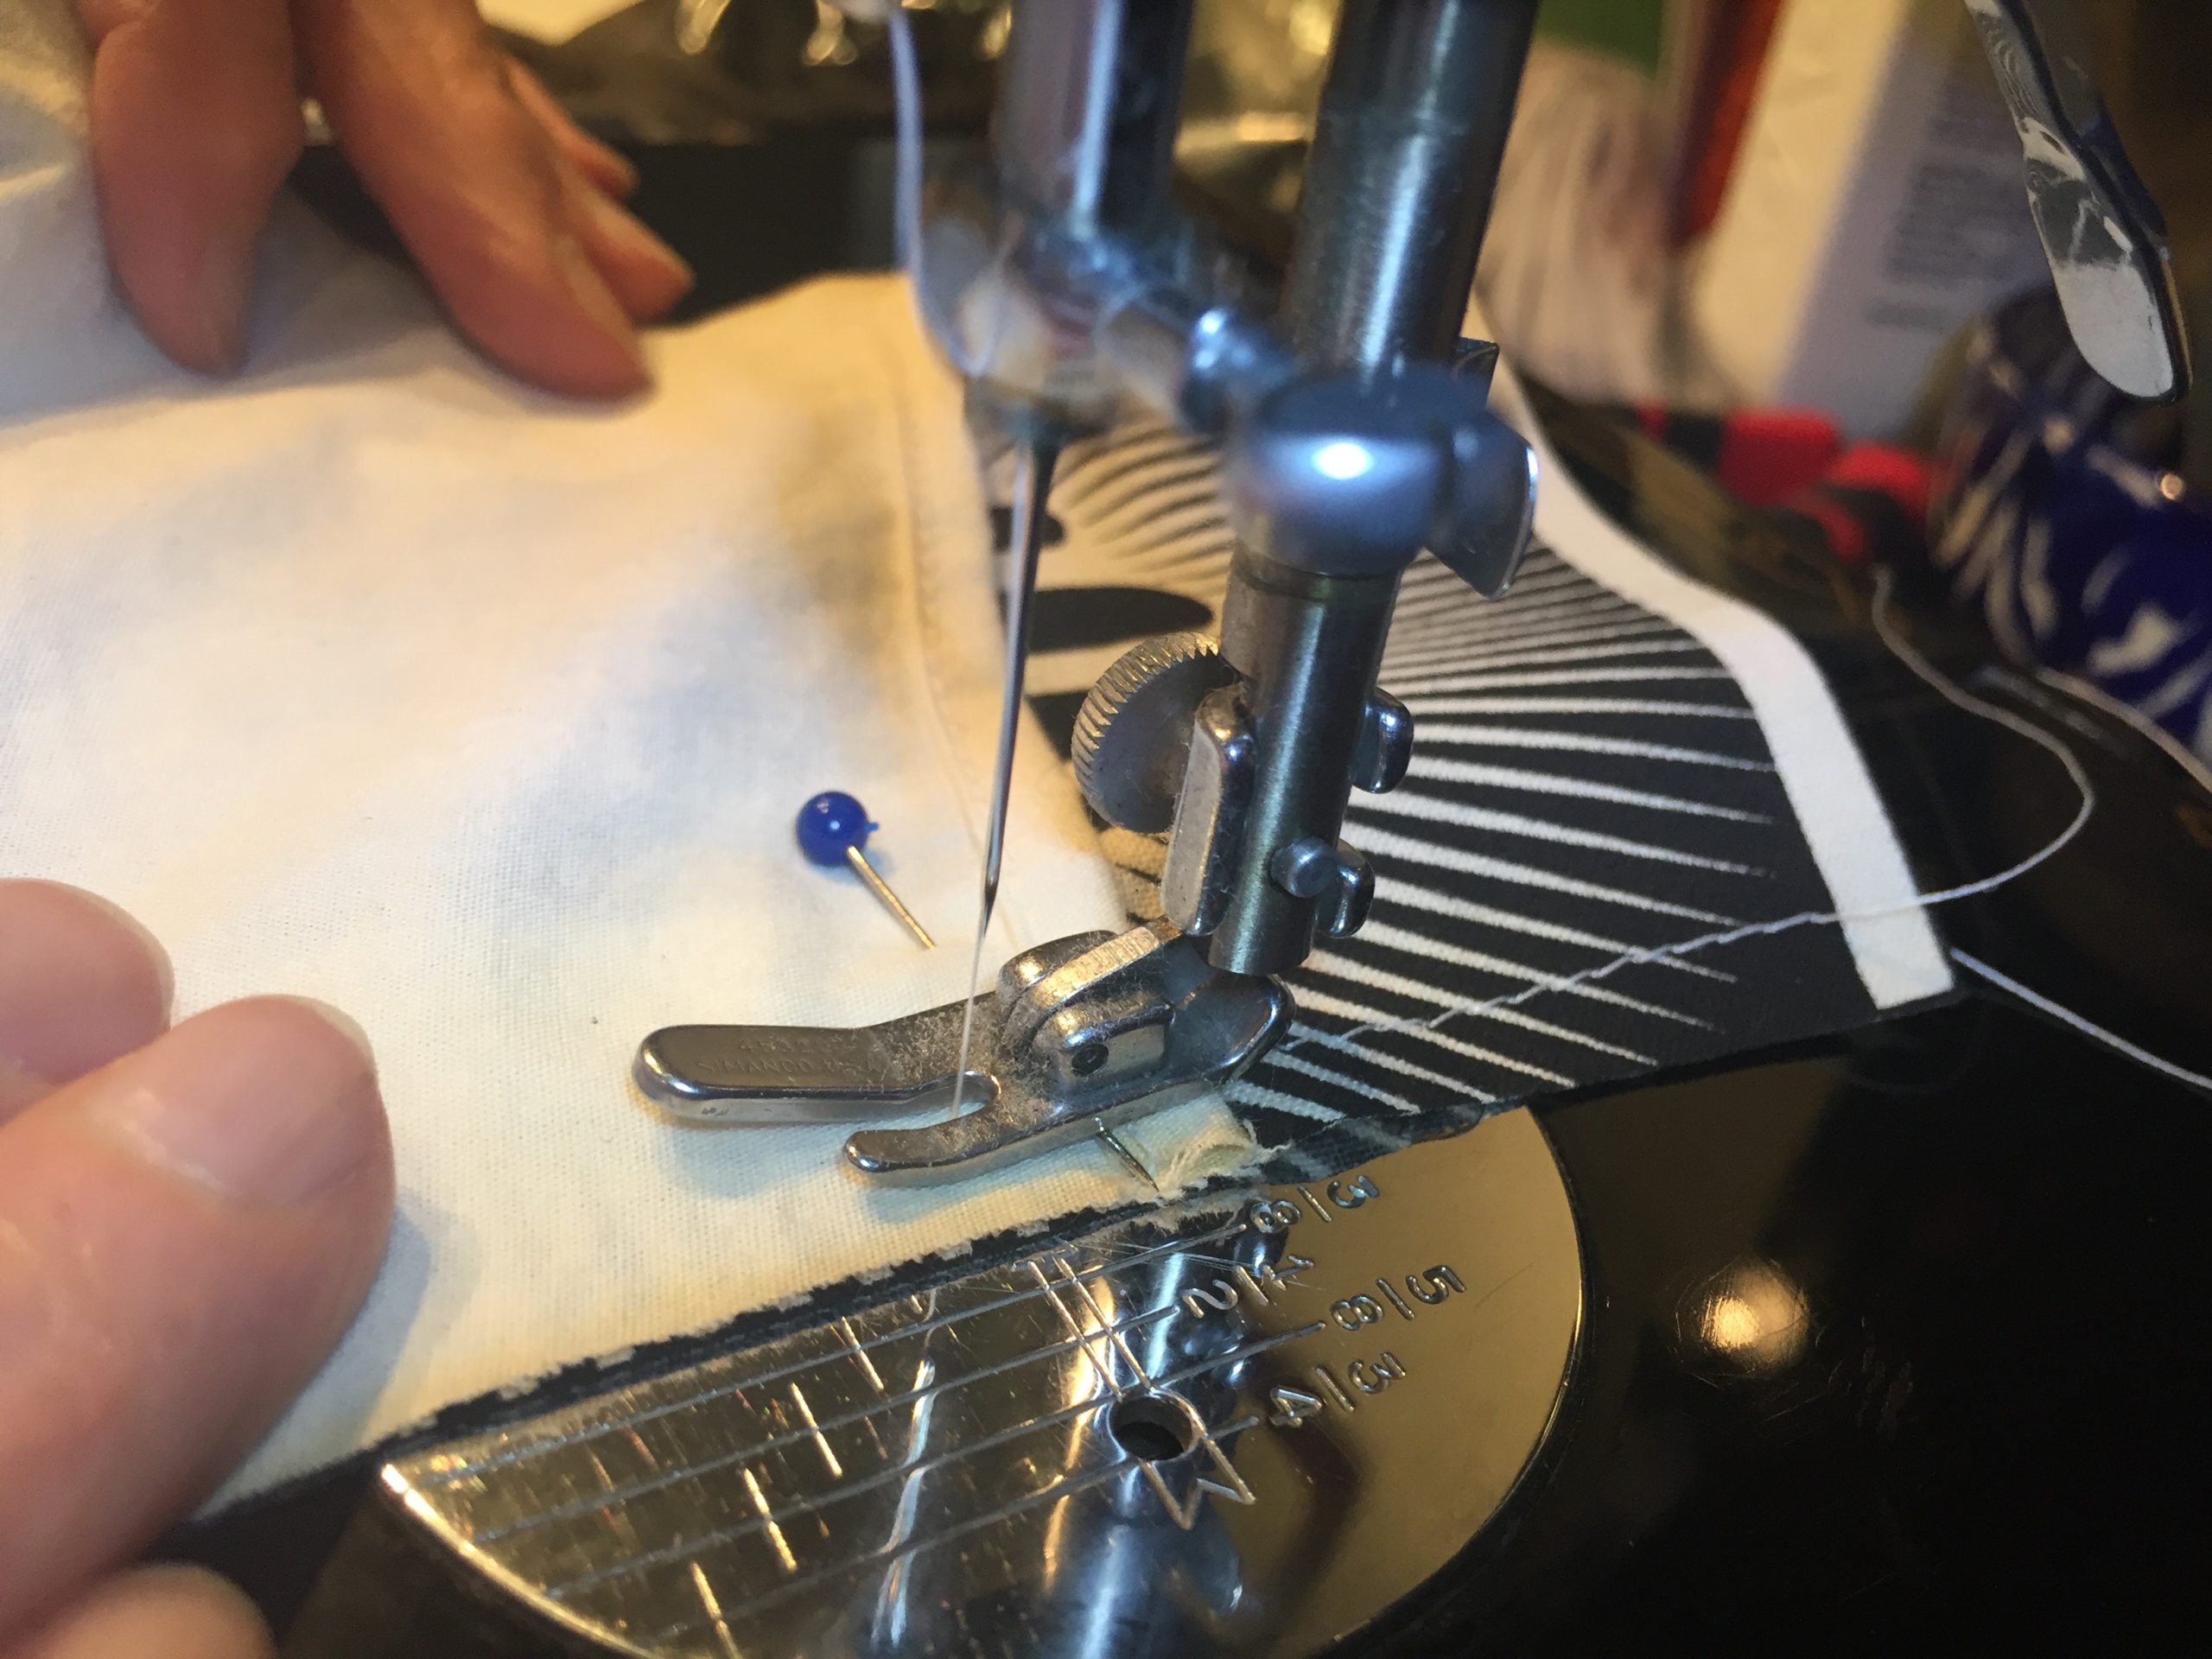
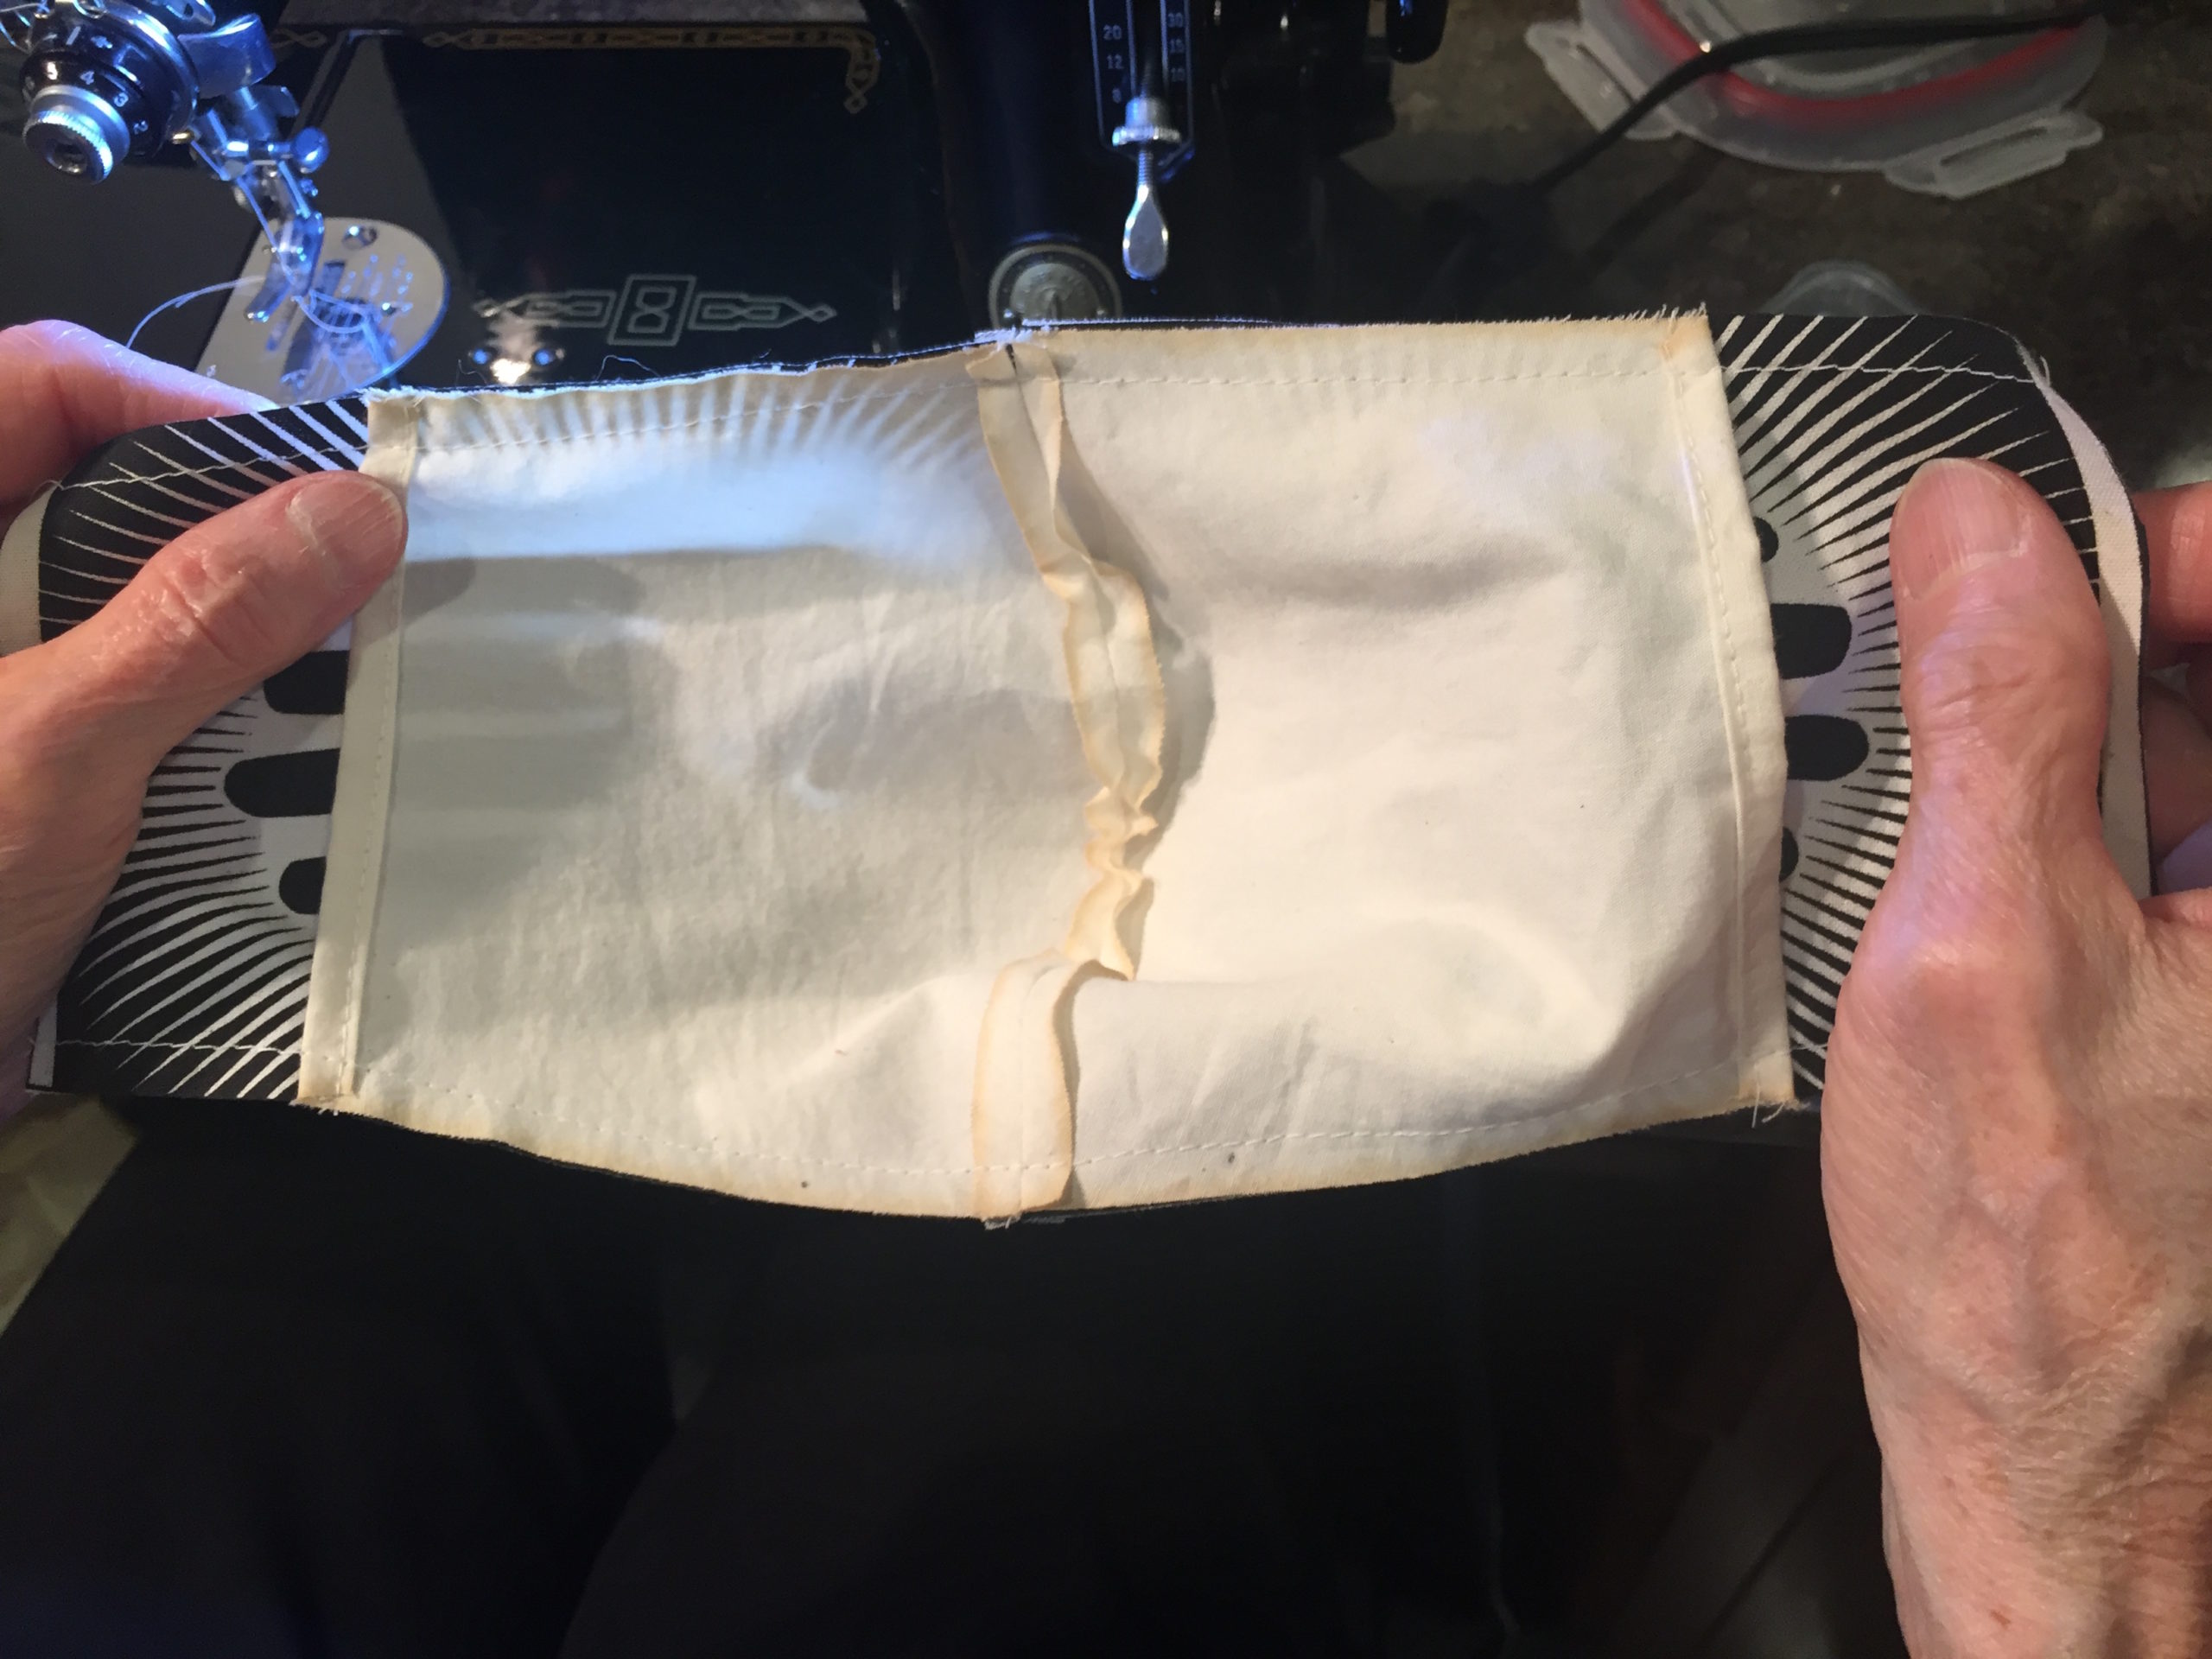
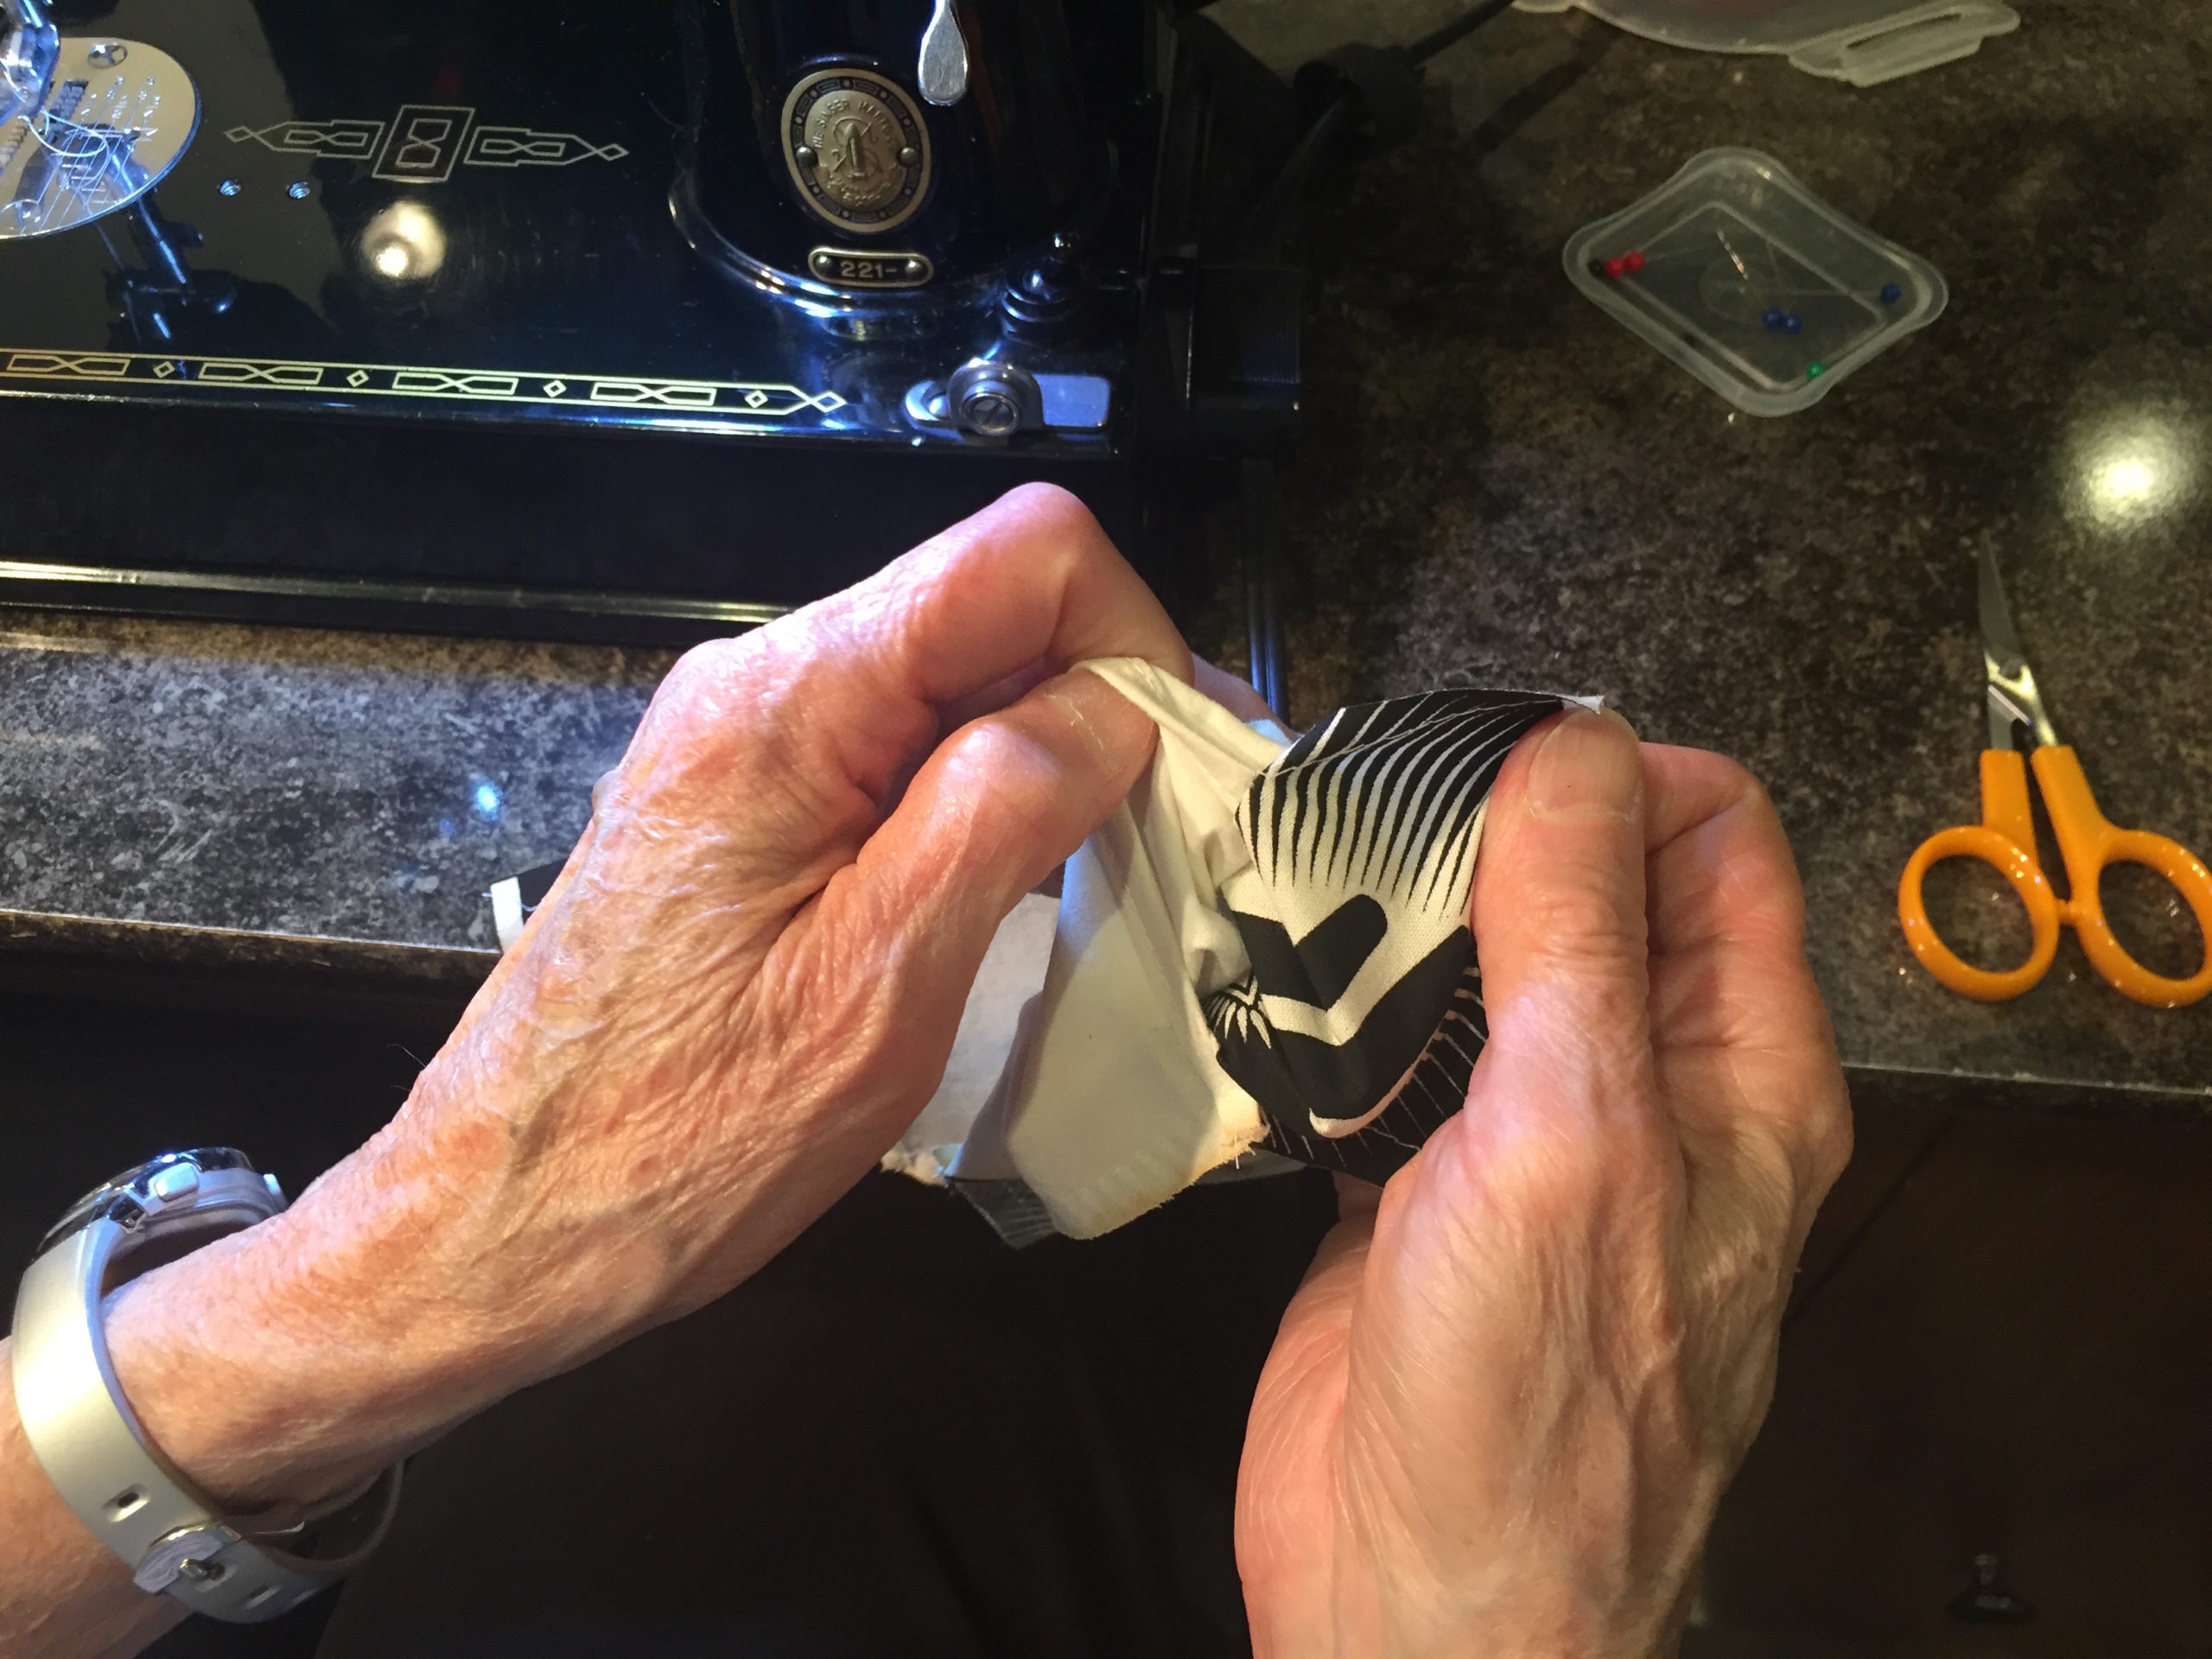
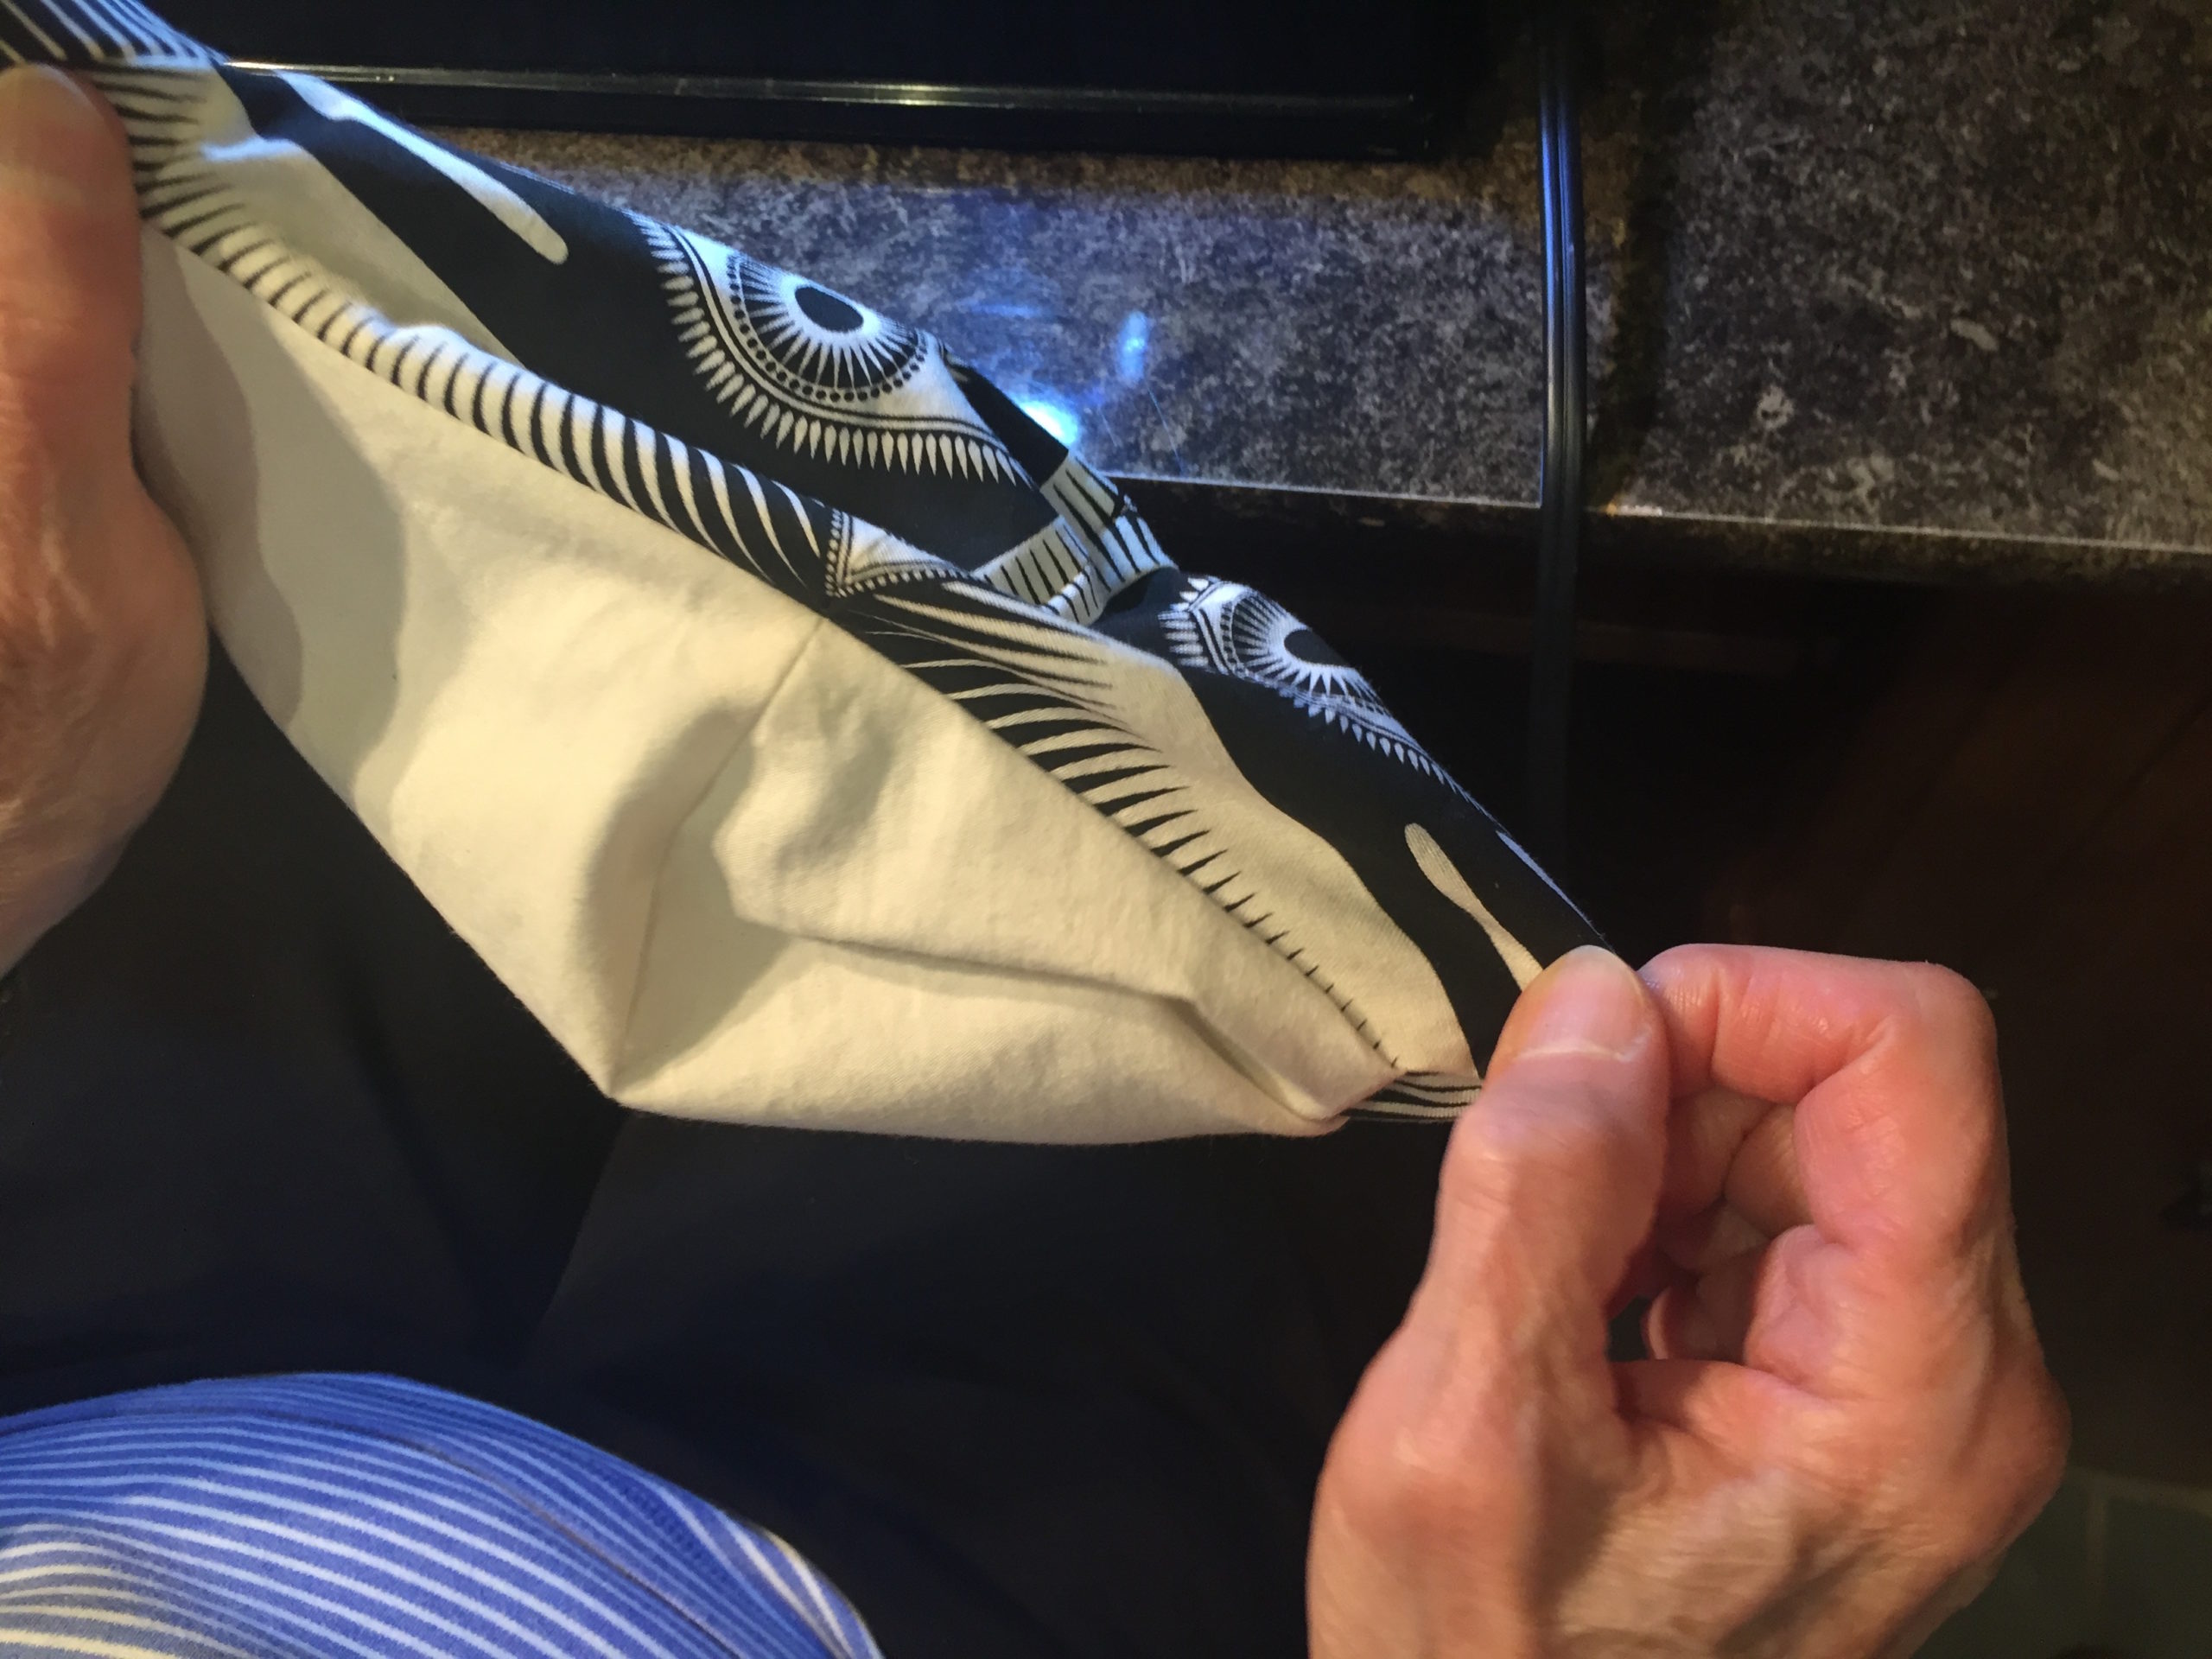
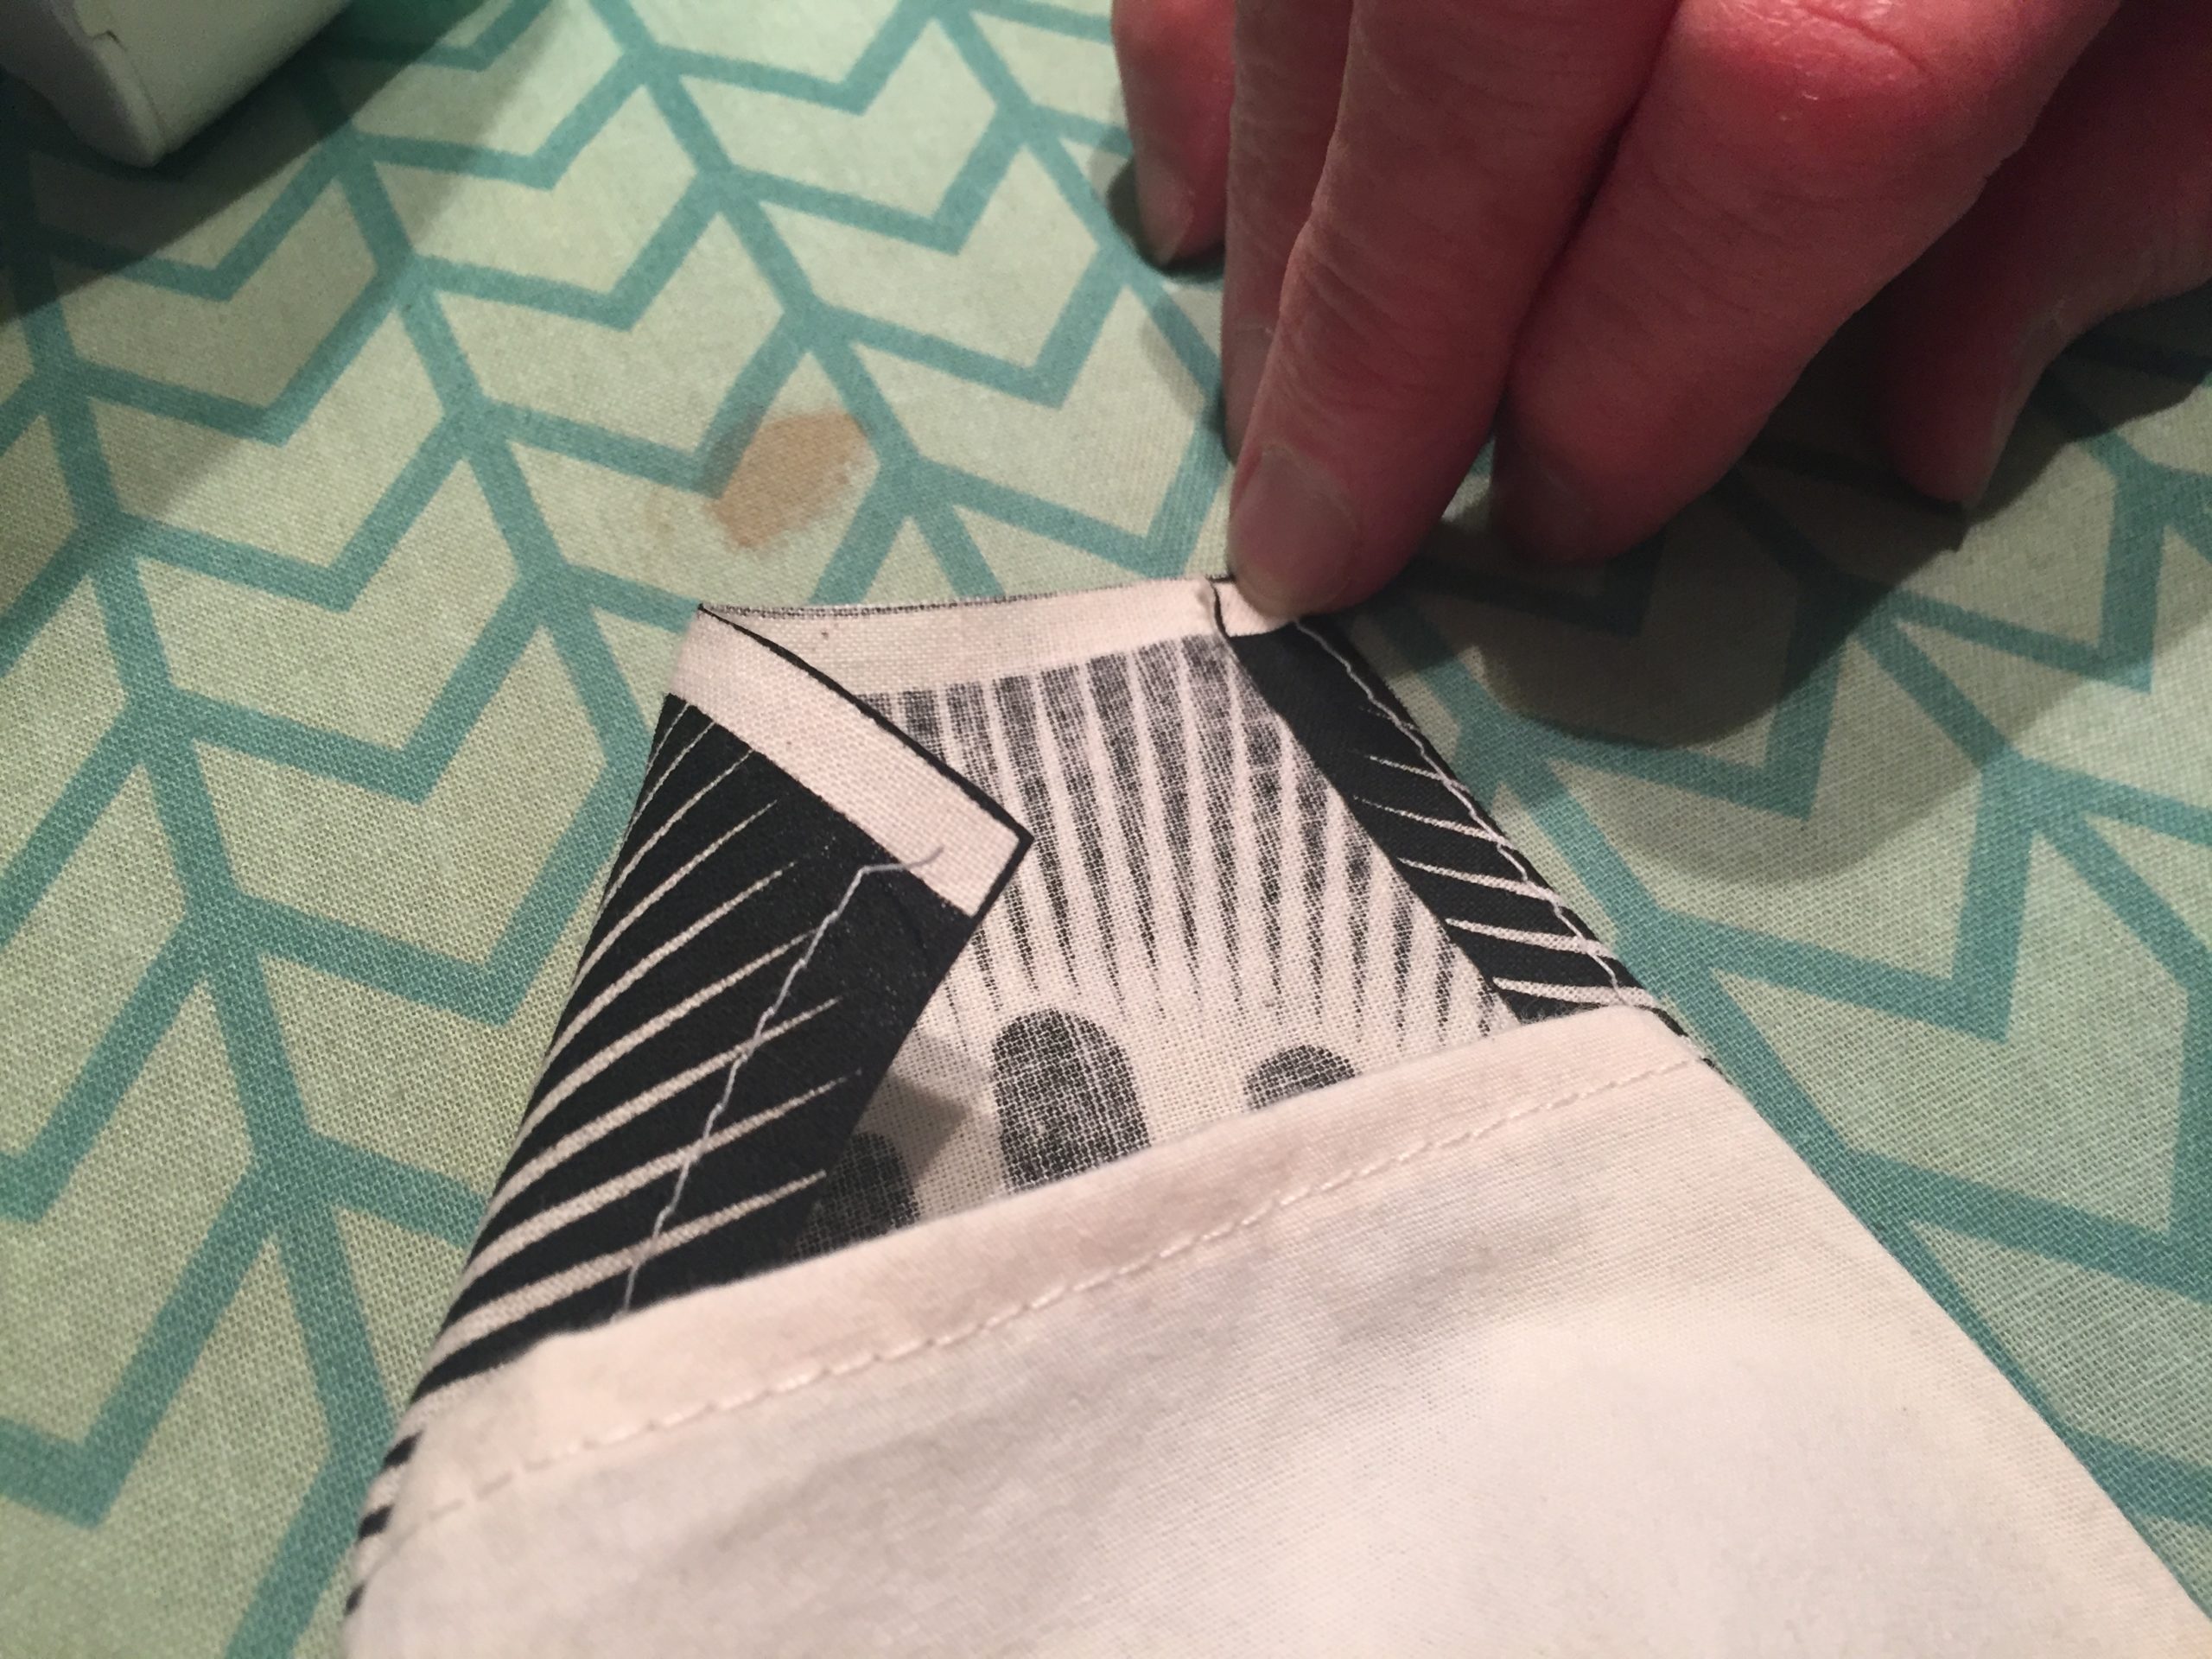
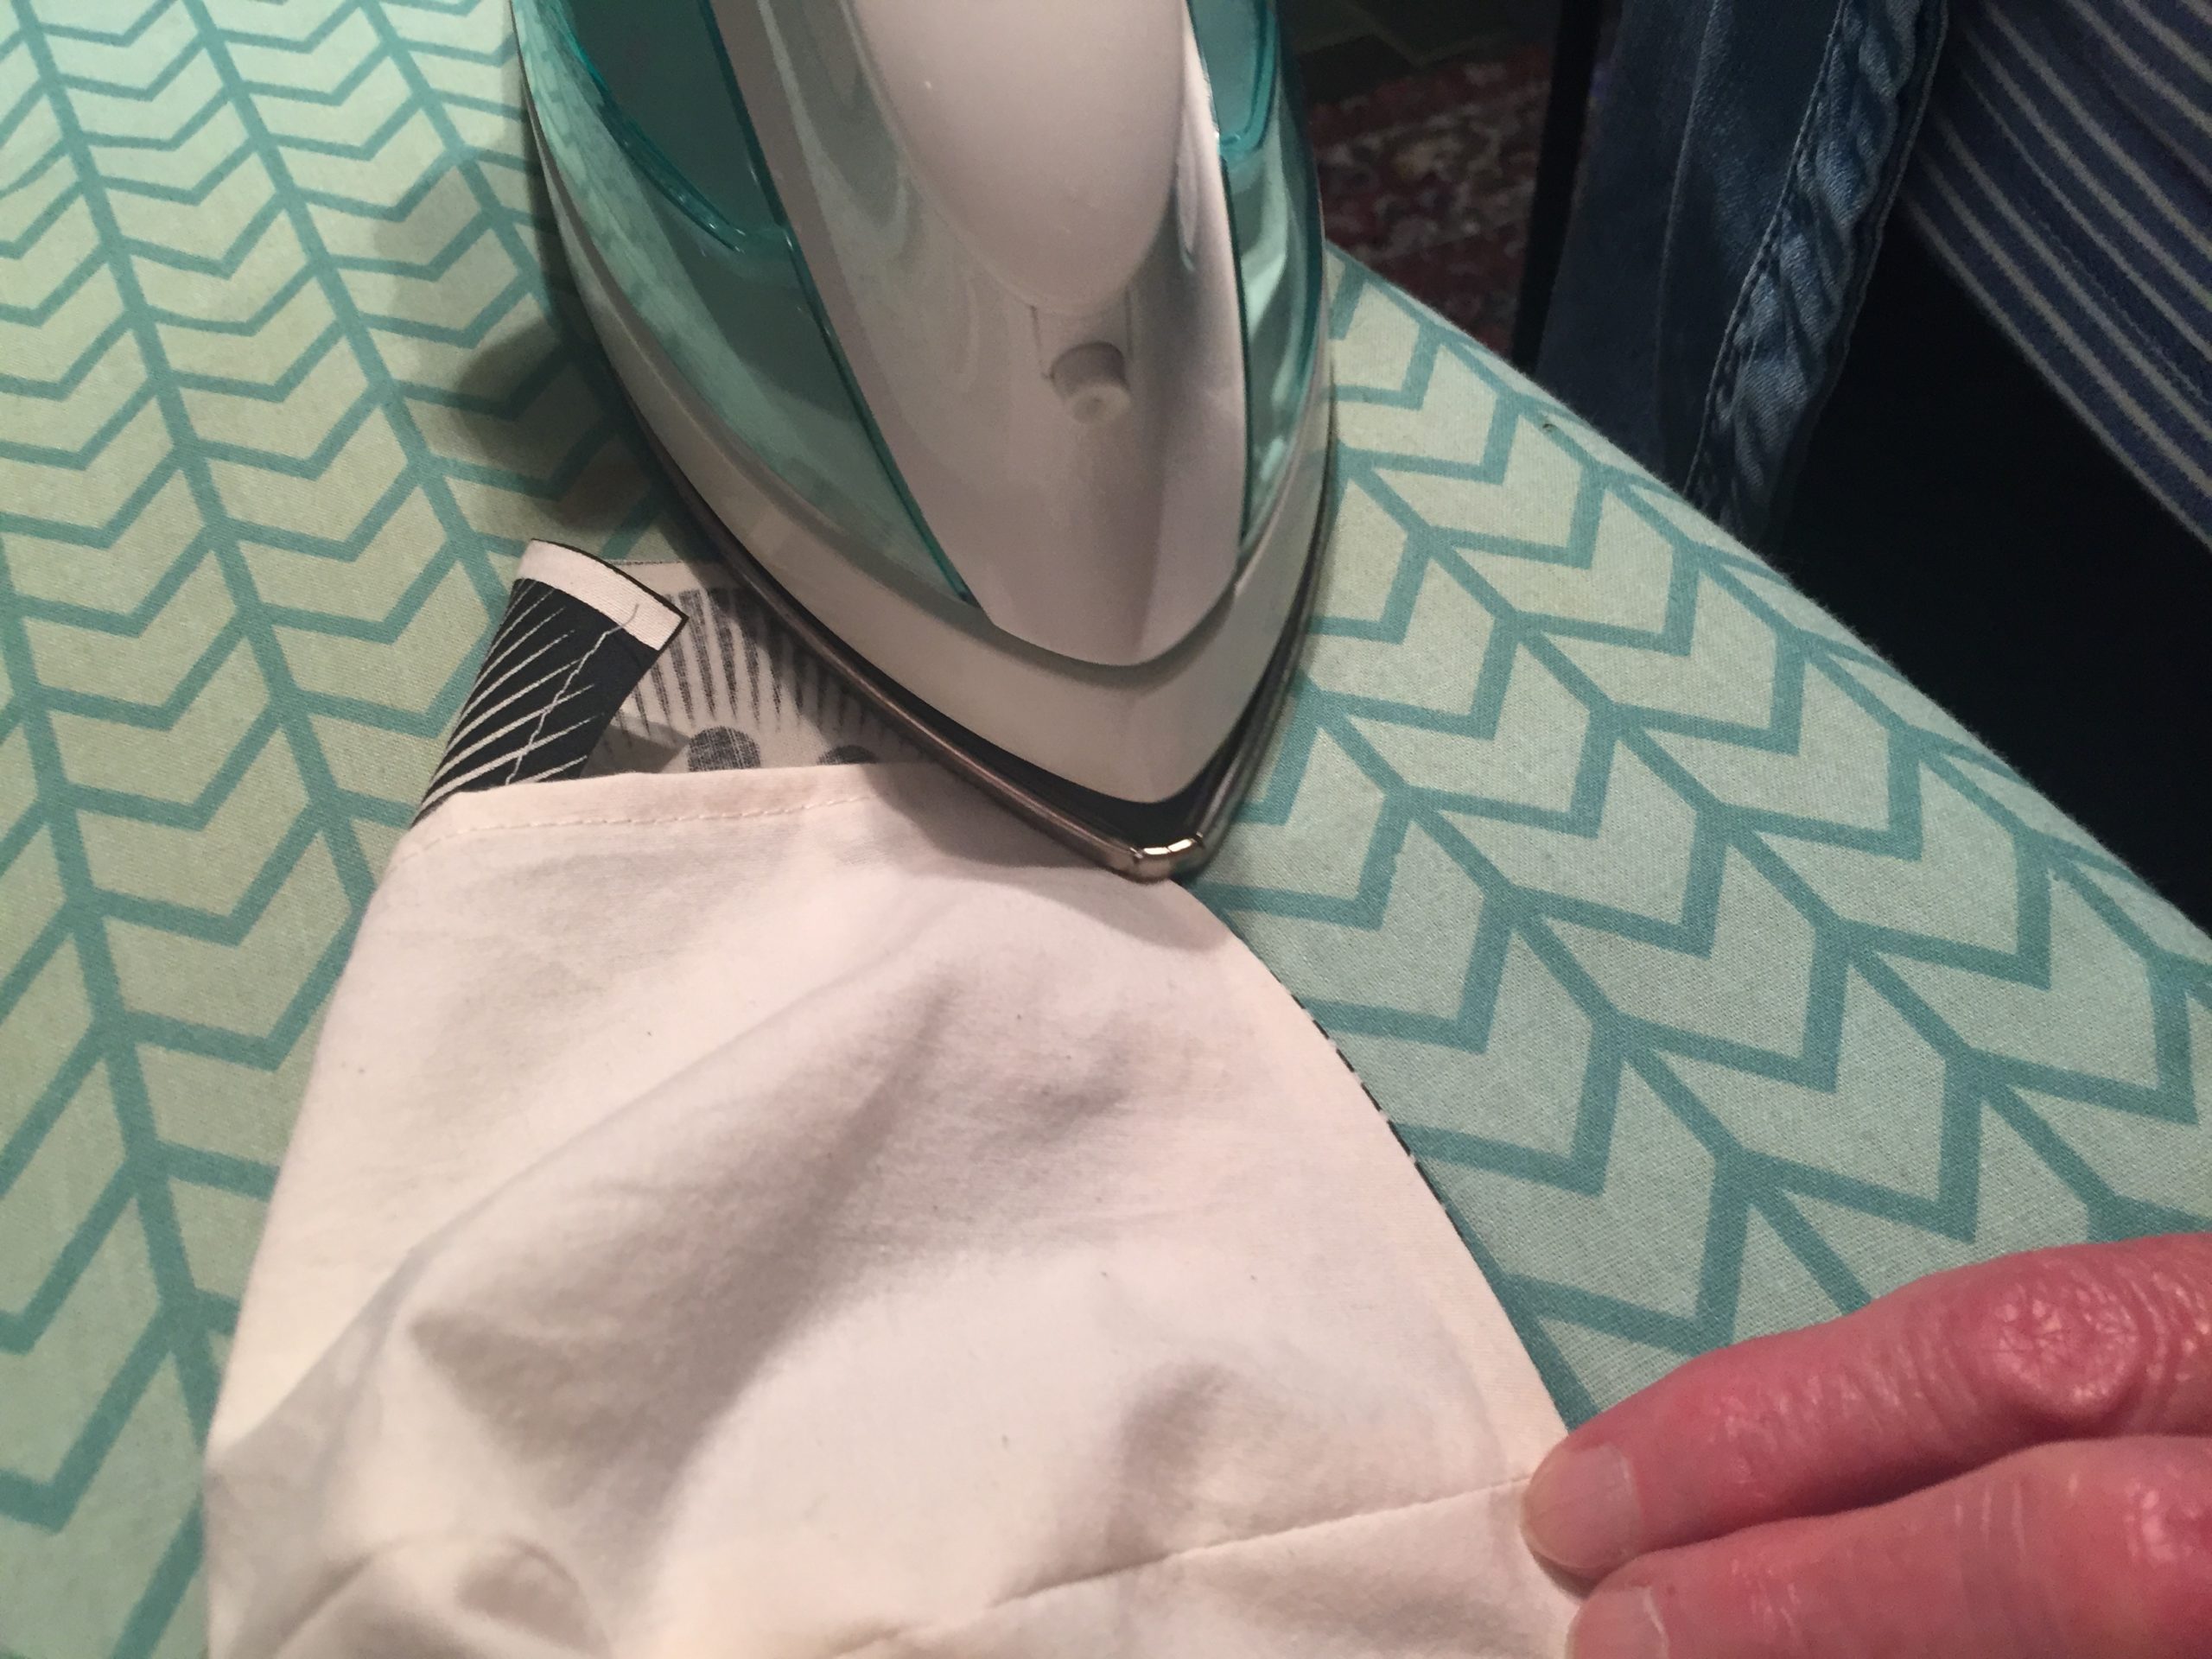
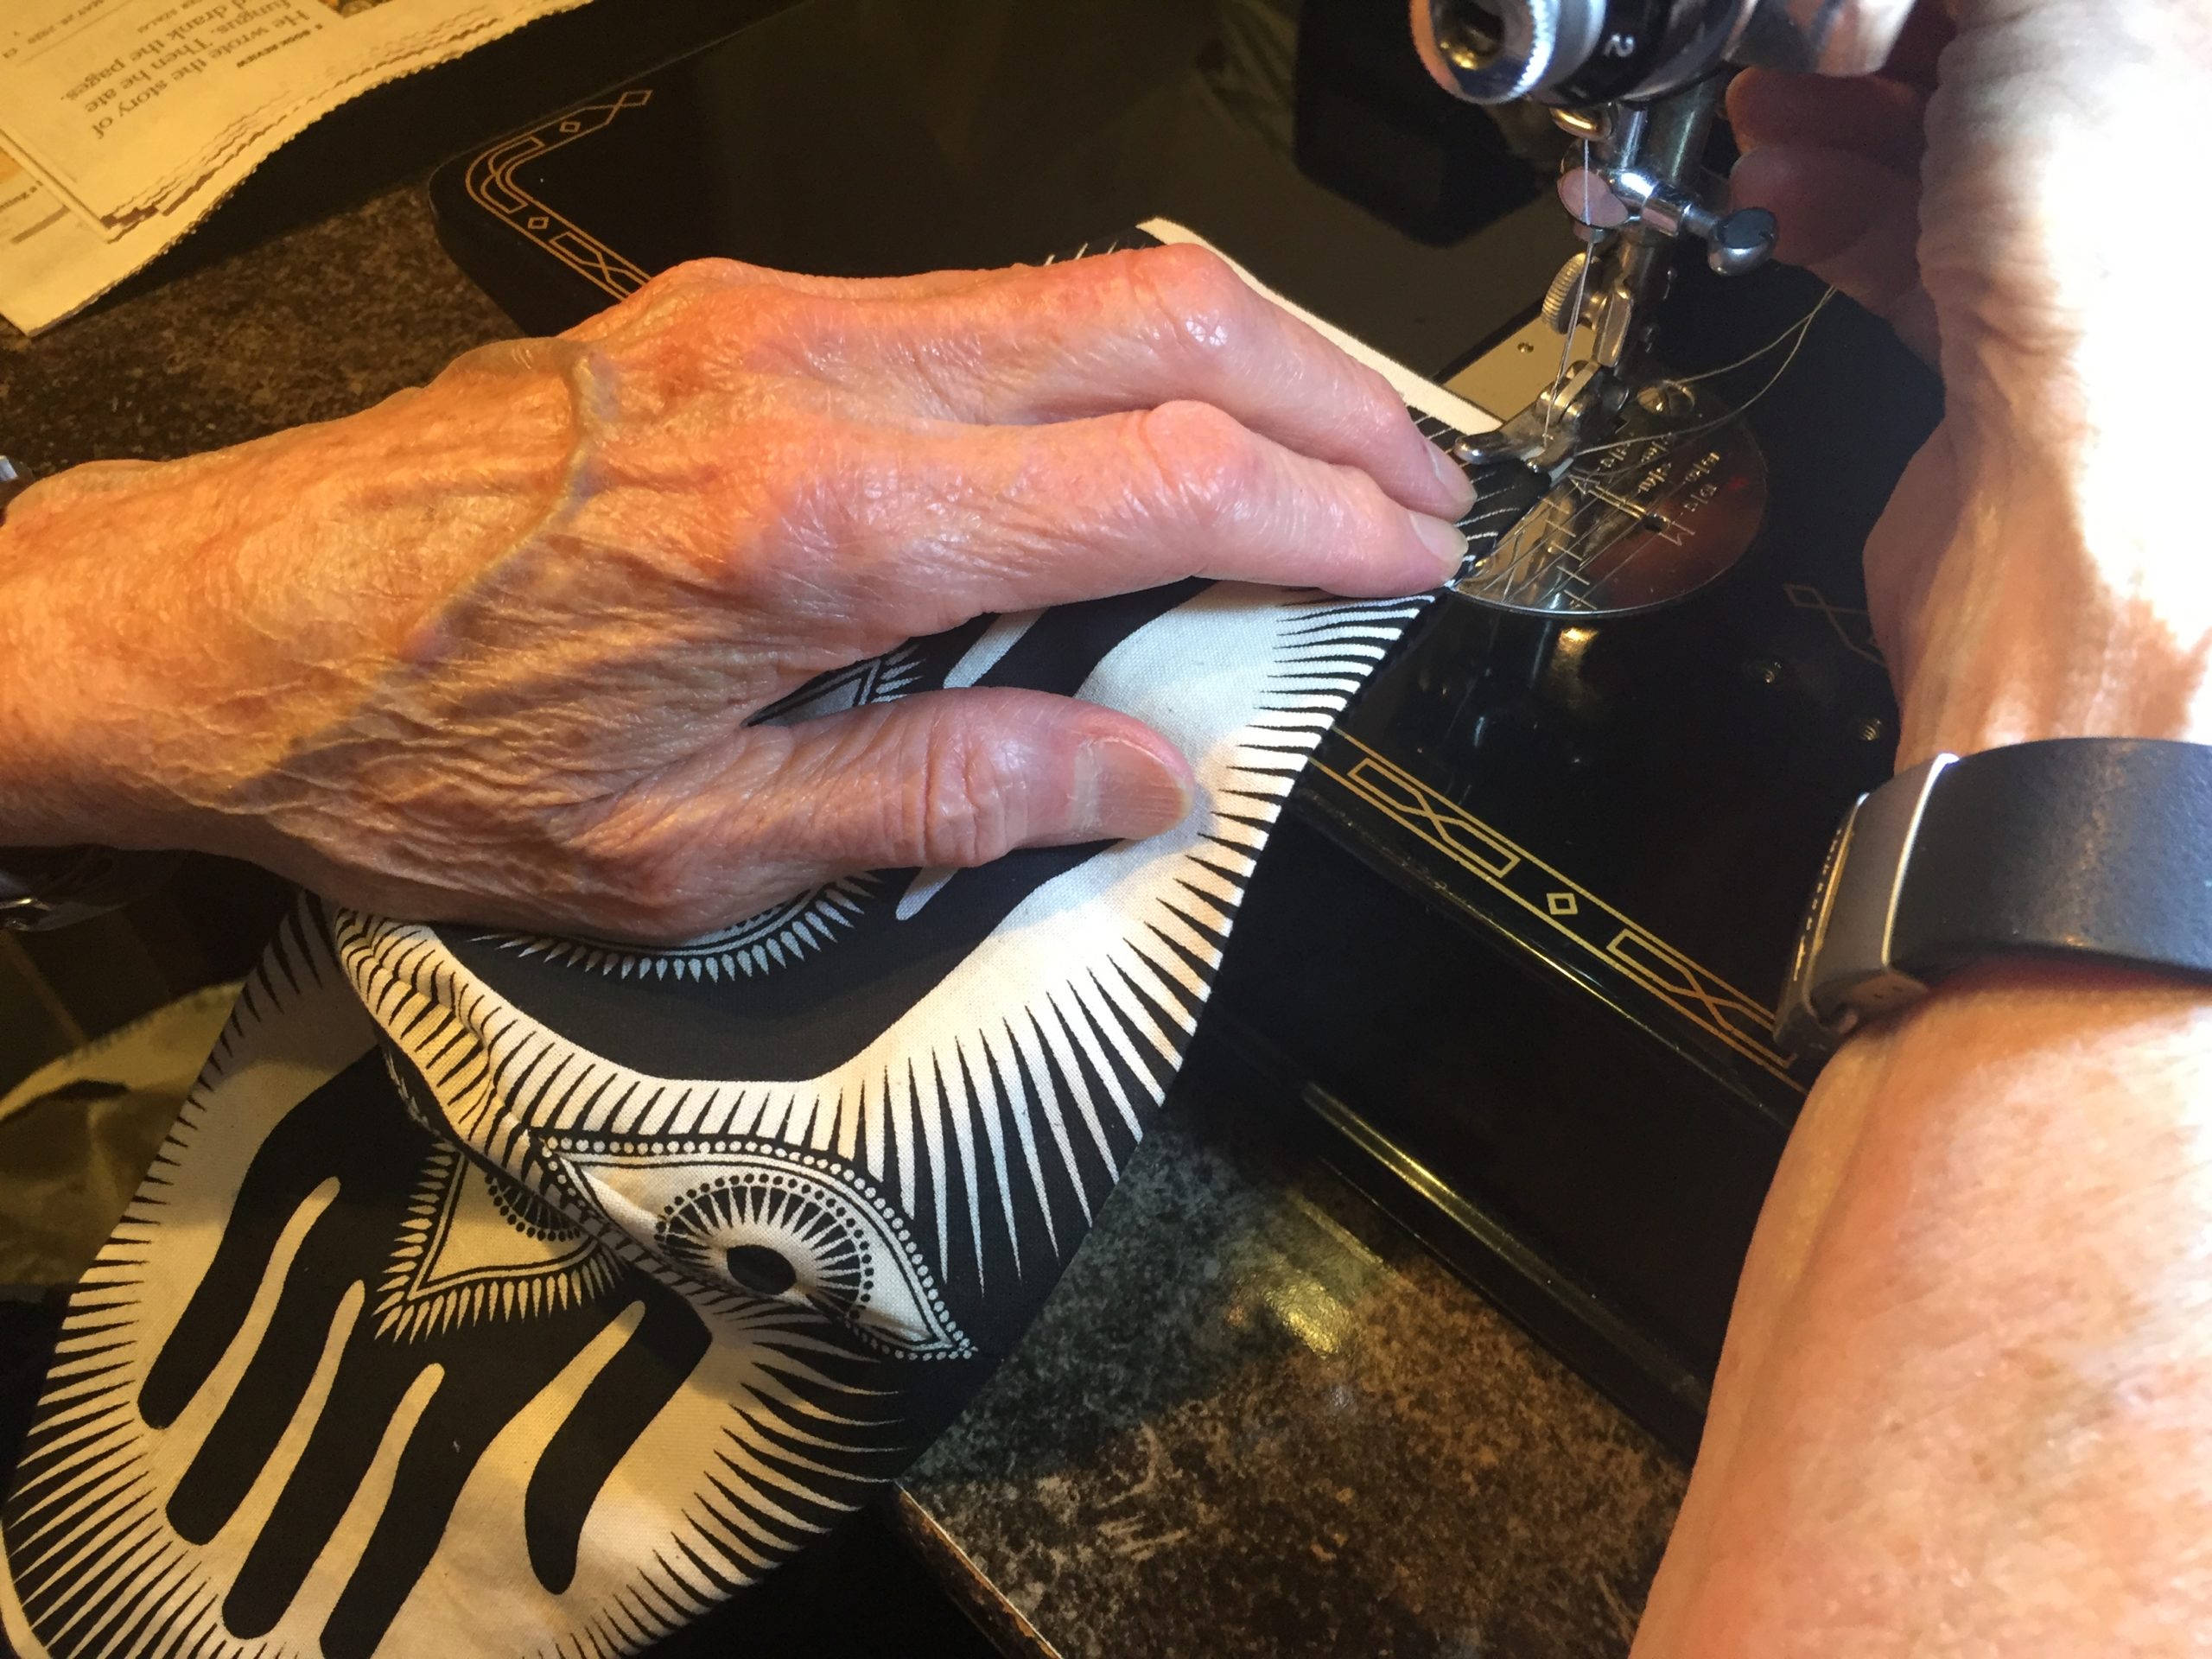
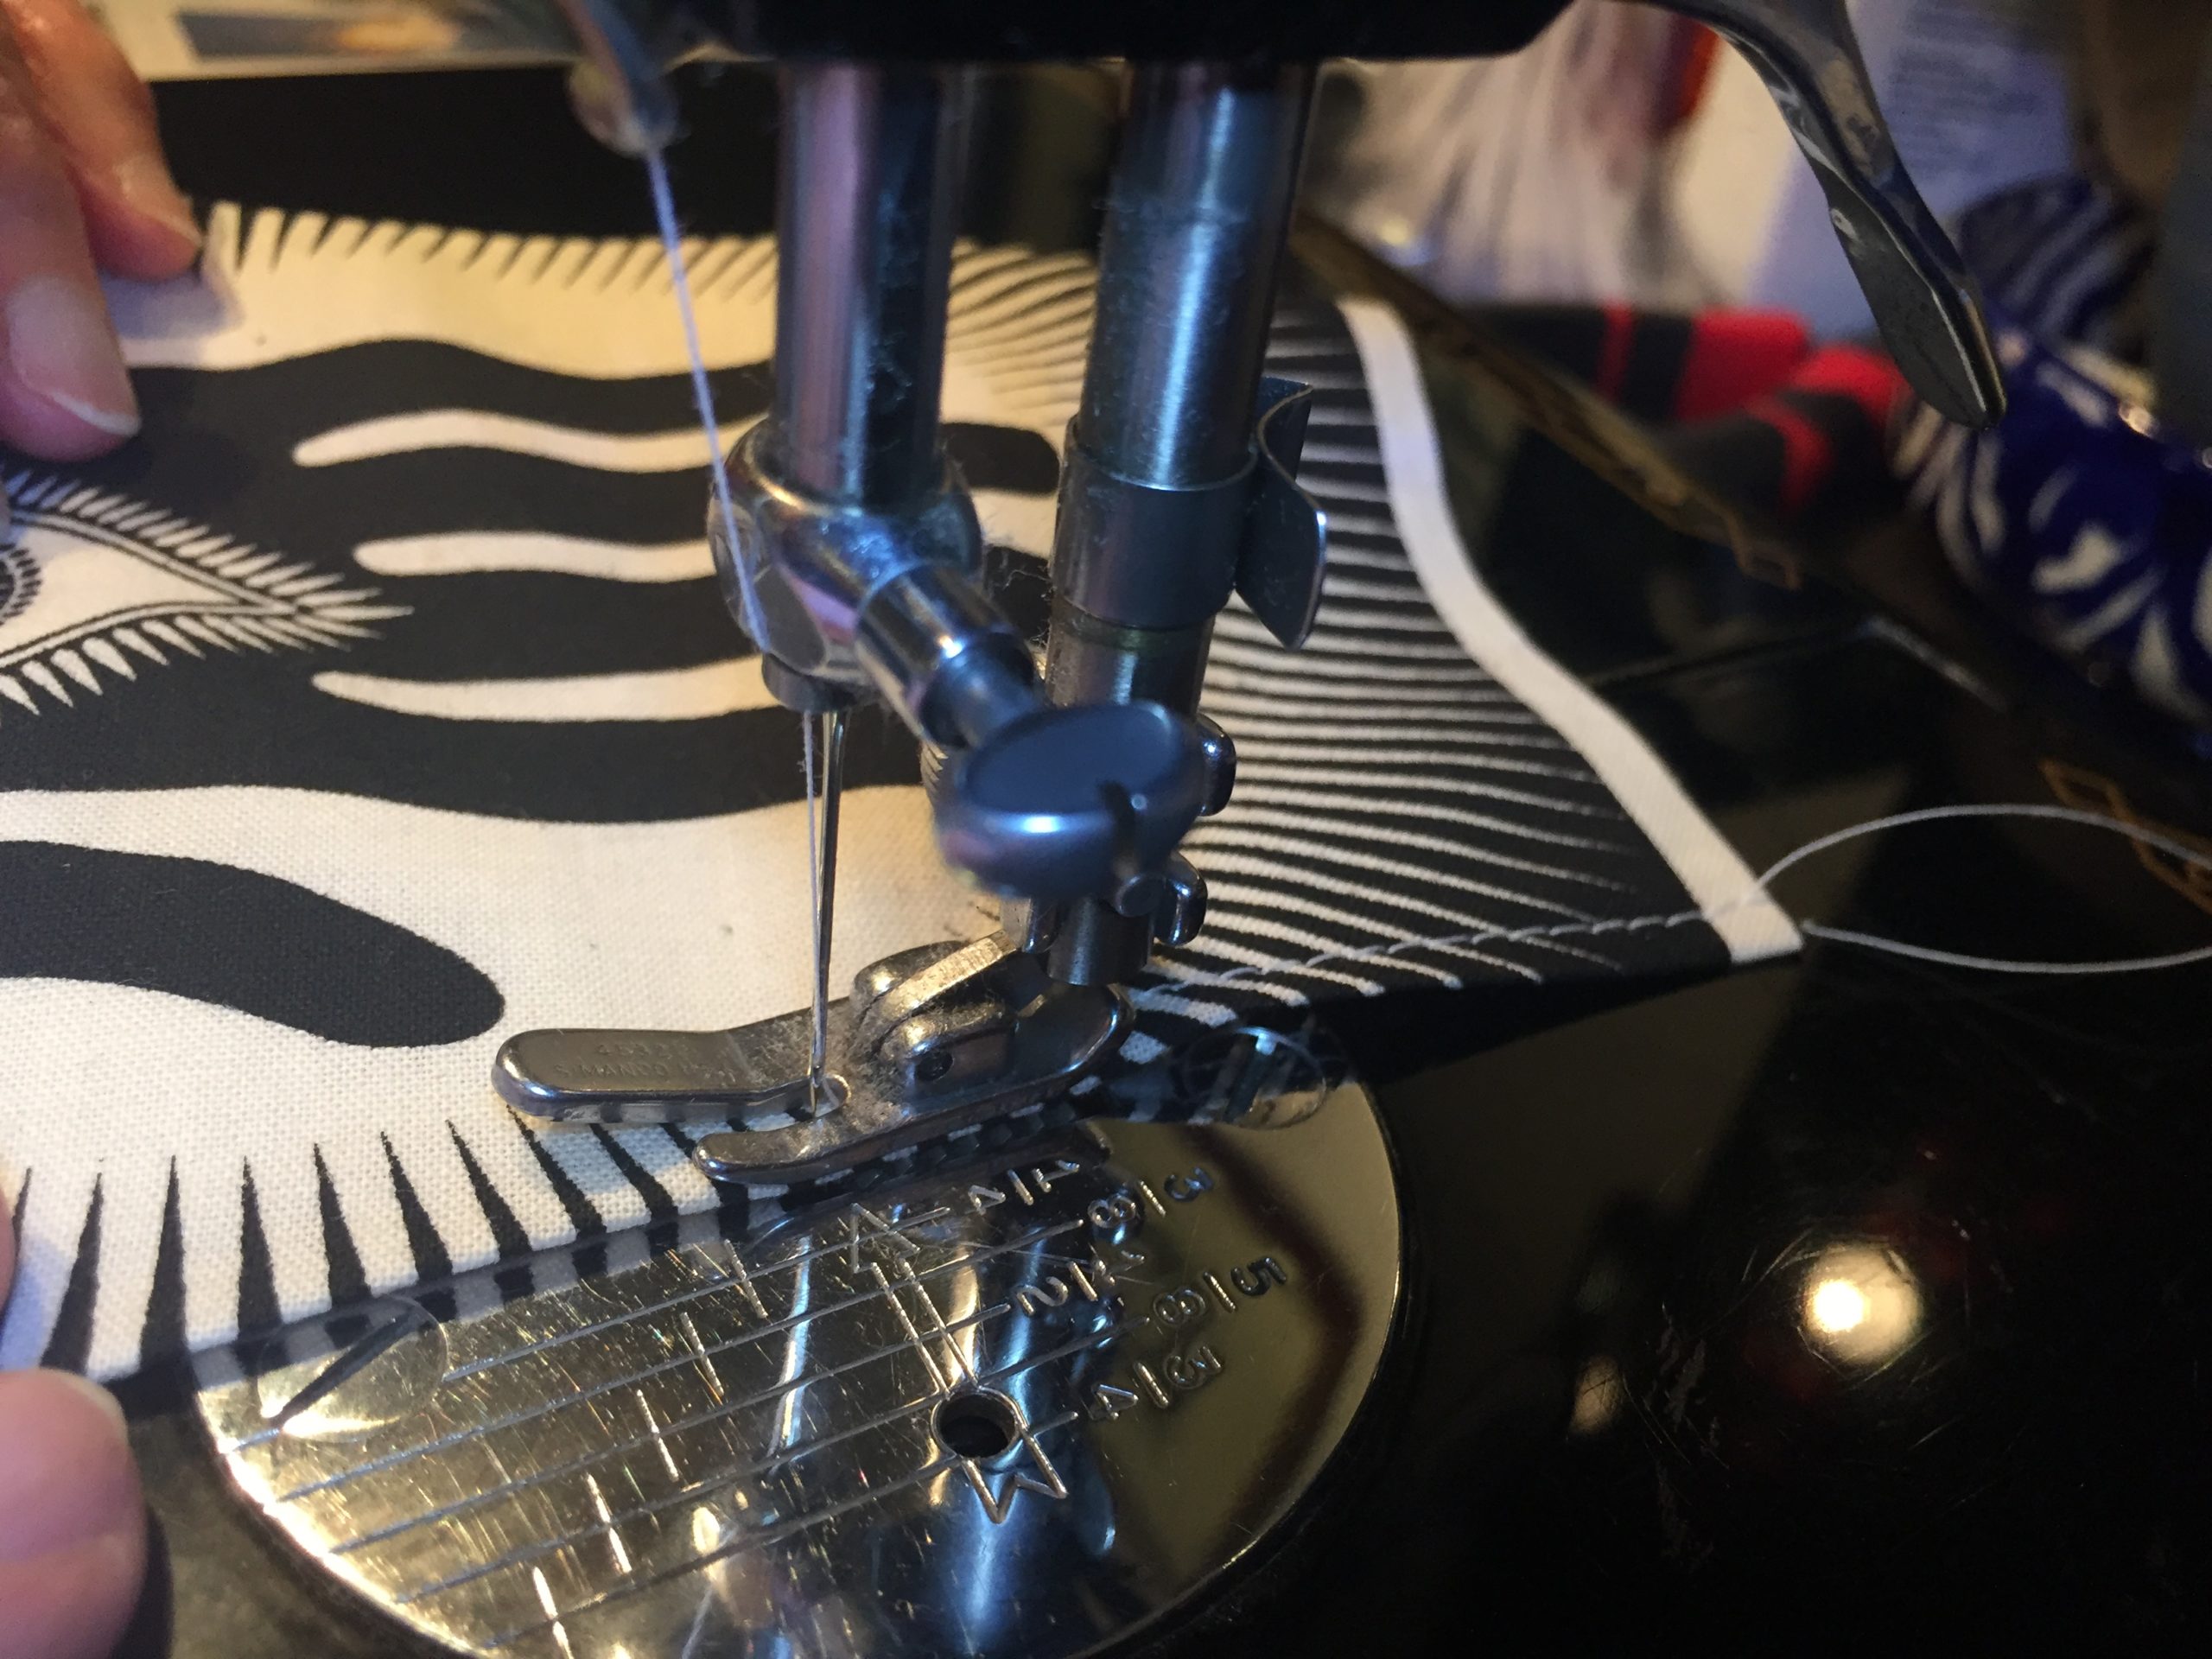
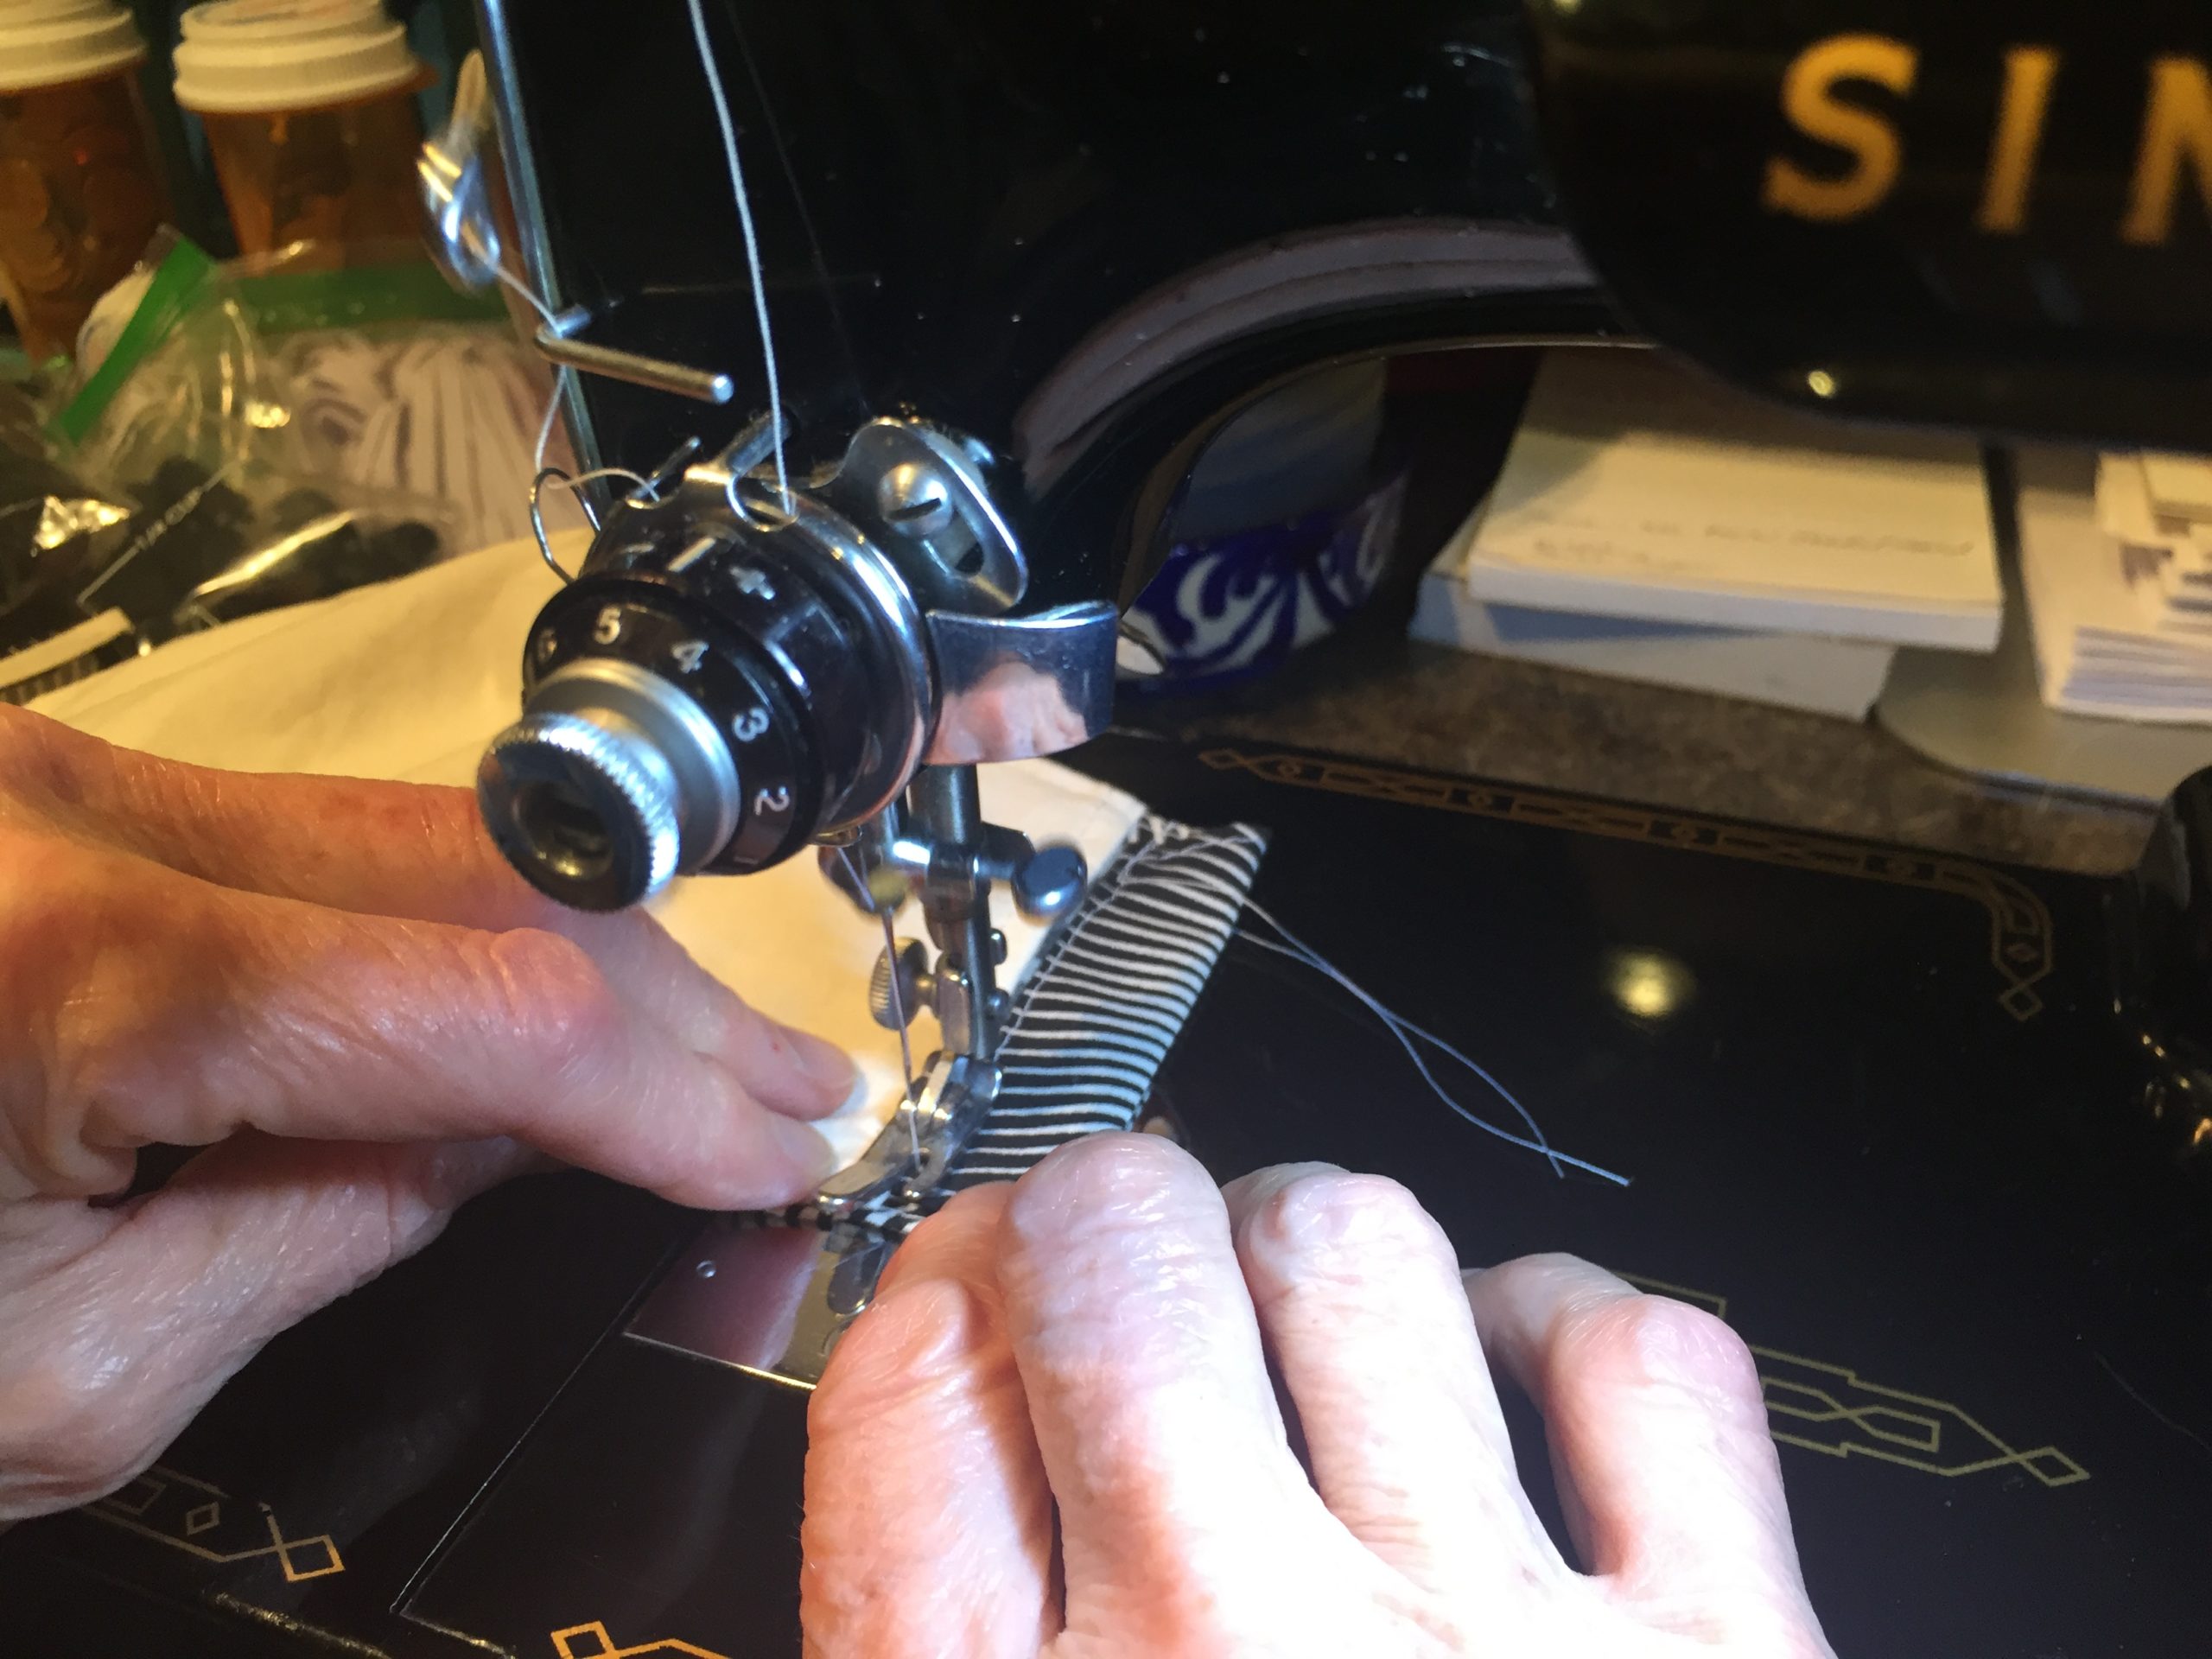
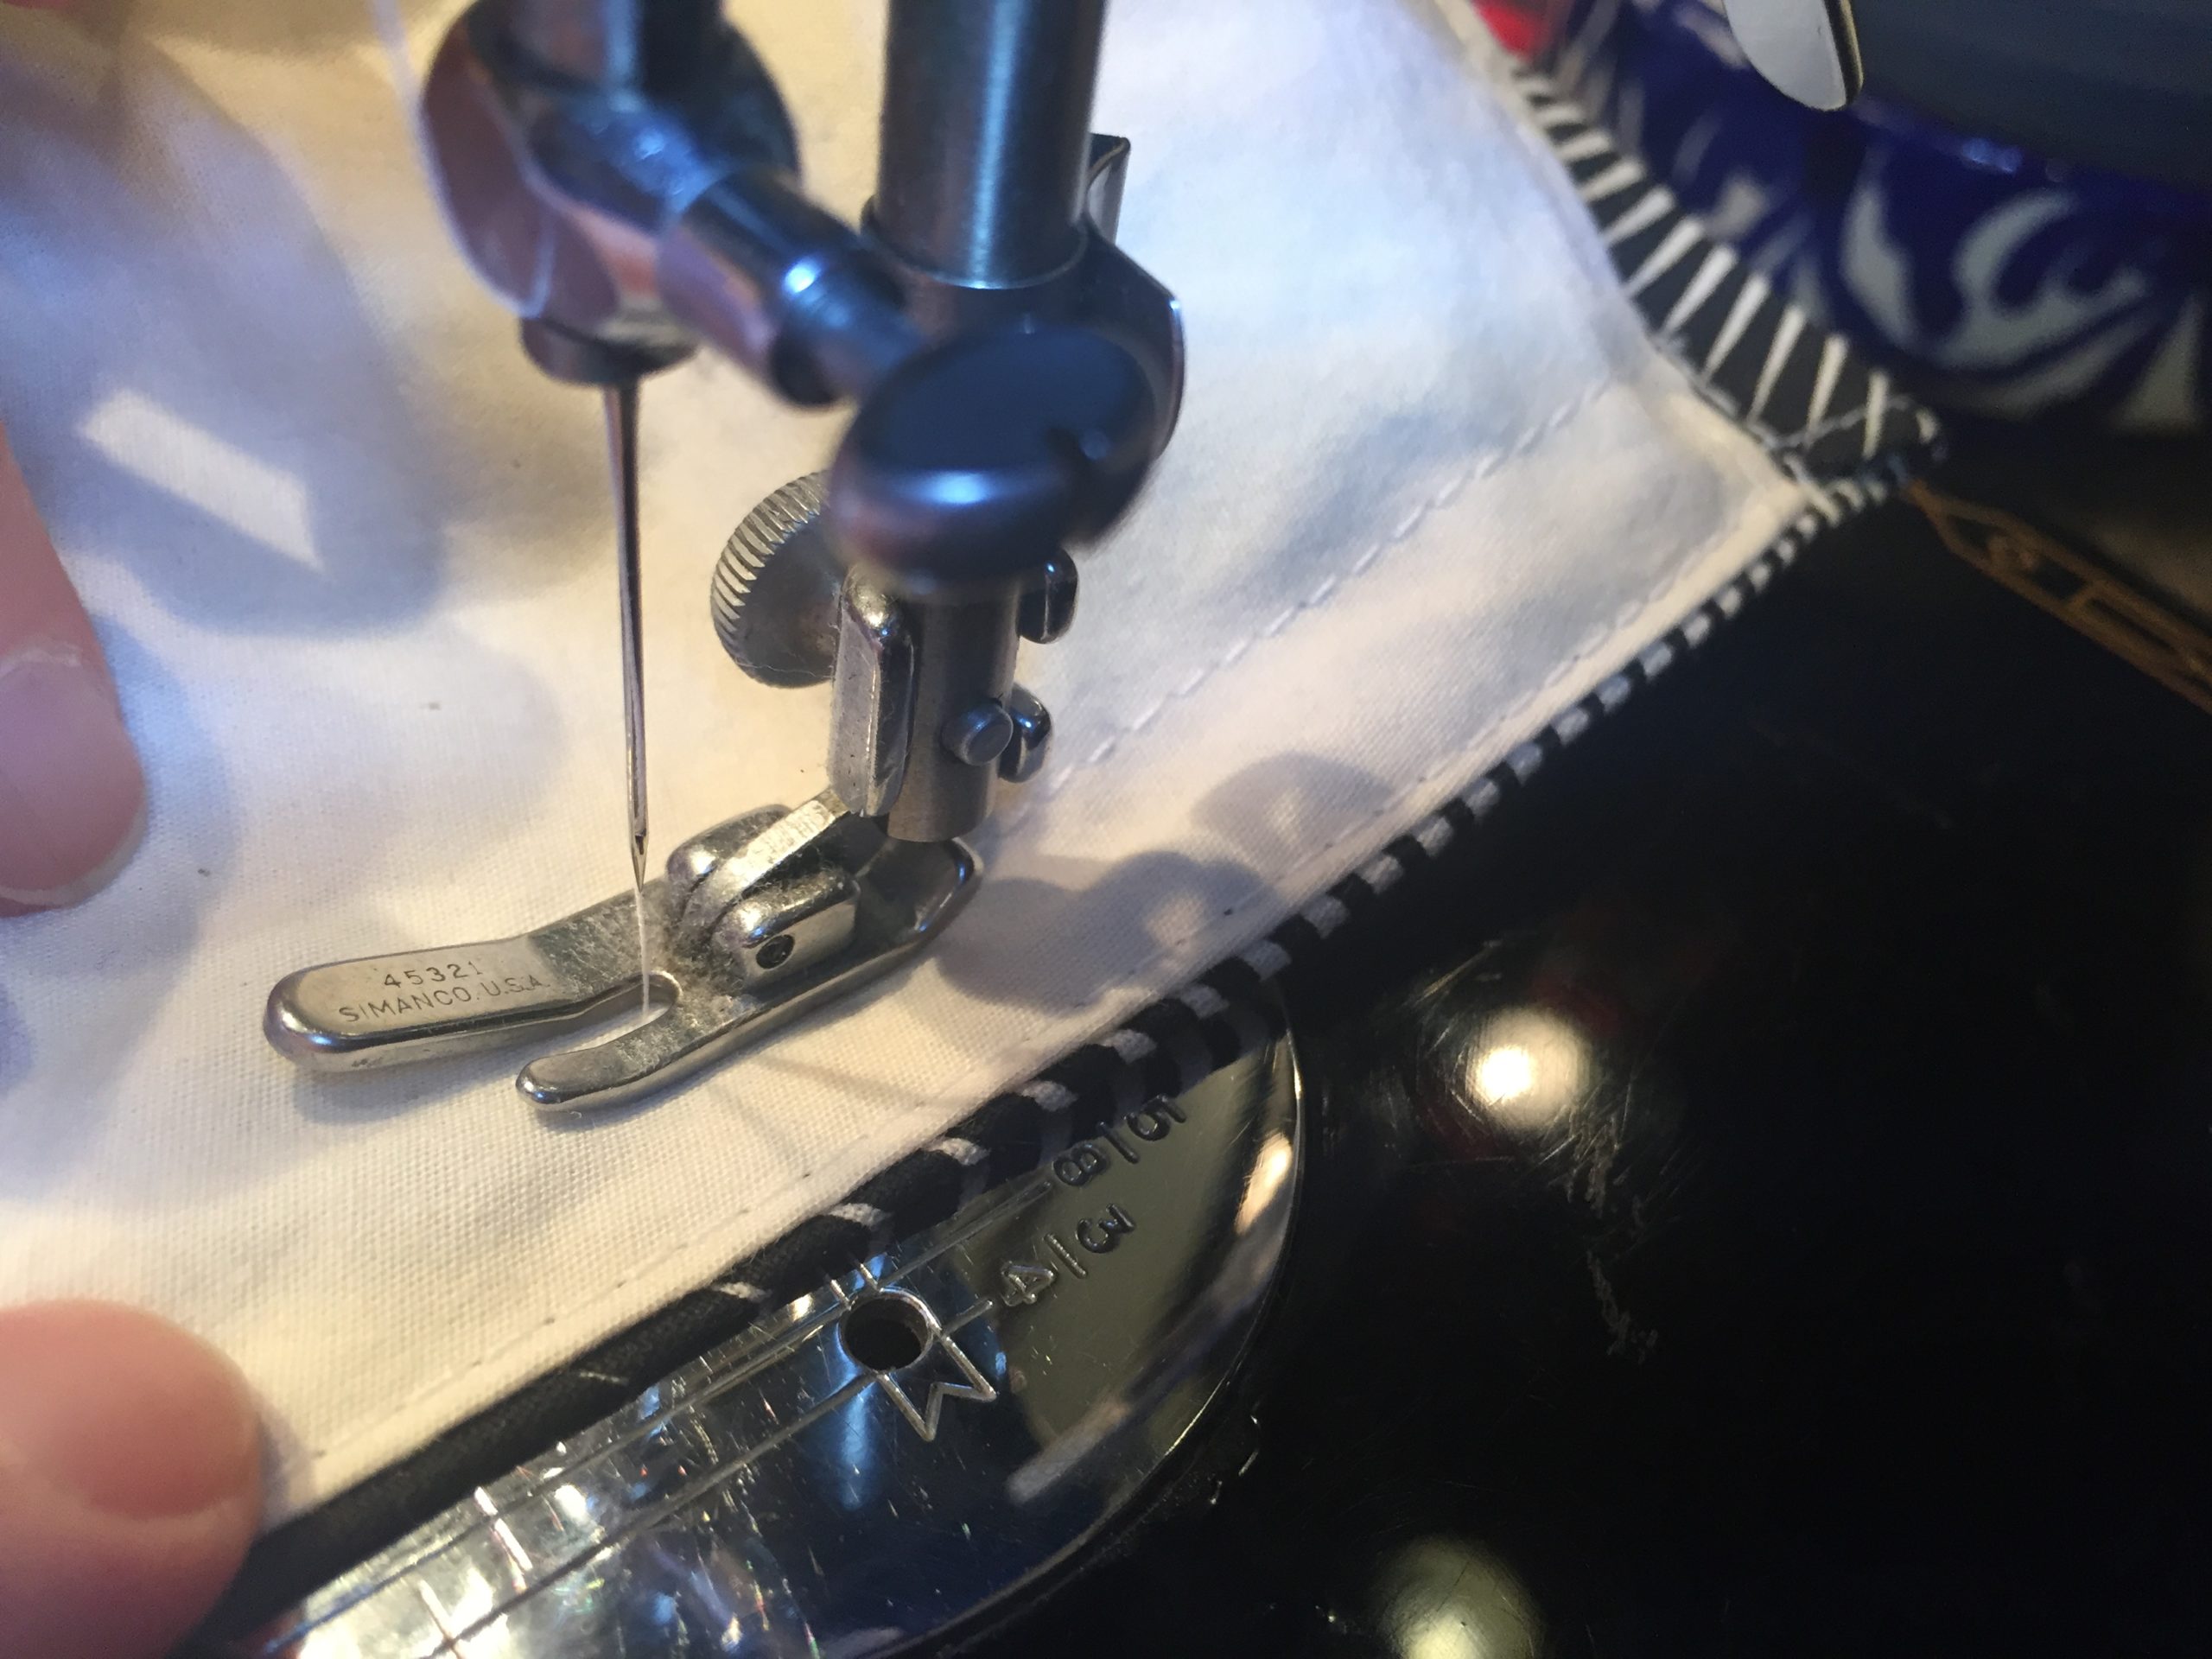
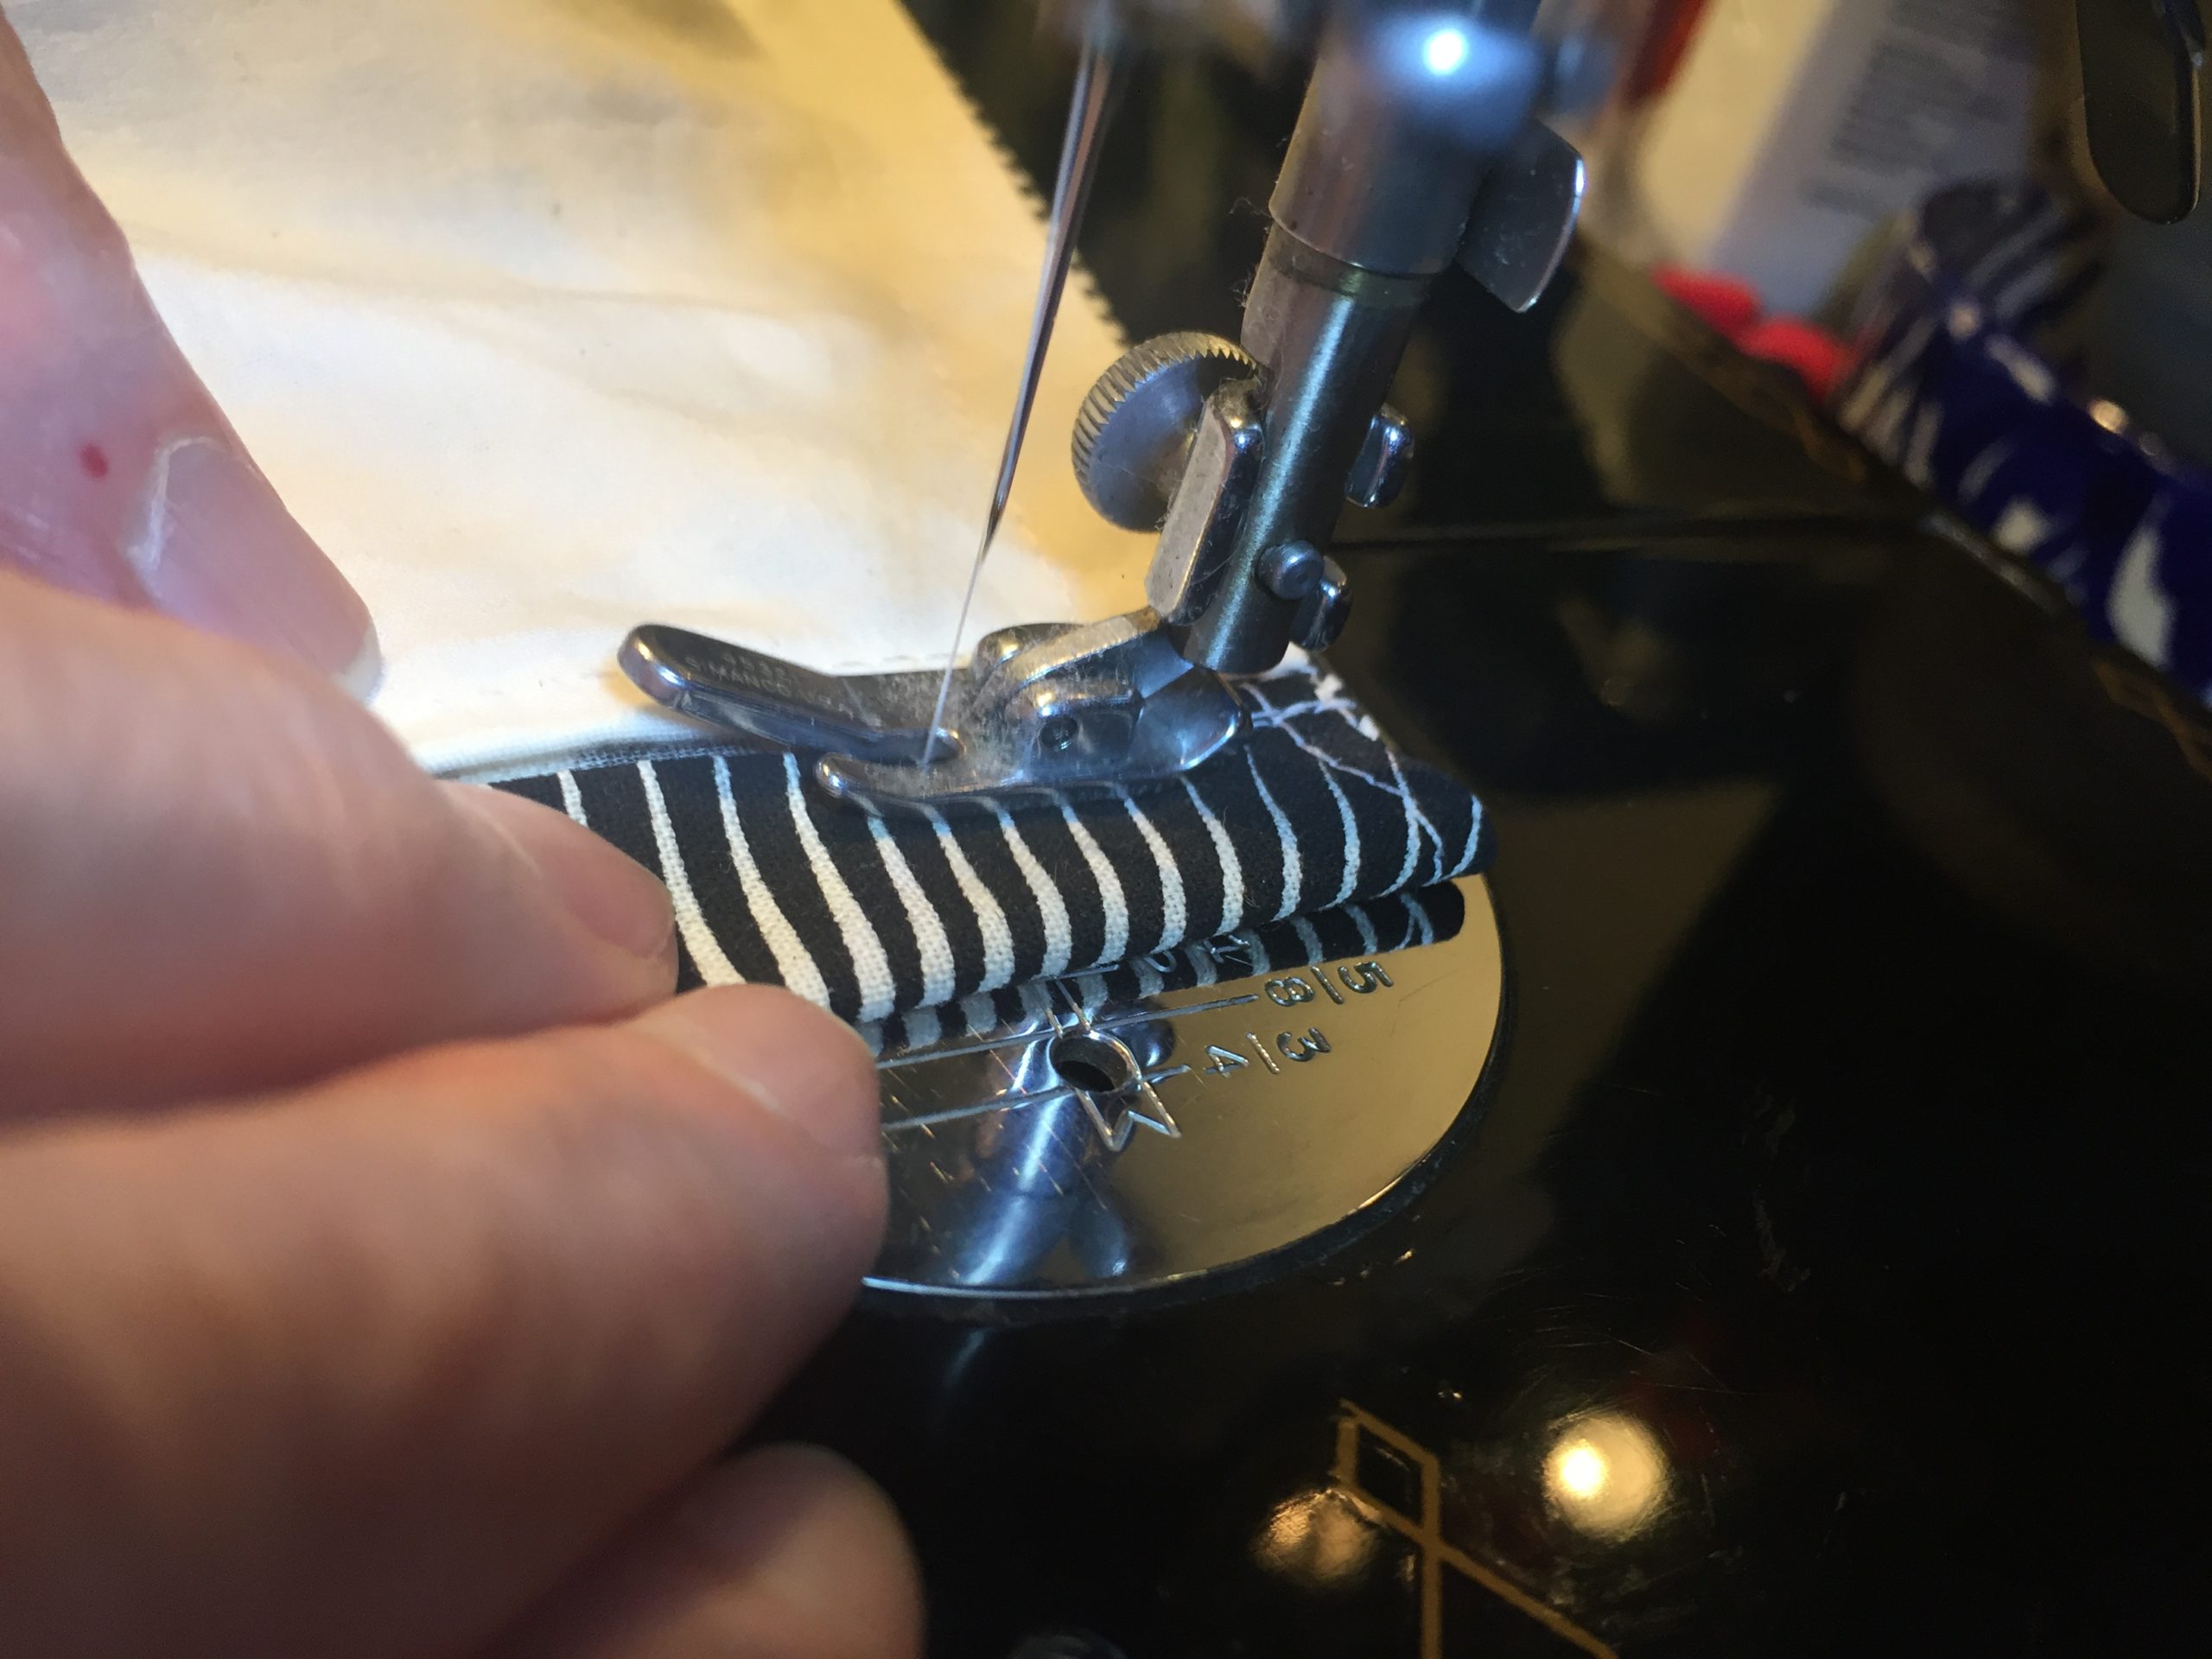
First get a pair of liner pieces. You can make one by cutting 1.25″ off a pair of front pieces, or the larger liner pieces from the 3-layer kits. To make your own liner pieces just trace the cut-out printed front pieces onto other cotton cloth. For a reversible mask, your “liner” will have the Angel O’ Death printed on it.Sew ’em together on the curve with a quarter inch seam allowance.Finger press the seam open.Here’s what the finger-pressed center seam should look like. You could also iron this open, but since it’s a curved seam, Momz finds using her fingernails easier.Fold over a bit of the edge (an eight of an inch? less than a quarter) and iron it down.Now fold it over again, and iron that. Do the same on the other end of the pair. You are making hems.Topstitch those hems down.Now it’s time to match up a pair of printed pieces. Because screen printing pulls the fabric, the prints get a little distorted. The important part to align is the center seam; the other edges may be a bit wonky. Use the center registration marks as guides.Hold the 2 pieces in front of a light to make sure the center guide line is registered.At this point, you can check that all 3 registration lines are registered and start sewing, which is how I do it. Or you can be meticulous like my Momz, and use pins, carefully registering and pinning all around the center edge.Her technique admittedly works better for more severely distorted prints. Notice she is using backlight to register those guide lines.Look at all those pins she put in there. These 2 pieces will be perfectly aligned.Sew along the print edge. Err just a little inside the print area, so you don’t get a white gap in the center of the seam.Turn it inside out to check alignment. Yup, it’s meticulously aligned.Finger press open the center seam, just like you did before on the liner seam.Now you’re gonna put the liner and the front together, right sides facing in, open seams facing out.Align those center seams.Align the edges.Stick a pin in there to ensure the open seams lie flat when you stitch over them.Momz pins meticulously and you can too. I can’t, but that’s why she’s sewing this and not me, because I sew like a slob (except I’m really good at sewing the center seams of the prints).Start stitching the liner to the front piece all the way from the outer edge. Use a quarter inch seam allowance.Stitch both top and bottom, and you should get something like this.Turn it inside out.Inside…Out.Back at the ol’ ironing board, fold in the edge of the front piece about a quarter inch, right on that line you stitched.Press it down with the iron.Do the same thing on both ends, top and bottom.Iron down the top and bottom seams too. That will make it crisper and cleaner and easier to top stitch.Now, with the front side of the mask facing up, top stitch.Just sew about an eight of an inch from the edge.
*Variation here: see footnote.
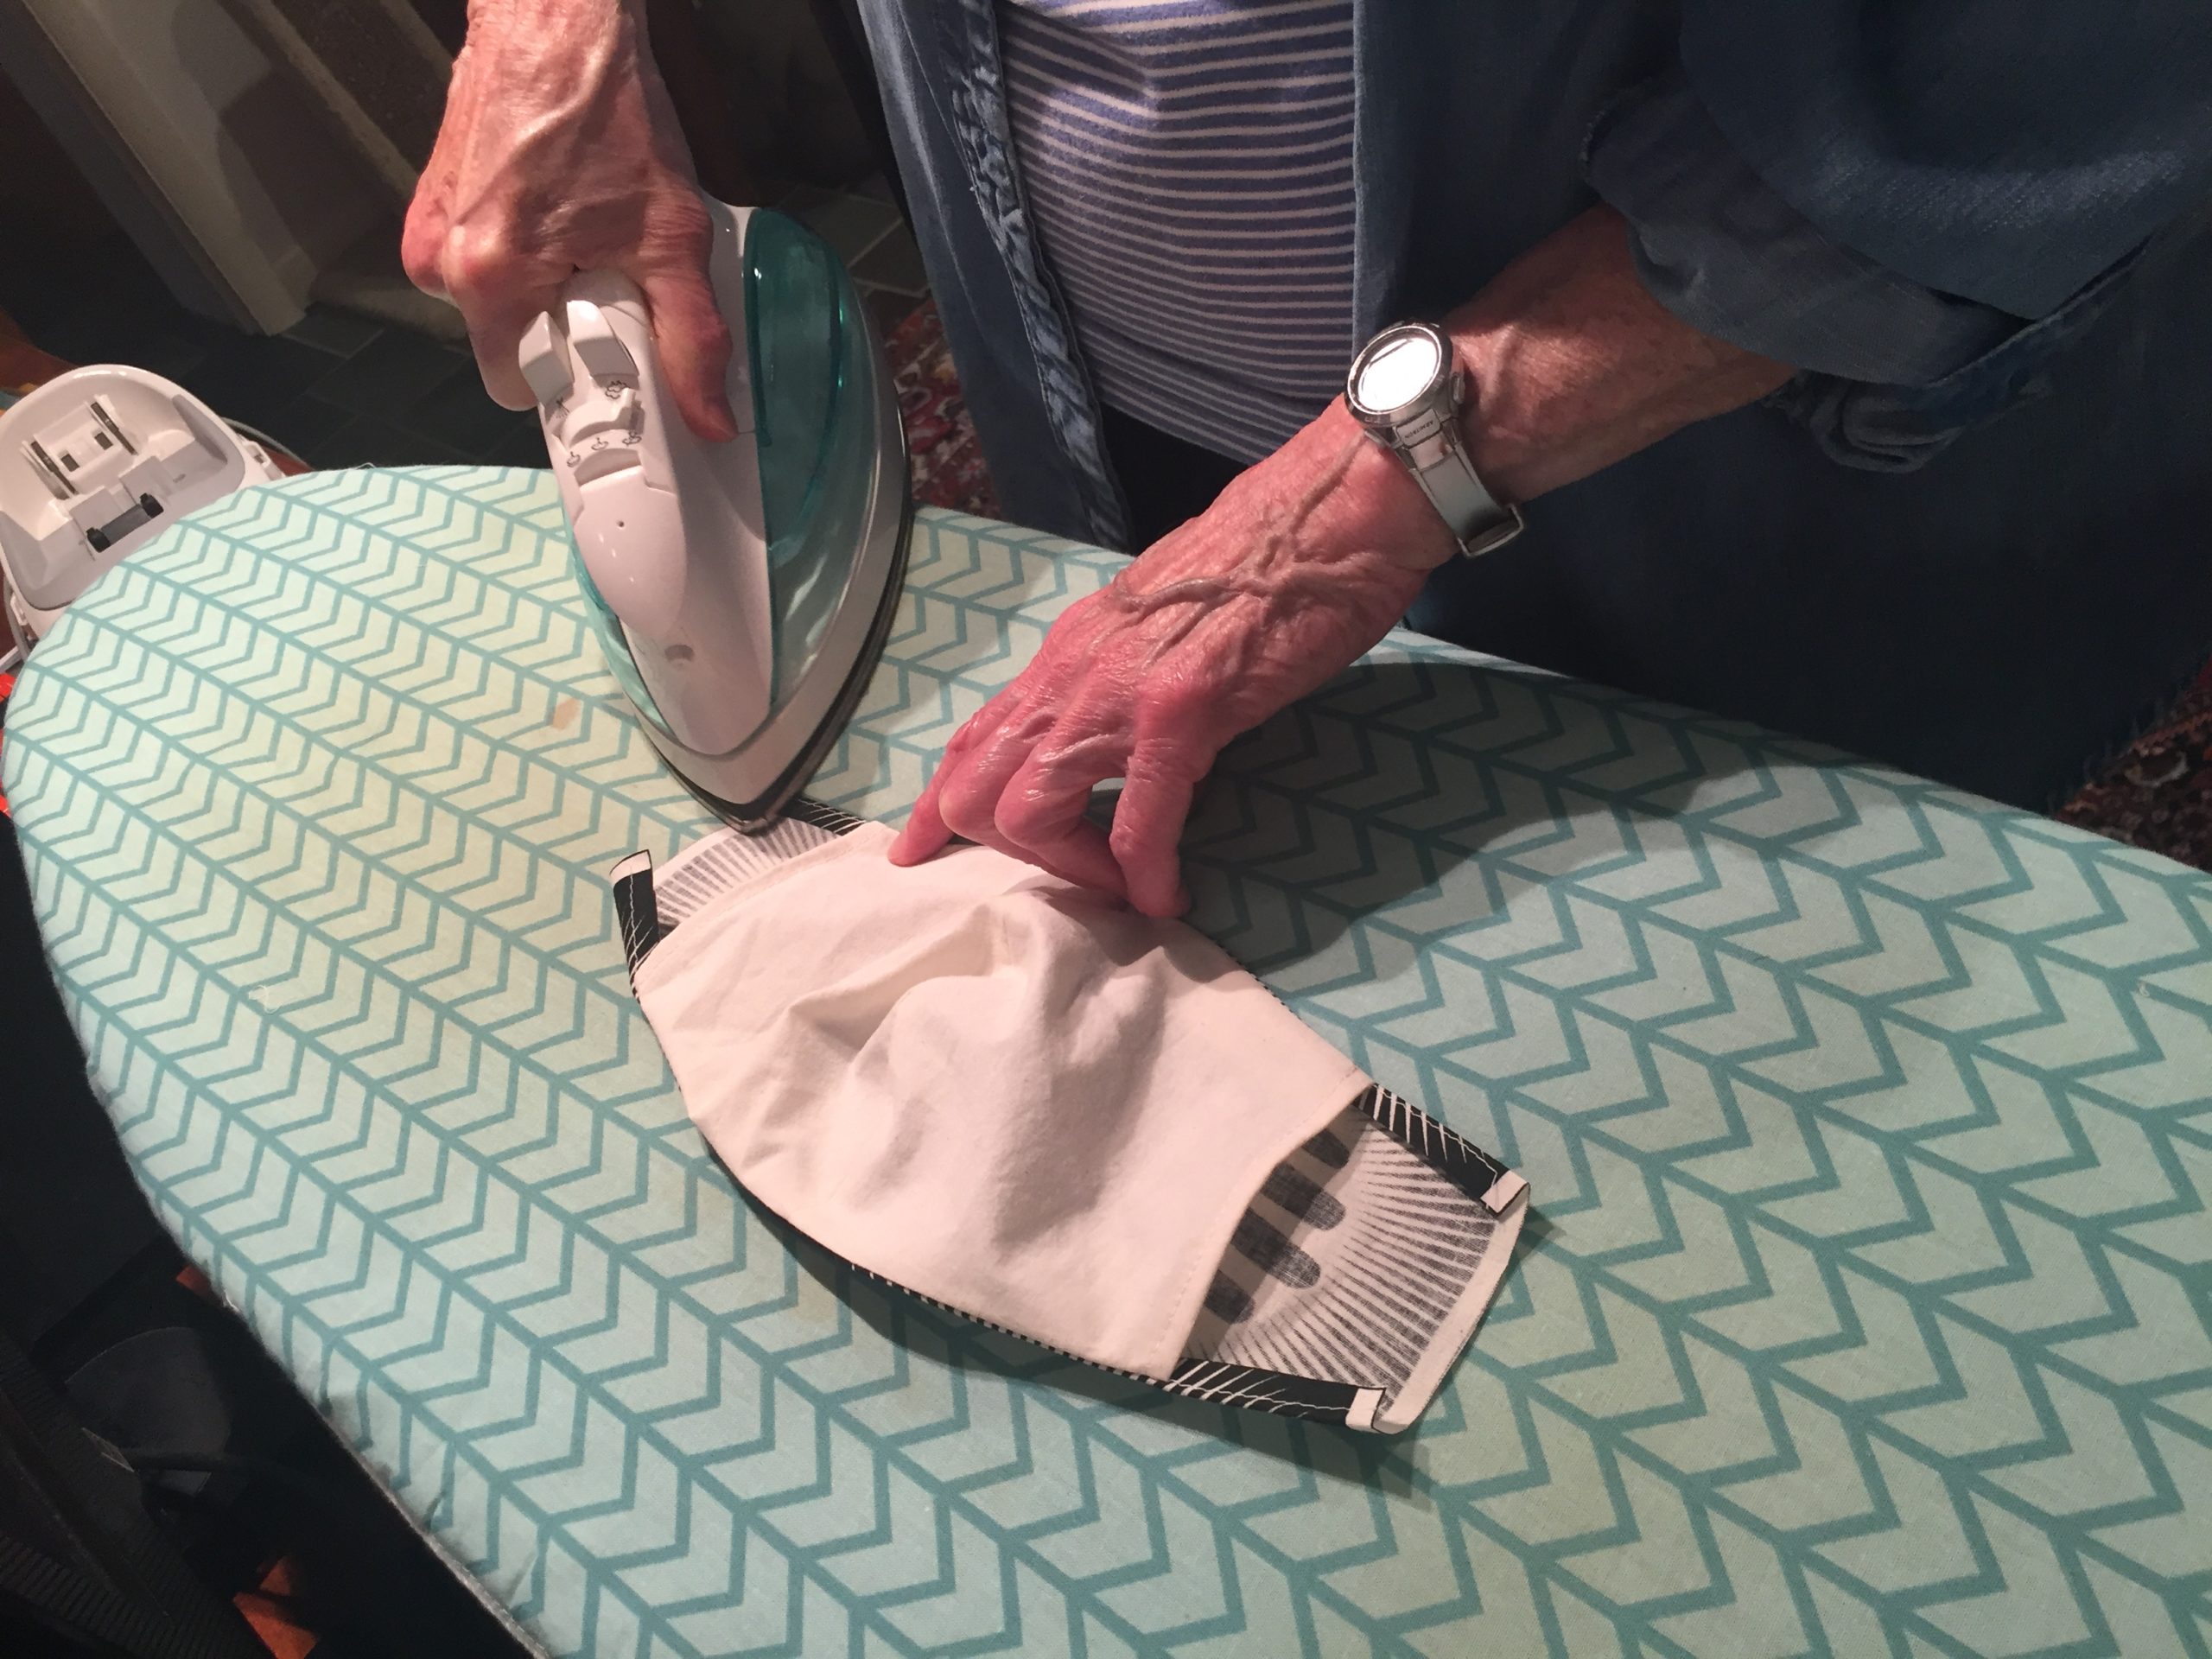
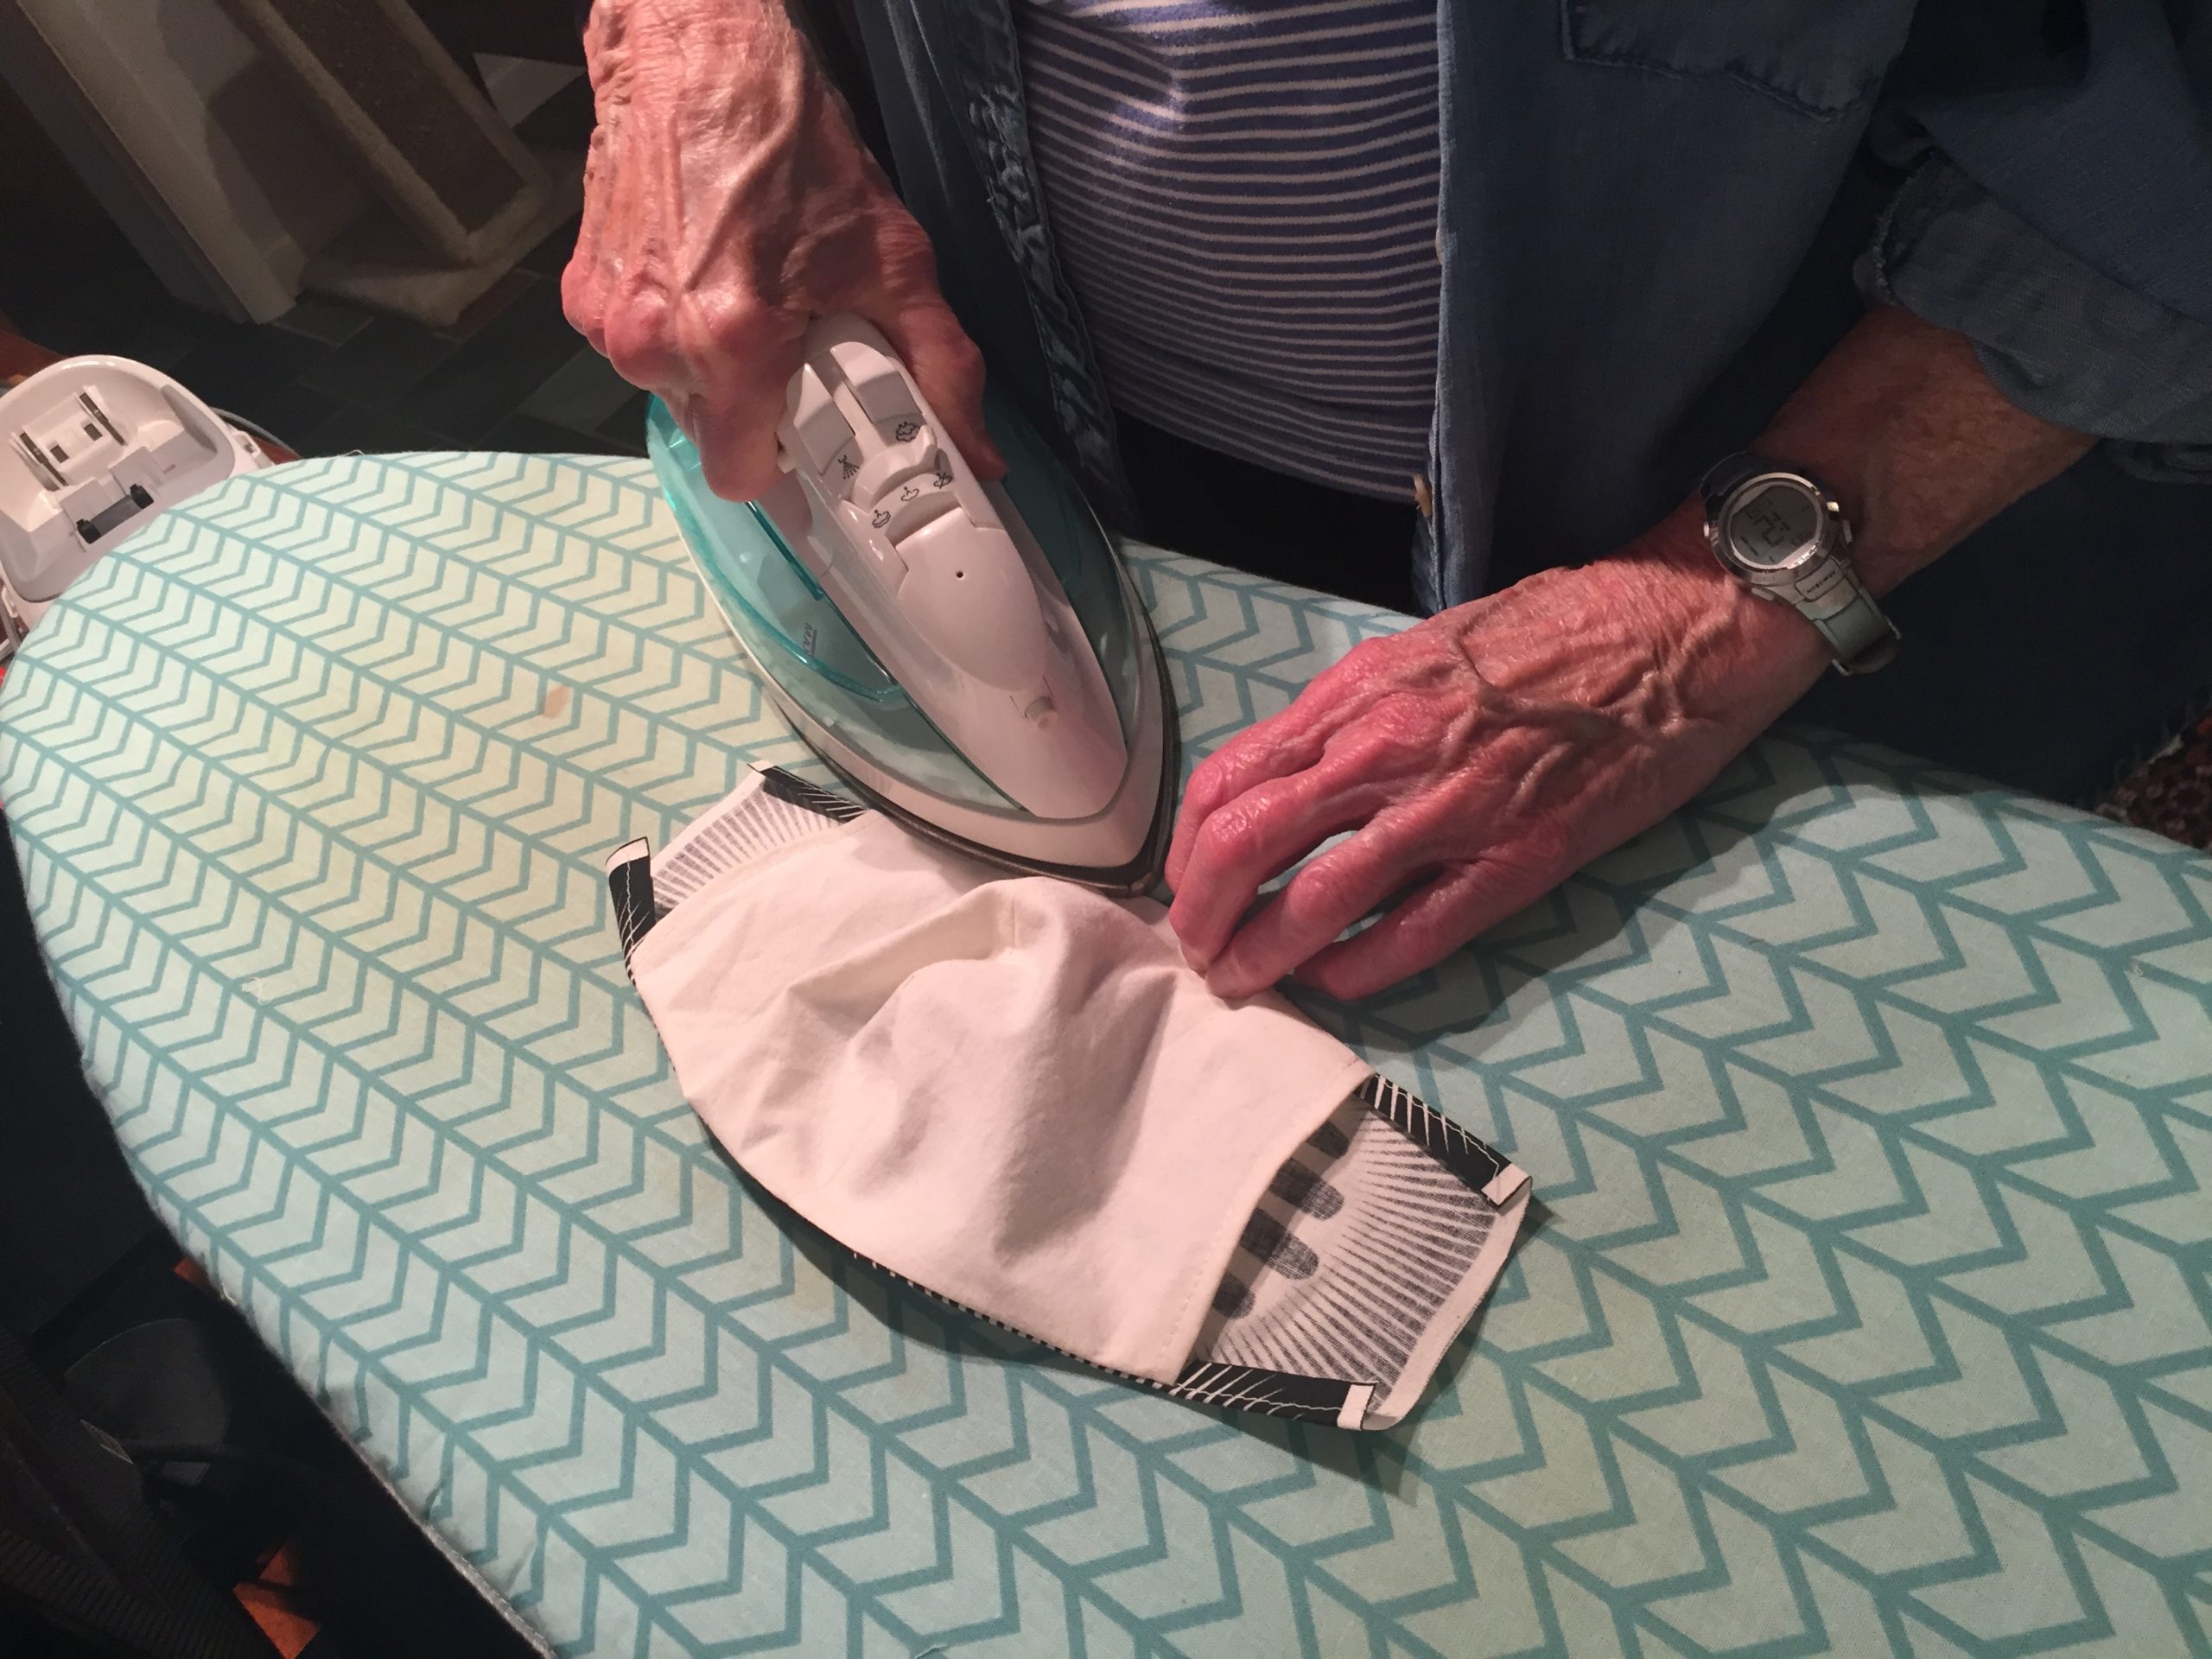
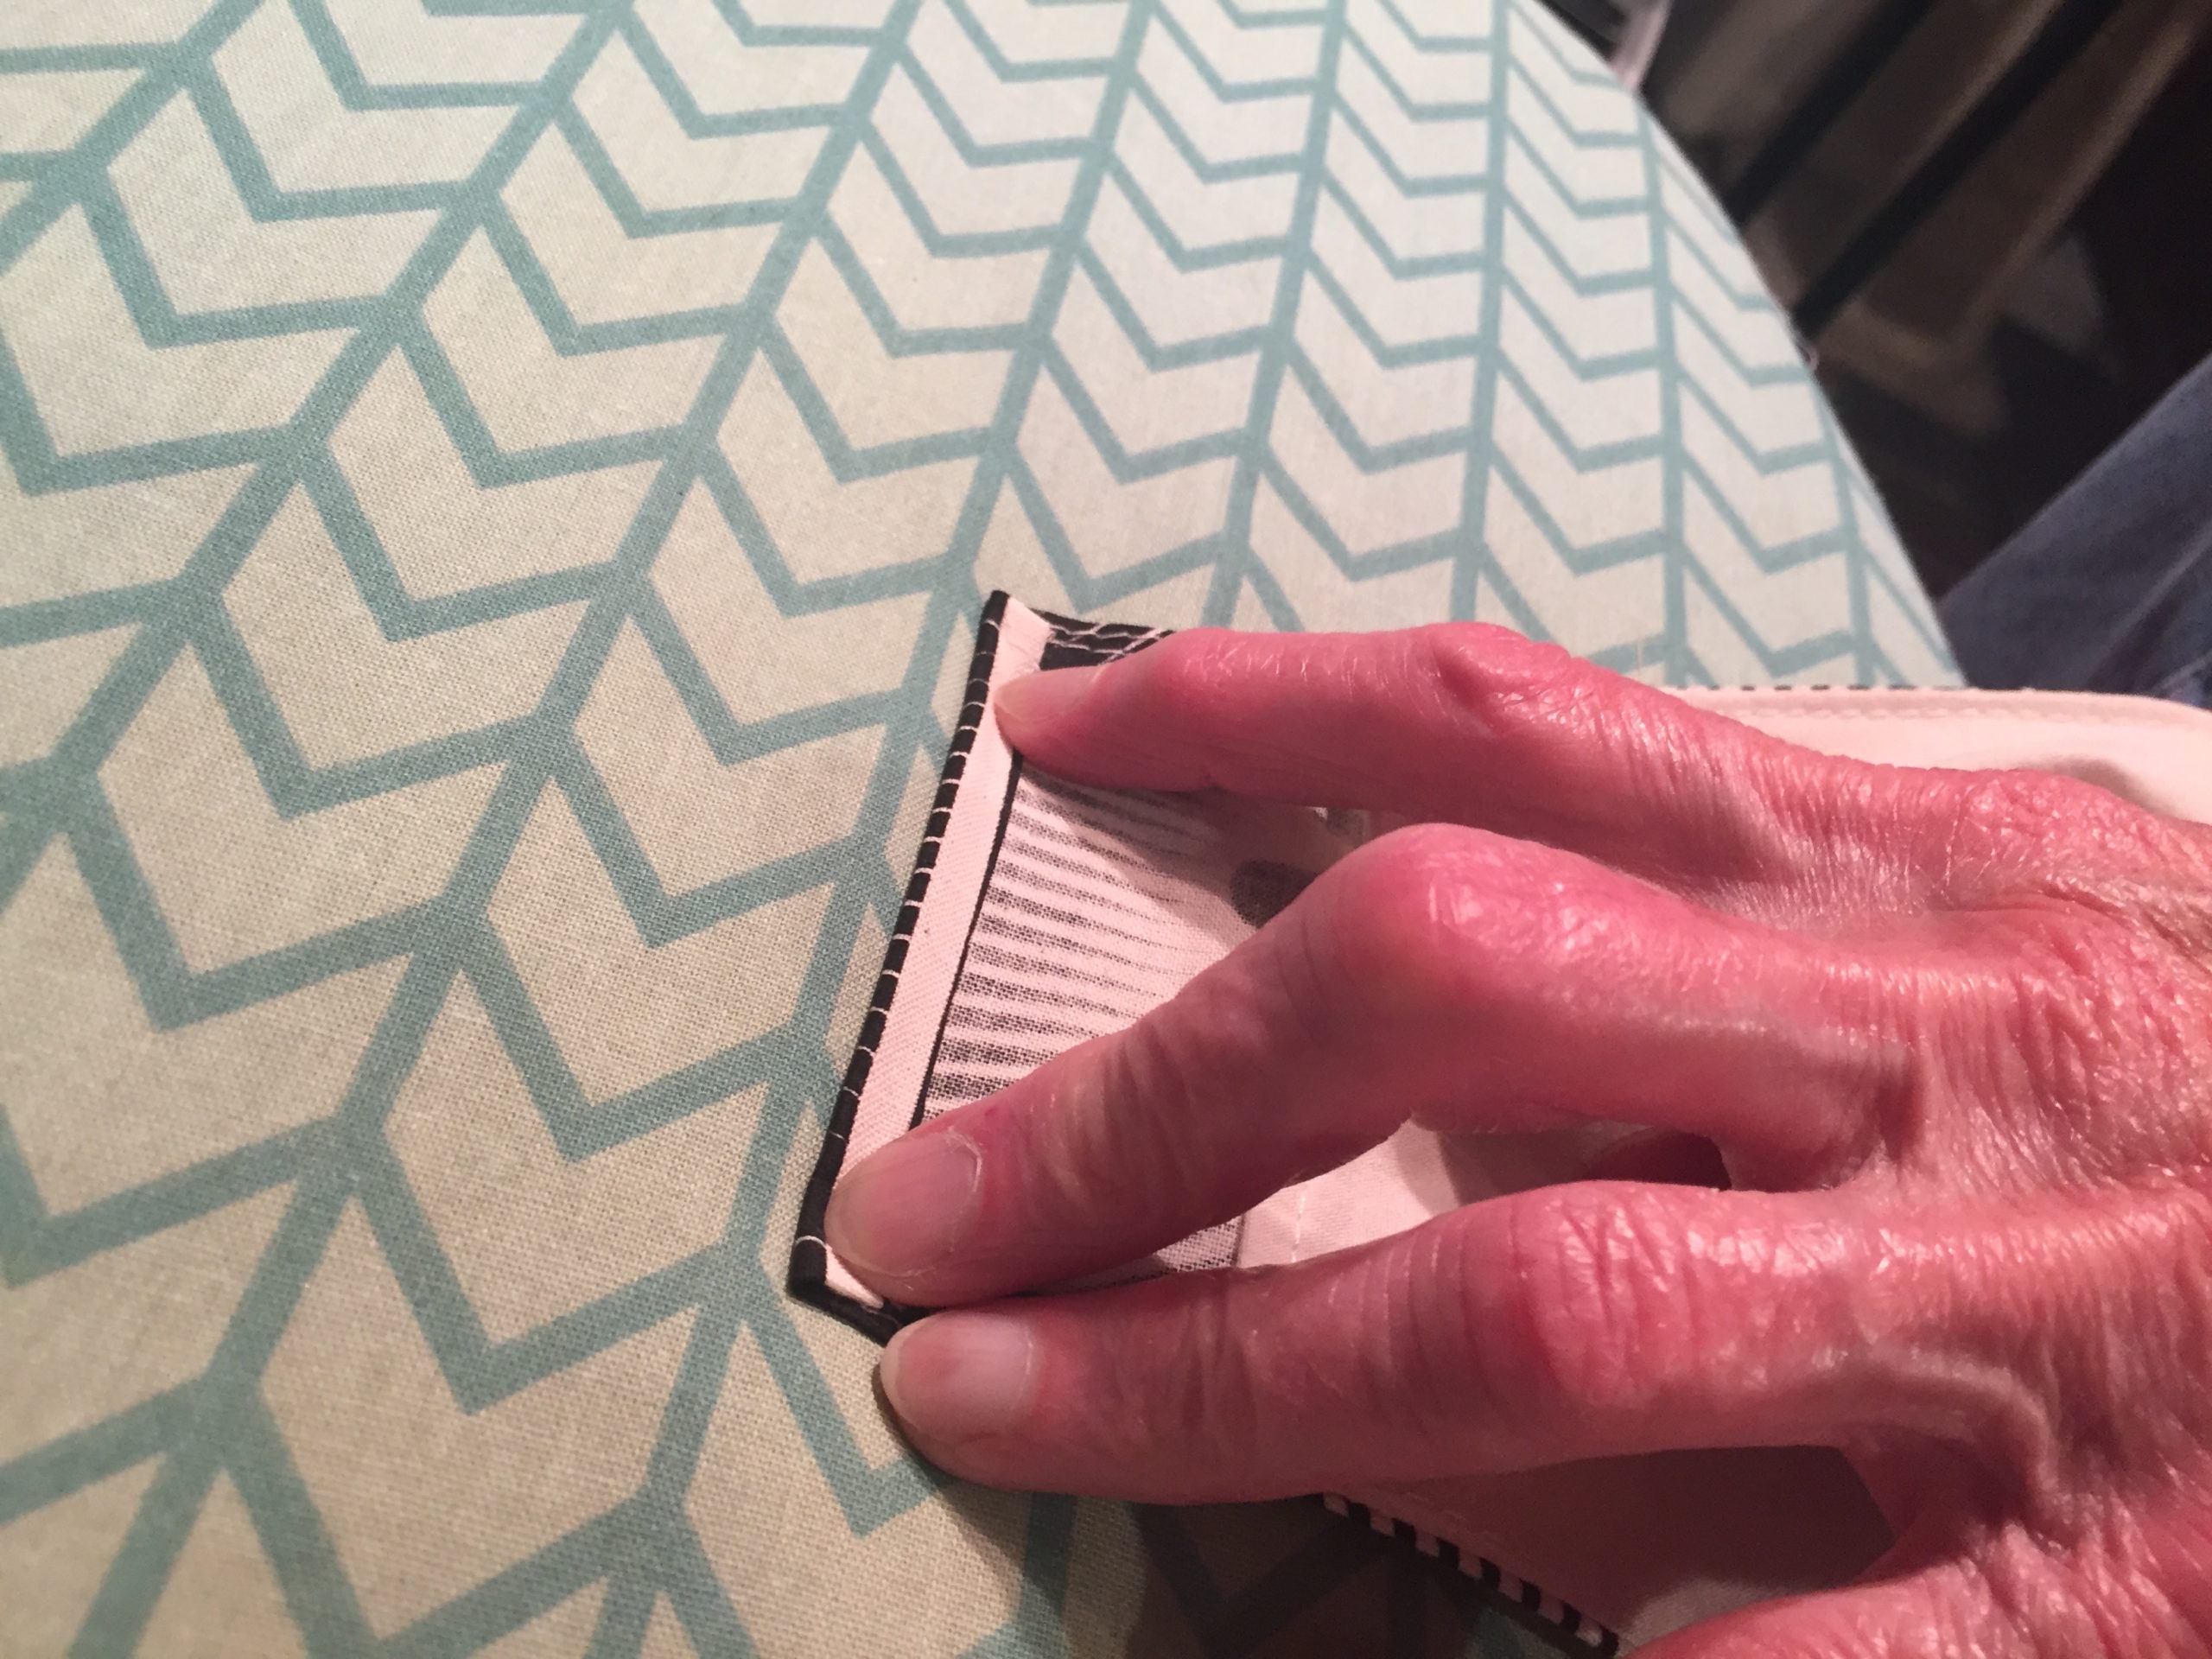
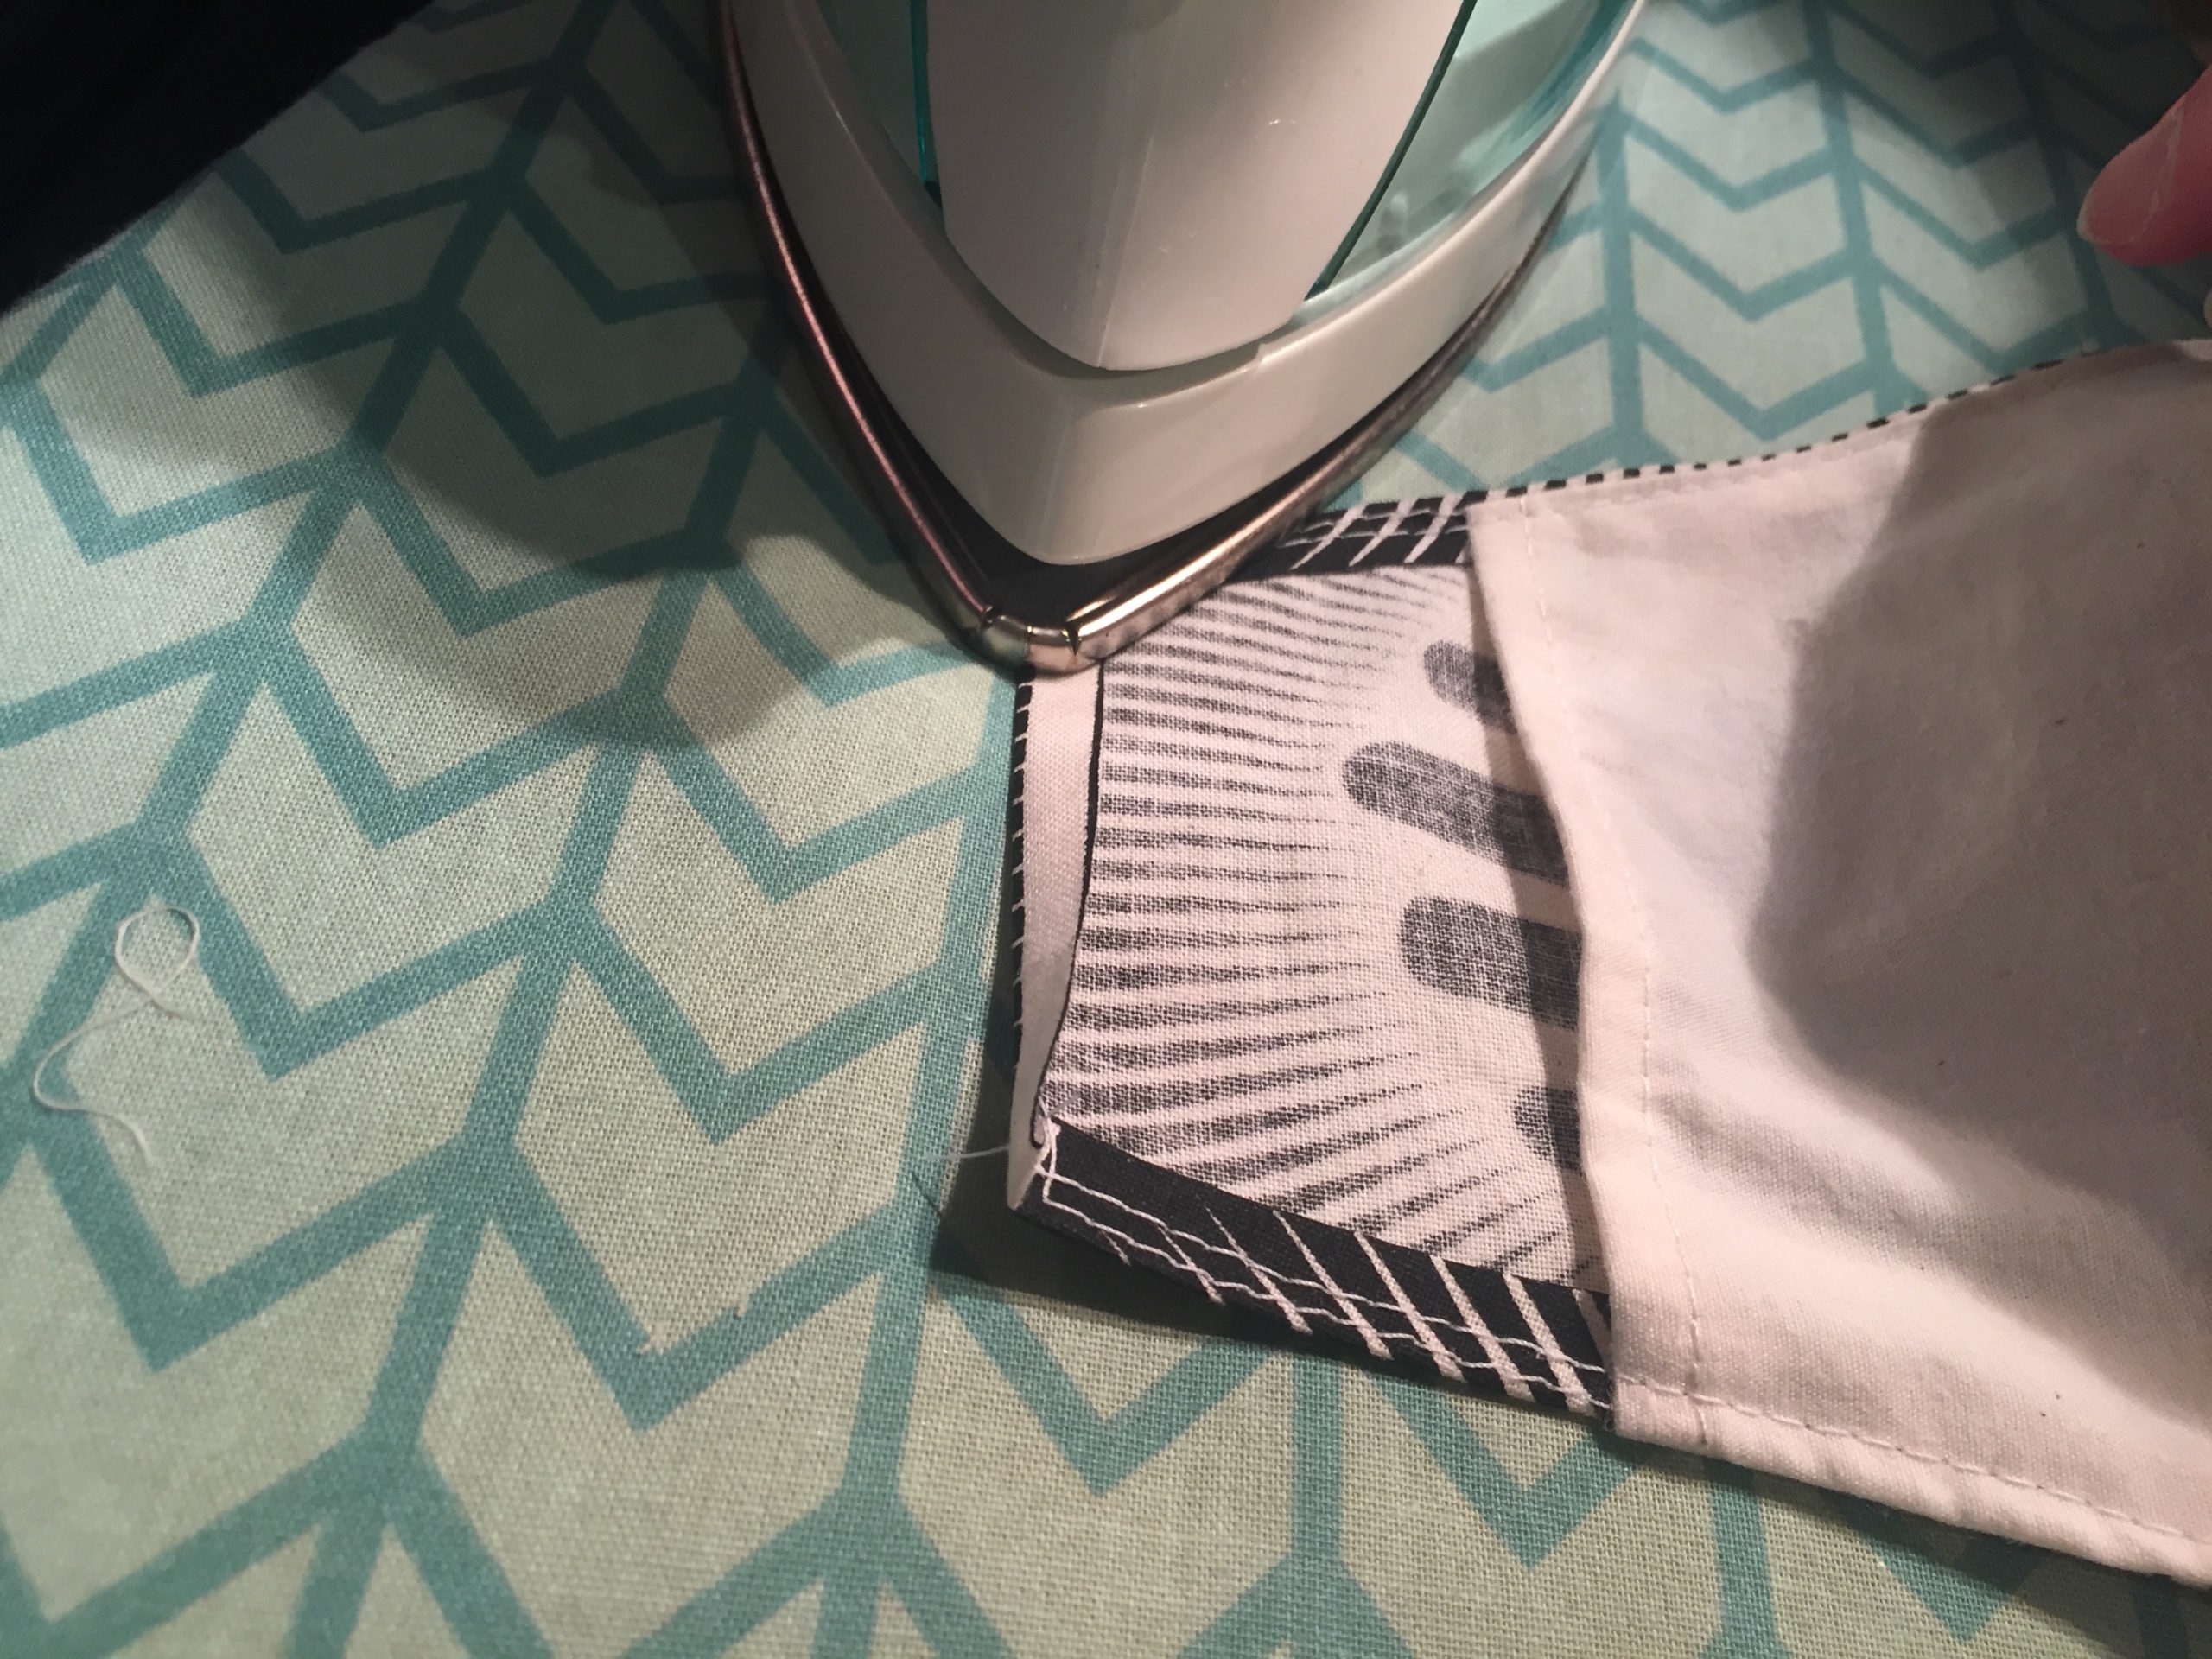
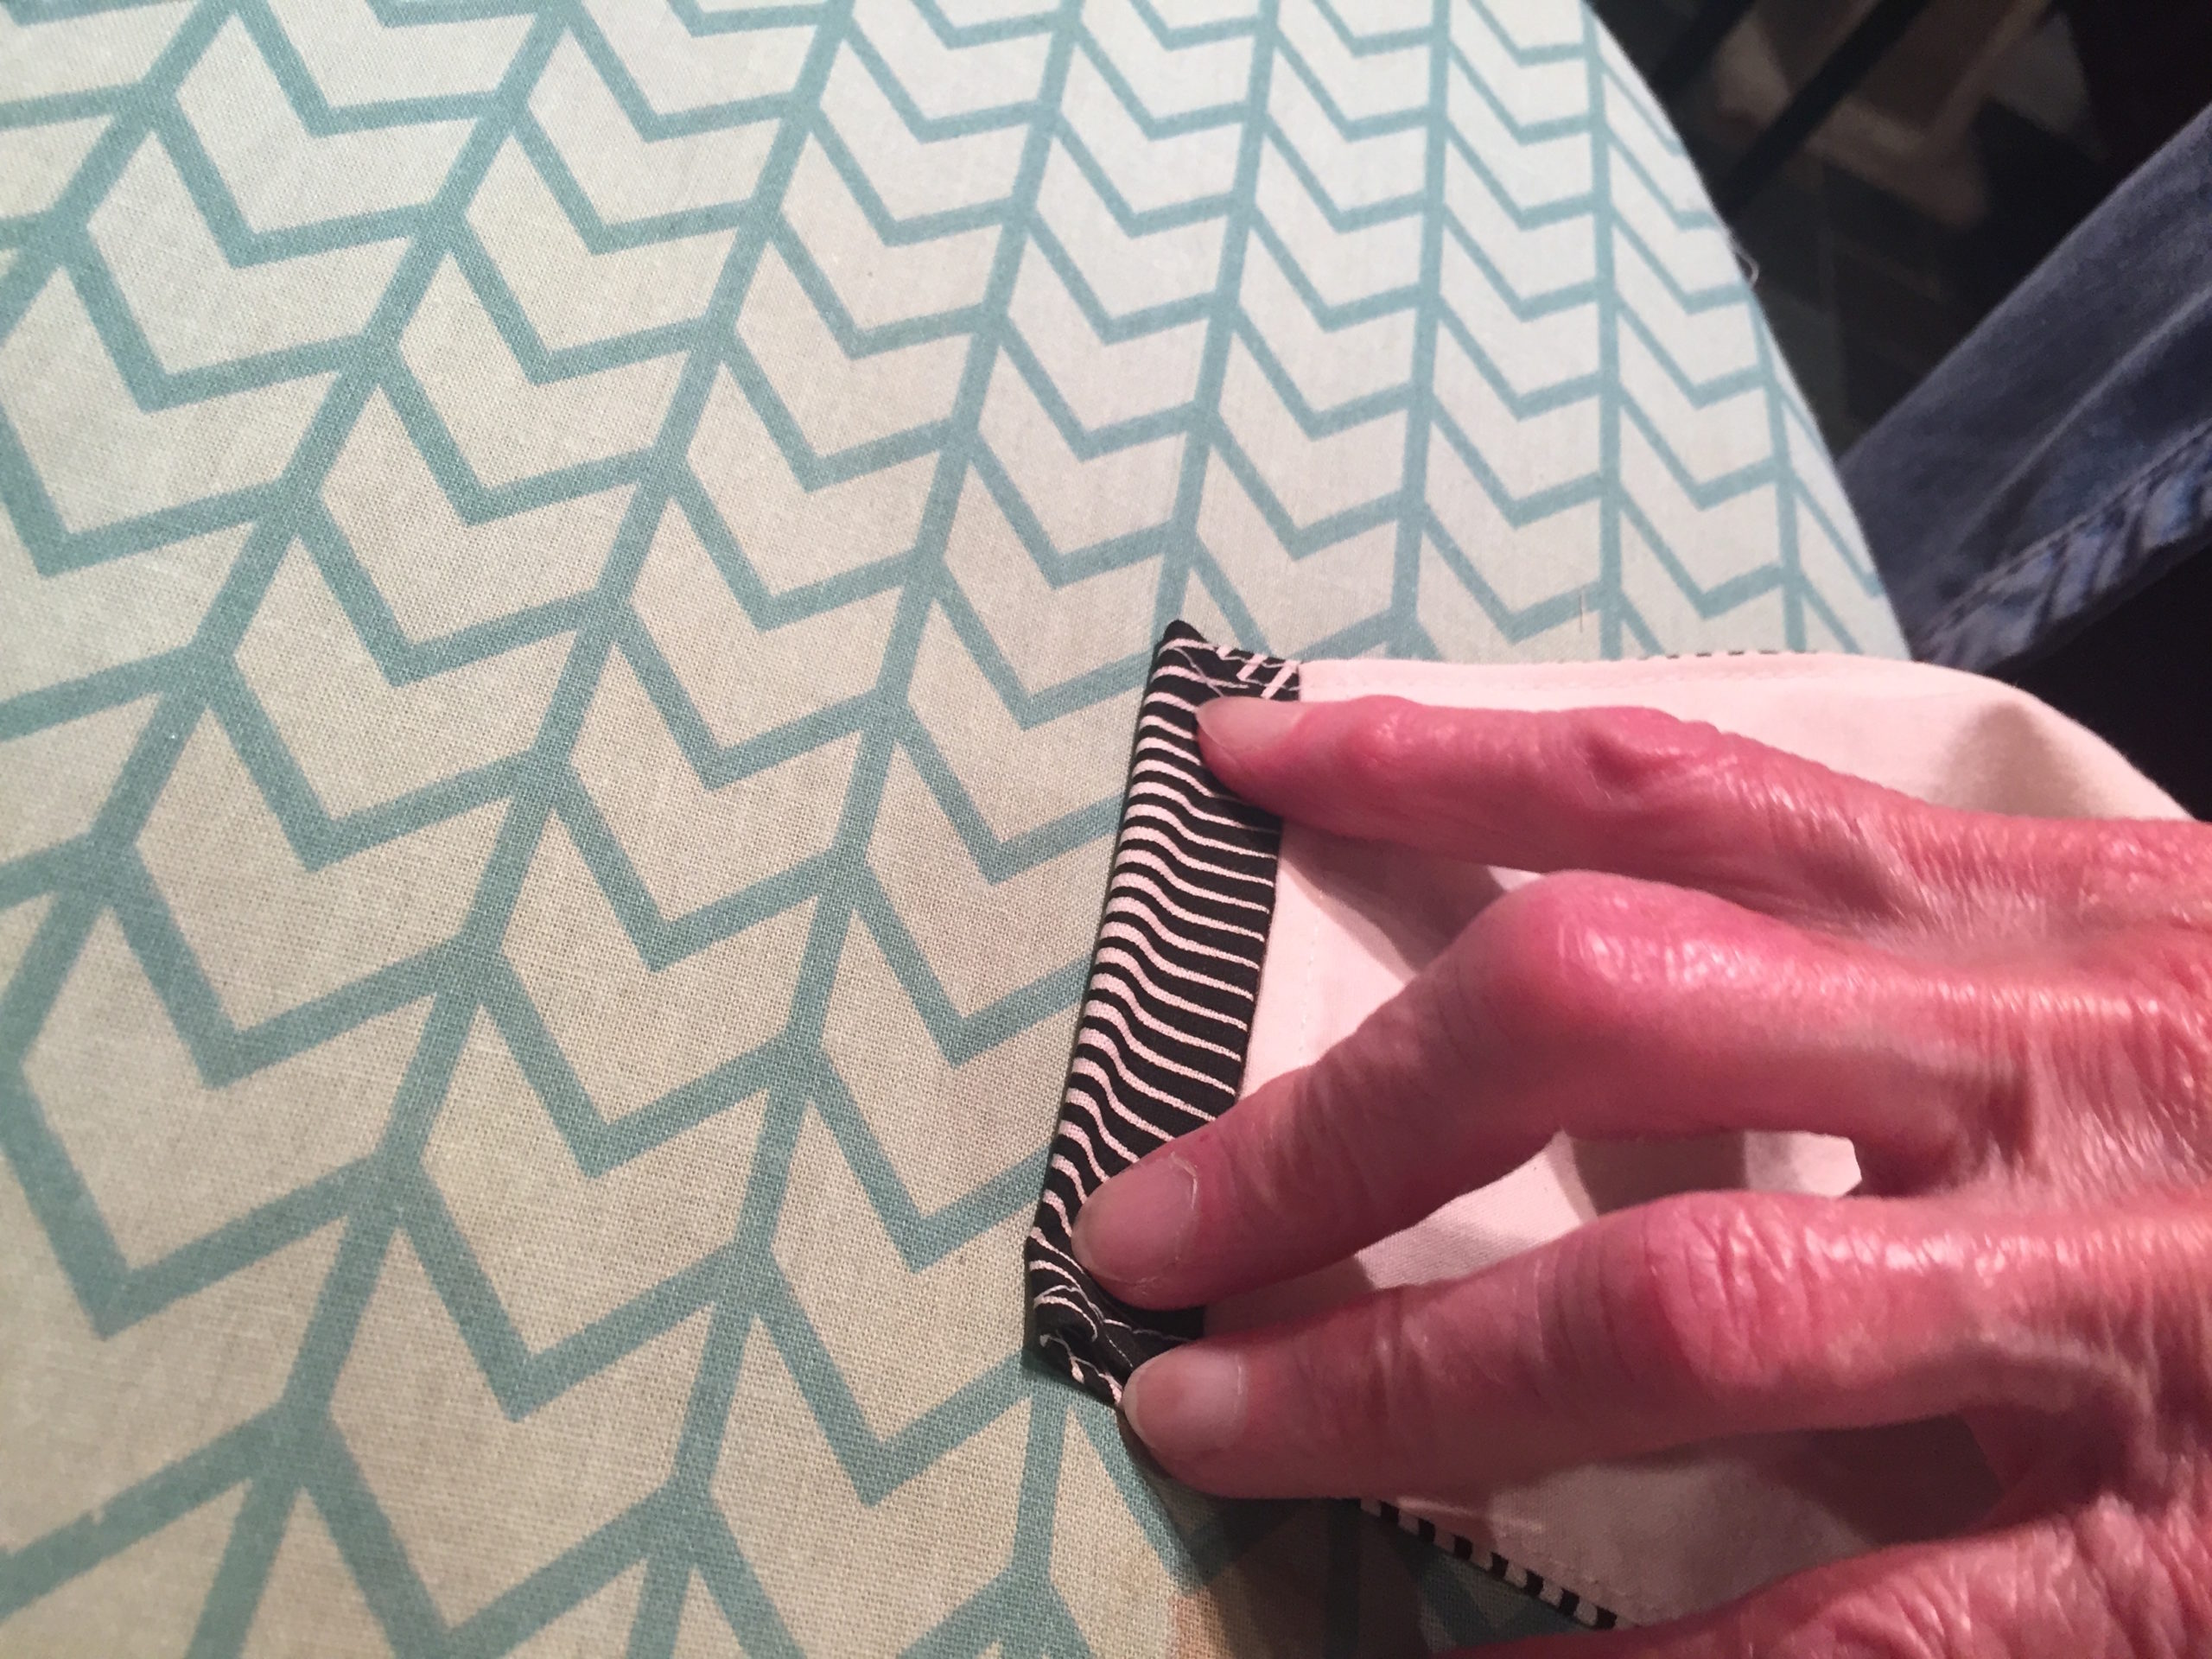
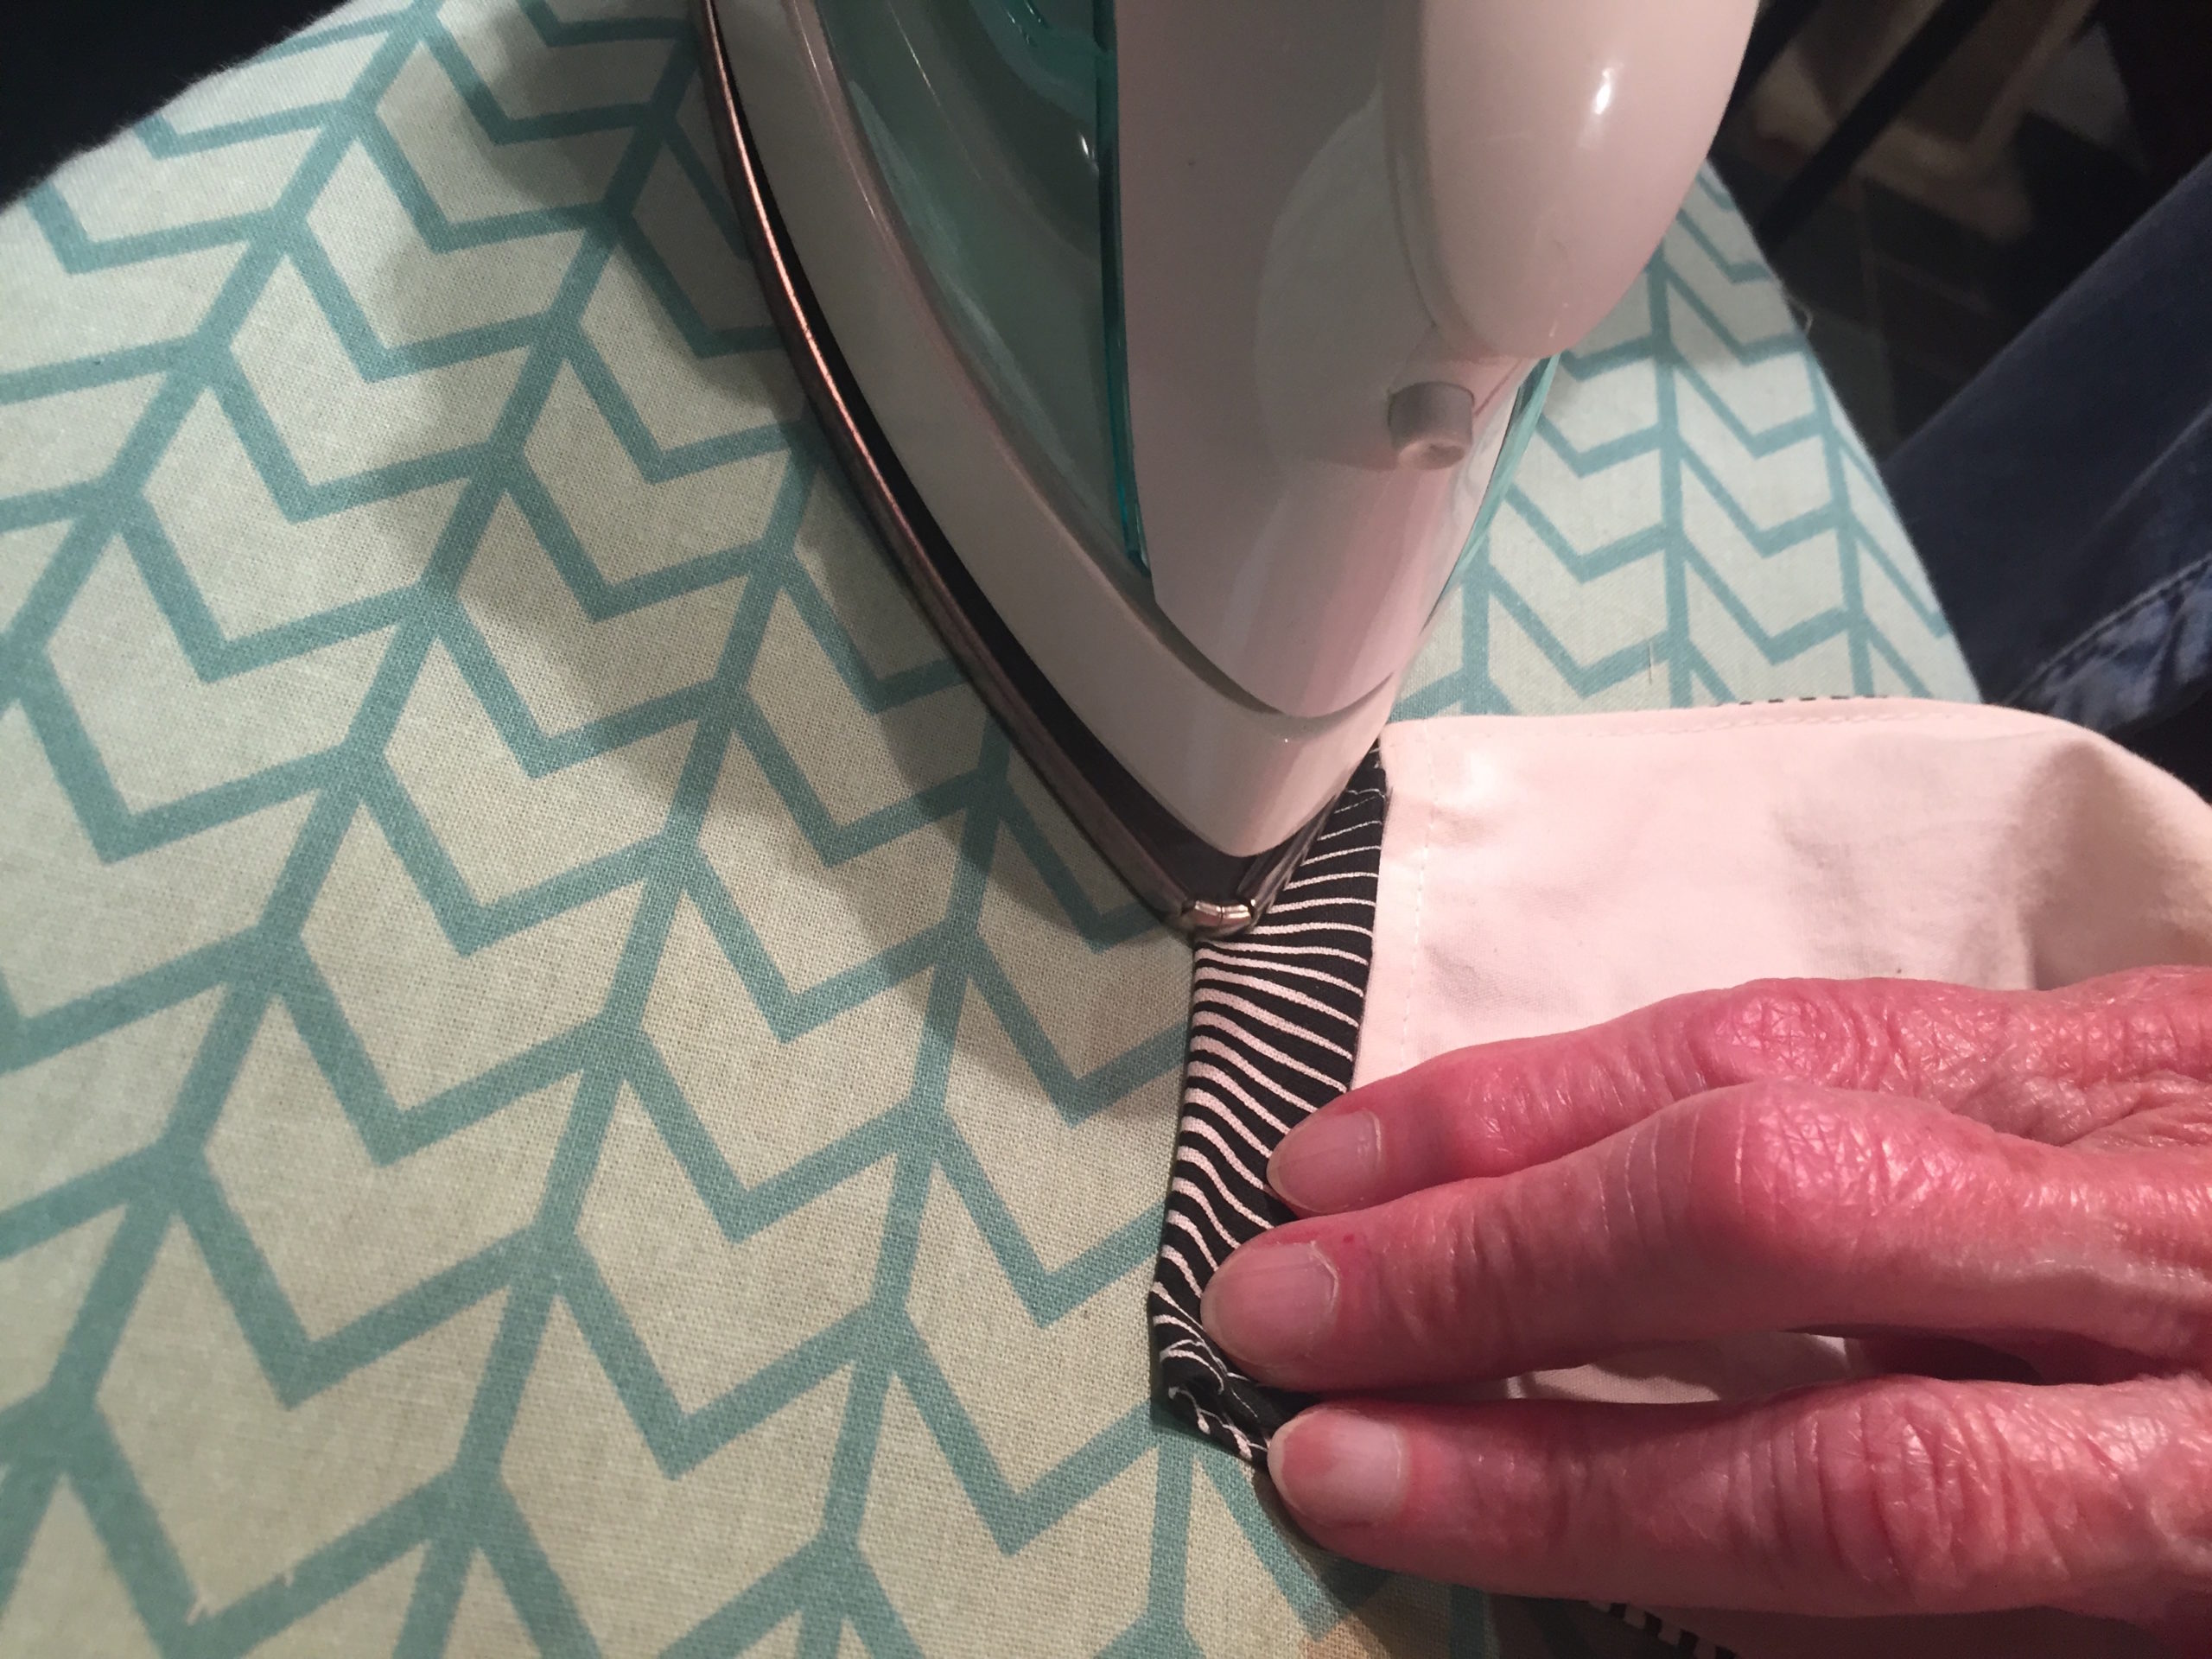
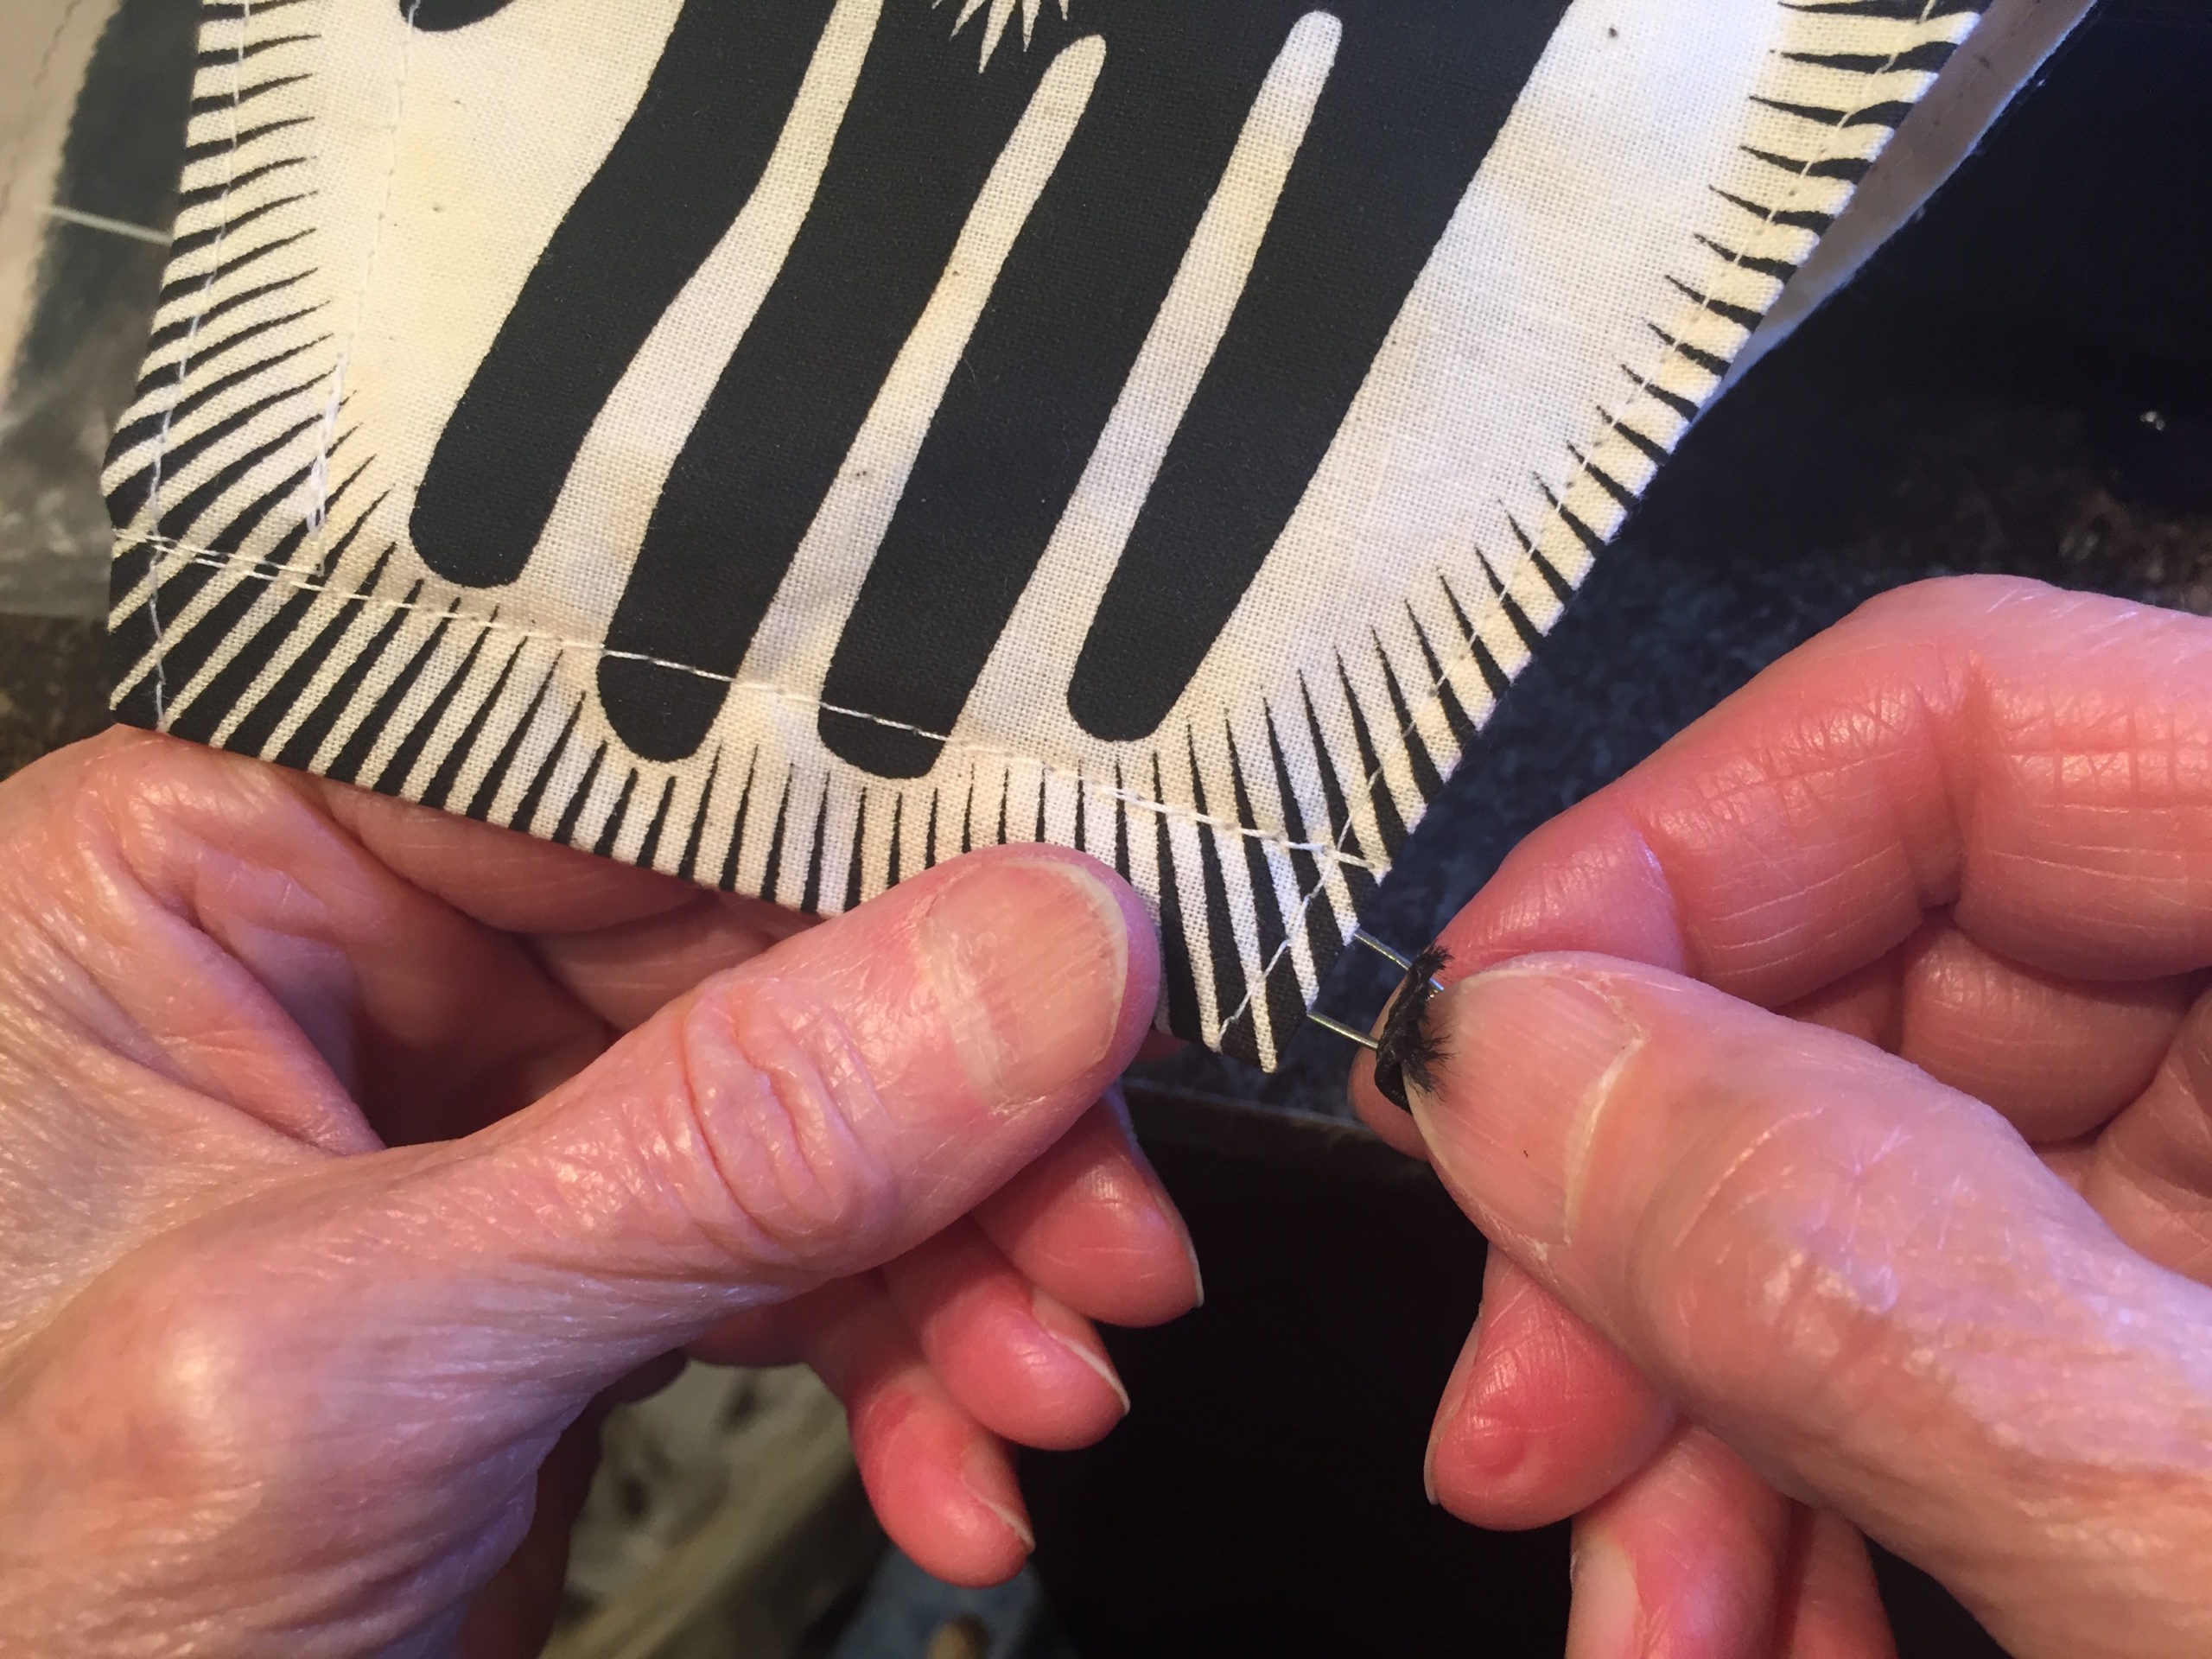
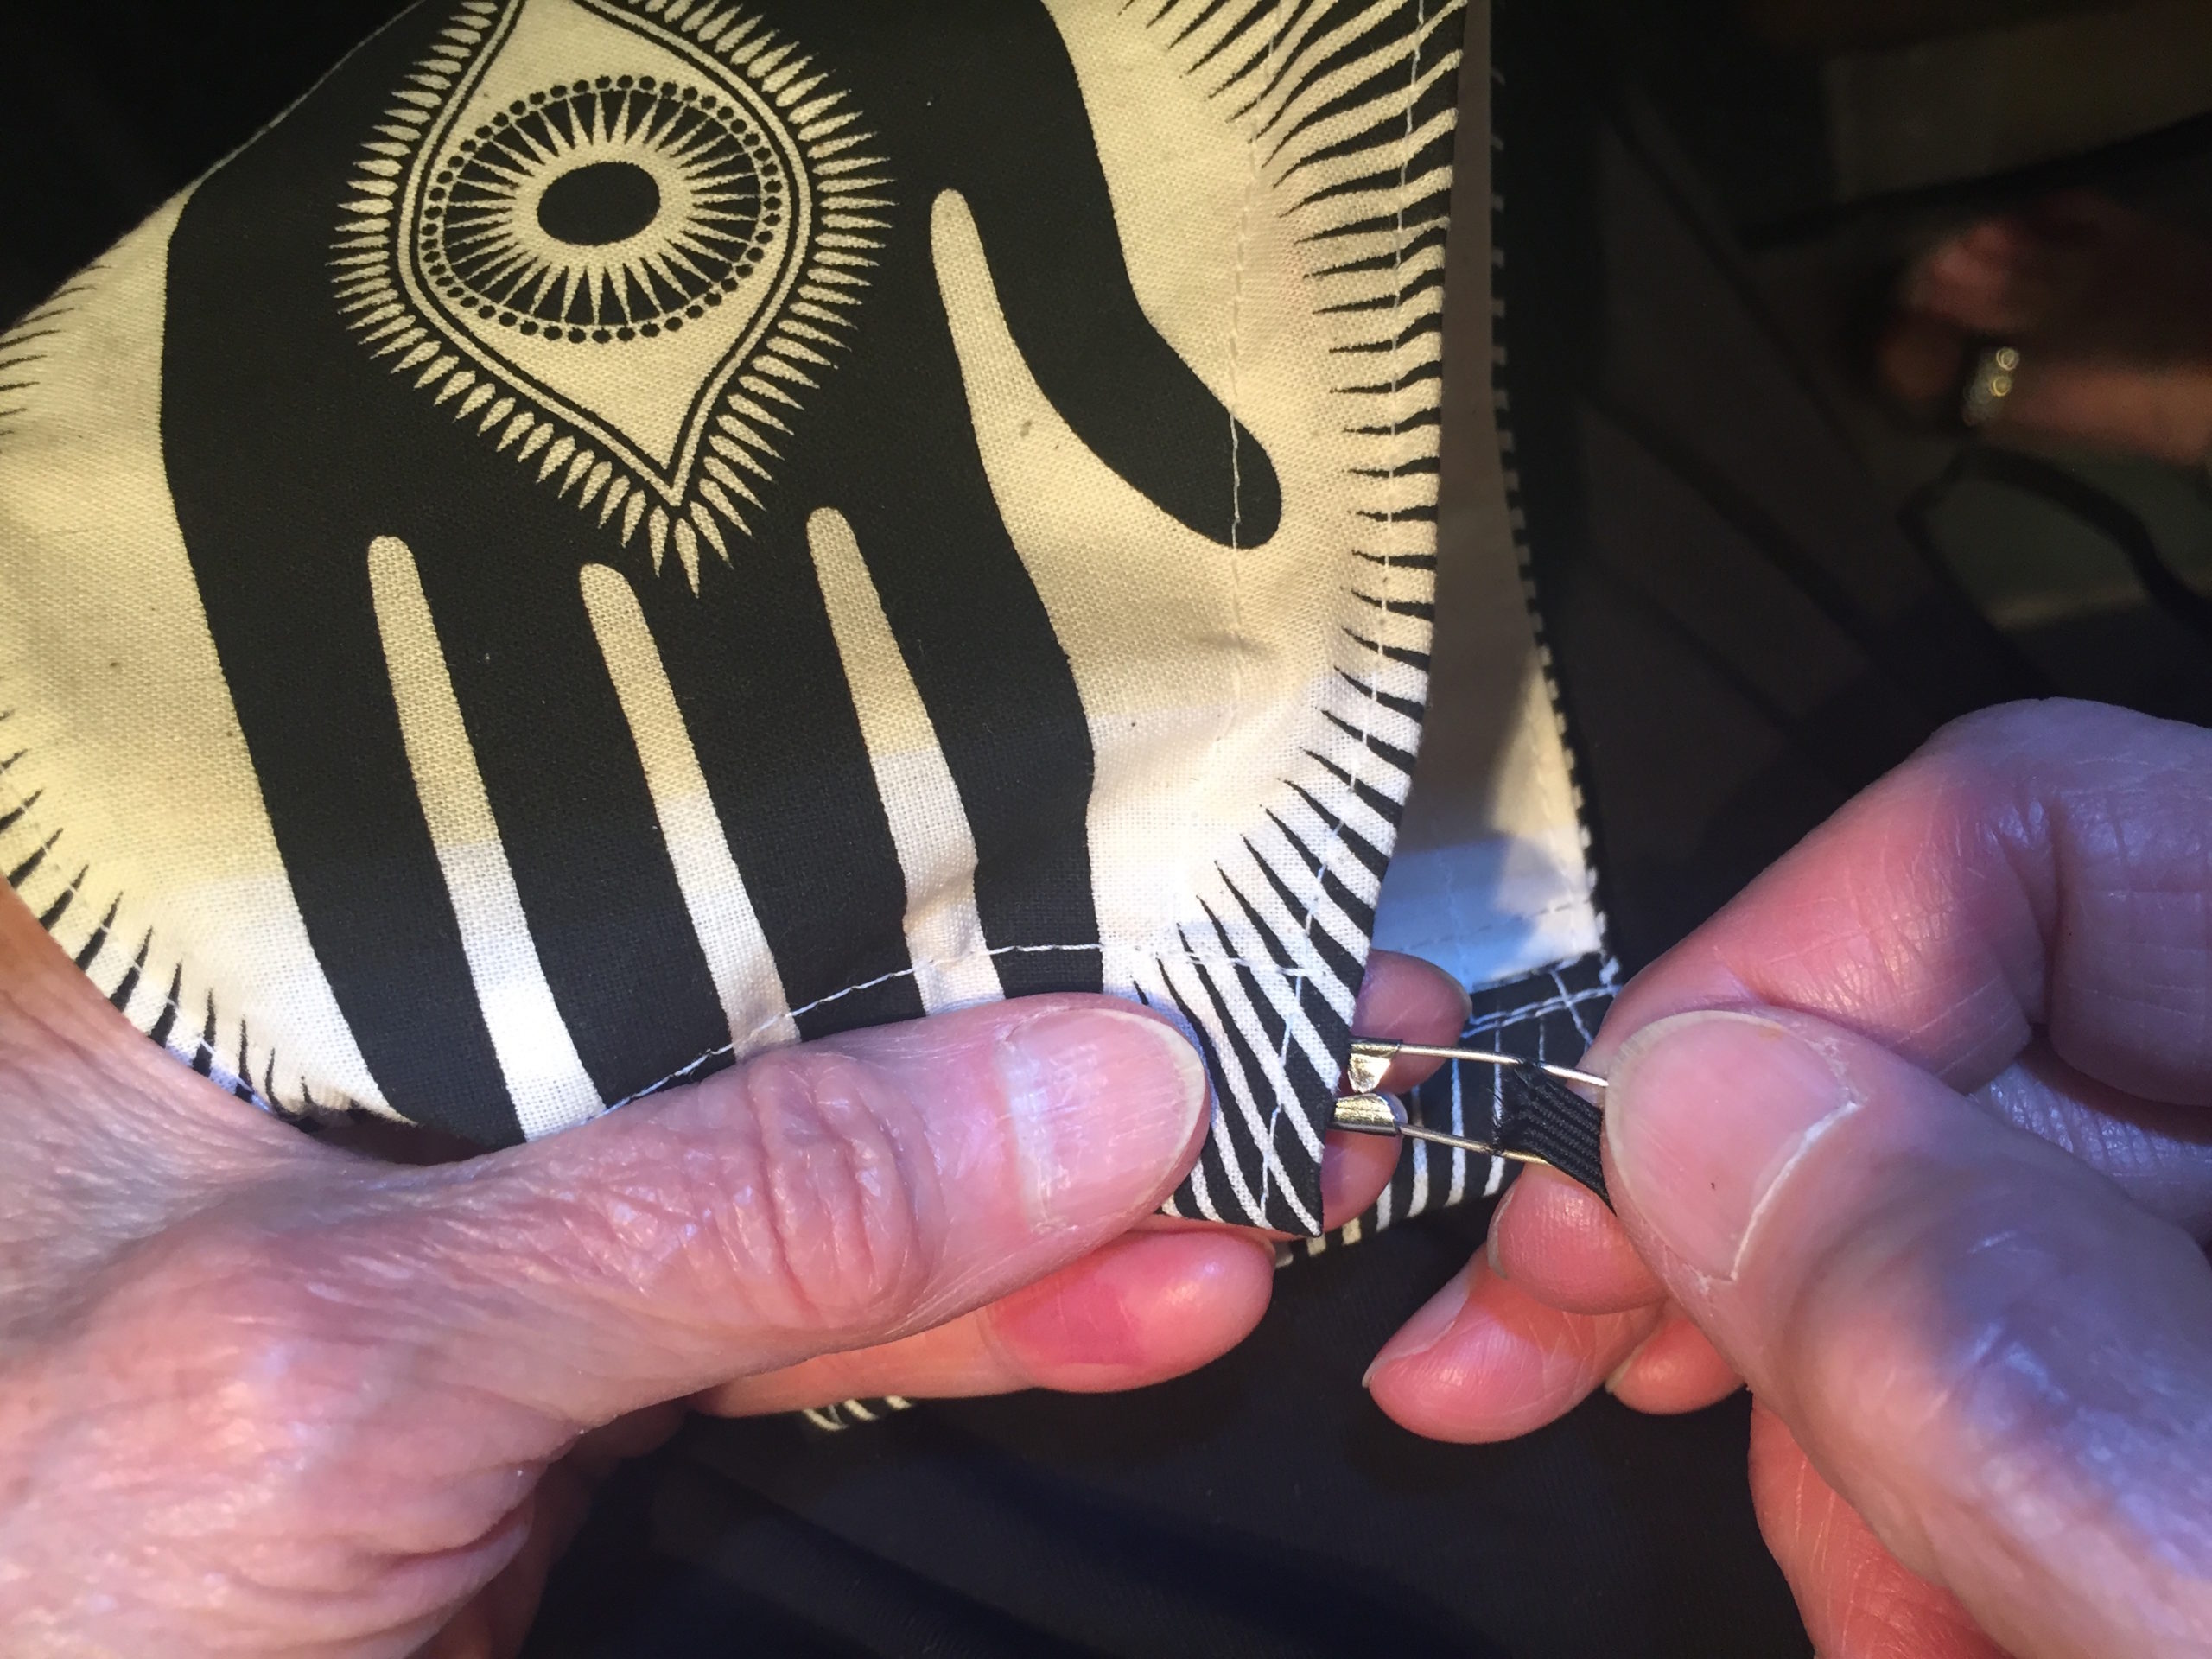
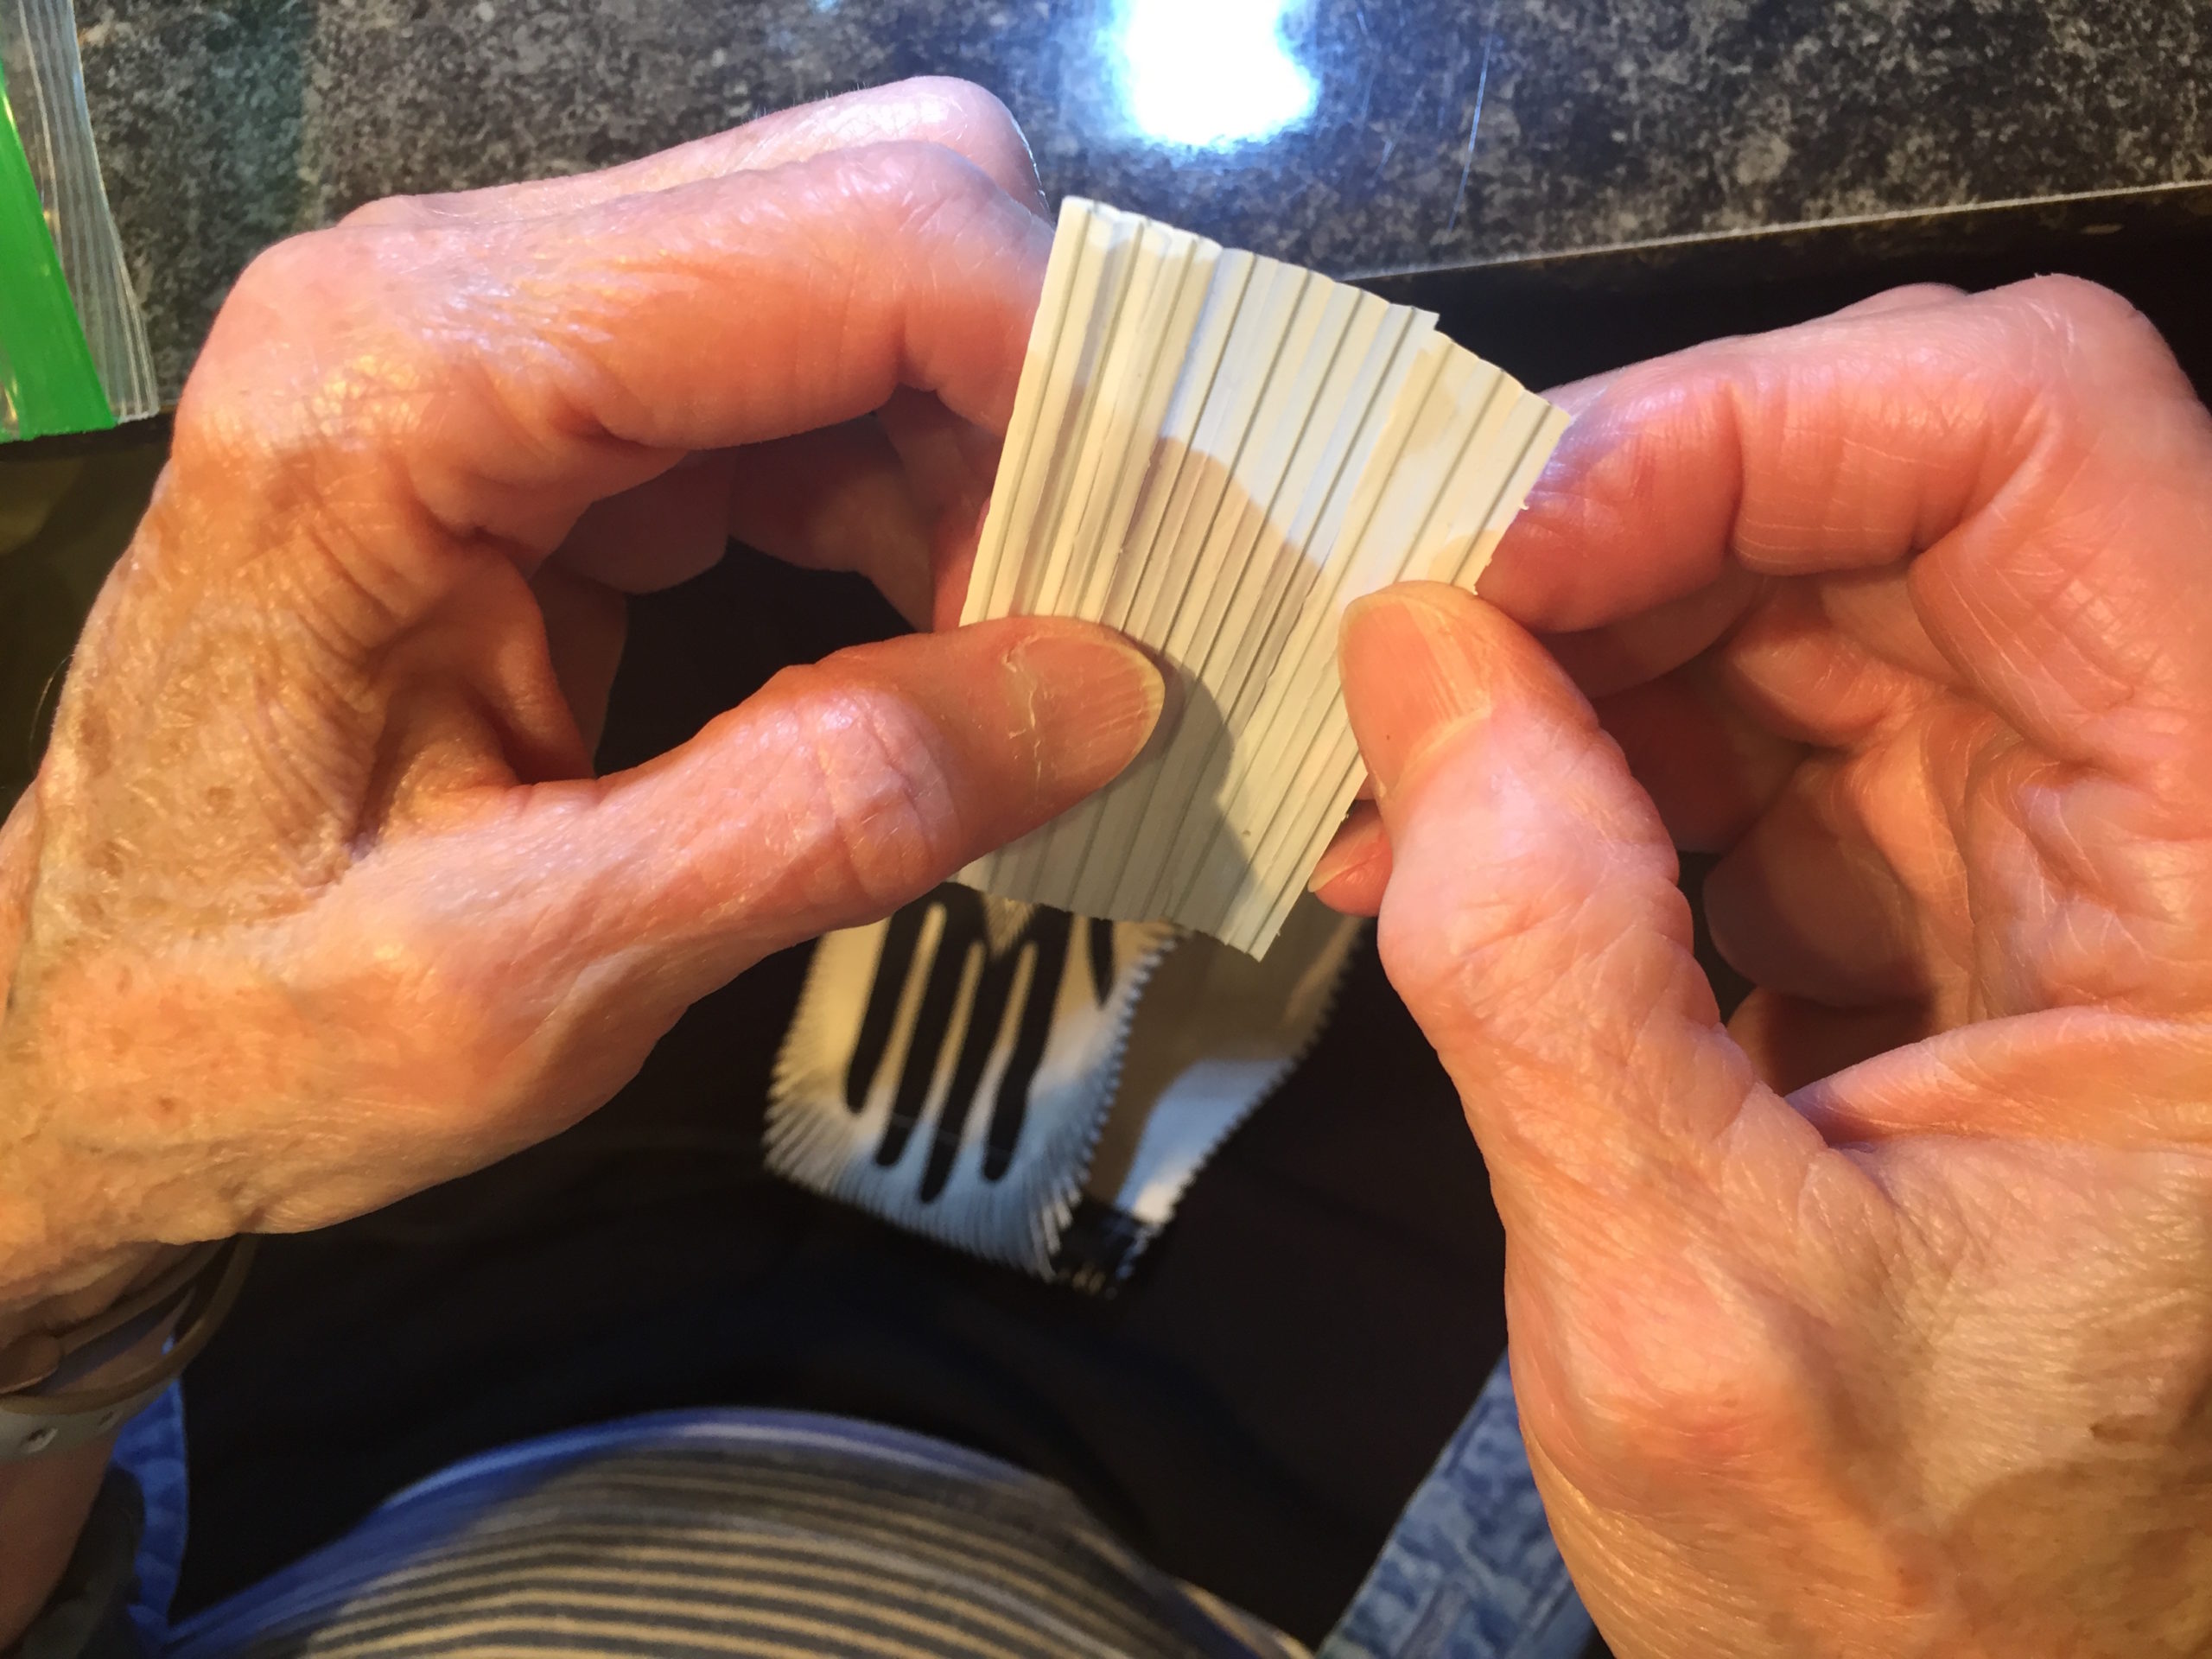
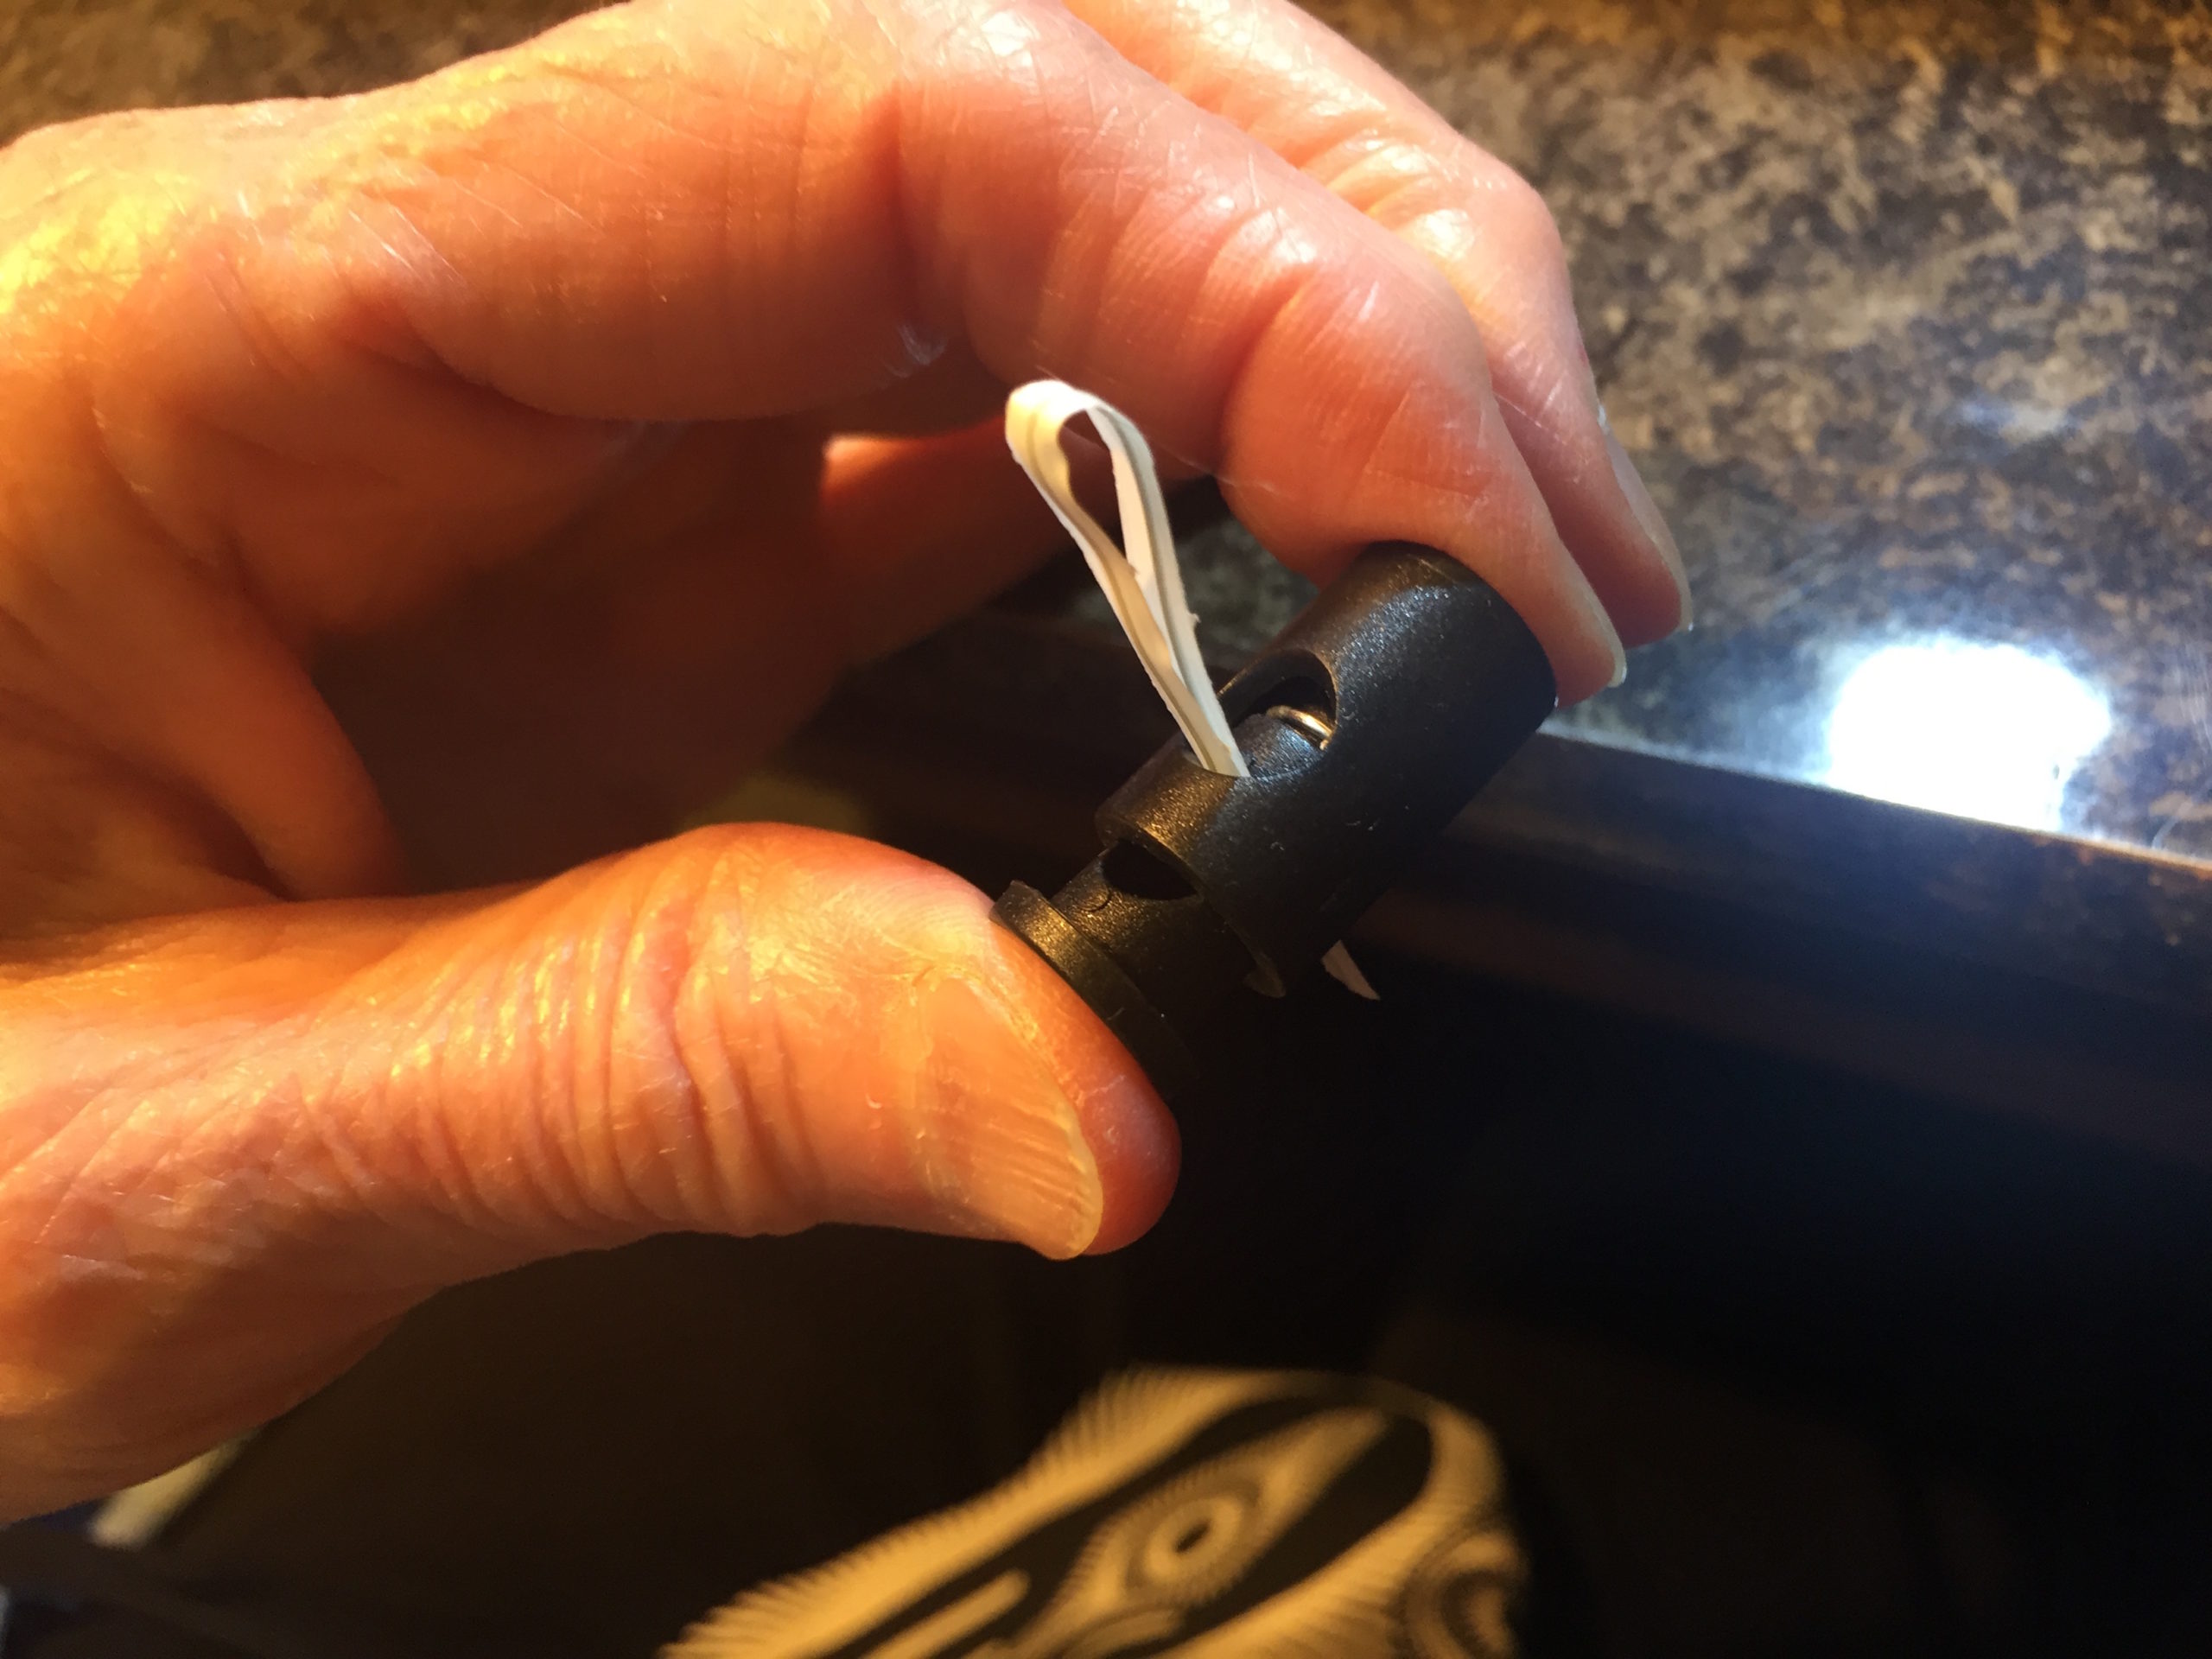
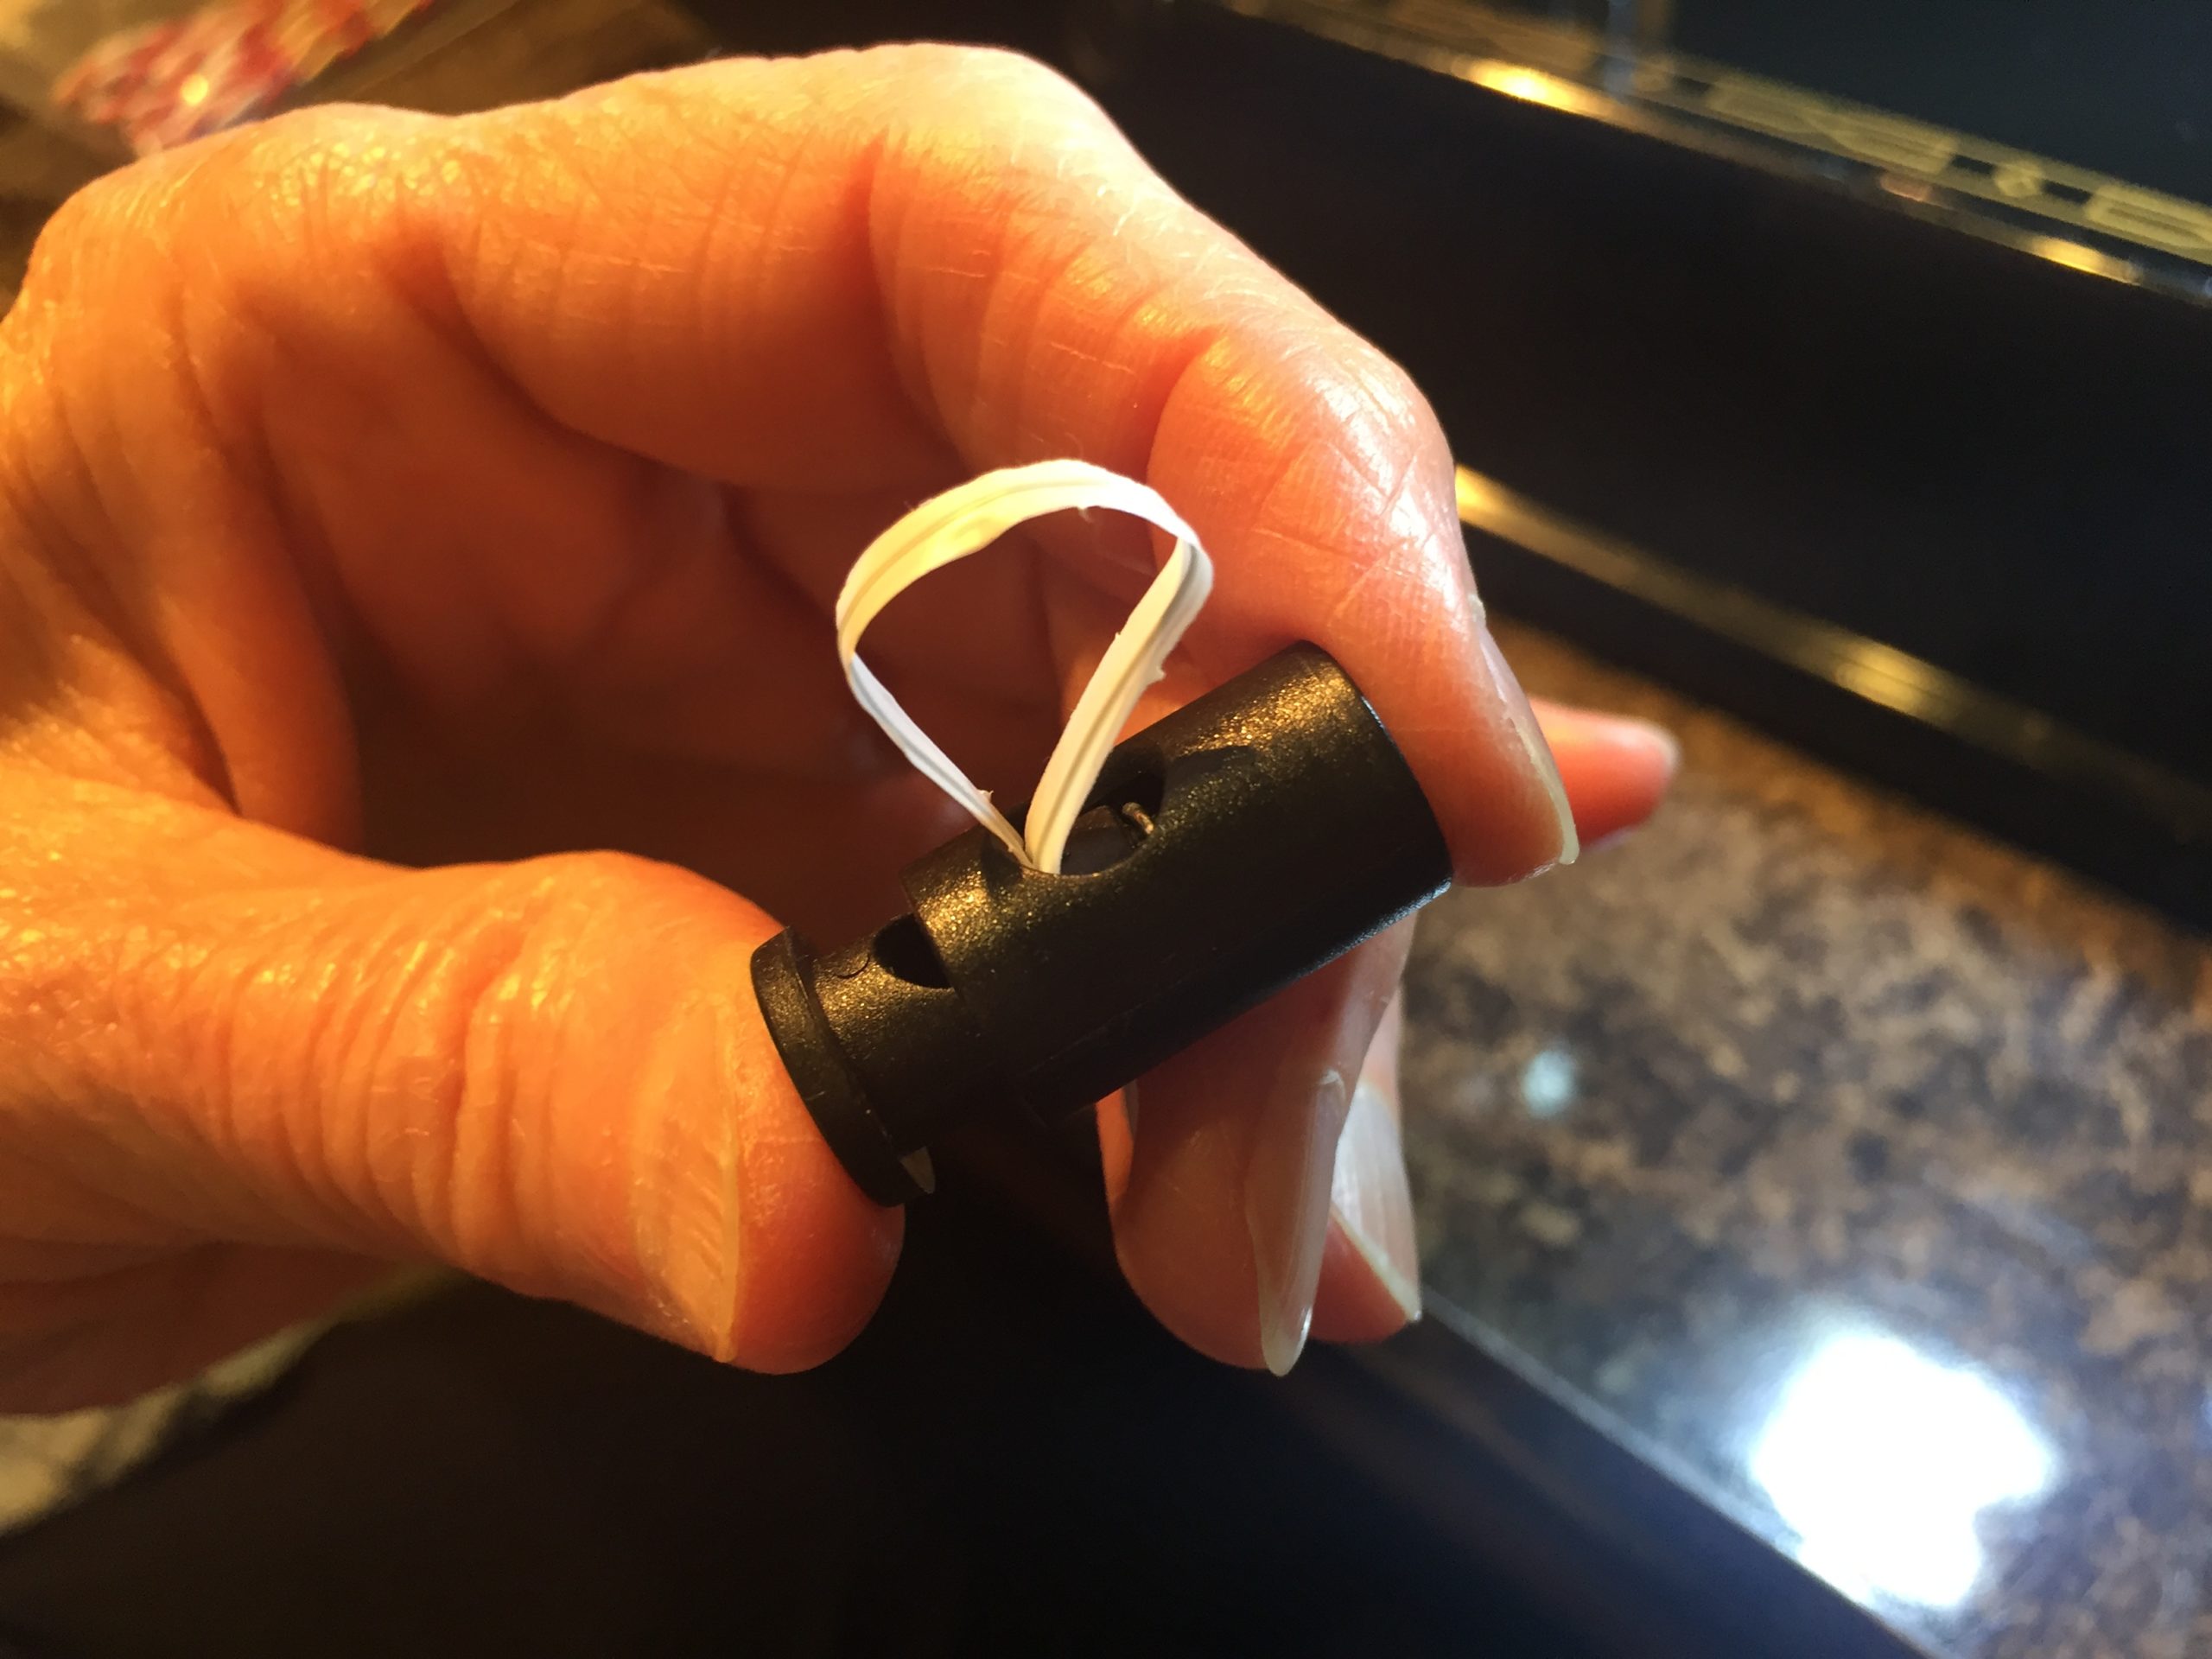
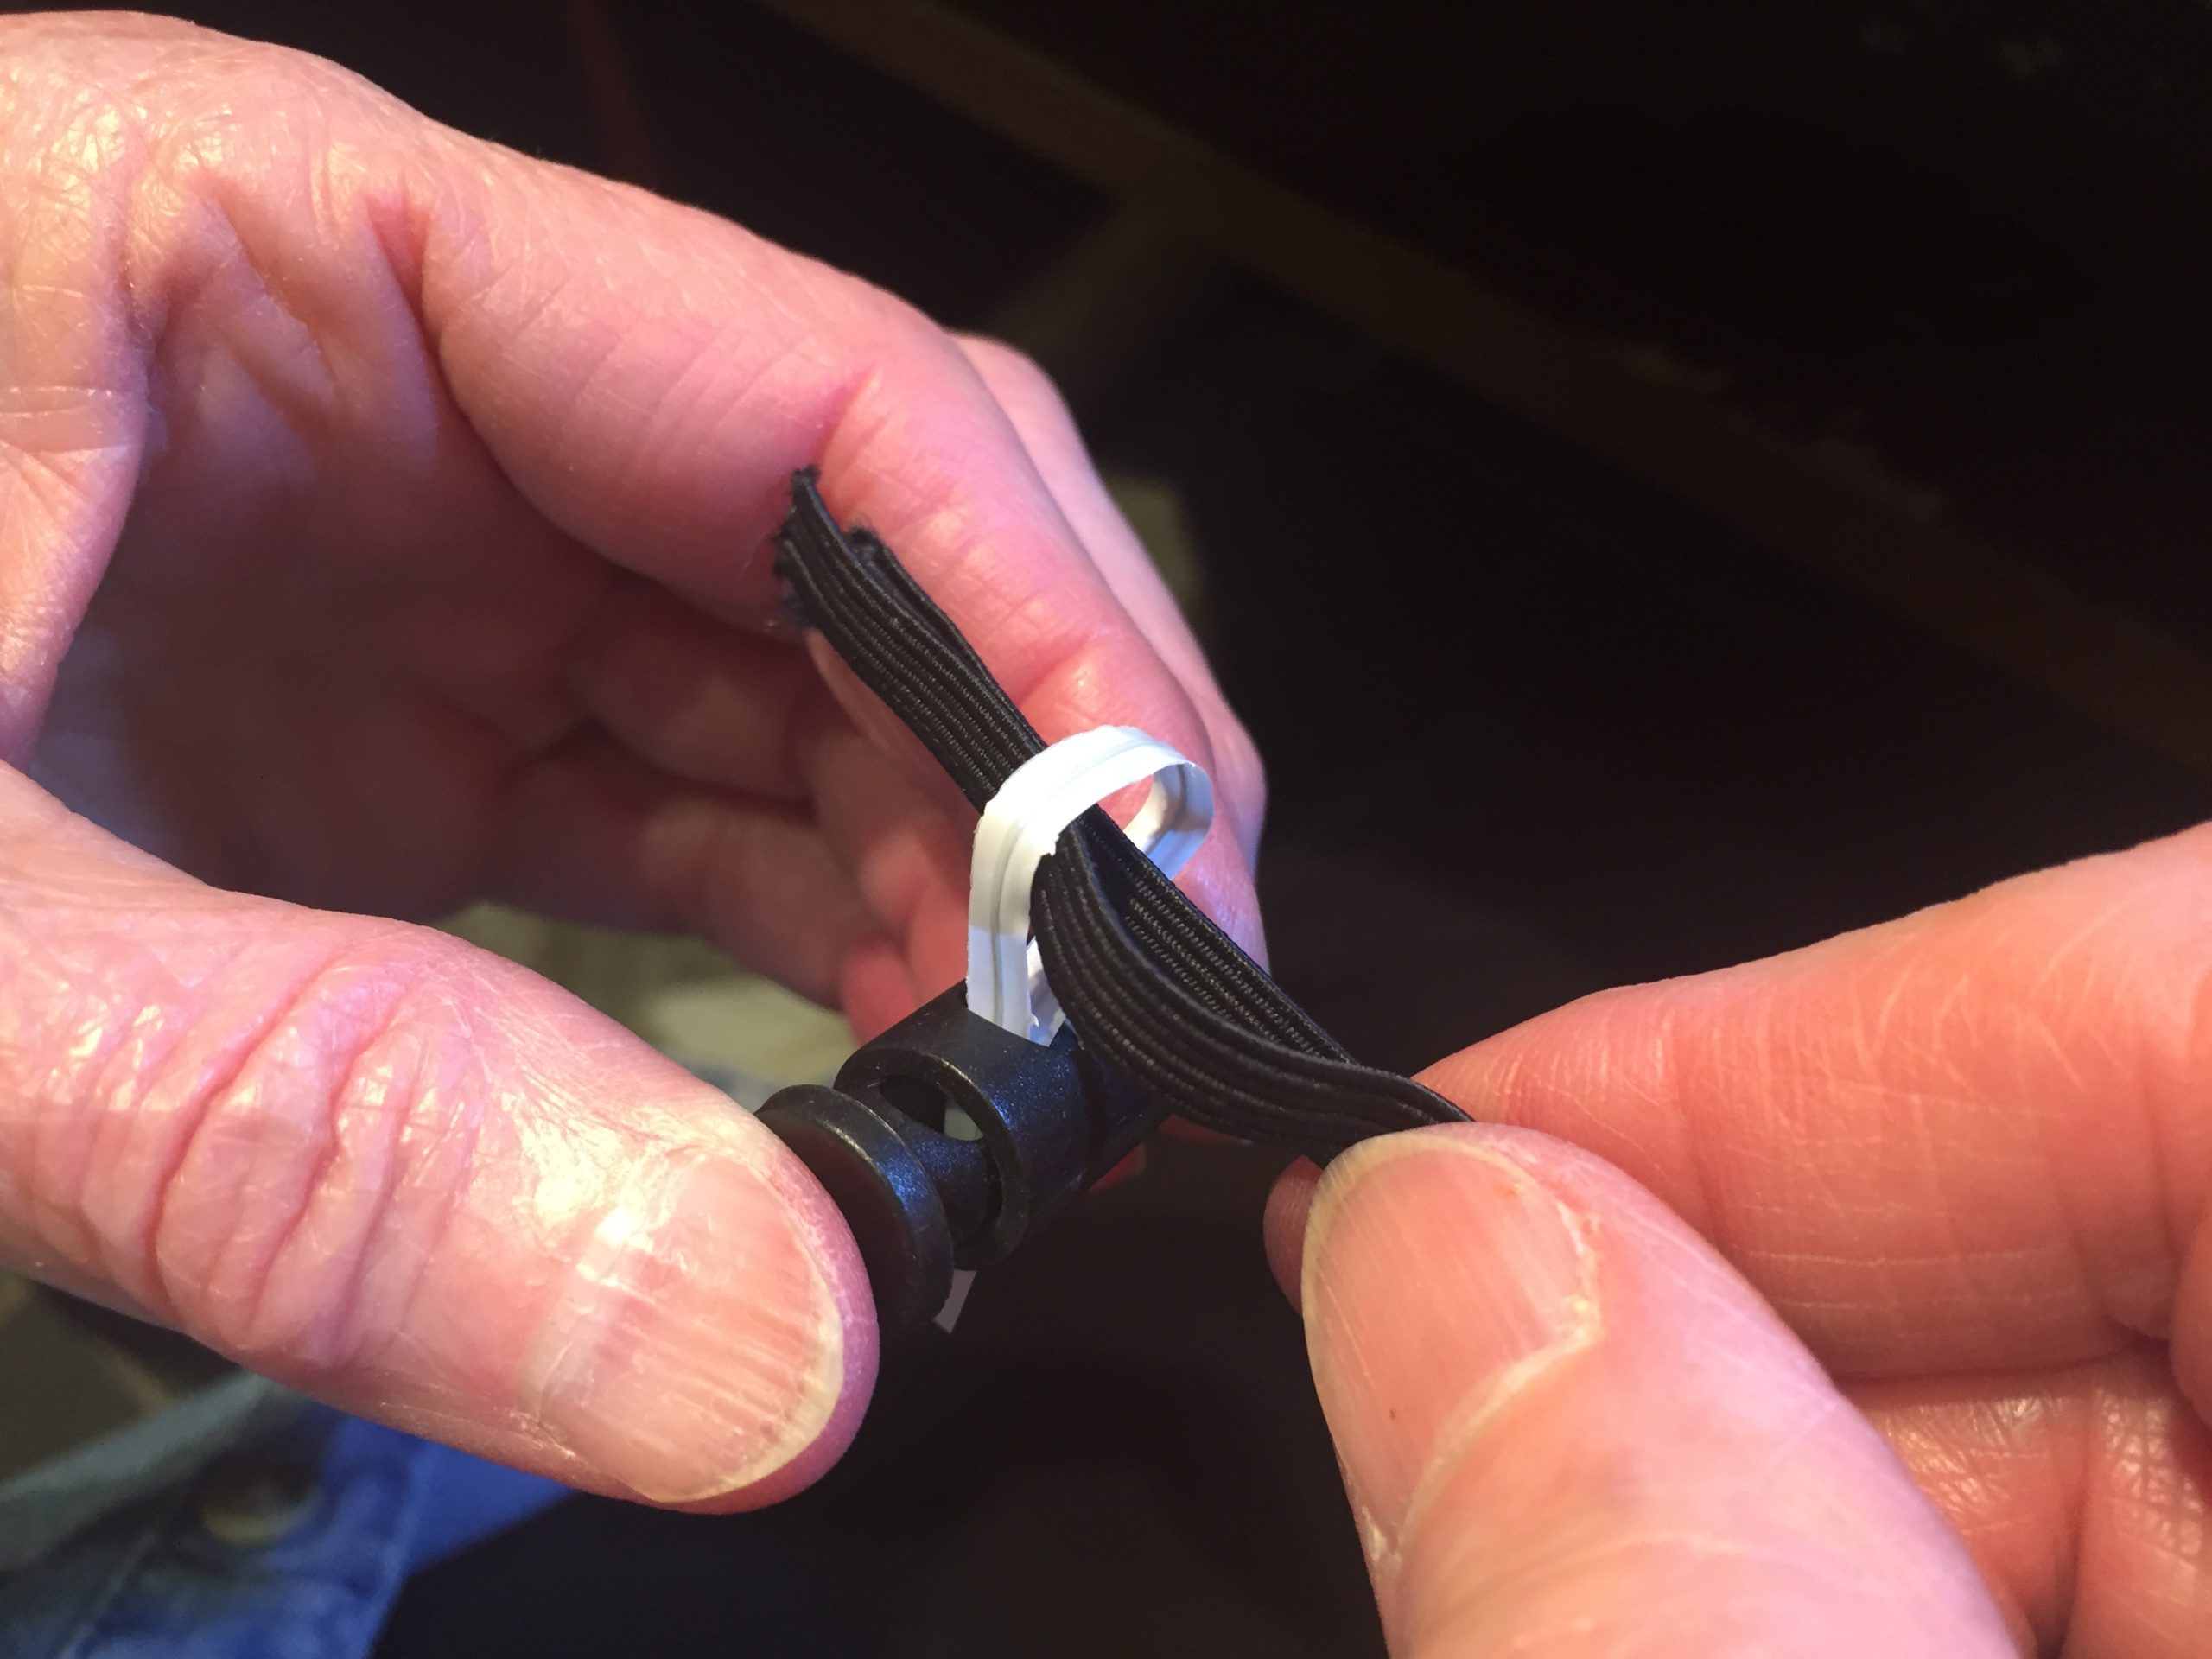
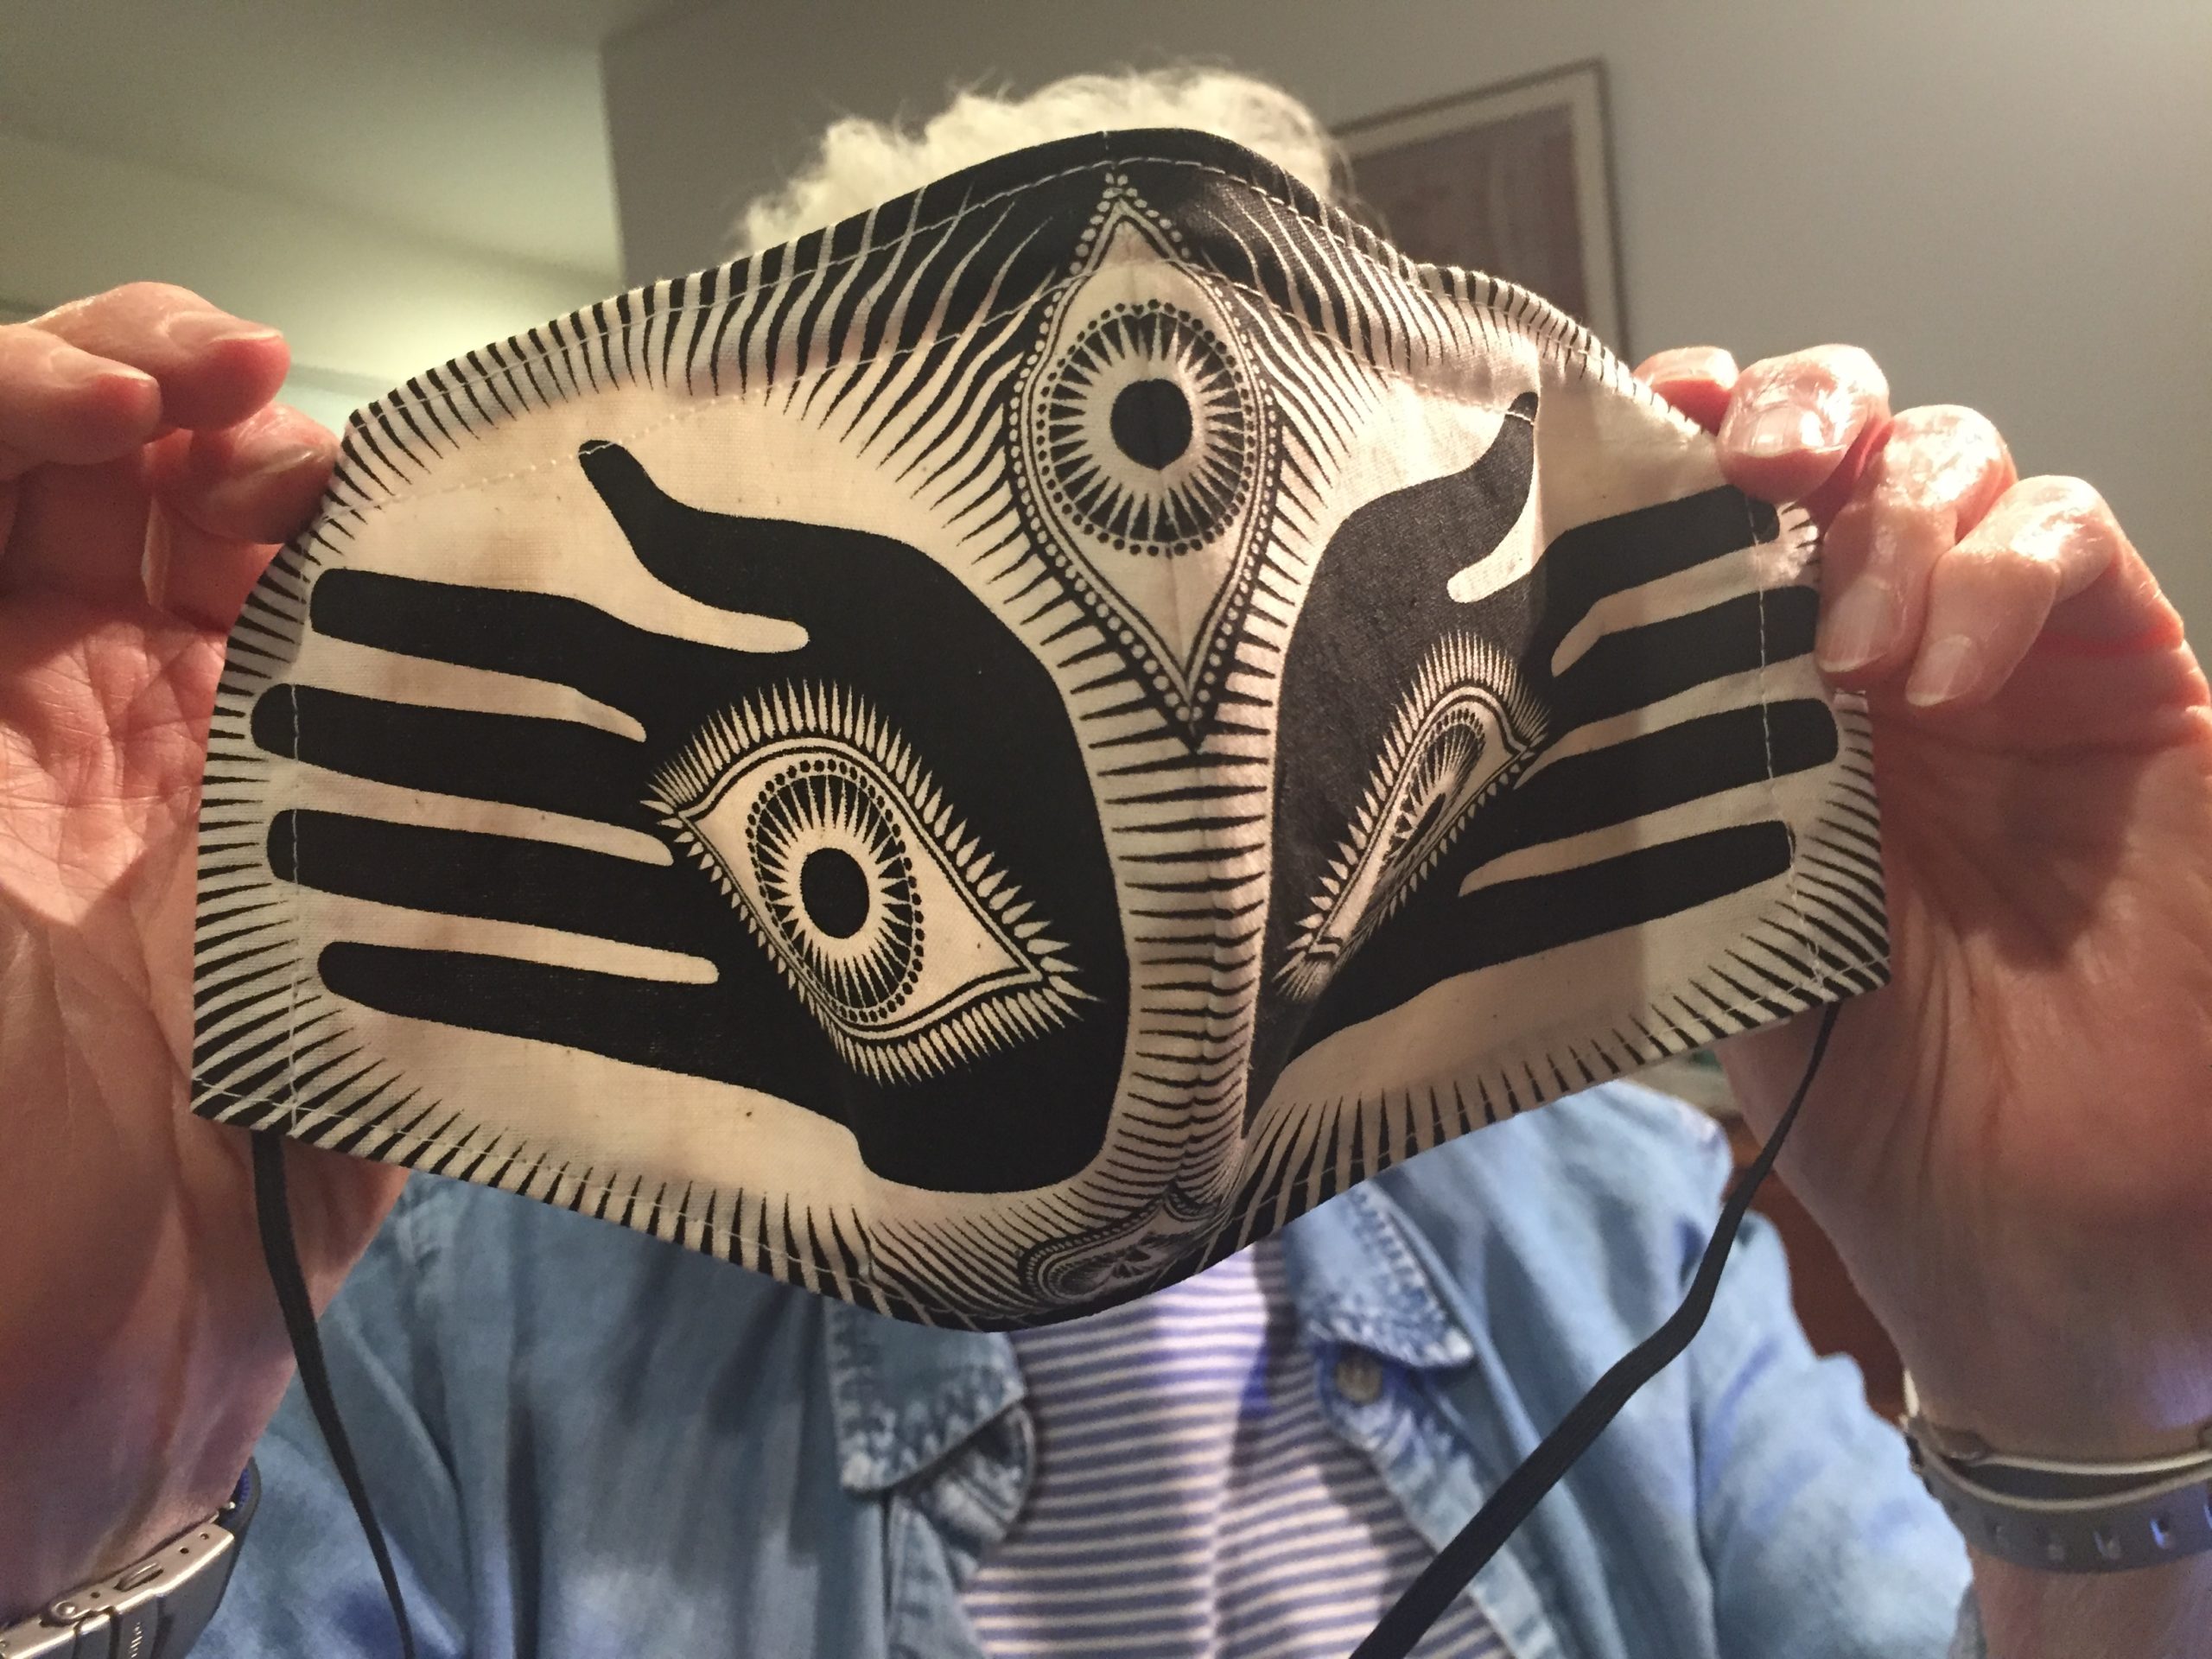
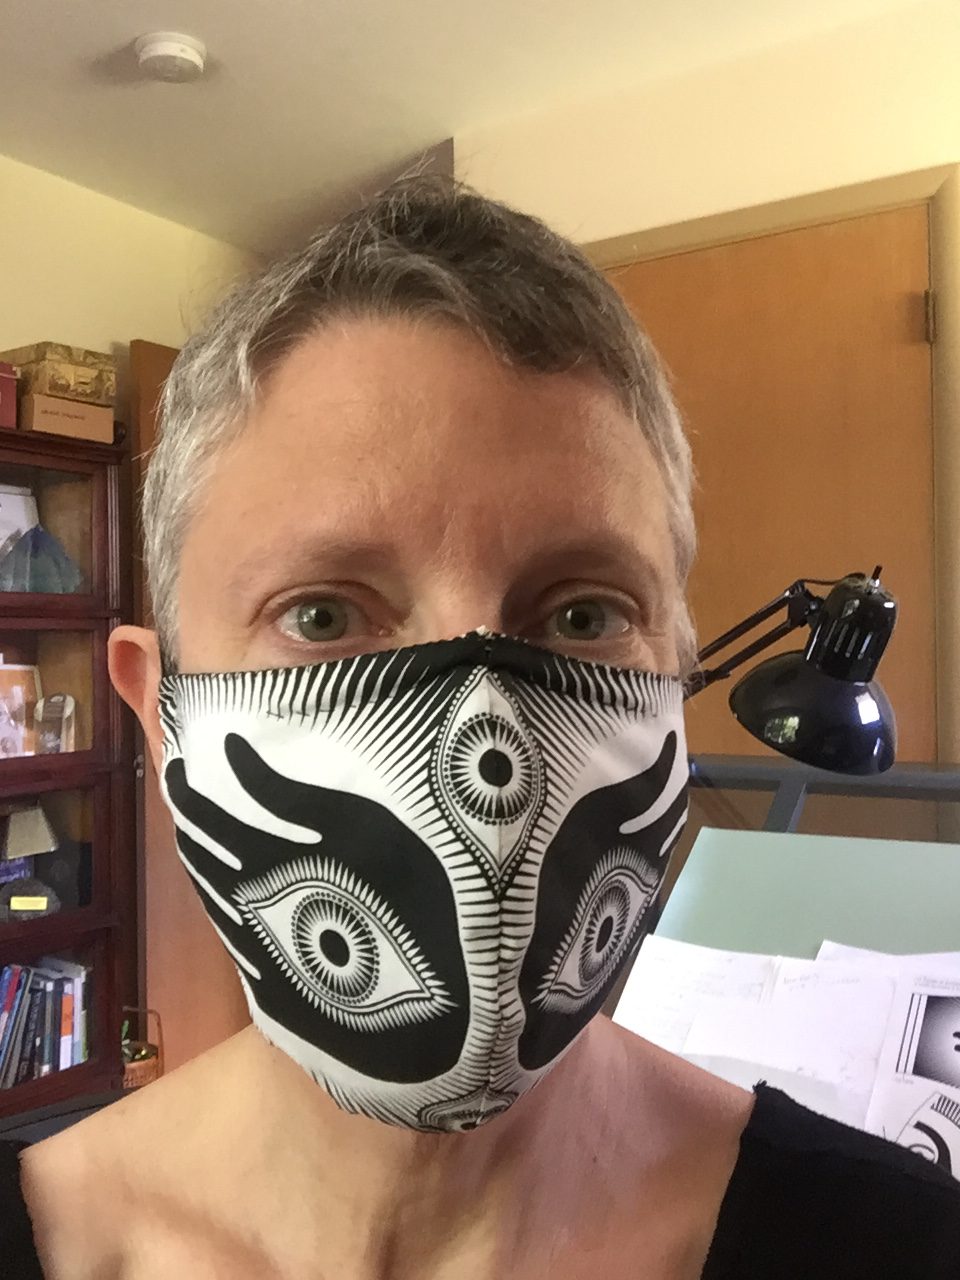
Now fold over the edge about a quarter of an inch.Press it down with the iron.Fold it over again, all the way in to meet the hem of the liner.Press it down. Do the same on the other end.Orient the mask with the “top” (the upper part that goes on your nose) facing you. If you’re using the “Eyes of the Goddess” design, think “thumbs up.” The thumbs should be towards you. Backstitch to lock down the thread, then sew the folded end in, close to the liner seam. You are making an approximately half-inch channel for the elastic to run through.When you get to the top of that channel, reverse stitch back up, and turn about 90° to begin stitching the wire channel (that’s why the mask needed to be oriented with the “top” facing you). This channel should be about half an inch wide.Turn again, and reverse-stitch up to the top of the mask, then down again to complete the other elastic channel. Backstitch to lock your thread. The sewing portion is now complete!Stick a safety pin into the end of the elastic cord. Momz says “everyone uses safety pins to do this,” but Theo uses a bent wire.Shove that safety pin into the bottom opening of the elastic channel. Work it through and pull it – and the elastic – out the other side.Then shove it into the top opening on the opposite end, and pull it out the bottom.For this next part, Momz uses a twisty-tie instead of a bent wire. She has a large stash of twisty-ties that come with the plastic bags she buys.Bend the twisty-tie and stick the ends into the cord lock.Make a nice big opening……to push both ends of the elastic through. Pull on this while pushing open the cord lock and the elastic will come right through the other side. Tie off the ends of the elastic.Et voila! A finished 2-layer mask with pockets into which you can insert a filter of your choice, or not.
*Footnote: You may find it easier to sew the wire channel before folding and ironing the mask ends. The technique above involves backstitching and making turns to do this in one go. There are many ways to sew a mask. Had we not deviated from these instructions, we never would have arrived at this design, which we like better.
Hand Sewing
Yes, you can sew a mask with no iron, no pins, and no sewing machine. Just a needle and thread, scissors, mask kit, and a lot of time. My trial run (photographed below) took under 3 hours, giving me plenty of time to catch up on podcasts.
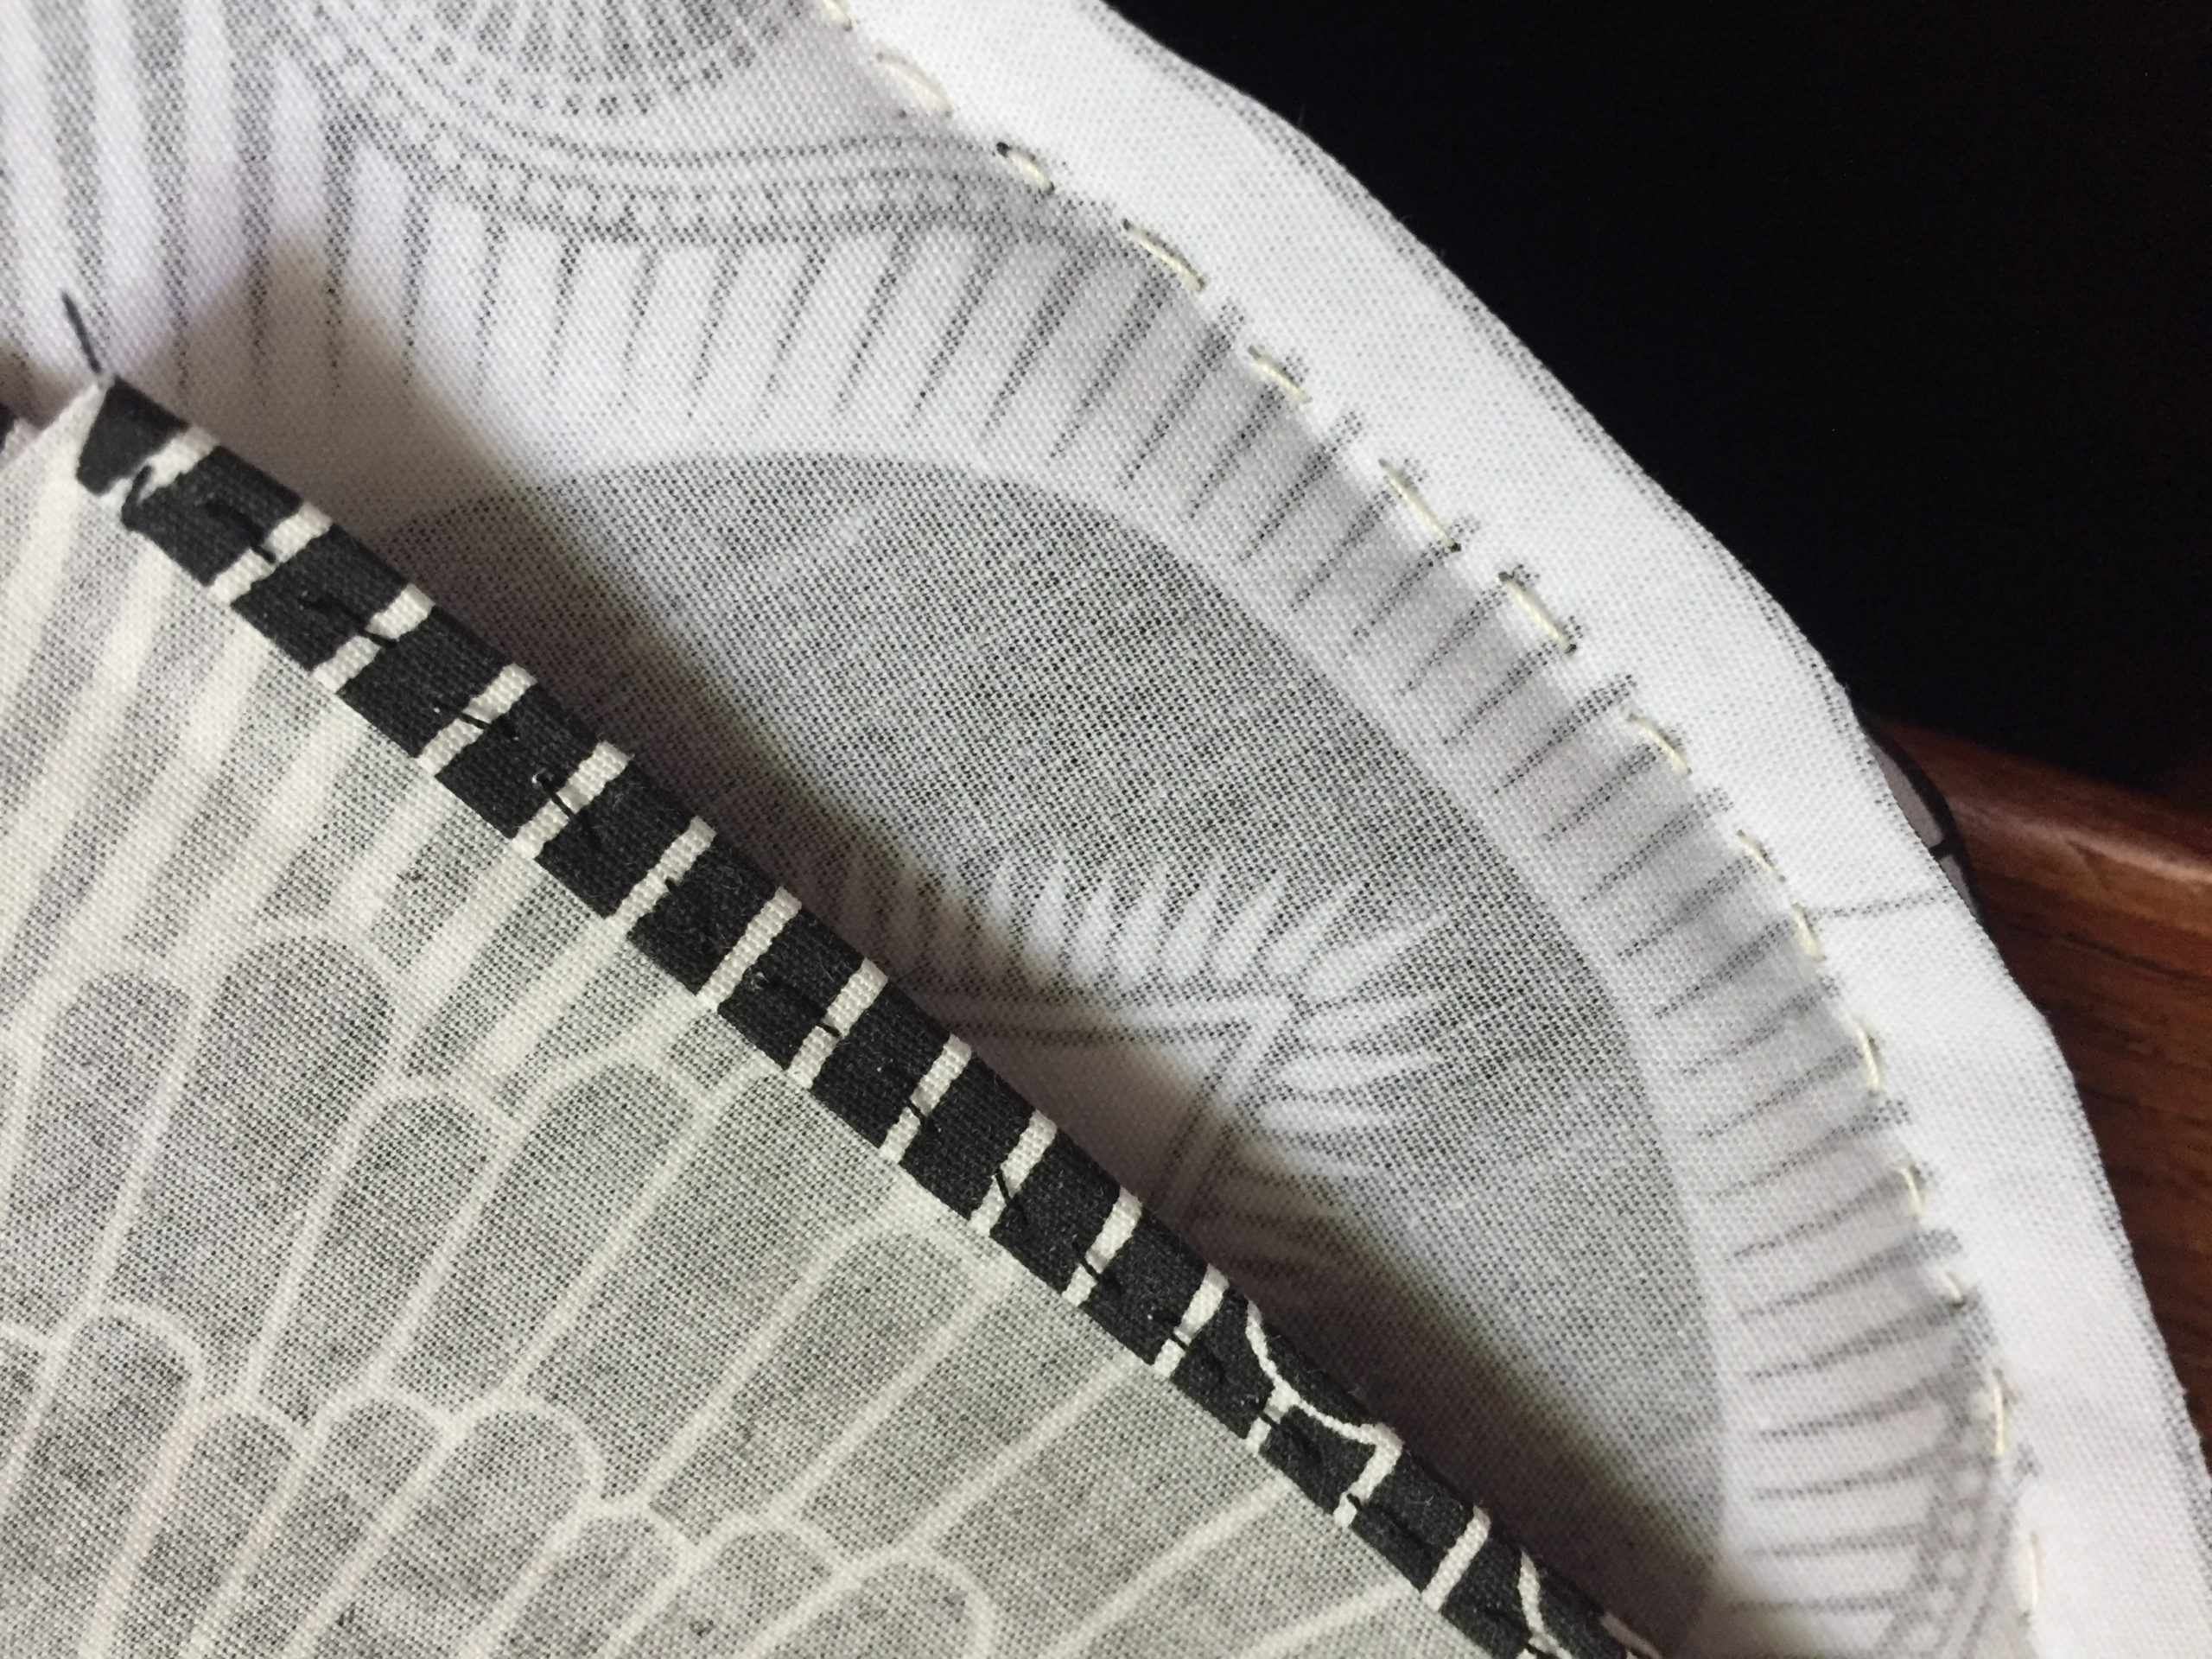
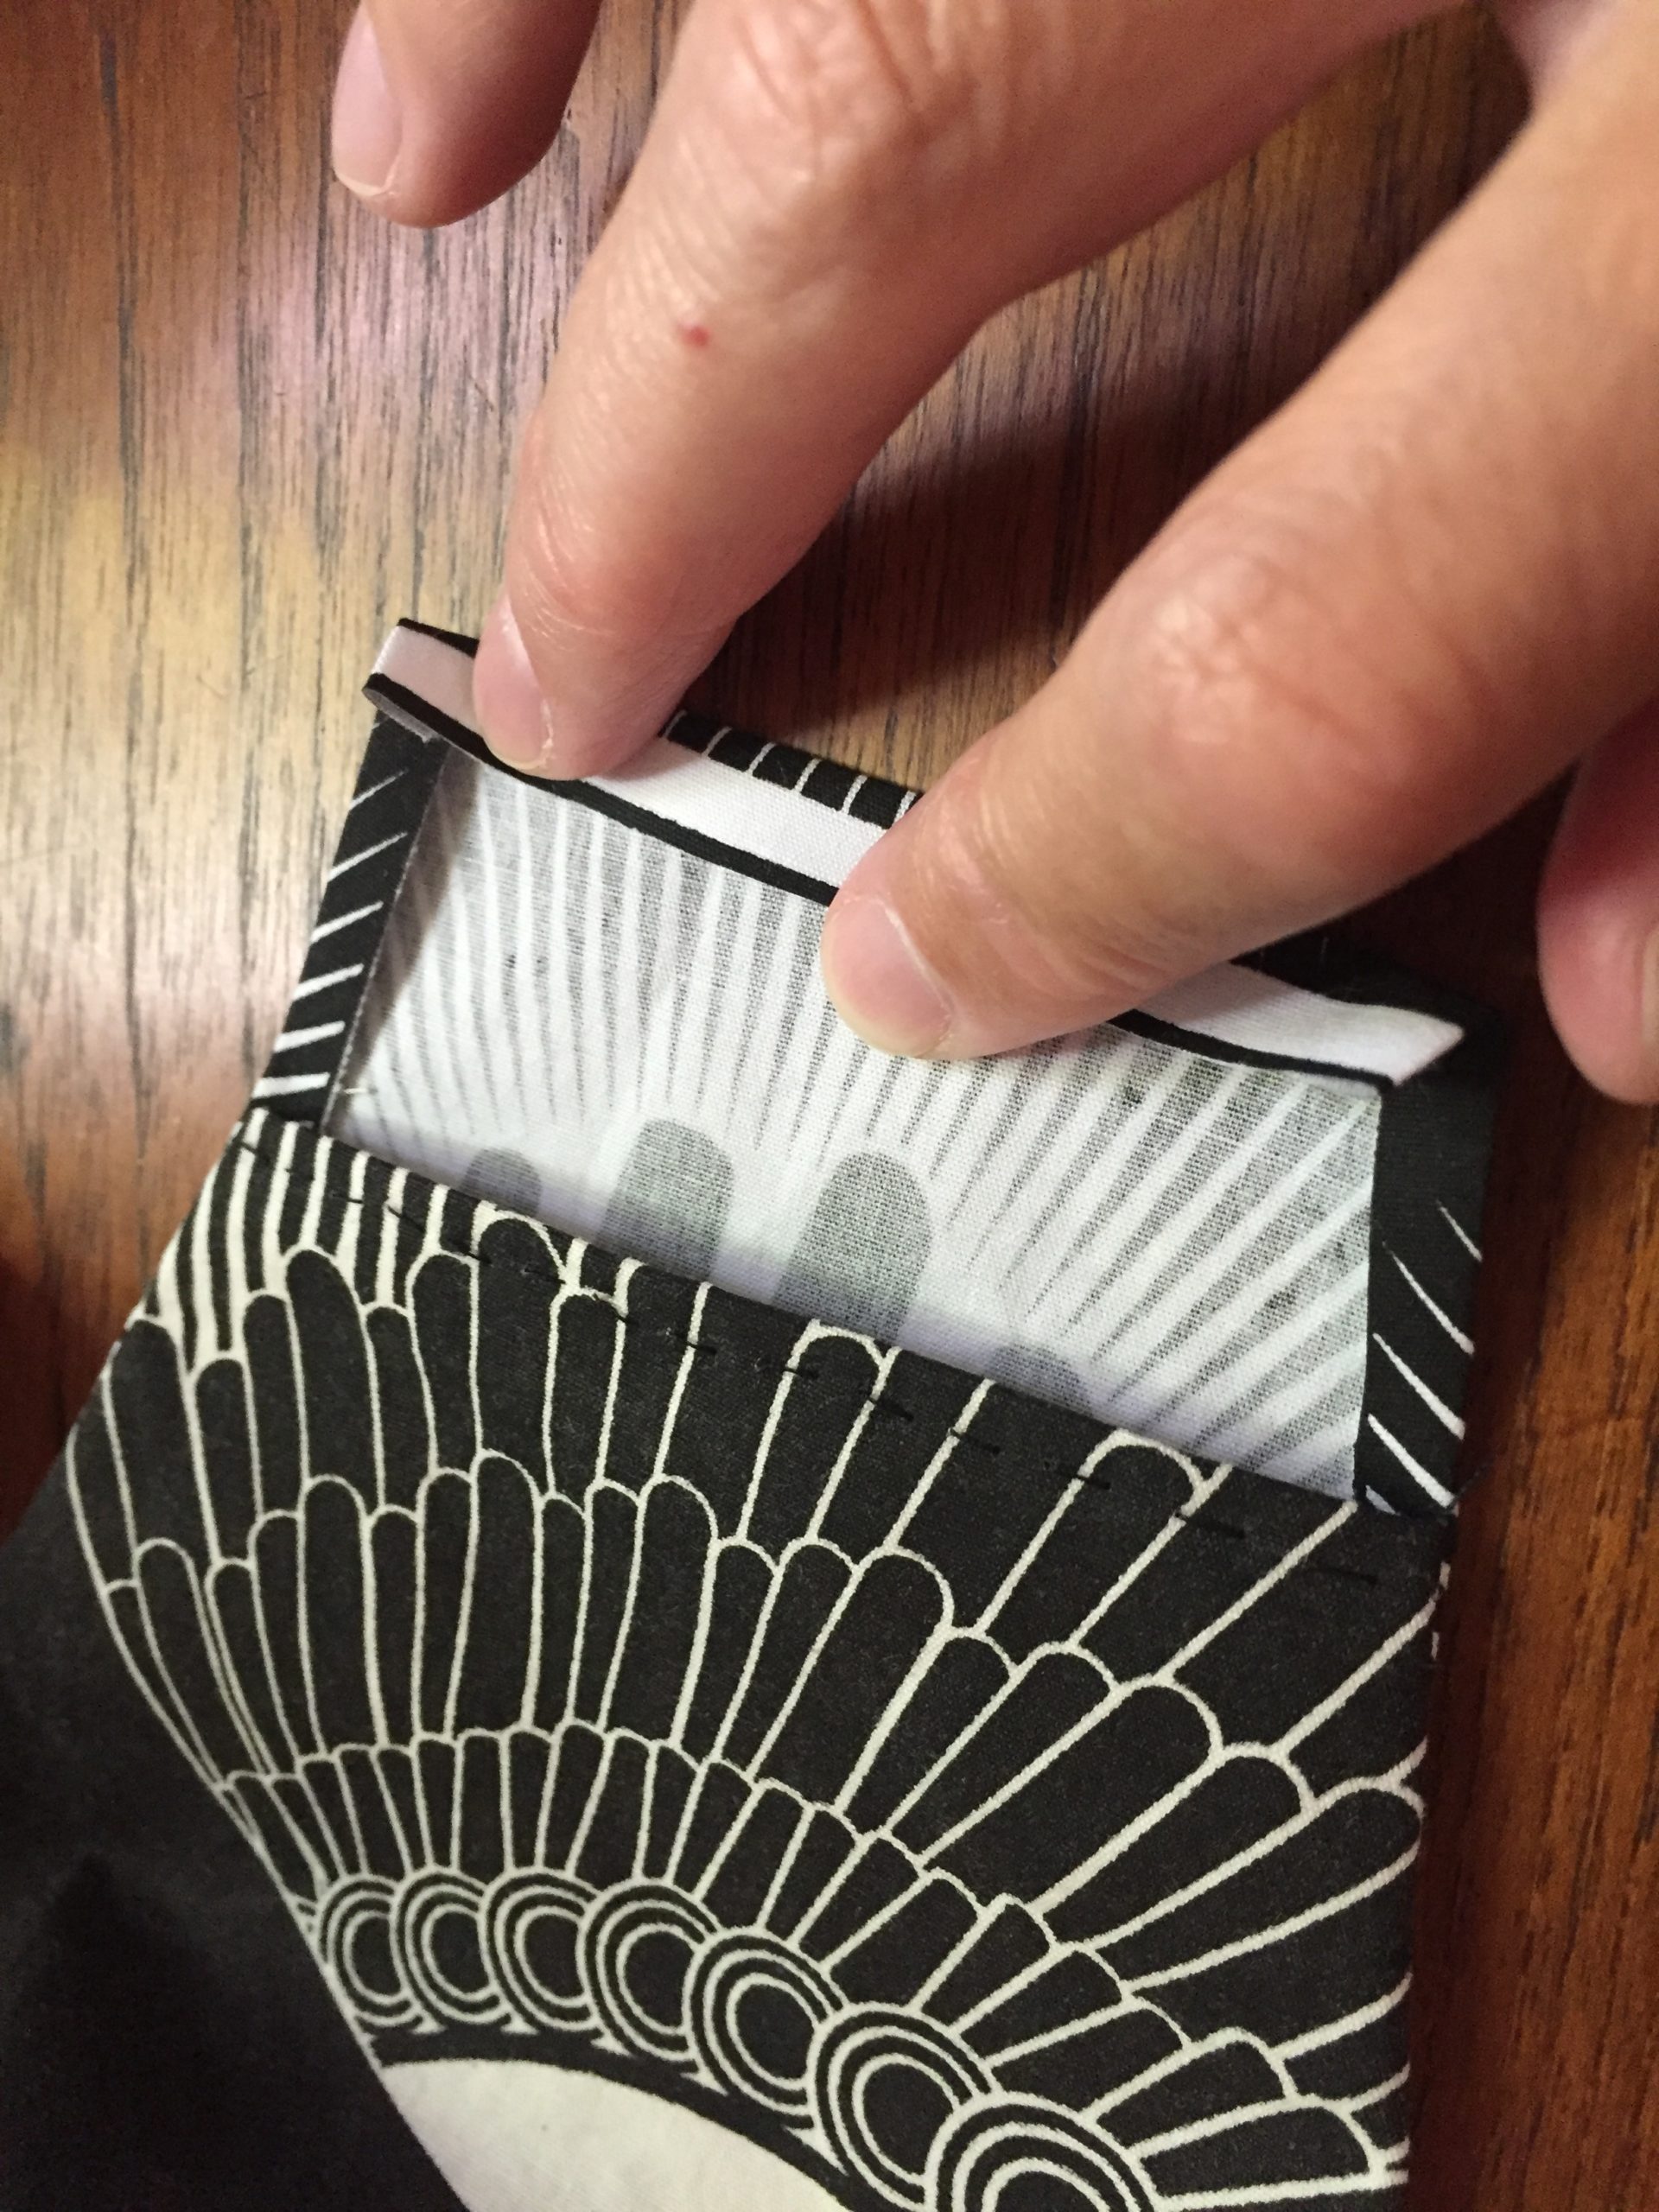
To hand sew, more or less follow the instructions above, but knot your thread every time, and avoid any extra stitching. Remember that screen printing stretches and distorts the fabric a little, so the pieces won’t line up perfectly. The important bit is to get those center seams properly aligned. Don’t worry about the rest being wonky, it will all be OK. I used a simple running stitch:
Notice that I still sewed a little bit inside the print area. It looks better when it’s turned inside-out, trust me.
When I sewed the two faces together, I started at the center seam, which allowed me to skip the pins. Hand sewing is slow and meditative, and allows you to gradually align the fabric as you go.
I also skipped the iron, and just finger-pressed.
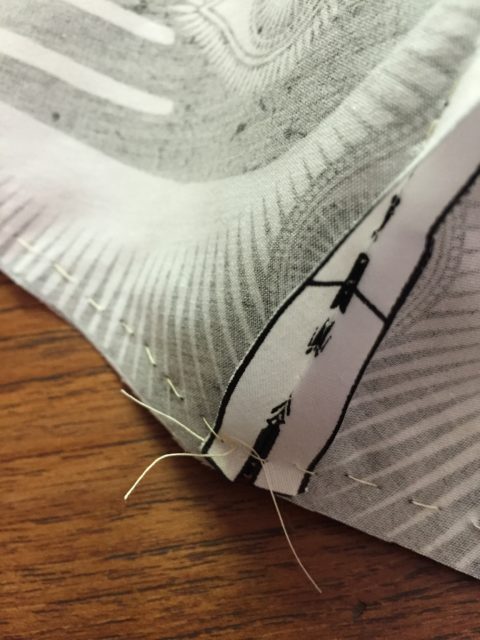
You can skip the top stitching, although my Momz says that without it, the masks sort of puff up in the laundry and have to be re-ironed. So I whip-stitched mine after turning it inside out:
You can also see the running-stitched nose wire channel.
The result is a perfectly good, very time-consuming mask, and that surprising sense of satisfaction that comes from making something entirely by hand.