I made some Uterus Money Belts, but you can make your own

I have 9 prototypes to sell; if there’s demand, I can make more, but sewing fussy little felt bags isn’t really my vocation. Made overseas they’d be cheaper, but I’d rather support local production, which means higher labor costs.

But you can make your own! (Our laser-cut felt looks cleaner than what you’ll get cutting by hand, but it’ll still look fine and be a fun craft.)

You will need:

  • 1 sheet light pink or peach felt
  • 2 sheets dark pink or red felt
  • 1 smaller piece white or cream felt
  • elastic band
  • Printer and paper
  • Pins or a stapler
  • A sewing machine, or a needle and thread

Instructions:

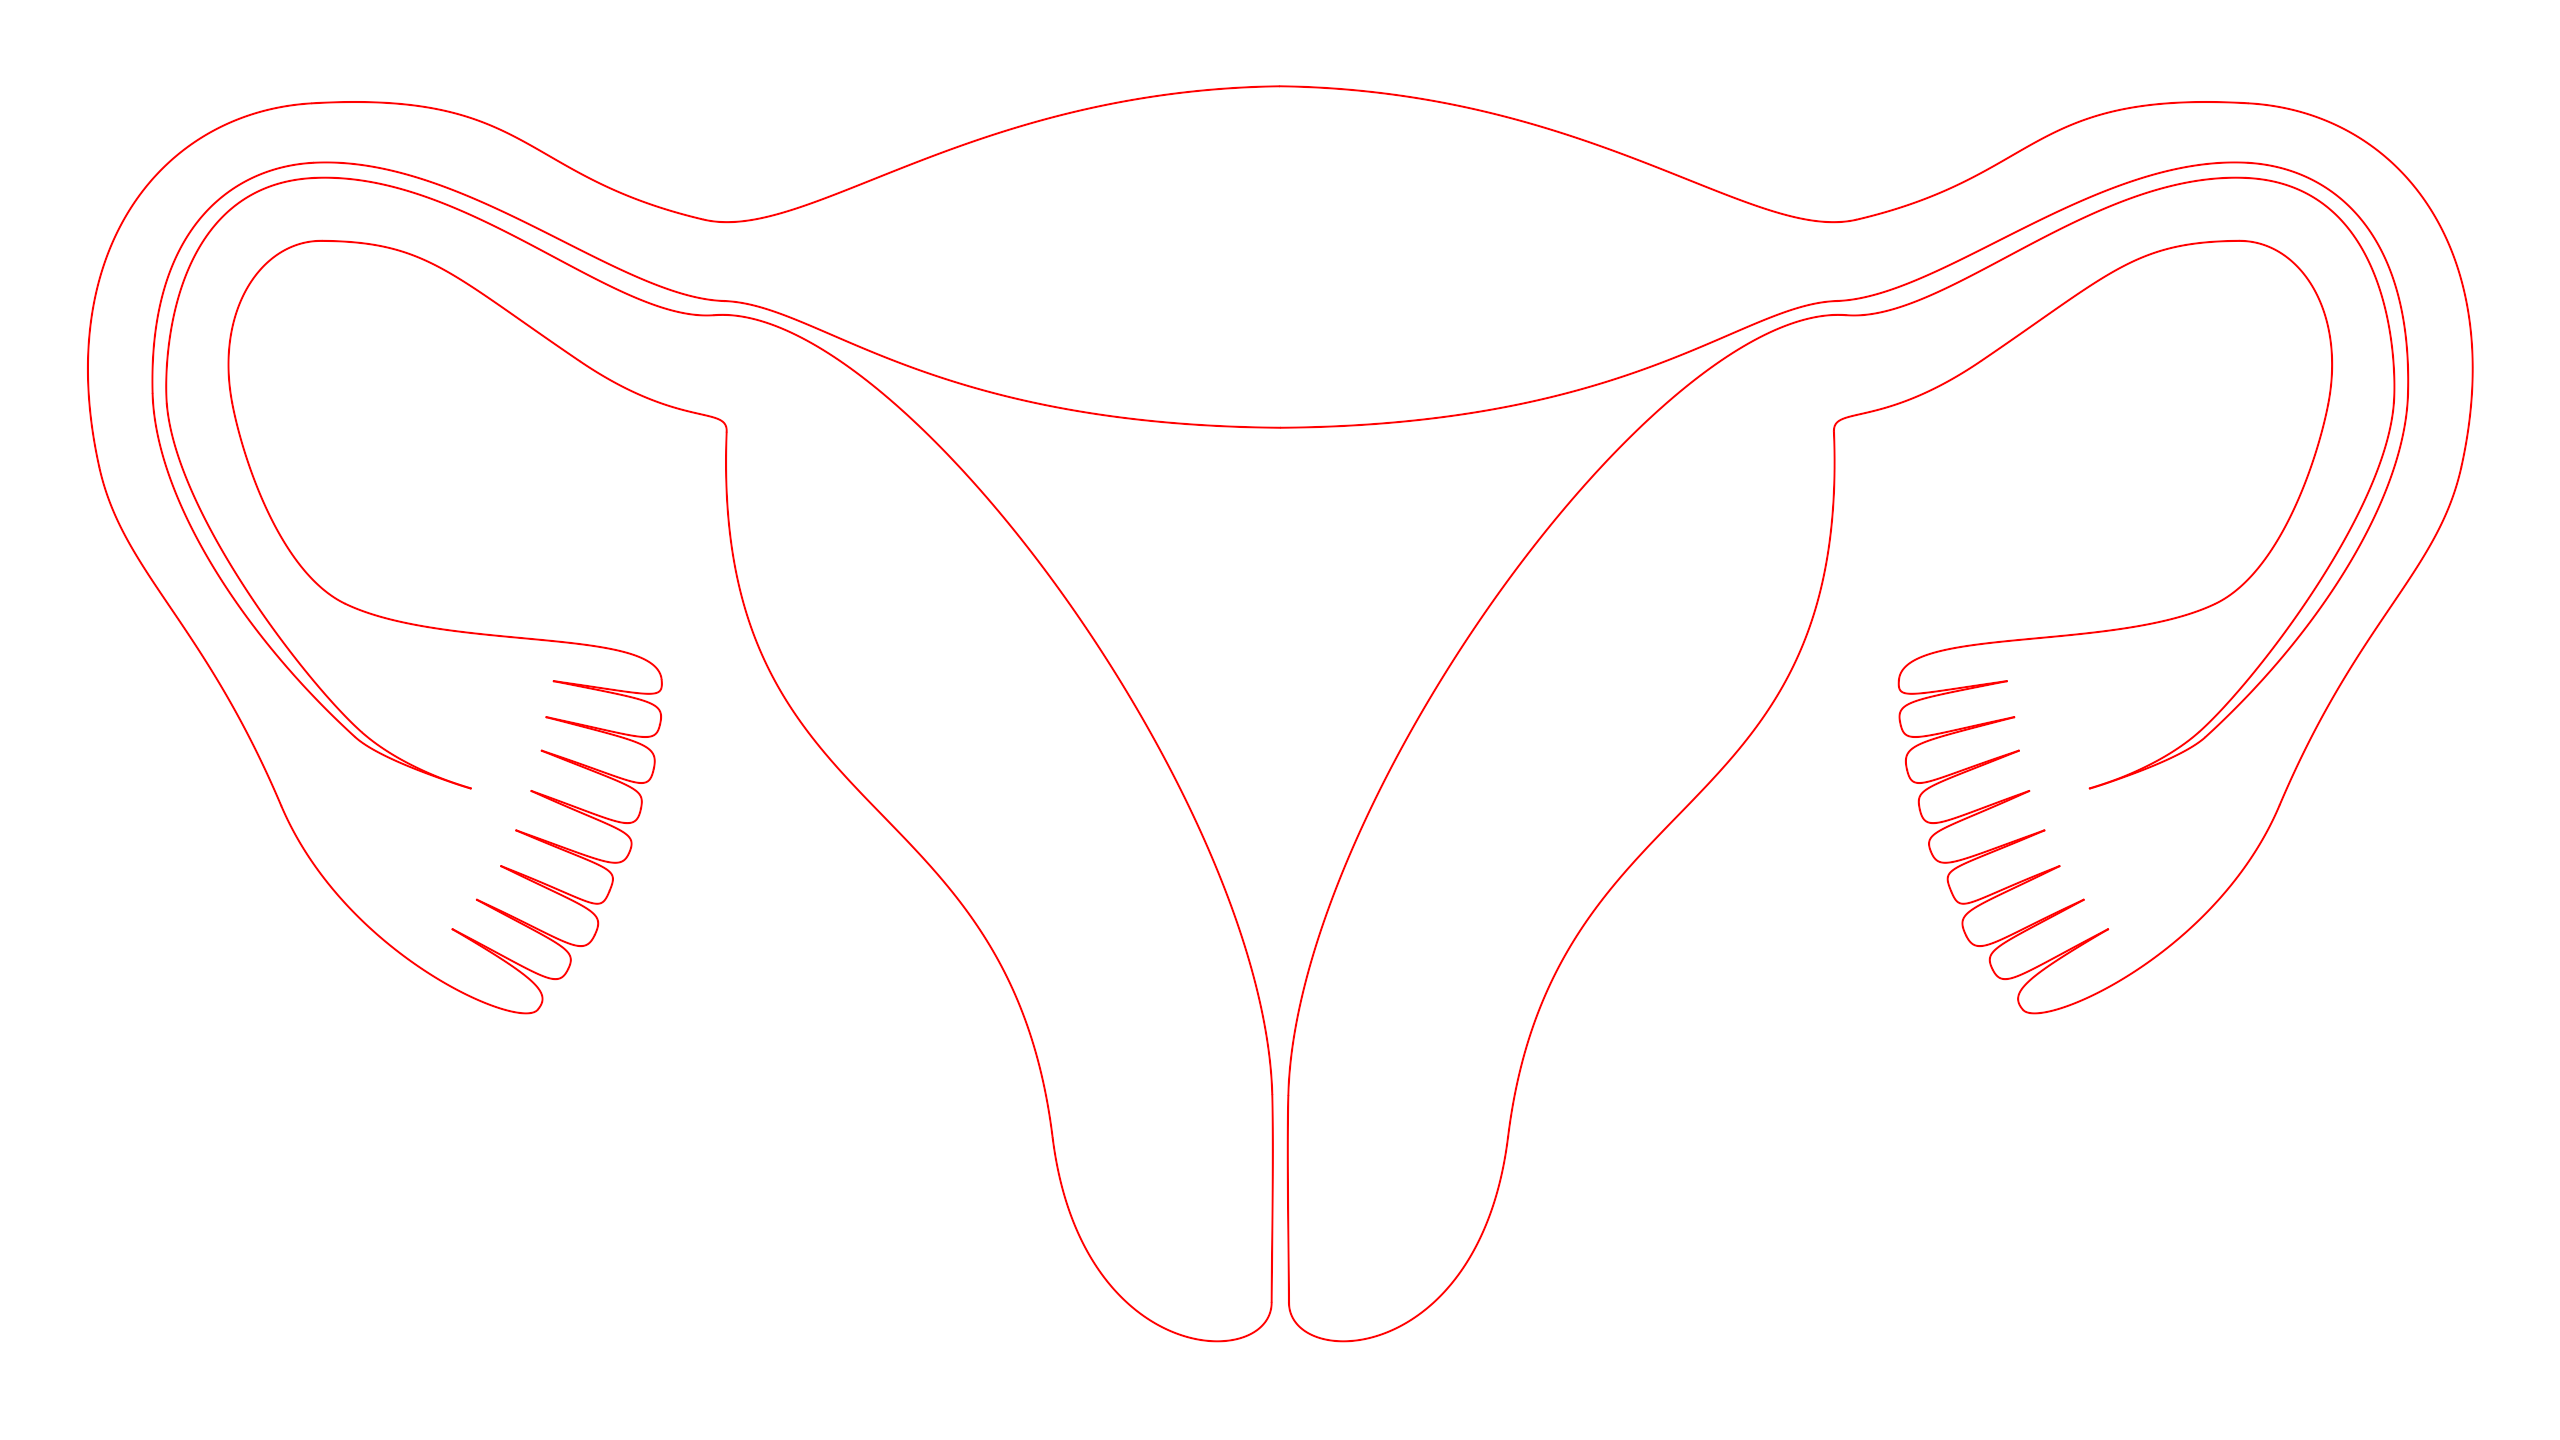
1. Download the pattern images below. Size them on your printer to MAXIMIZE FELT AREA.  If that means the printer cuts off a bit of pattern at the edges of the largest piece, the backing, so be it. You can intuit where the cut curve is. On my printer I size them all at 33%. Make sure each pattern is sized by the same %age (if you size the backing at 33%, the uterus and ovaries patterns should also be sized at 33%.)

“Uterus” pattern

2. Pin or staple this to the sheet of light pink felt and cut out the paper and felt at the same time. Then remove pins or staples.

“Backing” pattern. This is the largest of the lot, and your printer might cut off the edges, but you can eyeball how to cut it there.

3. Pin or staple this to the TWO sheets of dark pink/red felt and cut them out together.

“Ovaries” pattern. You only need 2 of these for a money belt, but I ganged ’em up here if you want to efficiently make more.

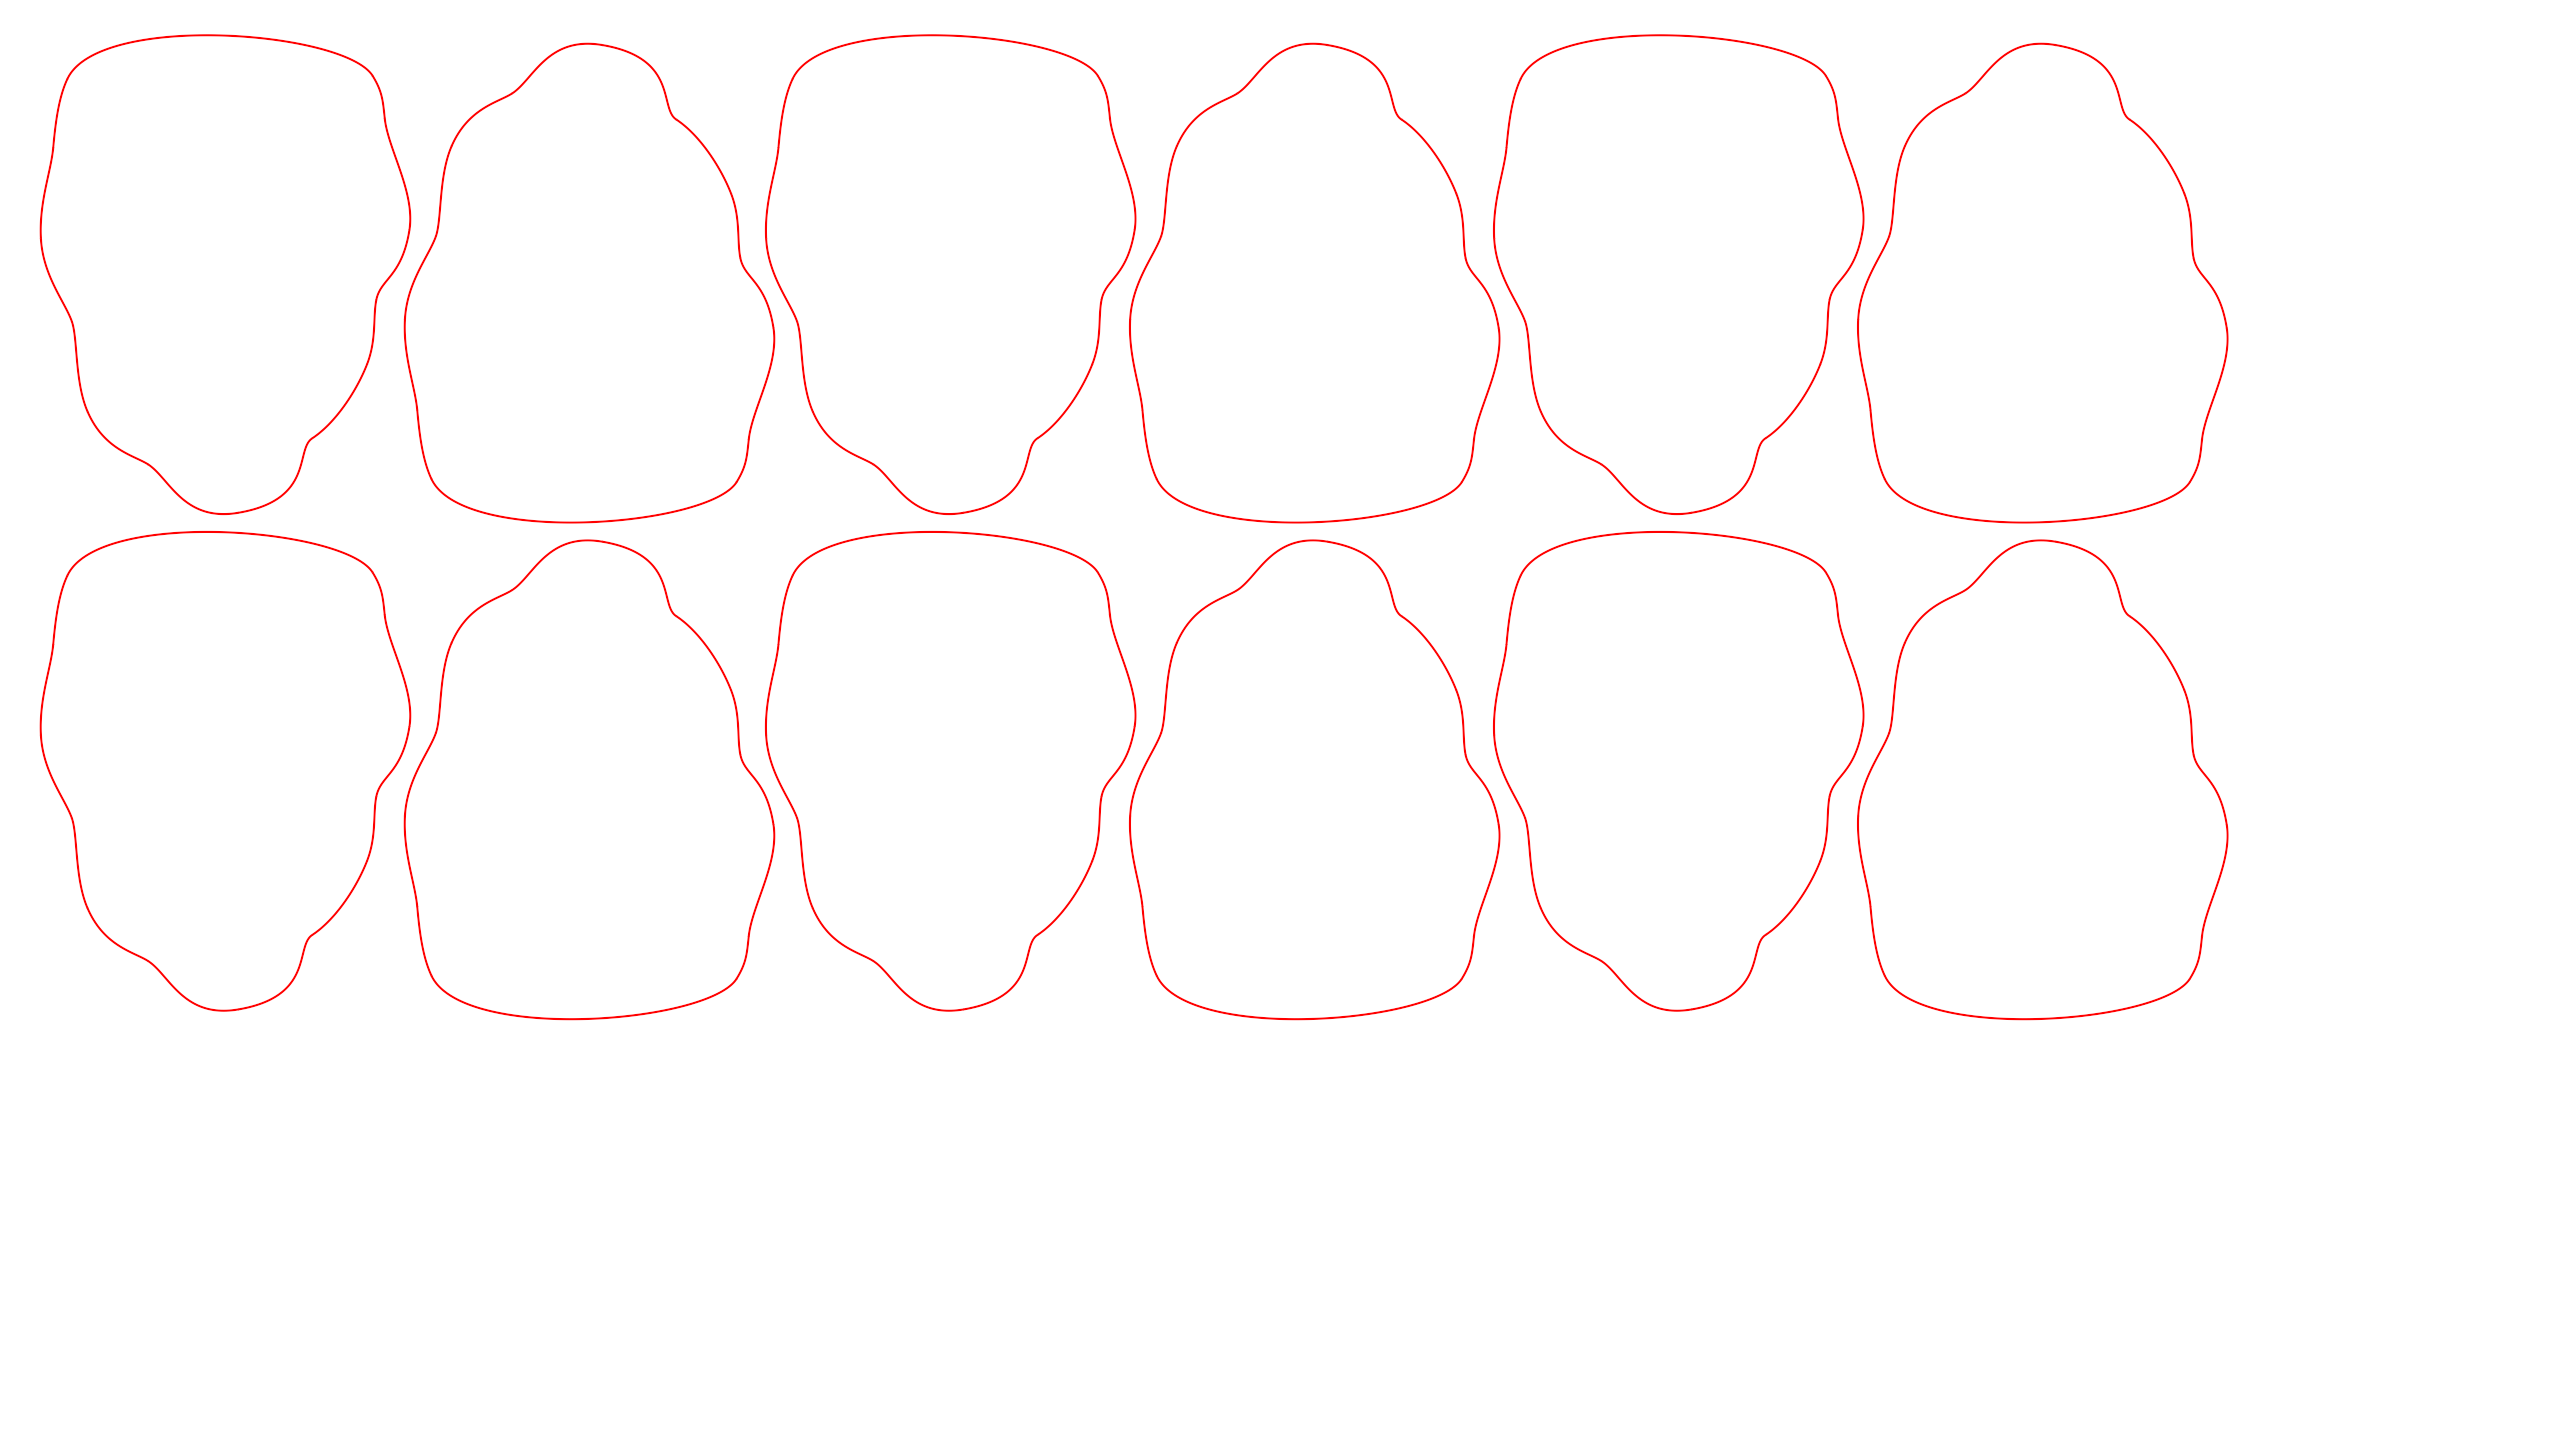
4. You only need two of the little ovary shapes above, but I arranged 6 sets of them in case you want to make several at once. At minimum, pin or staple the small piece of off-white felt to cover one pair of these, and cut them out.

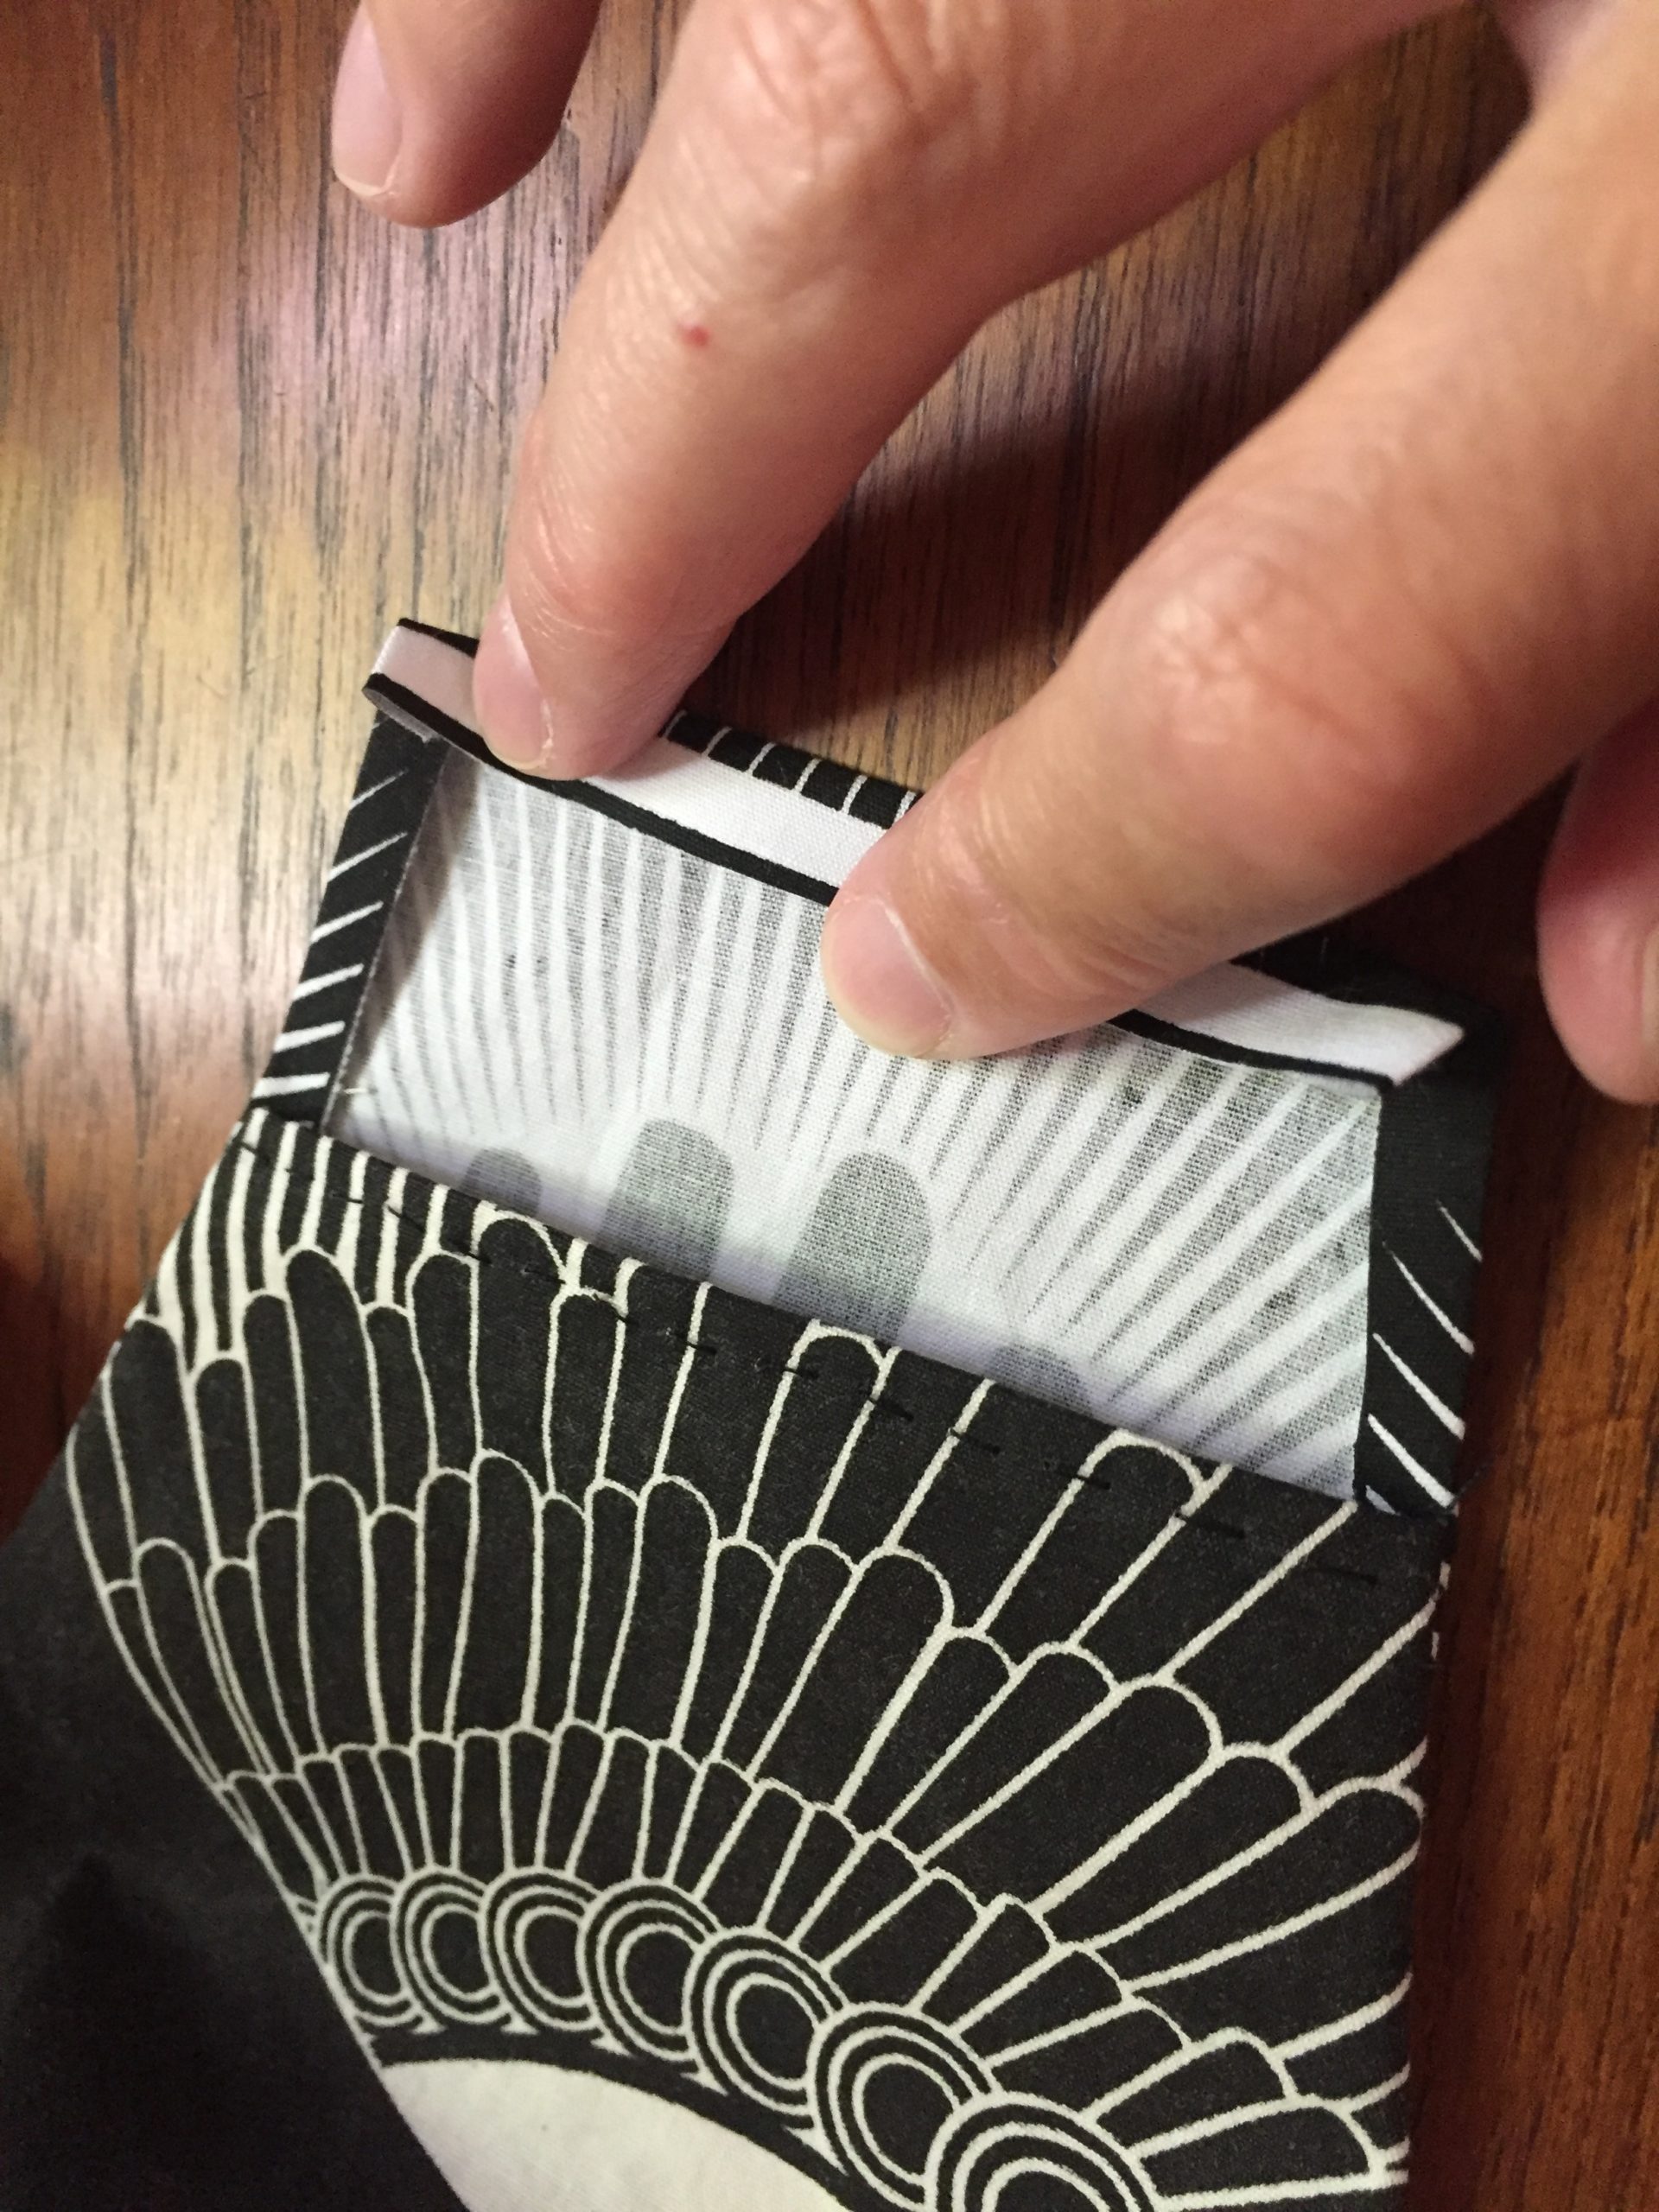
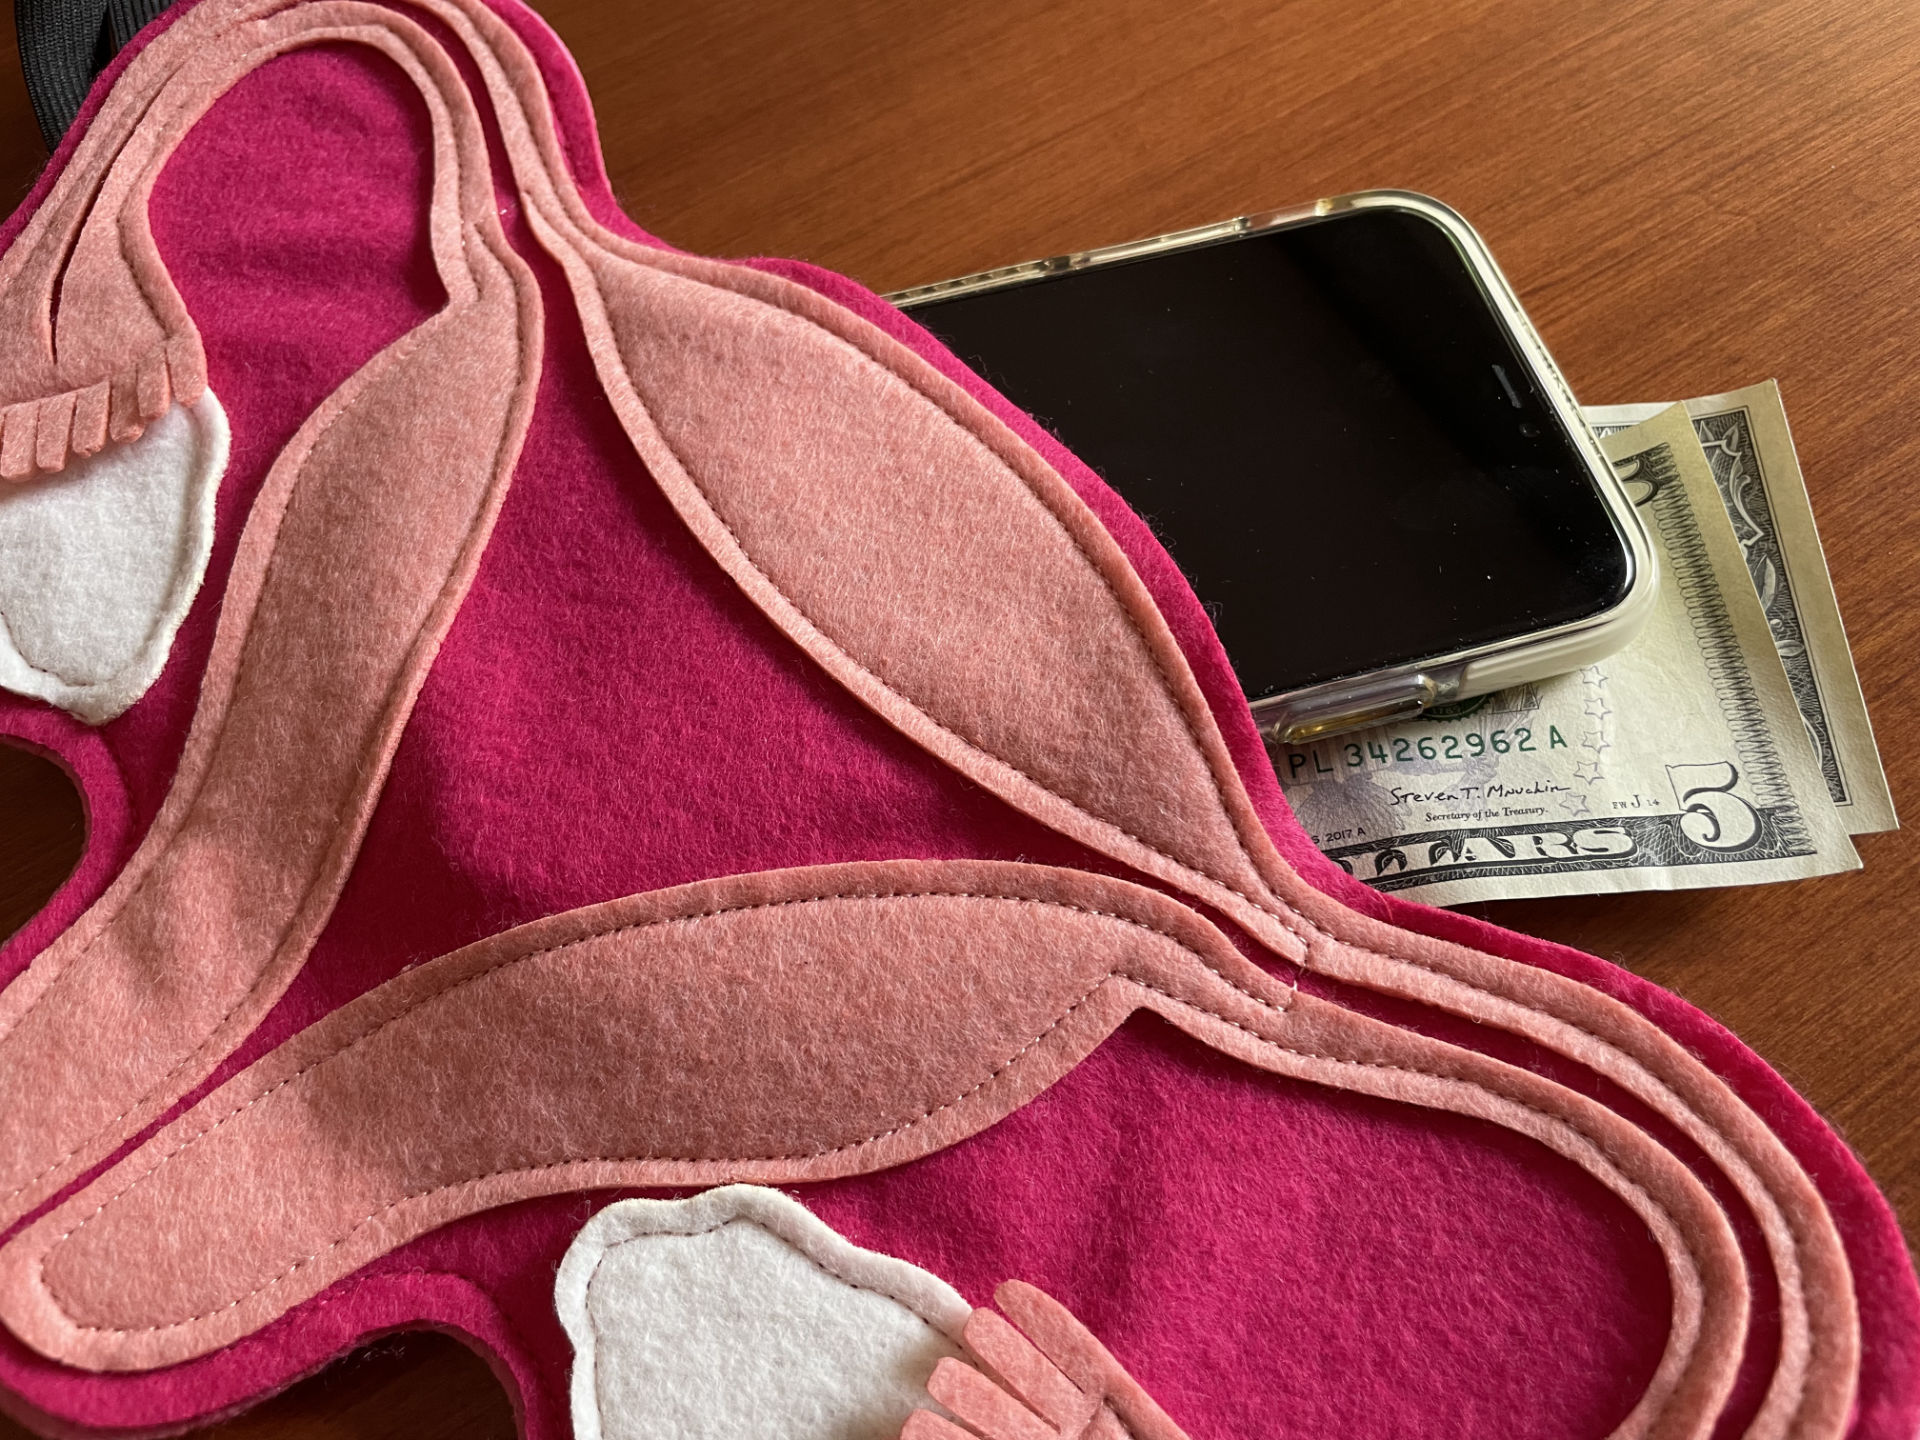
5. Arrange the ovaries and uterus felt shapes on one piece of backing, and stitch them down like so. You can use pins or small dabs of clue to secure them before sewing.

6. Cut your elastic band to a size that will fit comfortable but securely around your waist with the uterus on it. Sandwich the ends of the elastic between your sewn uterus piece and the second backing, and stitch around the edge. Leave a large opening in the top so you can get your money/phone/IDs/whatever in and out.

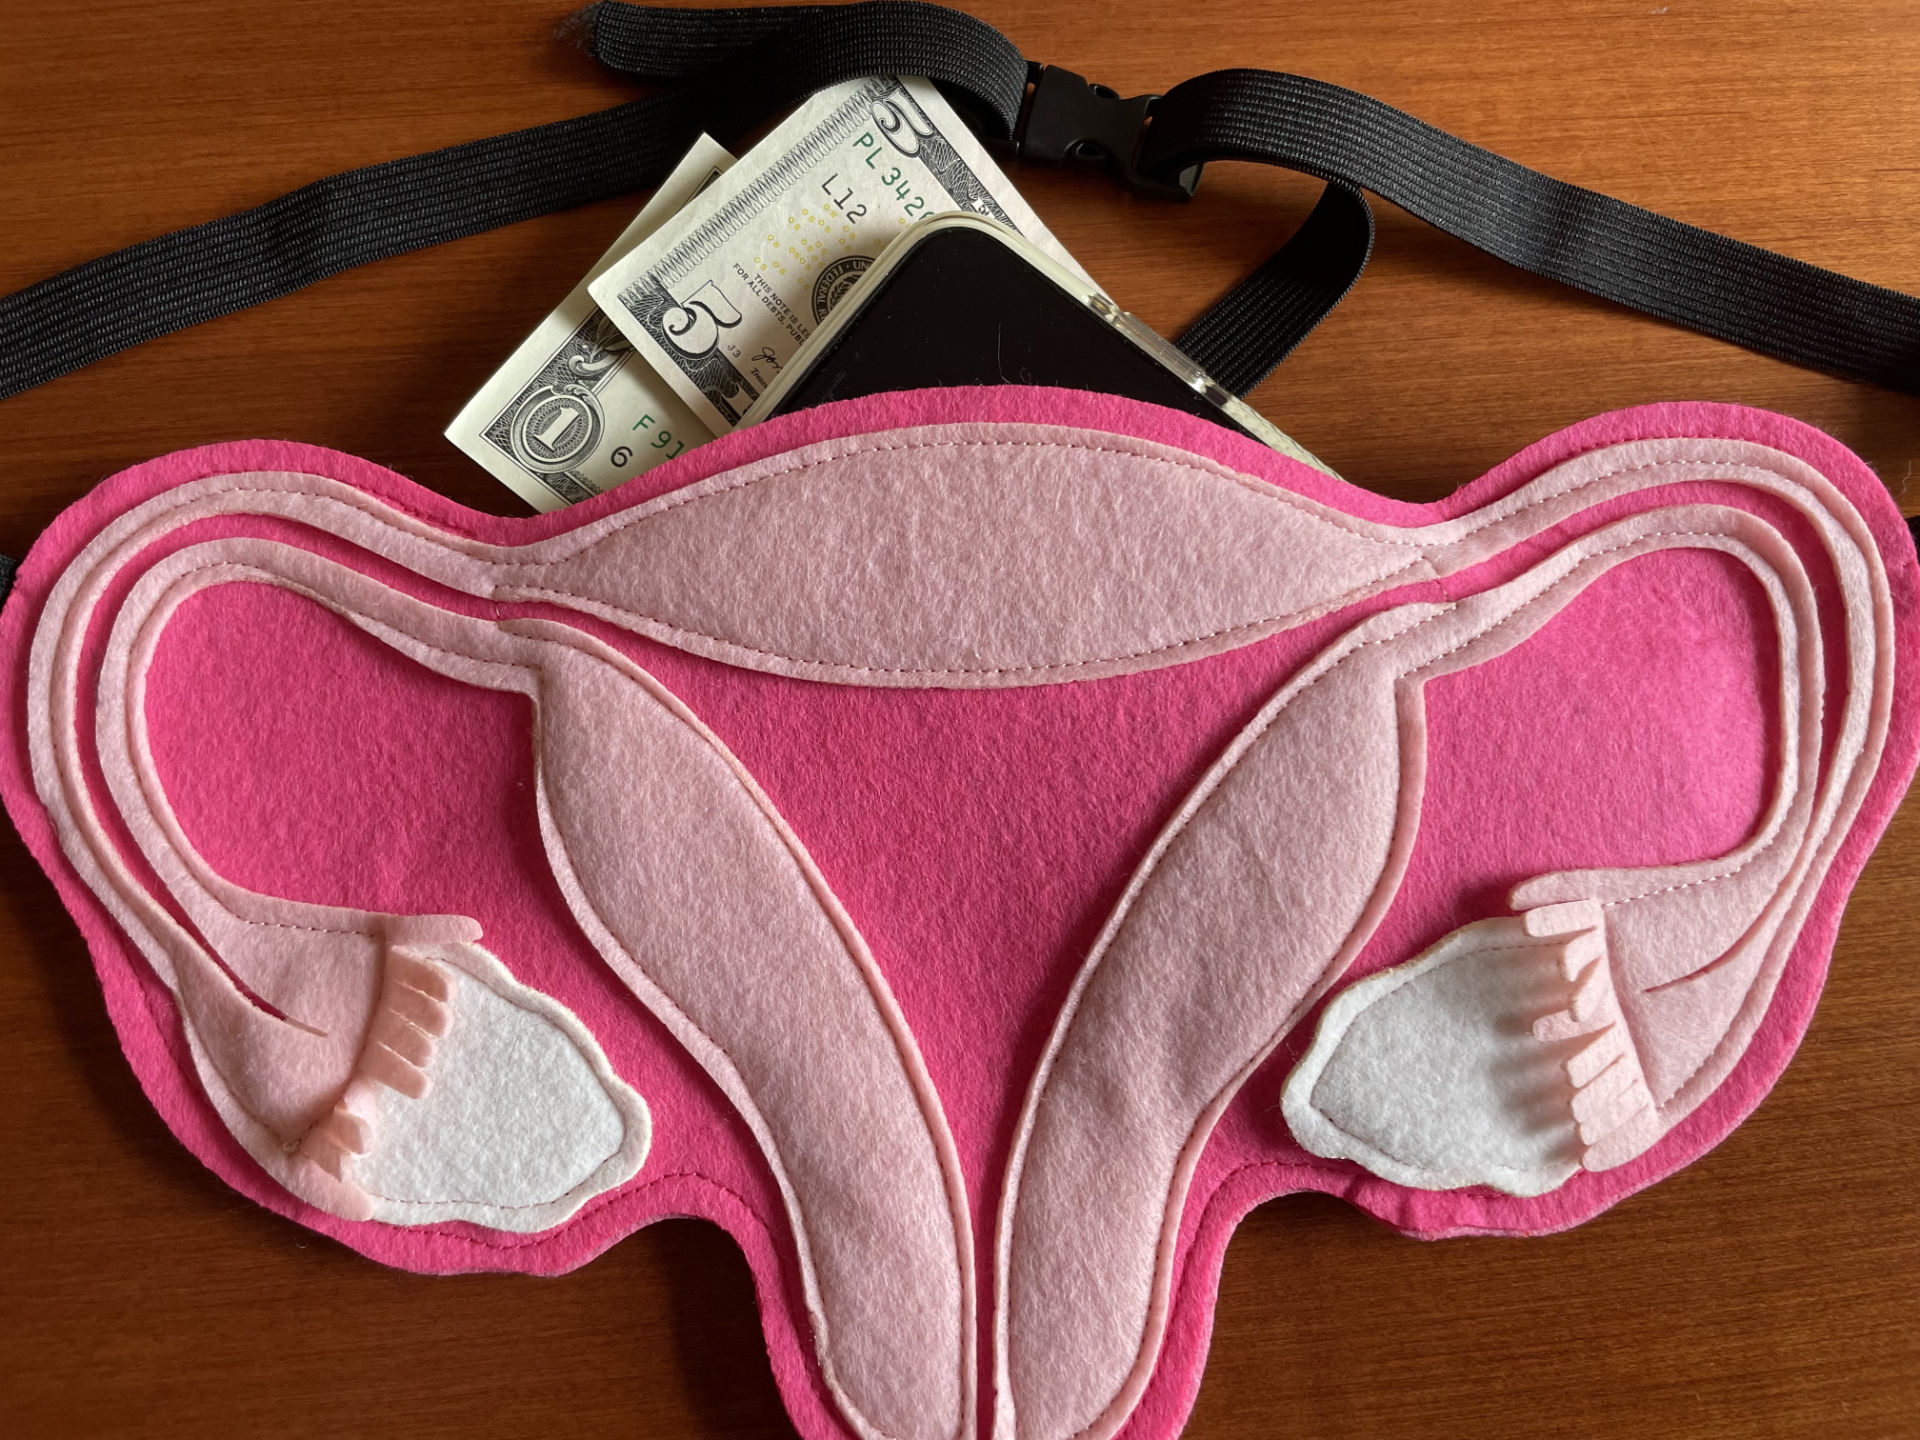
Your version won’t have a buckle (unless you add your own) but if the elastic band is sized right, you can slip the whole thing over your head, or step into it, and voila.

The patterns above are Free, ’cause that’s how I roll. Feel free to send me a donation if you’re into that. Paypal link is on the upper right sidebar of this blog. Thanks!

Share

Peep Toes and Eye Heels

In these dark days of Winter, boredom has driven me to craft:

A year or two ago I had a dream about a high-heeled shoe with an eye on the heel, much like the re-creation above. The heel itself was a unicorn horn. I sketched it upon awakening, and while I no longer remember the dream, I remember the drawing. I recently obtained polymer clay, a glue gun, and plastic eyes, to make these:

I didn’t make the shoes themselves; they are dance shoes I bought used for $5 at the local theater’s annual sale a few years ago. The eyes are plastic, which complicated things; the Fimo clay I shaped around them needs to be baked in an oven to harden, but the plastic would melt, so I had to make aluminum foil dummies. Also, they are life-size, which I think is too small. So I ordered some robust oven-safe 20mm glass irises, which finally arrived today, allowing me to make these:

I bought these shoes online, the red ones new, the brown ones used, both made of plastic and very cheap. I’m still developing my eye-making technique, getting closer to what I want. And when I reach my goal, I’ll…what? Look into mass production? I sure don’t want to spend my days hand-making Fimo shoe eyes, but injection-molded ones might be cool. Then people could hot-glue them to their own shoes, and my work would be done.


Share

Hand Sewing a Mask

Yes, you can sew a mask with no iron, no pins, and no sewing machine. Just a needle and thread, scissors, mask kit, and a lot of time. My trial run (photographed below) took a couple hours, giving me plenty of time to catch up on podcasts. I could probably learn to do it faster, but one was enough for me.

To hand sew, more or less follow the instructions here, but knot your thread every time, and avoid any extra stitching. Remember that screen printing stretches and distorts the fabric a little, so the pieces won’t line up perfectly. The important bit is to get those center seams properly aligned. Don’t worry about the rest being wonky, it will all come out OK. I used a simple running stitch:

Notice that I still sewed a little bit inside the print area. It looks better when it’s turned inside-out, trust me.

When I sewed the two faces together, I started at the center seam, which allowed me to skip the pins. Hand sewing is slow and meditative, and allows you to gradually align the fabric as you go, instead of pinning everything before. But you can still use pins if you prefer.

I also skipped the iron, and just finger-pressed. Of course you can still use an iron if you want.

You can skip the top stitching, although my Momz says that without it, the masks sort of puff up in the laundry and have to be re-ironed. I whip-stitched mine after turning it inside out:

Above, you can see the running-stitched nose wire channel.

The result is a perfectly good, very time-consuming mask, and that surprising sense of satisfaction that comes from making something entirely by hand.


Share