That’s not a bug, it’s a feature!

This week I am intensively studying Anime Studio Pro because Victor “El Maestro” Paredes is visiting from Chile.

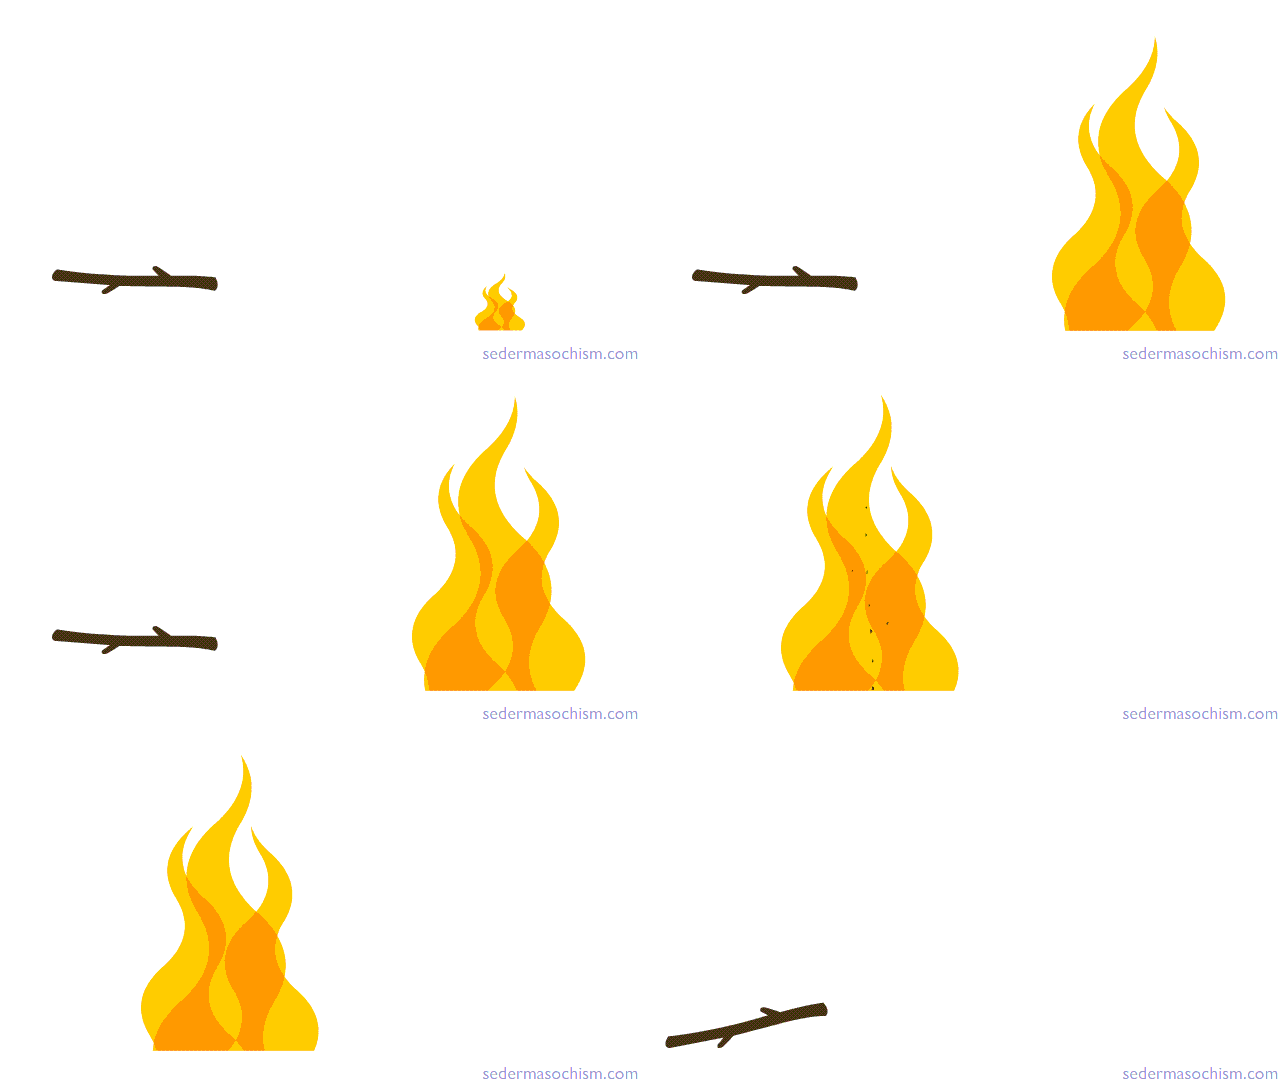
Anime Studio handles shapes and lines and curves and points differently than Flash. In particular if a shape crosses over itself it makes a “hole.” There are many ways to “fix” this but I think it’s cool, and made a crudely animated exercise that relies on that behavior:

Try not to mind my imperfect animation, right now I’m just trying to get the hang of this new, very different tool.

Share

Embroidermation: test 1

You may have heard I’m working on this movie, and I am, but my contract prohibits me from blogging about work-in-progress. All the more reason to blog about my super-exciting other project that no one is paying me for and is motivated purely by madness and my crazy Muse: I want to make an animated quilt. Or rather quilted animation. Or embroidered animation, because the most common quilt plotters are actually embroidery machines.

I’ve already ranted about the shameful state of embroidery machine software. Having just bought a fancy new Brother machine that came with Brother’s “top-of-the-line” software, PE Design NEXT, I can now say the situation is worse than I thought. Not only is the software crazy expensive, it’s also woefully inadequate for automated line drawing conversion. More on that in a future post; for now I want to describe the steps required to make a single frame (scroll down to see it).

I began with an animated cycle I made almost two years ago: the ZizAutomated digitization of one frame of that design, in color, for embroidery, is well beyond what PE Design NEXT can handle, so I started by just asking it to do the outline, monochrome, in a simple running stitch. That was also way more than it could handle, so I went back into Flash and simplified the design:

Then I imported a frame into Adobe Illustrator and “merged” everything to eliminate background shapes.

Before: the Ziz above is comprised of many shapes. Even though they're not visible on the surface, vector files know they're there, adding unnecessary complexity.


After: "merged" in Illustrator.

I gave it no fills, only a 1pt stroke. PEDNEXT read it as several hundred separate shapes, with thread cuts between each; it wanted to start and stop every few stitches to cut threads, even with all the outlines abutting each other.

Clearly we had to convert the design into one continuous line, which PEDNEXT can’t do (it can sort of do it with bitmaps it traces itself, but it’s terrible at auto-tracing. One should be able to trace in a better program and get it to work with those vectors, but it’s biased against vectors for some reason). It’s an old math problem called the Chinese Postman, a variation on the more famous Traveling Salesman. The Traveling Salesman visits every vertex in the most efficient path; the Chinese Postman travels every path.

Fortunately my Significant Other and co-lunatic in automated embroidery machine experiments, Theo Gray, was a founding developer of Mathematica software. Just one morning of his fiddling with the files yielded exceptional results.

This was an .eps file in Mathematica, brought into Adobe Illustrator, exported as .wmf for Brother's software, and again as .png to be visible on this blog. It is a single line with many points, tracing over itself efficiently.

Then PEDNEXT refused to read the resulting single-line file, even after it was converted to .wmf (windows metafile – the ONLY vector file PEDNEXT accepts. It doesn’t accept .svg, .eps, .dxf, .ai, or any other vector file. Just .wmf. Which is what you’d expect from $2,000 embroidery software, right?) Thinking the line was too long, we broke it into smaller segments and imported them as separate files. Through a tedious process of elimination we discovered there was just one teeny segment PEDNEXT refused to read. We pinpointed it to two points (perfectly normal points! the files are fine, we have no idea why PEDNEXT doesn’t like them), deleted them from the master line, imported to Illustrator, exported to .wmf, imported to PEDNEXT, saved as .pes (Brother’s proprietary format) on a flash drive, and got it into the machine. And finally:

This took 8 minutes to stitch at 700 stitches per minute. Design area is about 8" tall by 10" high. I'd share other details like how many stitches it is and how much disk space it occupies, but I don't have them handy because PEDNEXT is windows-only and the windows machine I've been using for this is at Theo's house.
It's not real until a cat can sit on it.

This represents a huge step towards my dream of embroidermation. It took us a long time and much obsession to get to this single frame. Further tests with PEDNEXT will determine whether the whole 24-frame sequence can be automated, or if there are bugs in every new frame import. Meanwhile I’m even more committed to supporting EmbroiderModder2, a young FLOSS alternative to existing inadequate overpriced embroidery software (crowdfunding campaign coming soon!). I hope Brother supports it too – their machines are great, with better software who knows what people could do with them.

Update: see the Mathematica code and an animated gif of the stitching here!

Share