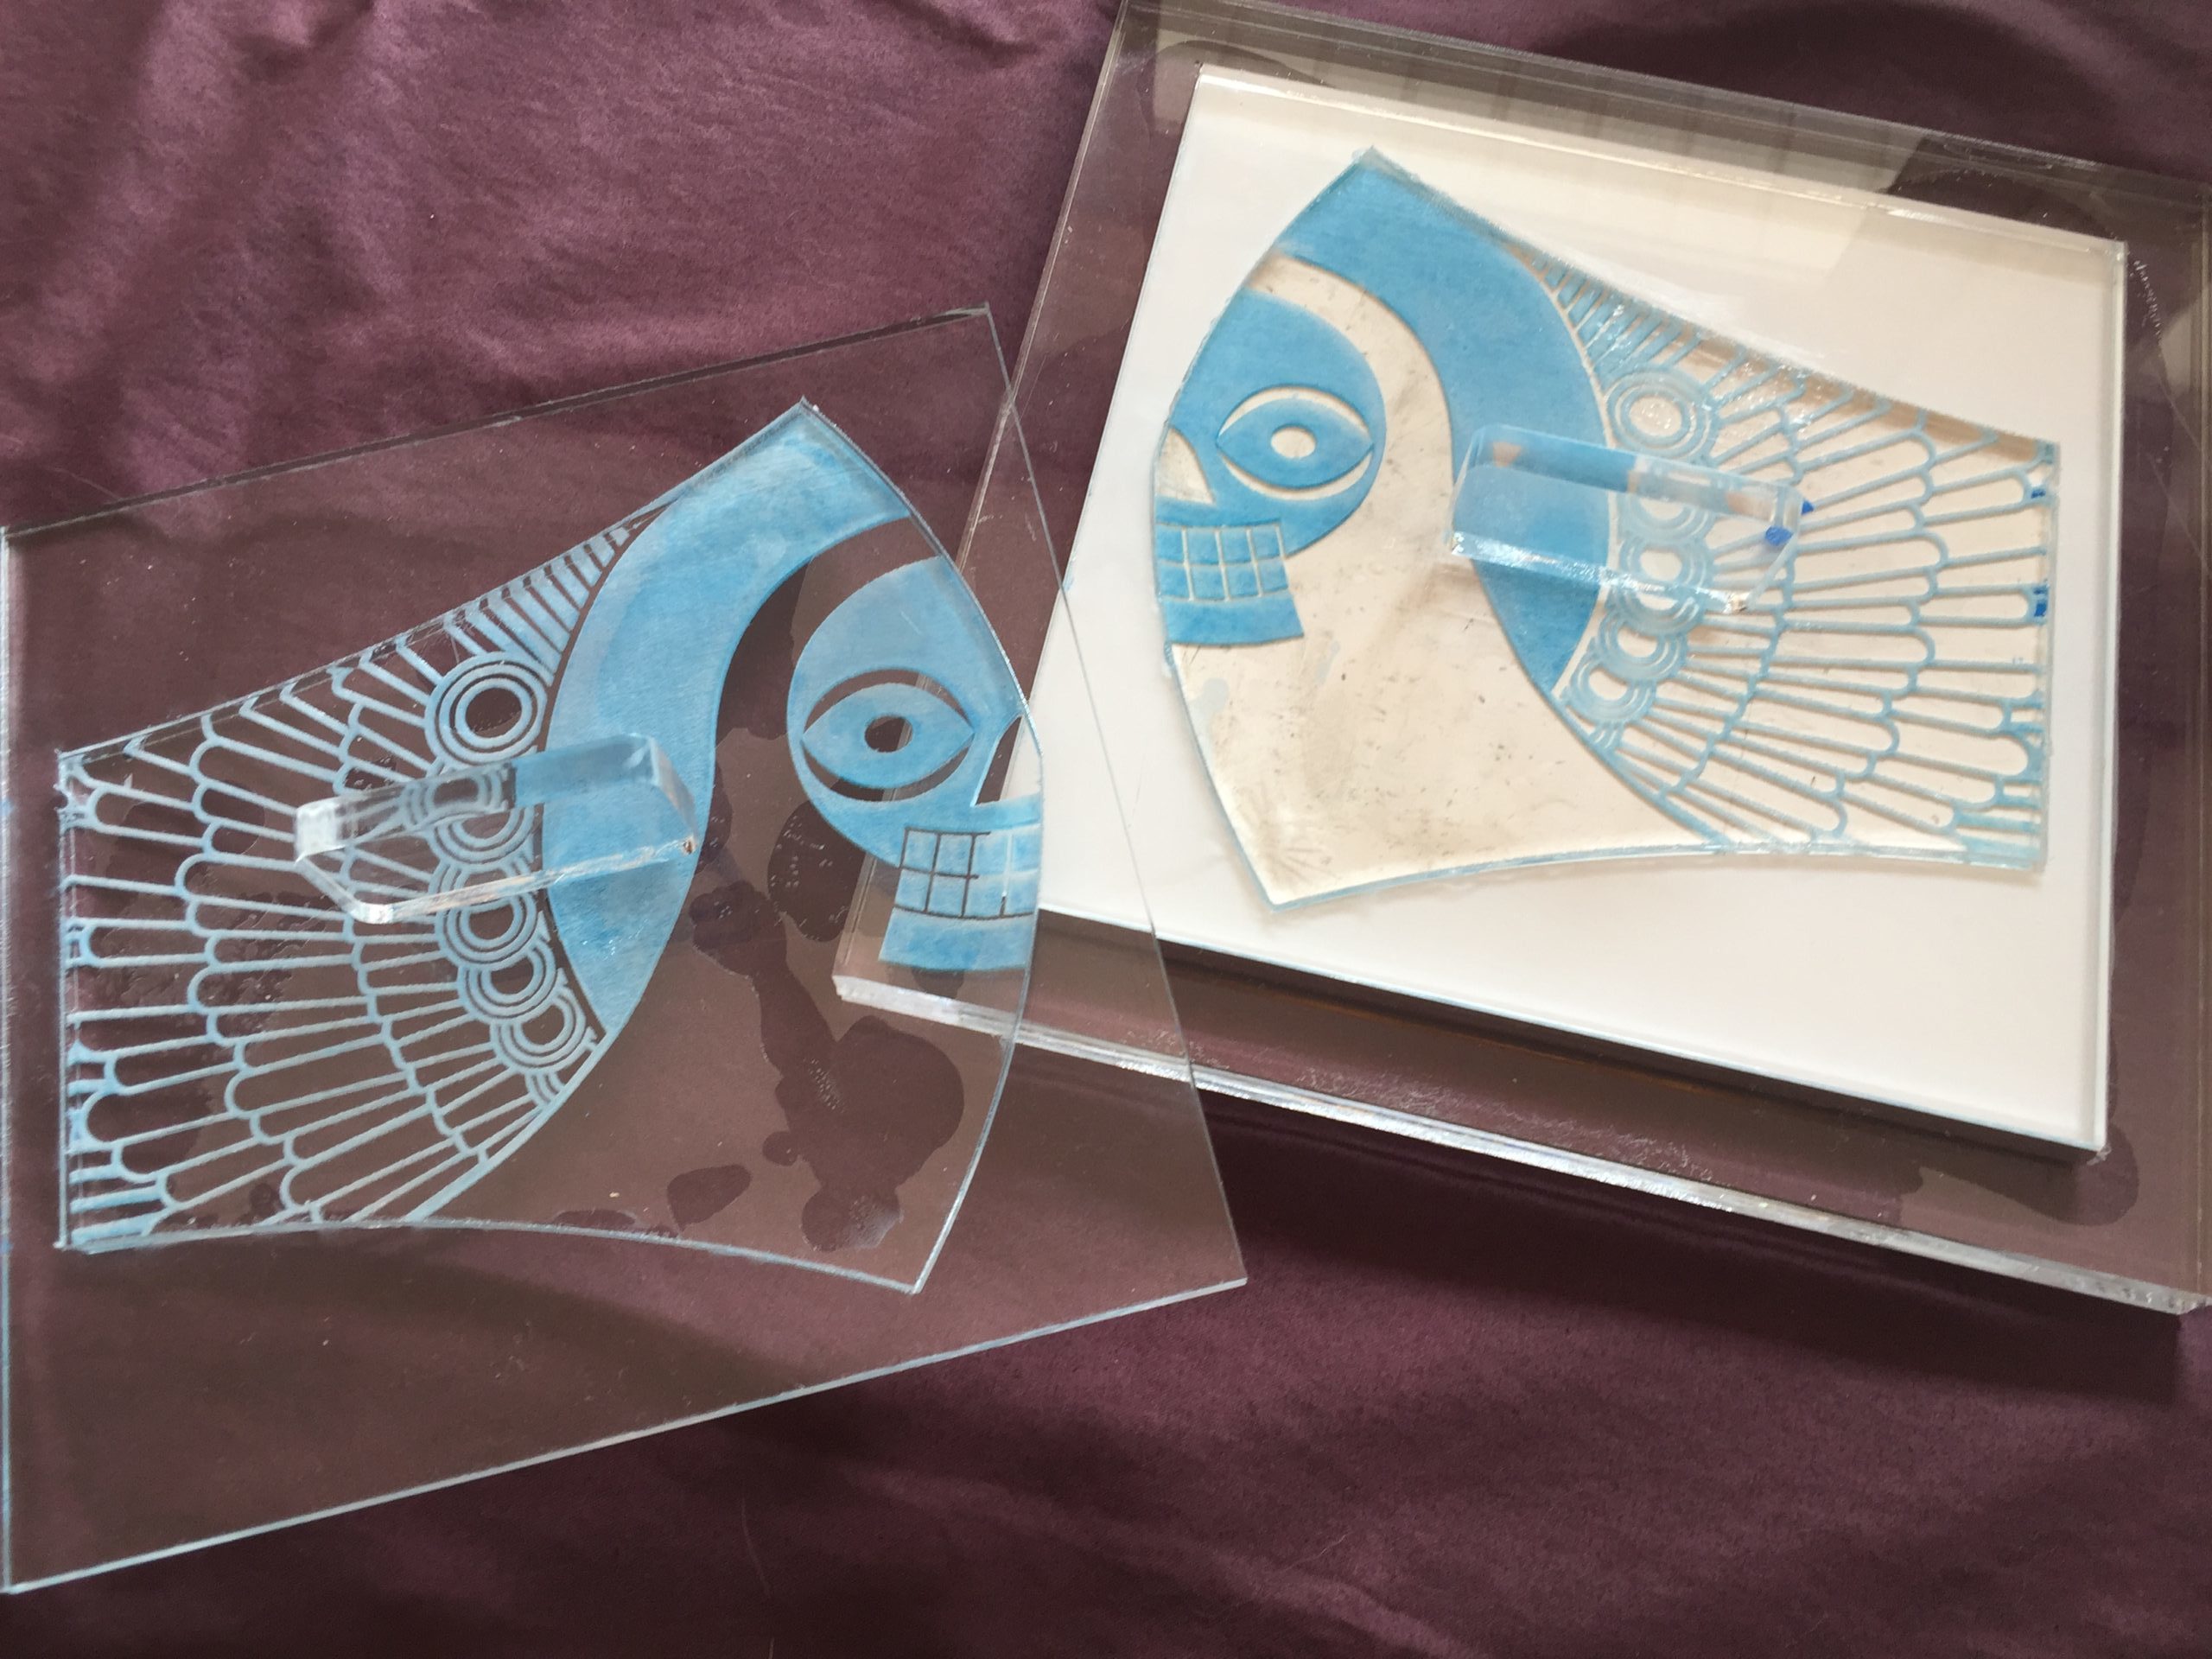
I’m now on my third set of laser-cut acrylic printing plates. Third time’s a charm. Even if it’s not, I’m not going through this again.
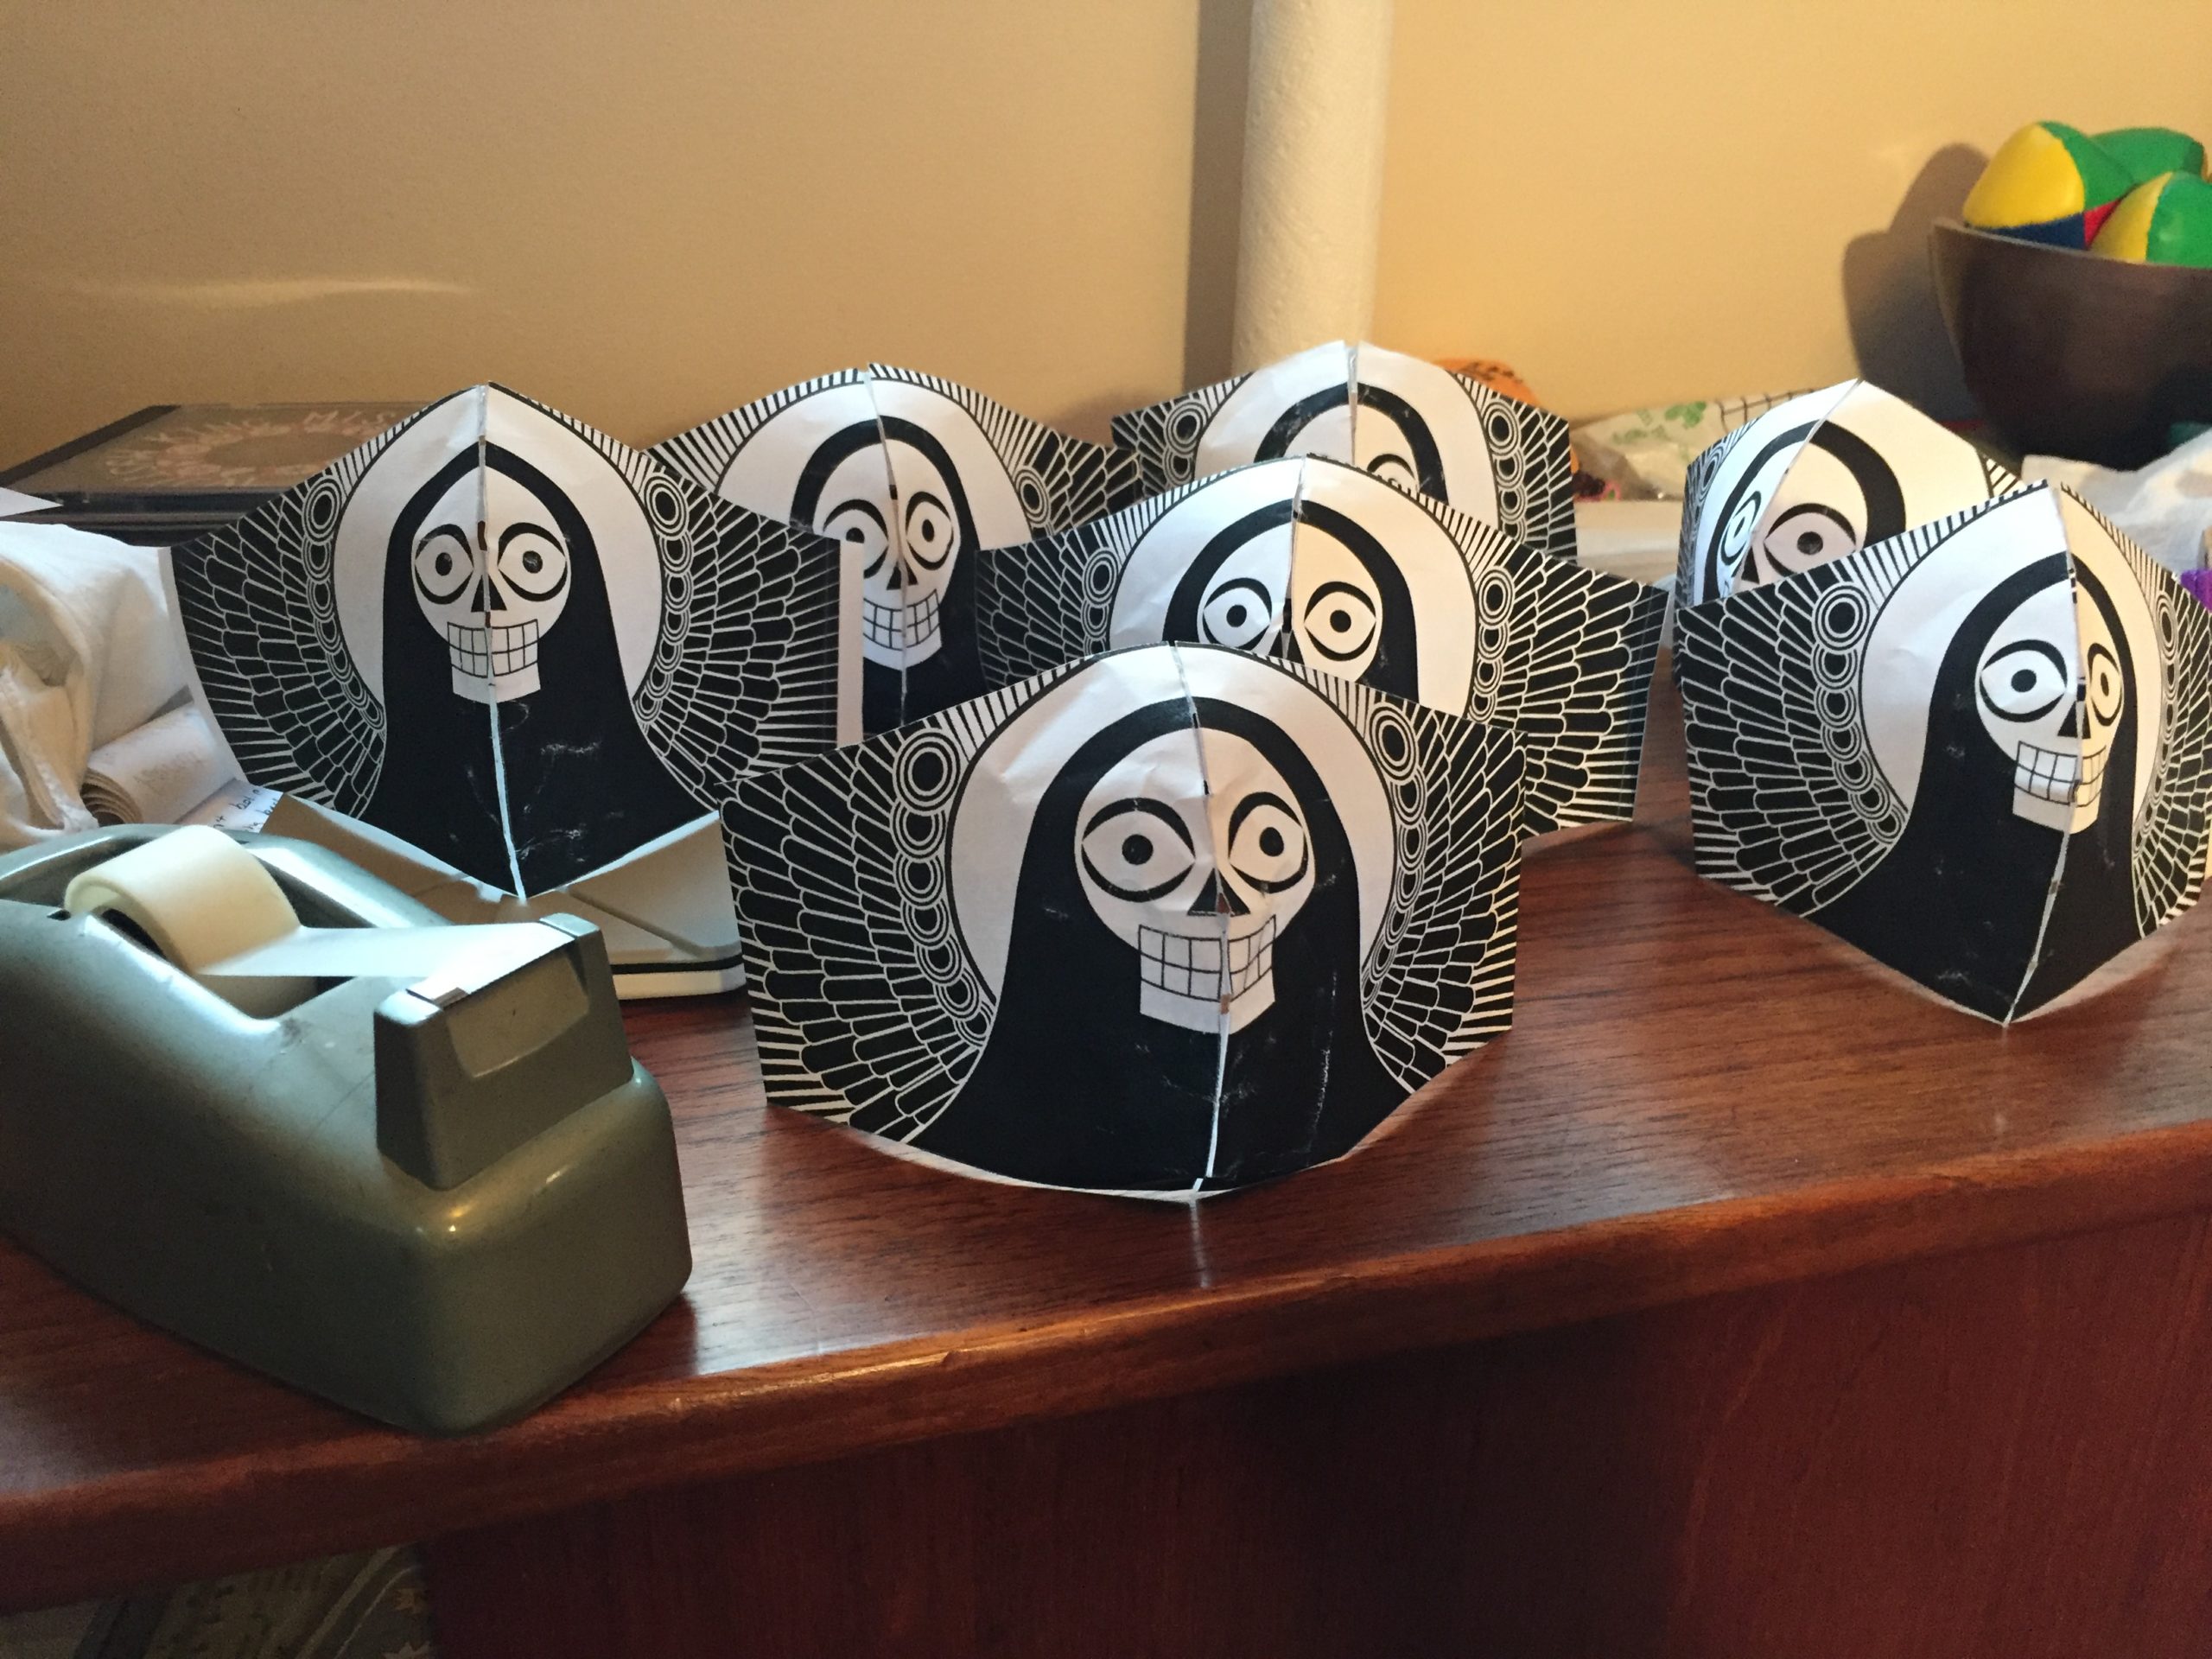
Below is design 3 (top) vs design 1 (bottom).
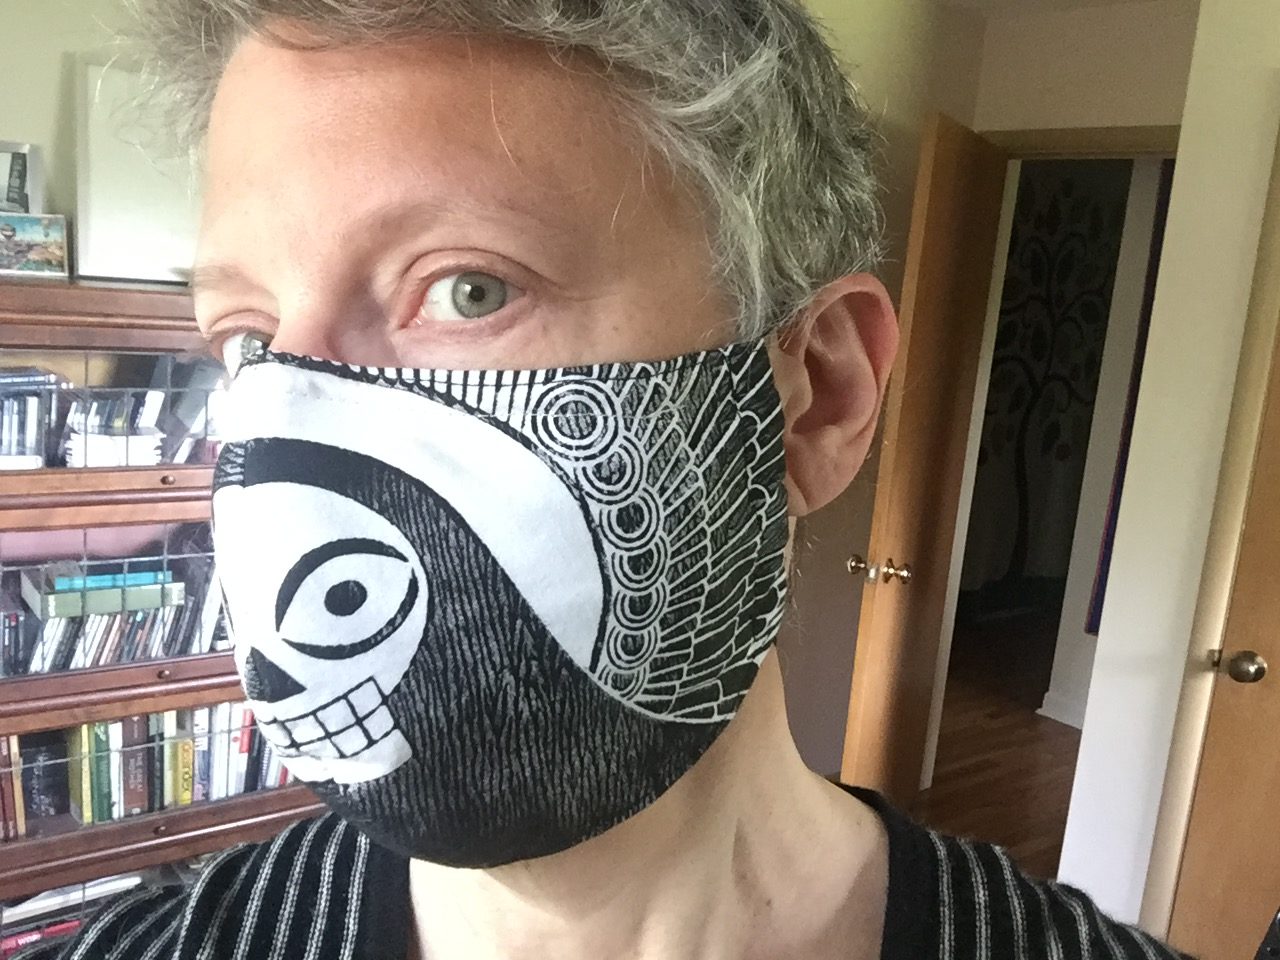
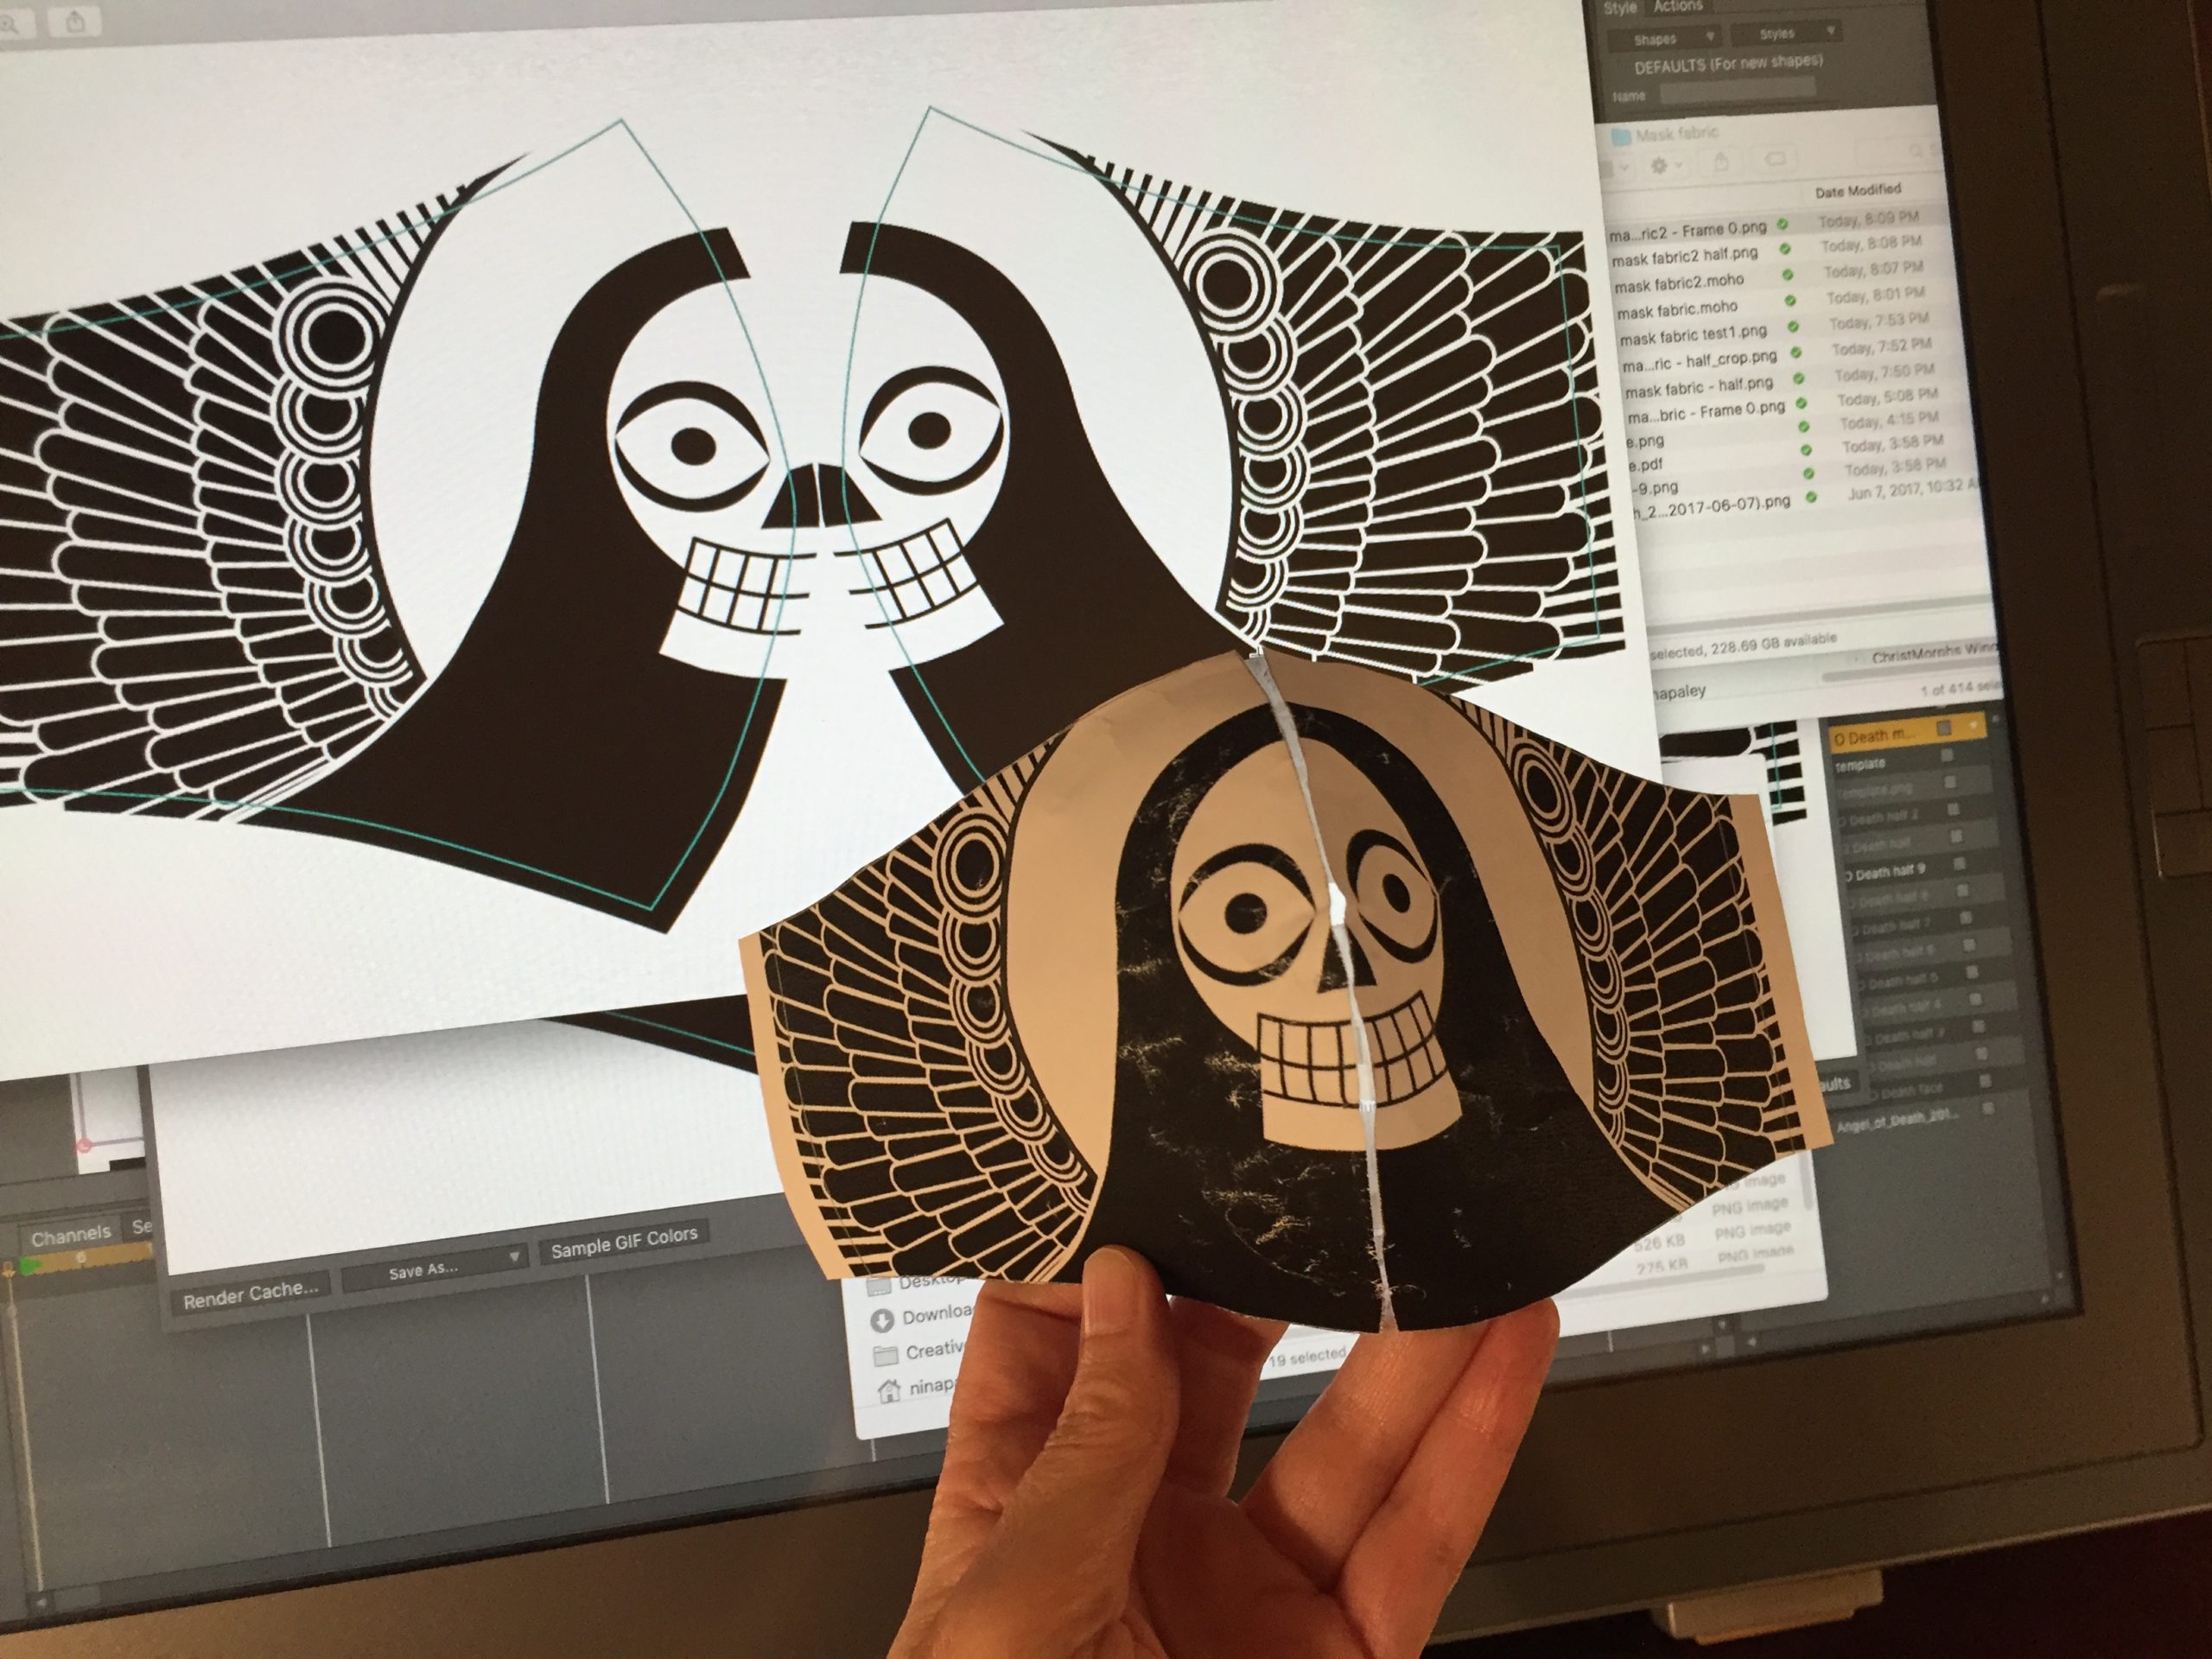
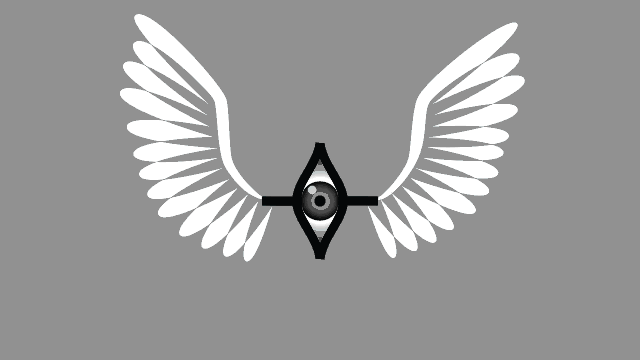
The Angel O’ Death face has become smaller still, so the wings could become proportionally bigger. Honestly I’m not sure I like this, but I’m tired and don’t want to go through yet another design iteration, so this may be it.
Momz sewed this new mask prototype, but I sewed the center seam, because it has to be sewn along the image line rather than the exact quarter-inch-from-the-fabric-edge she sews to. If I make a signed, numbered, limited edition handprinted mask run, I will be sewing all the center seams (and hopefully someone else will assemble the rest of them).
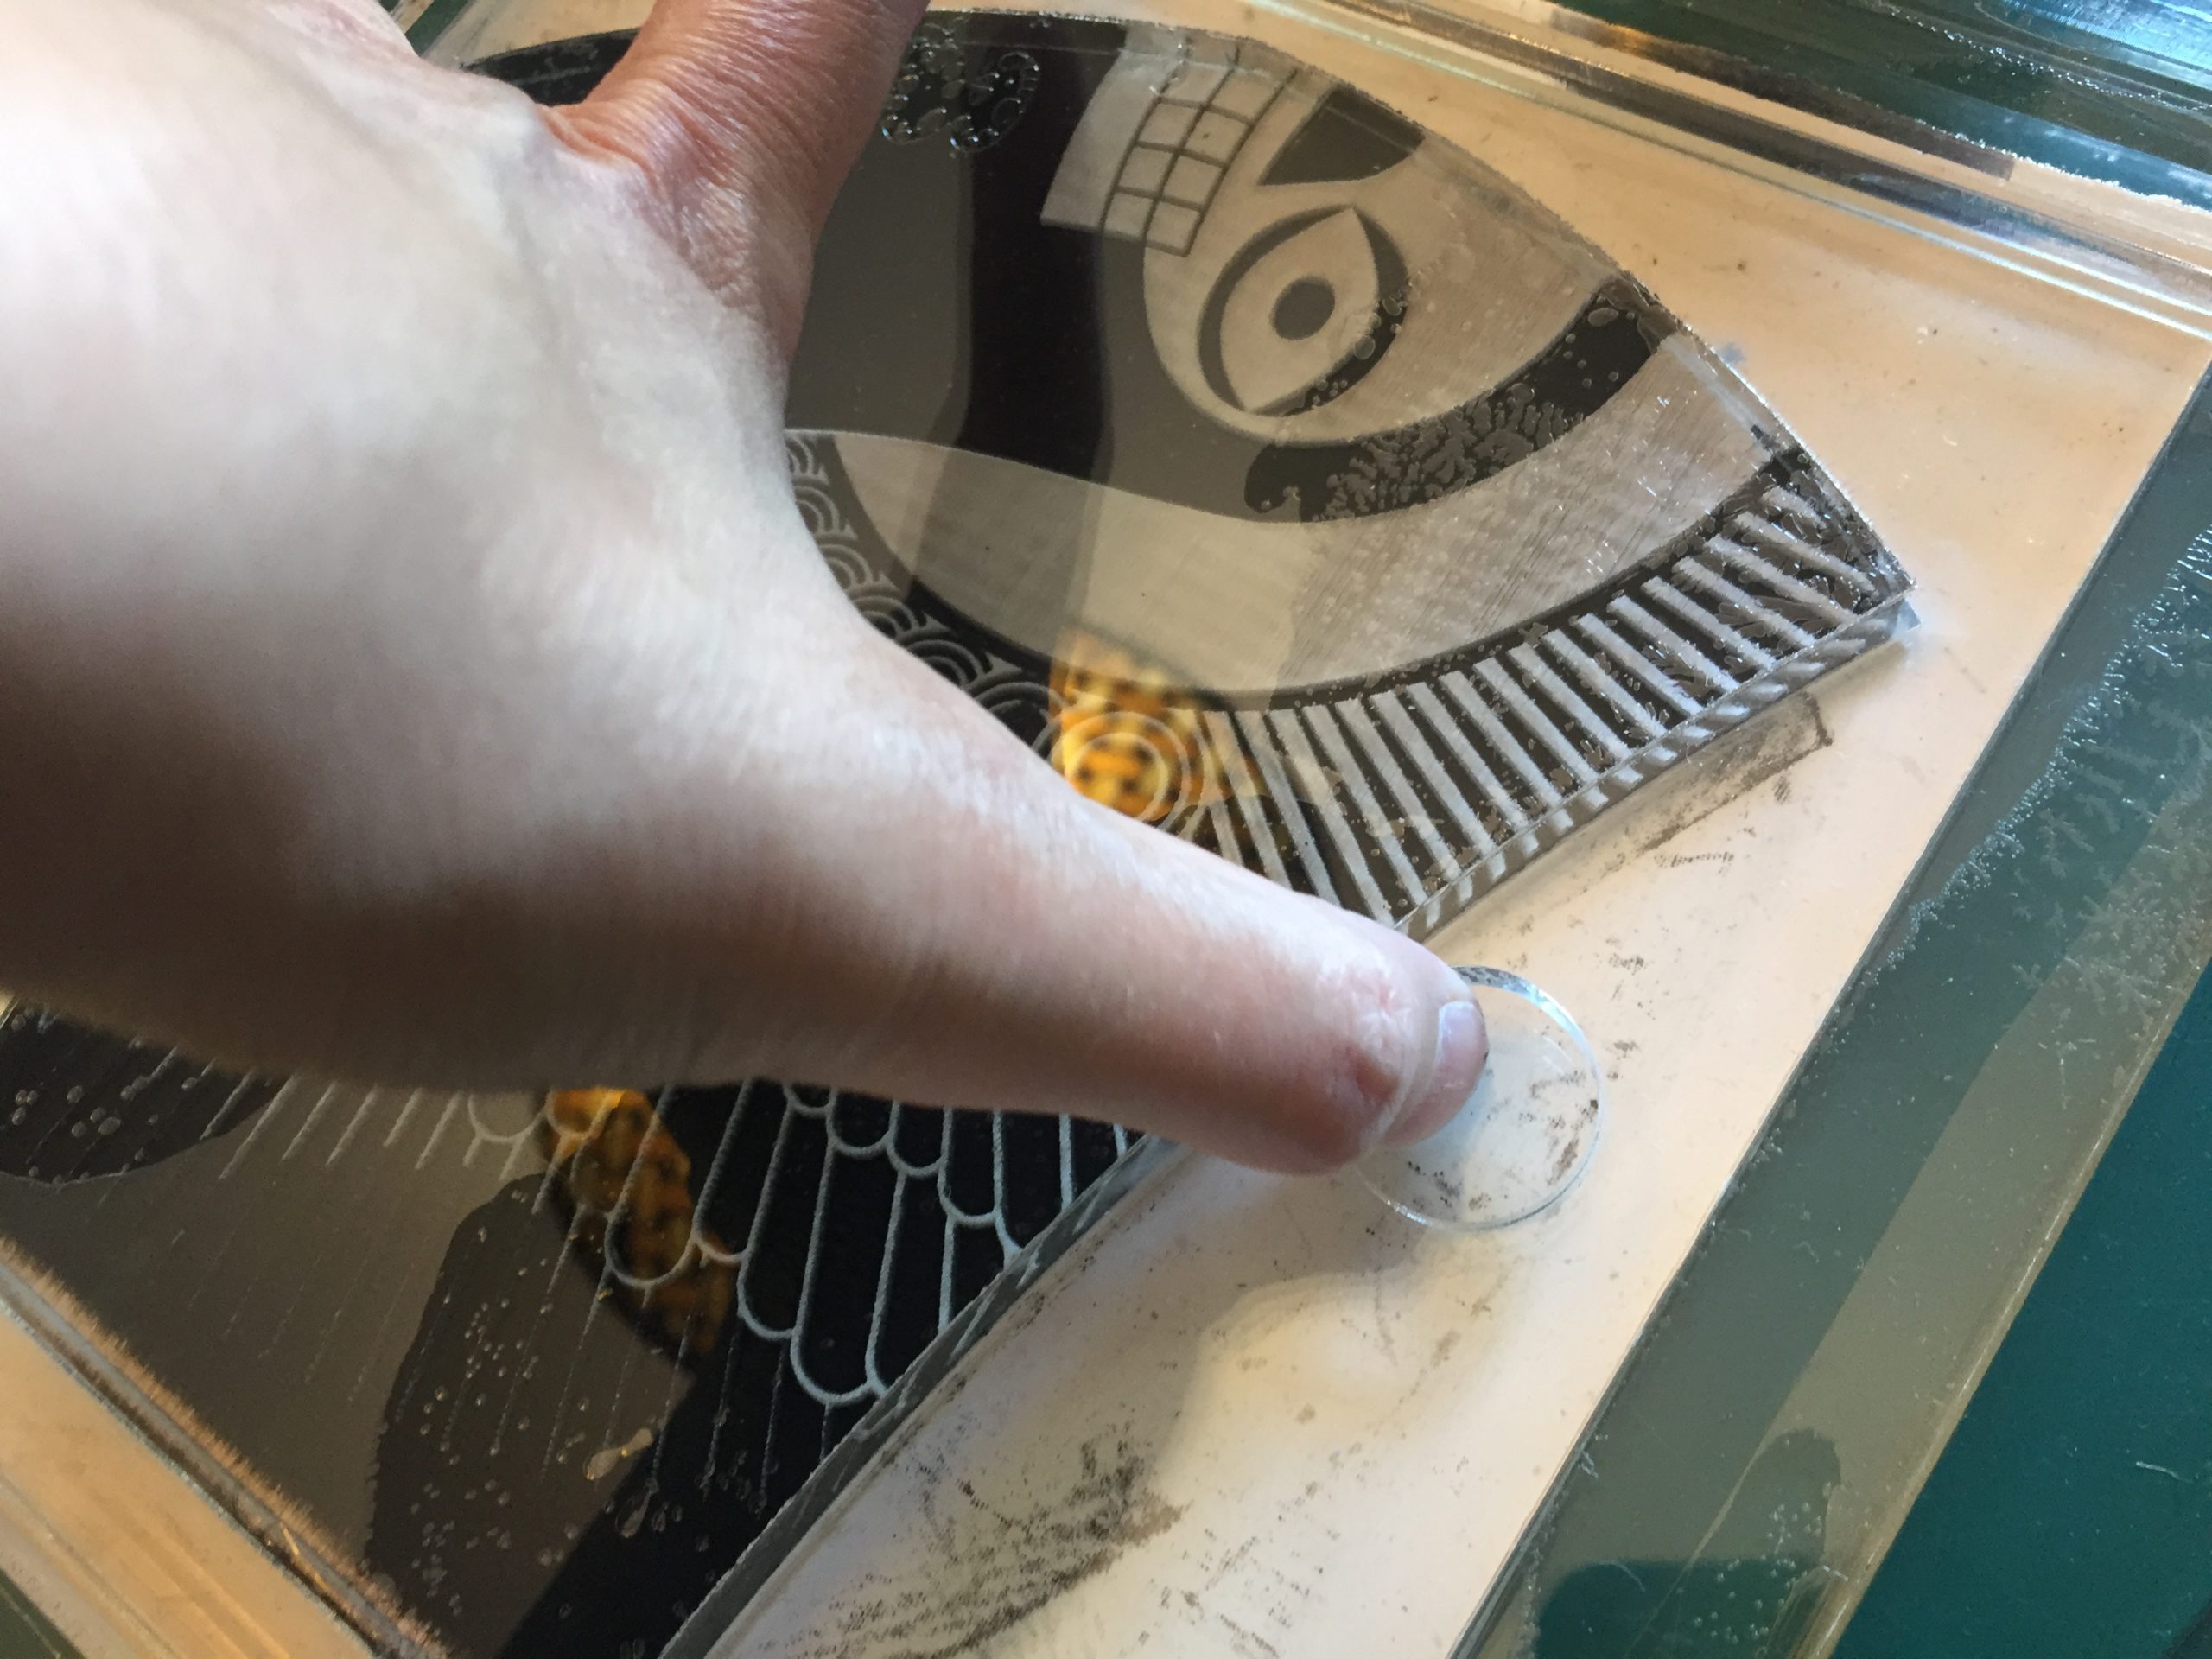
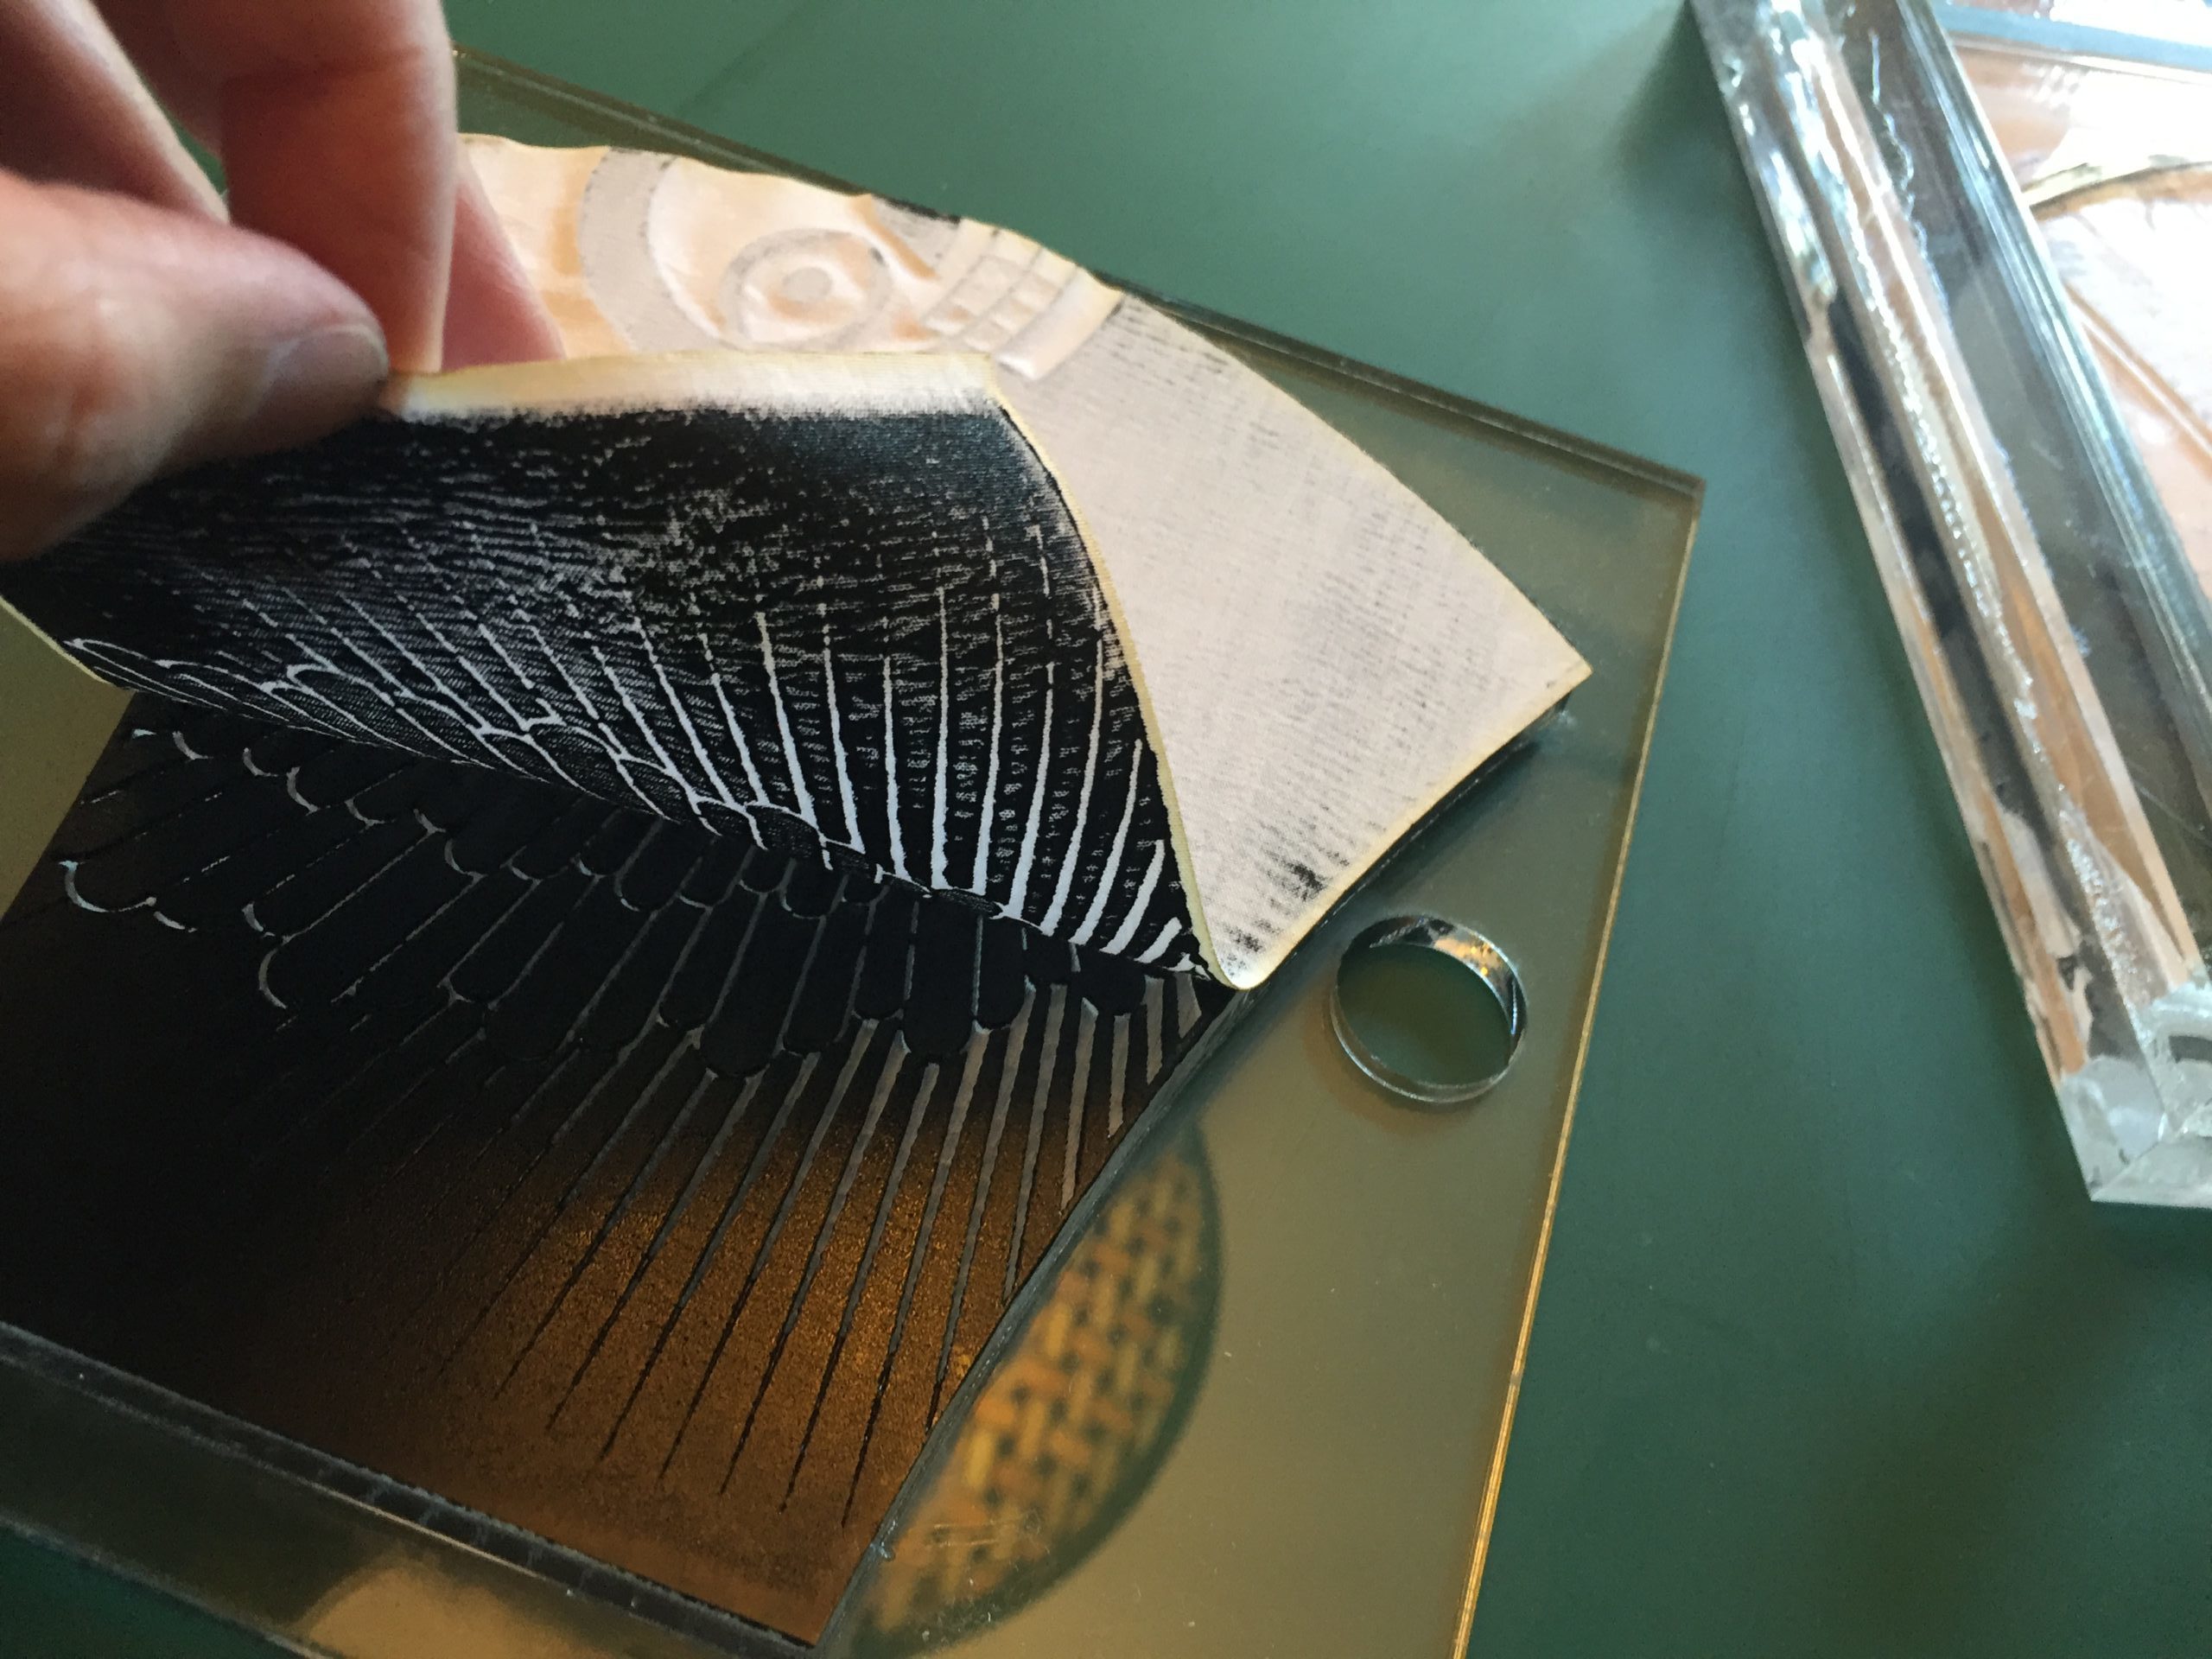
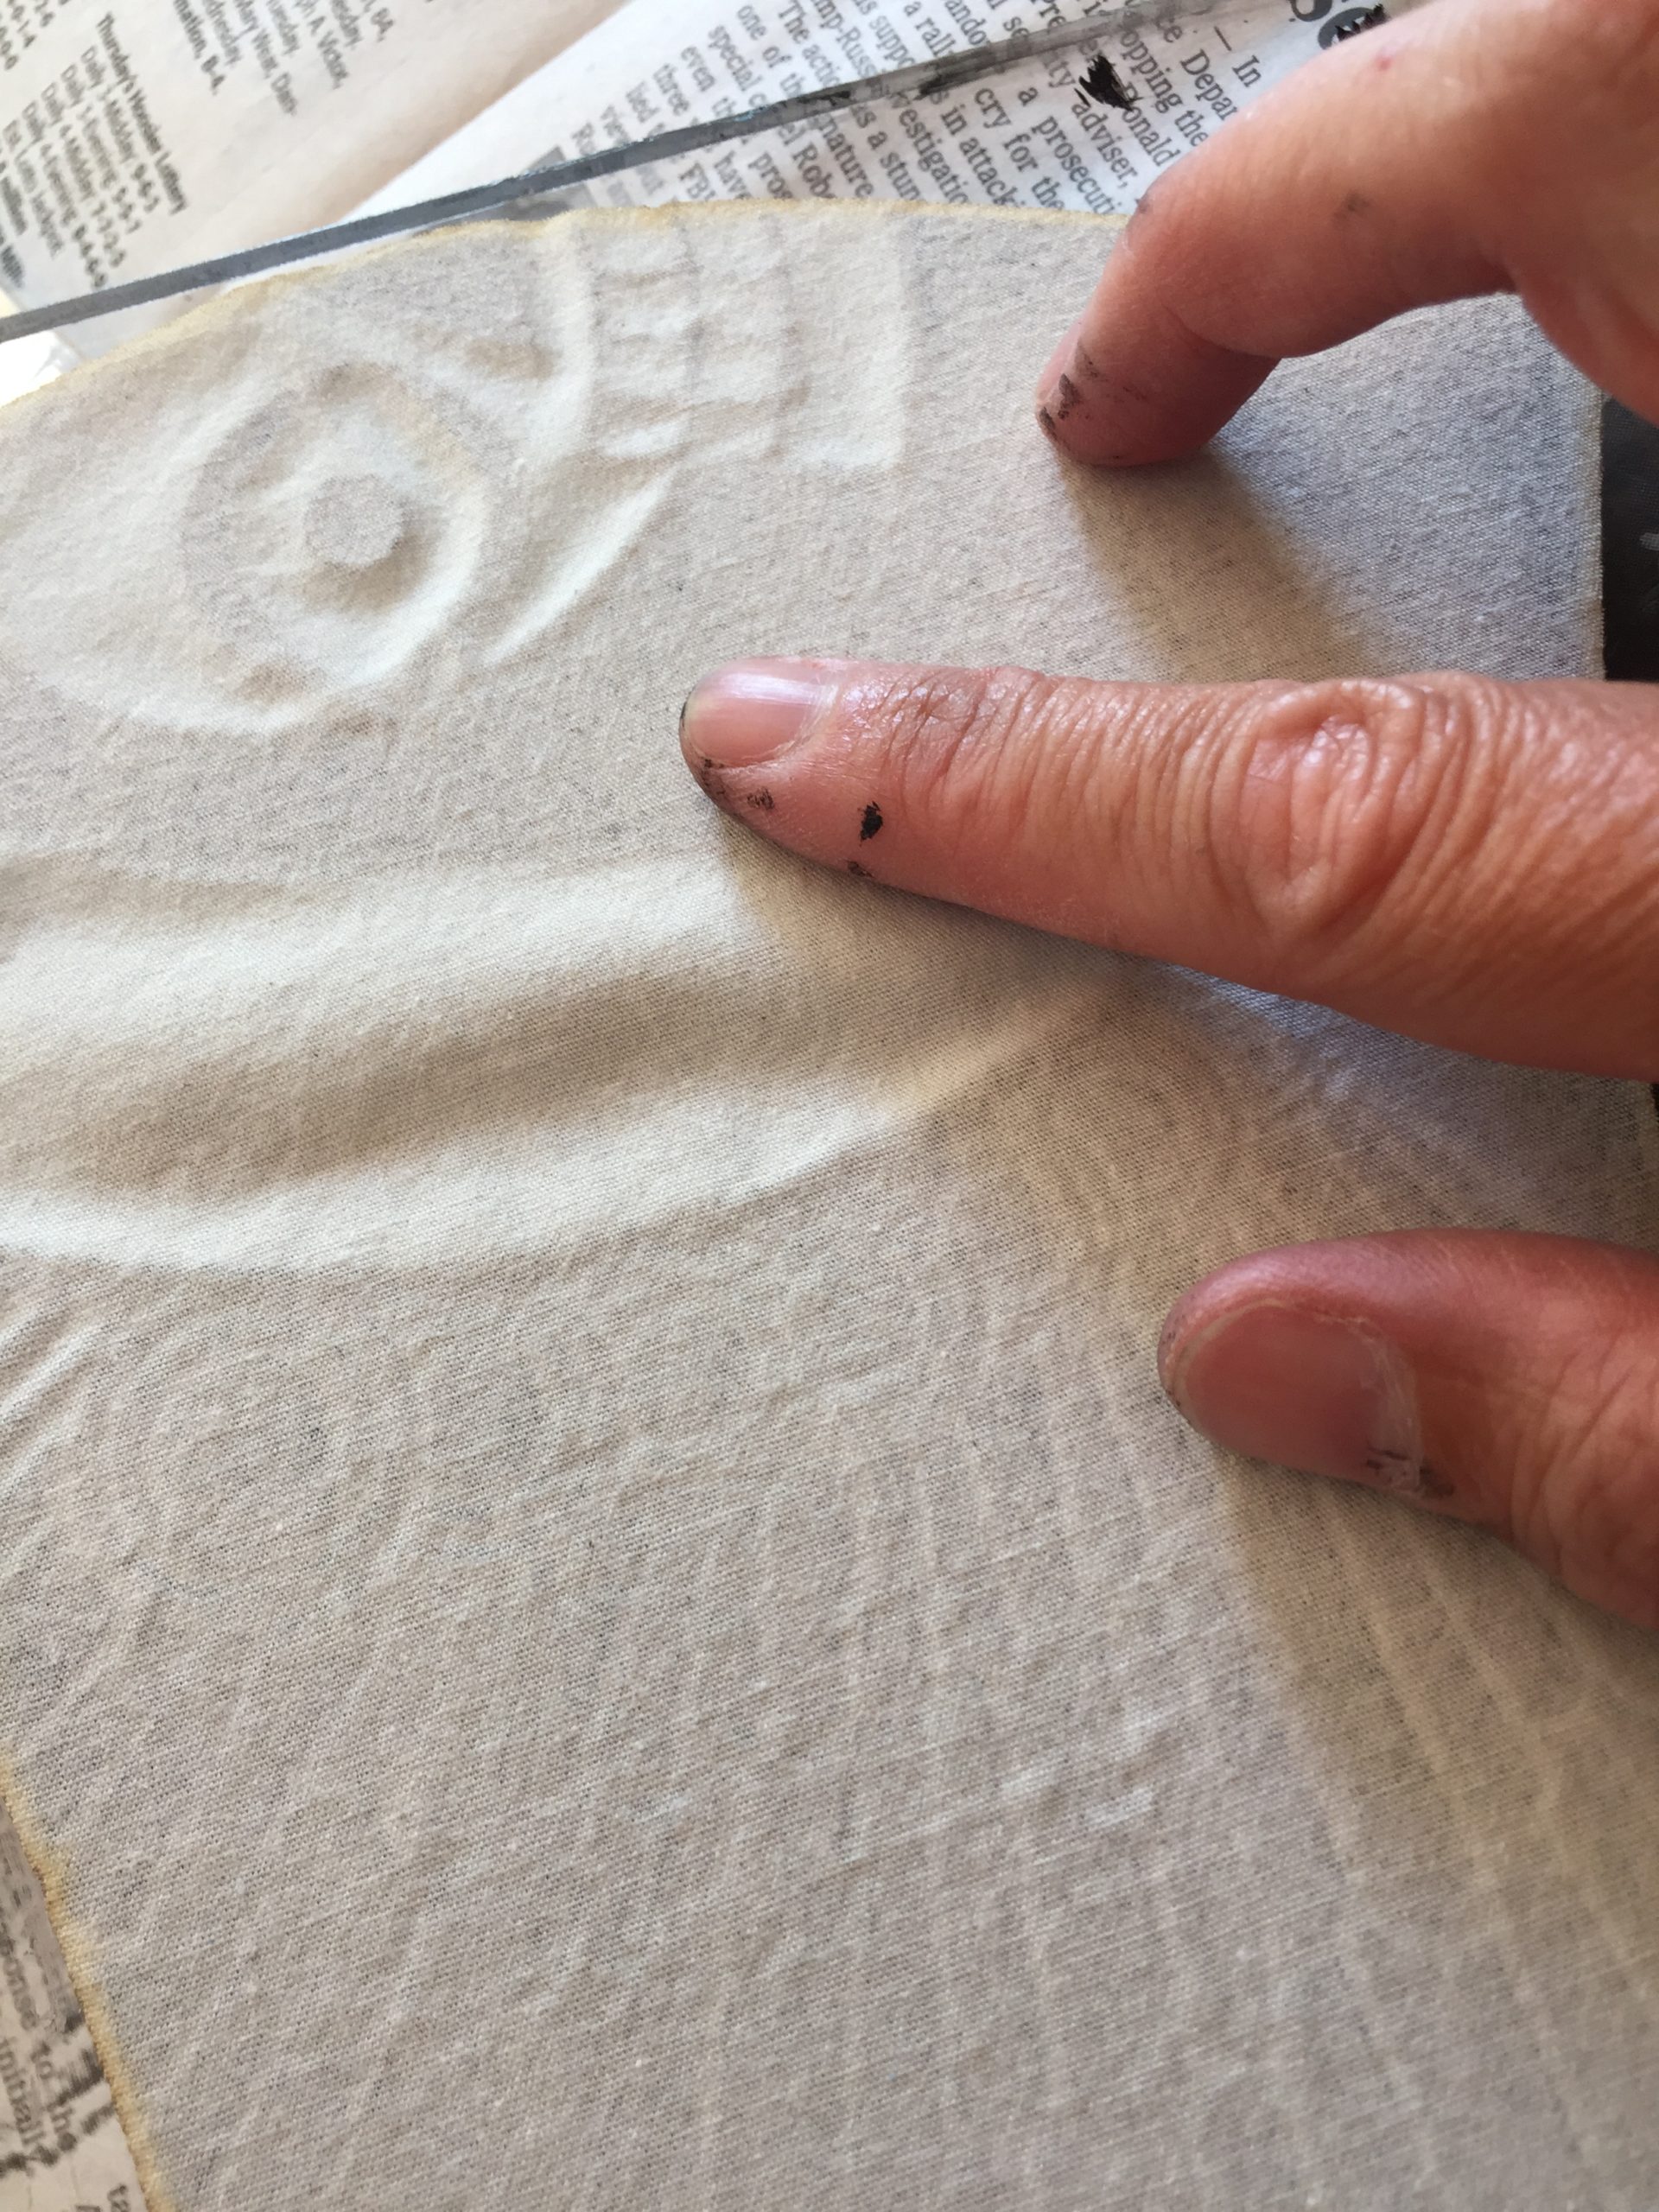
The new plates have finger holes, which are a vast improvement for handling, and work with a registration frame. Even with all the precision laser cutting, exact registration of the image on the pre-cut fabric pieces remains impossible, but this might be good enough.
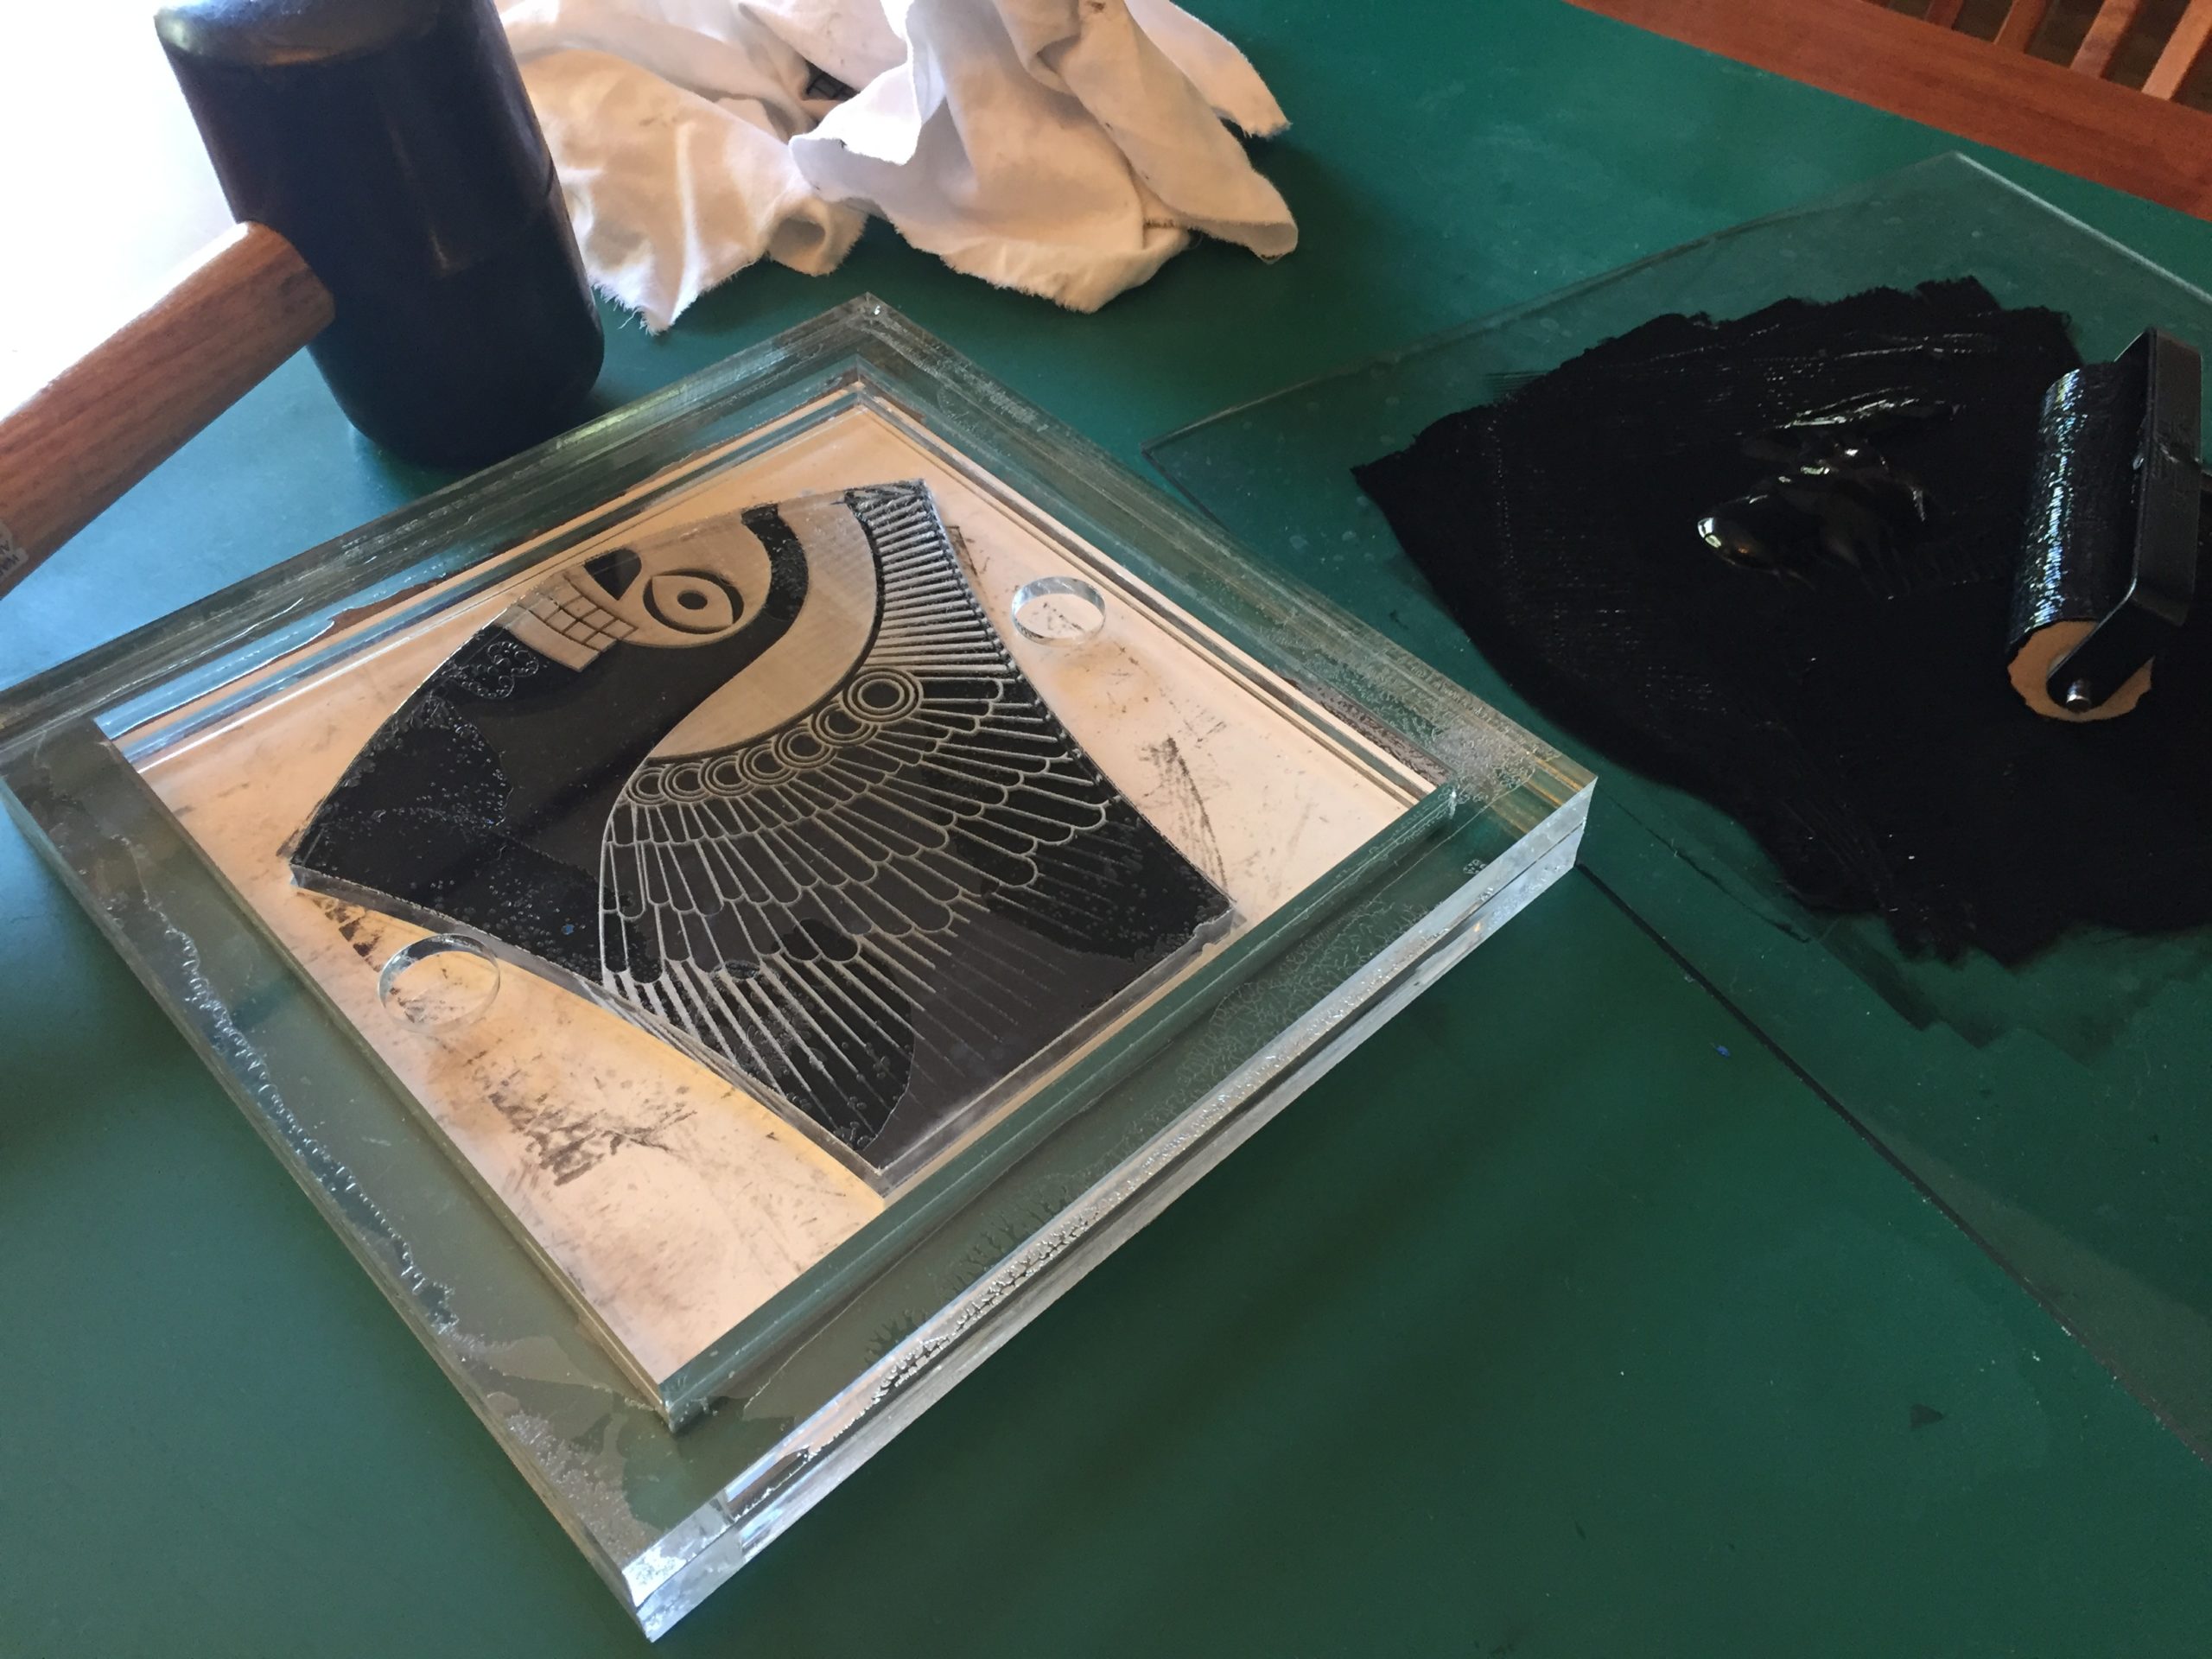
Behold the glorious print process:
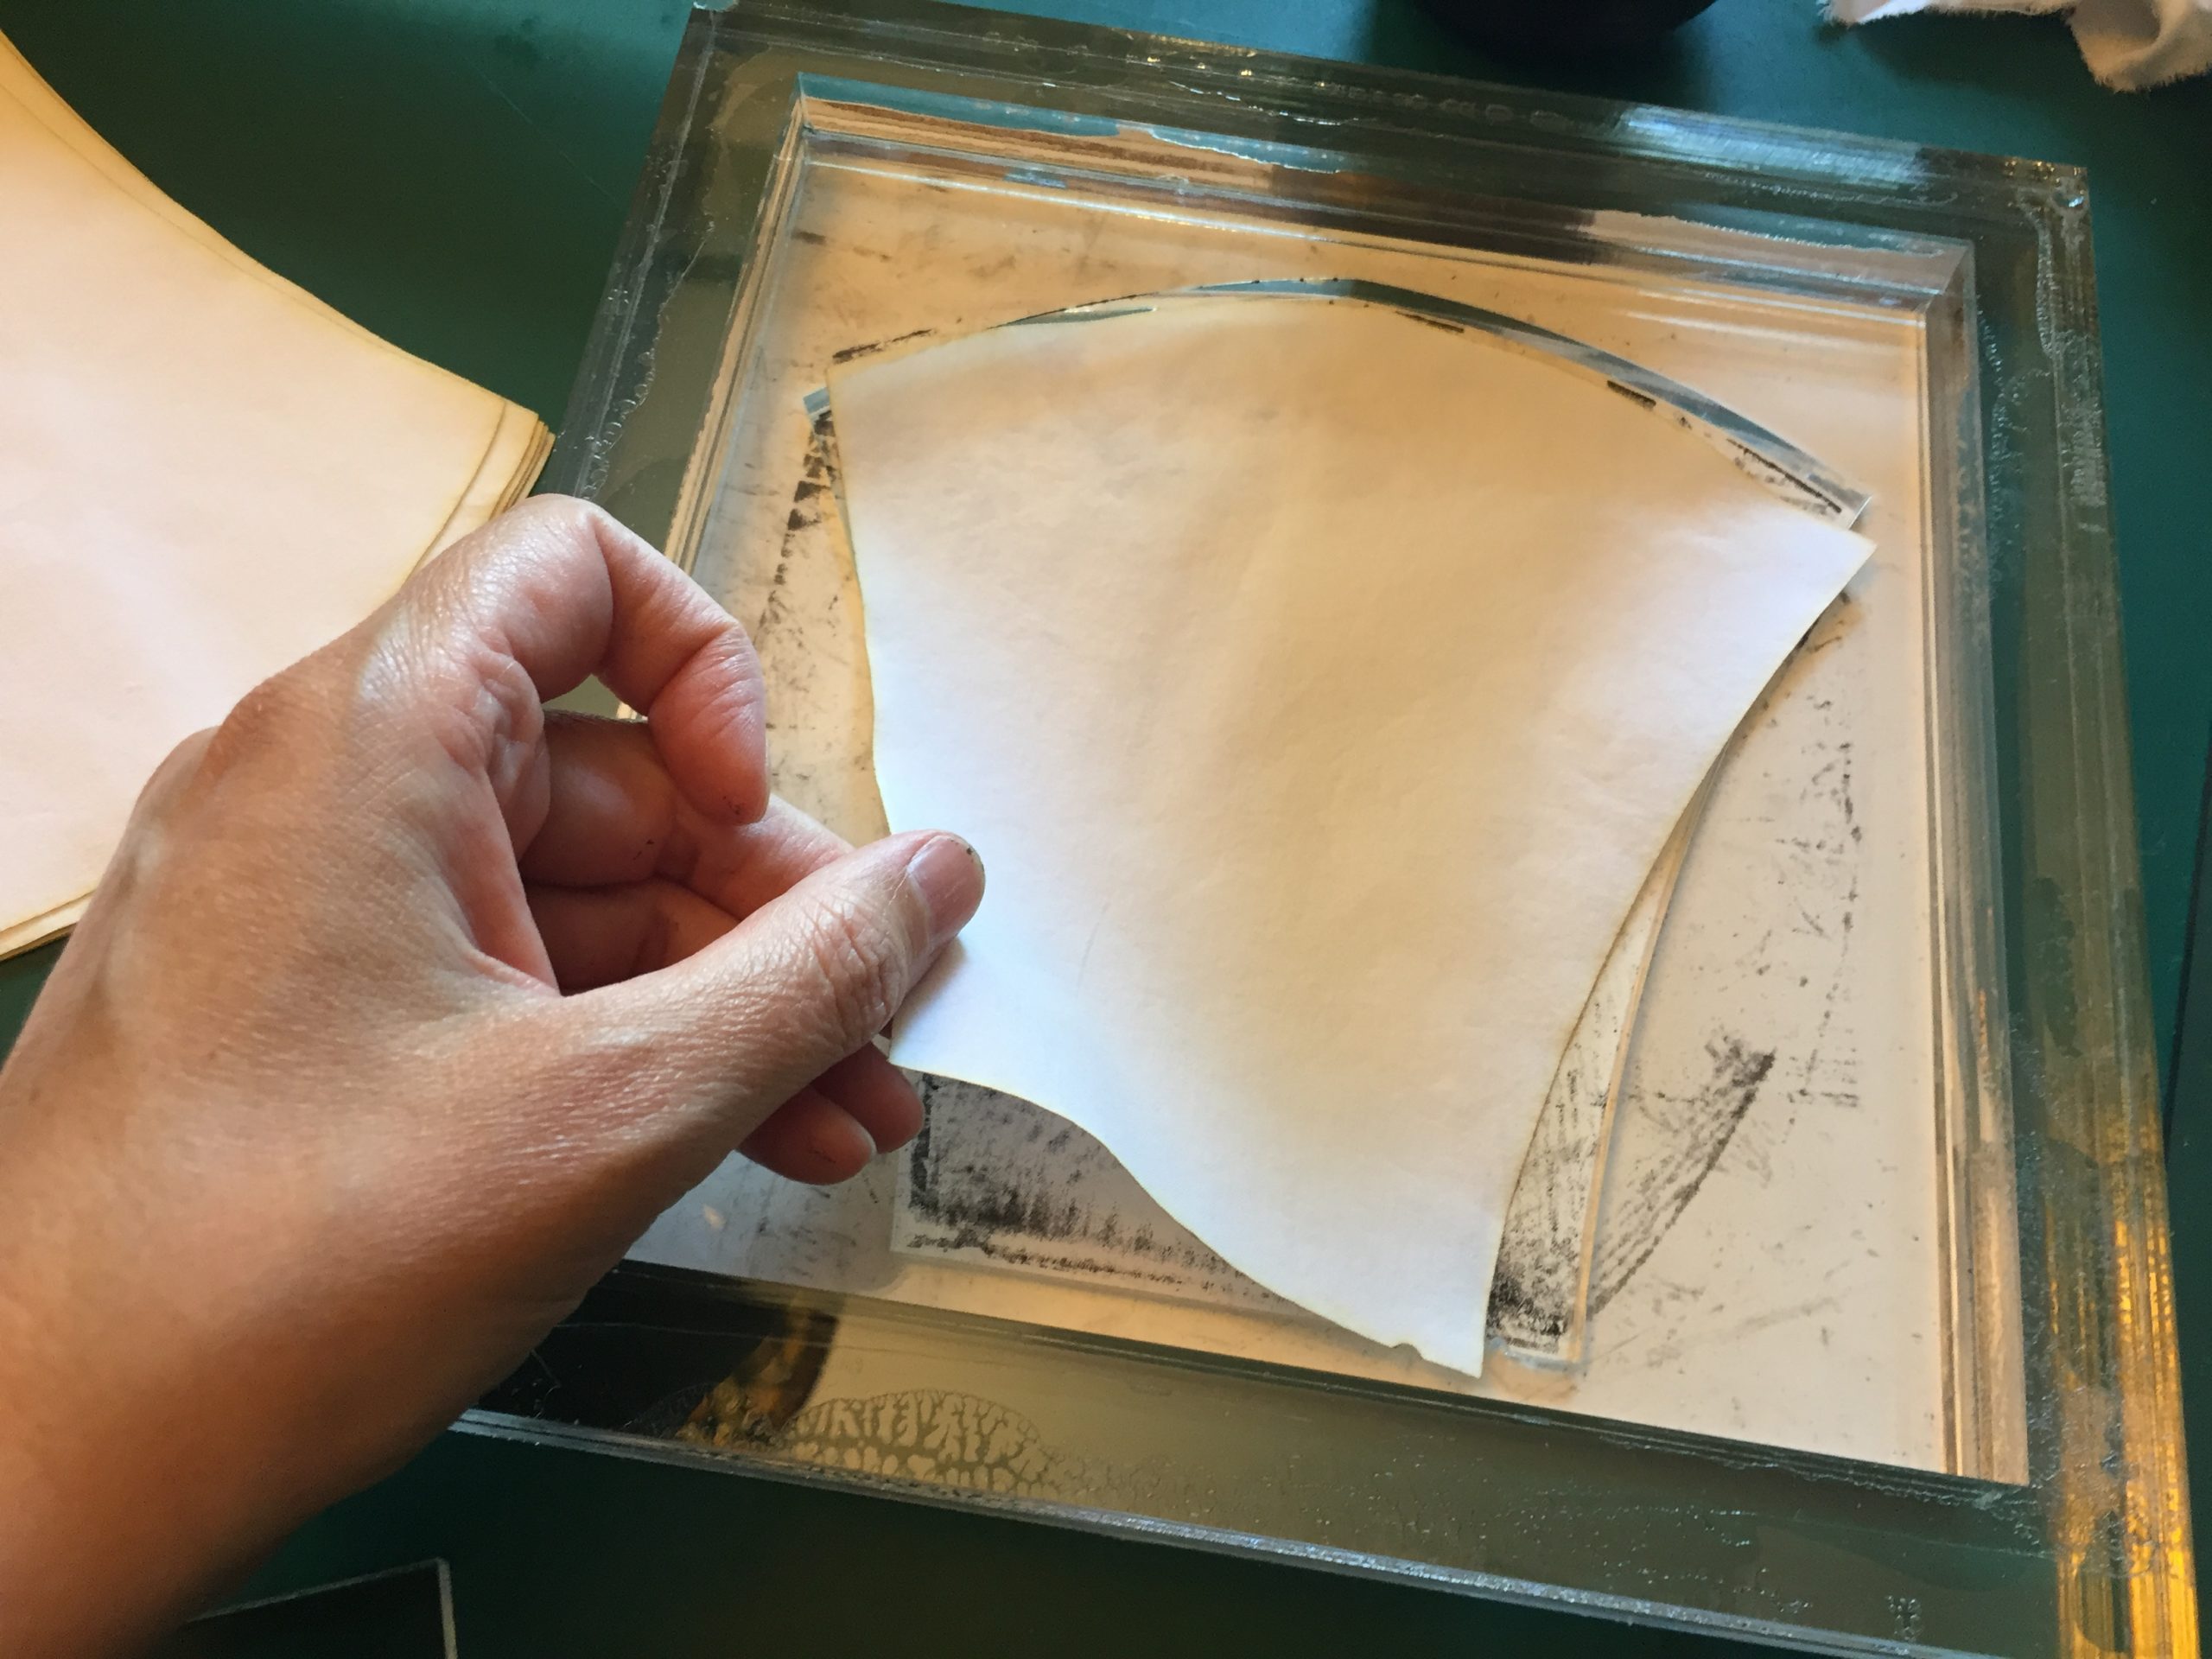
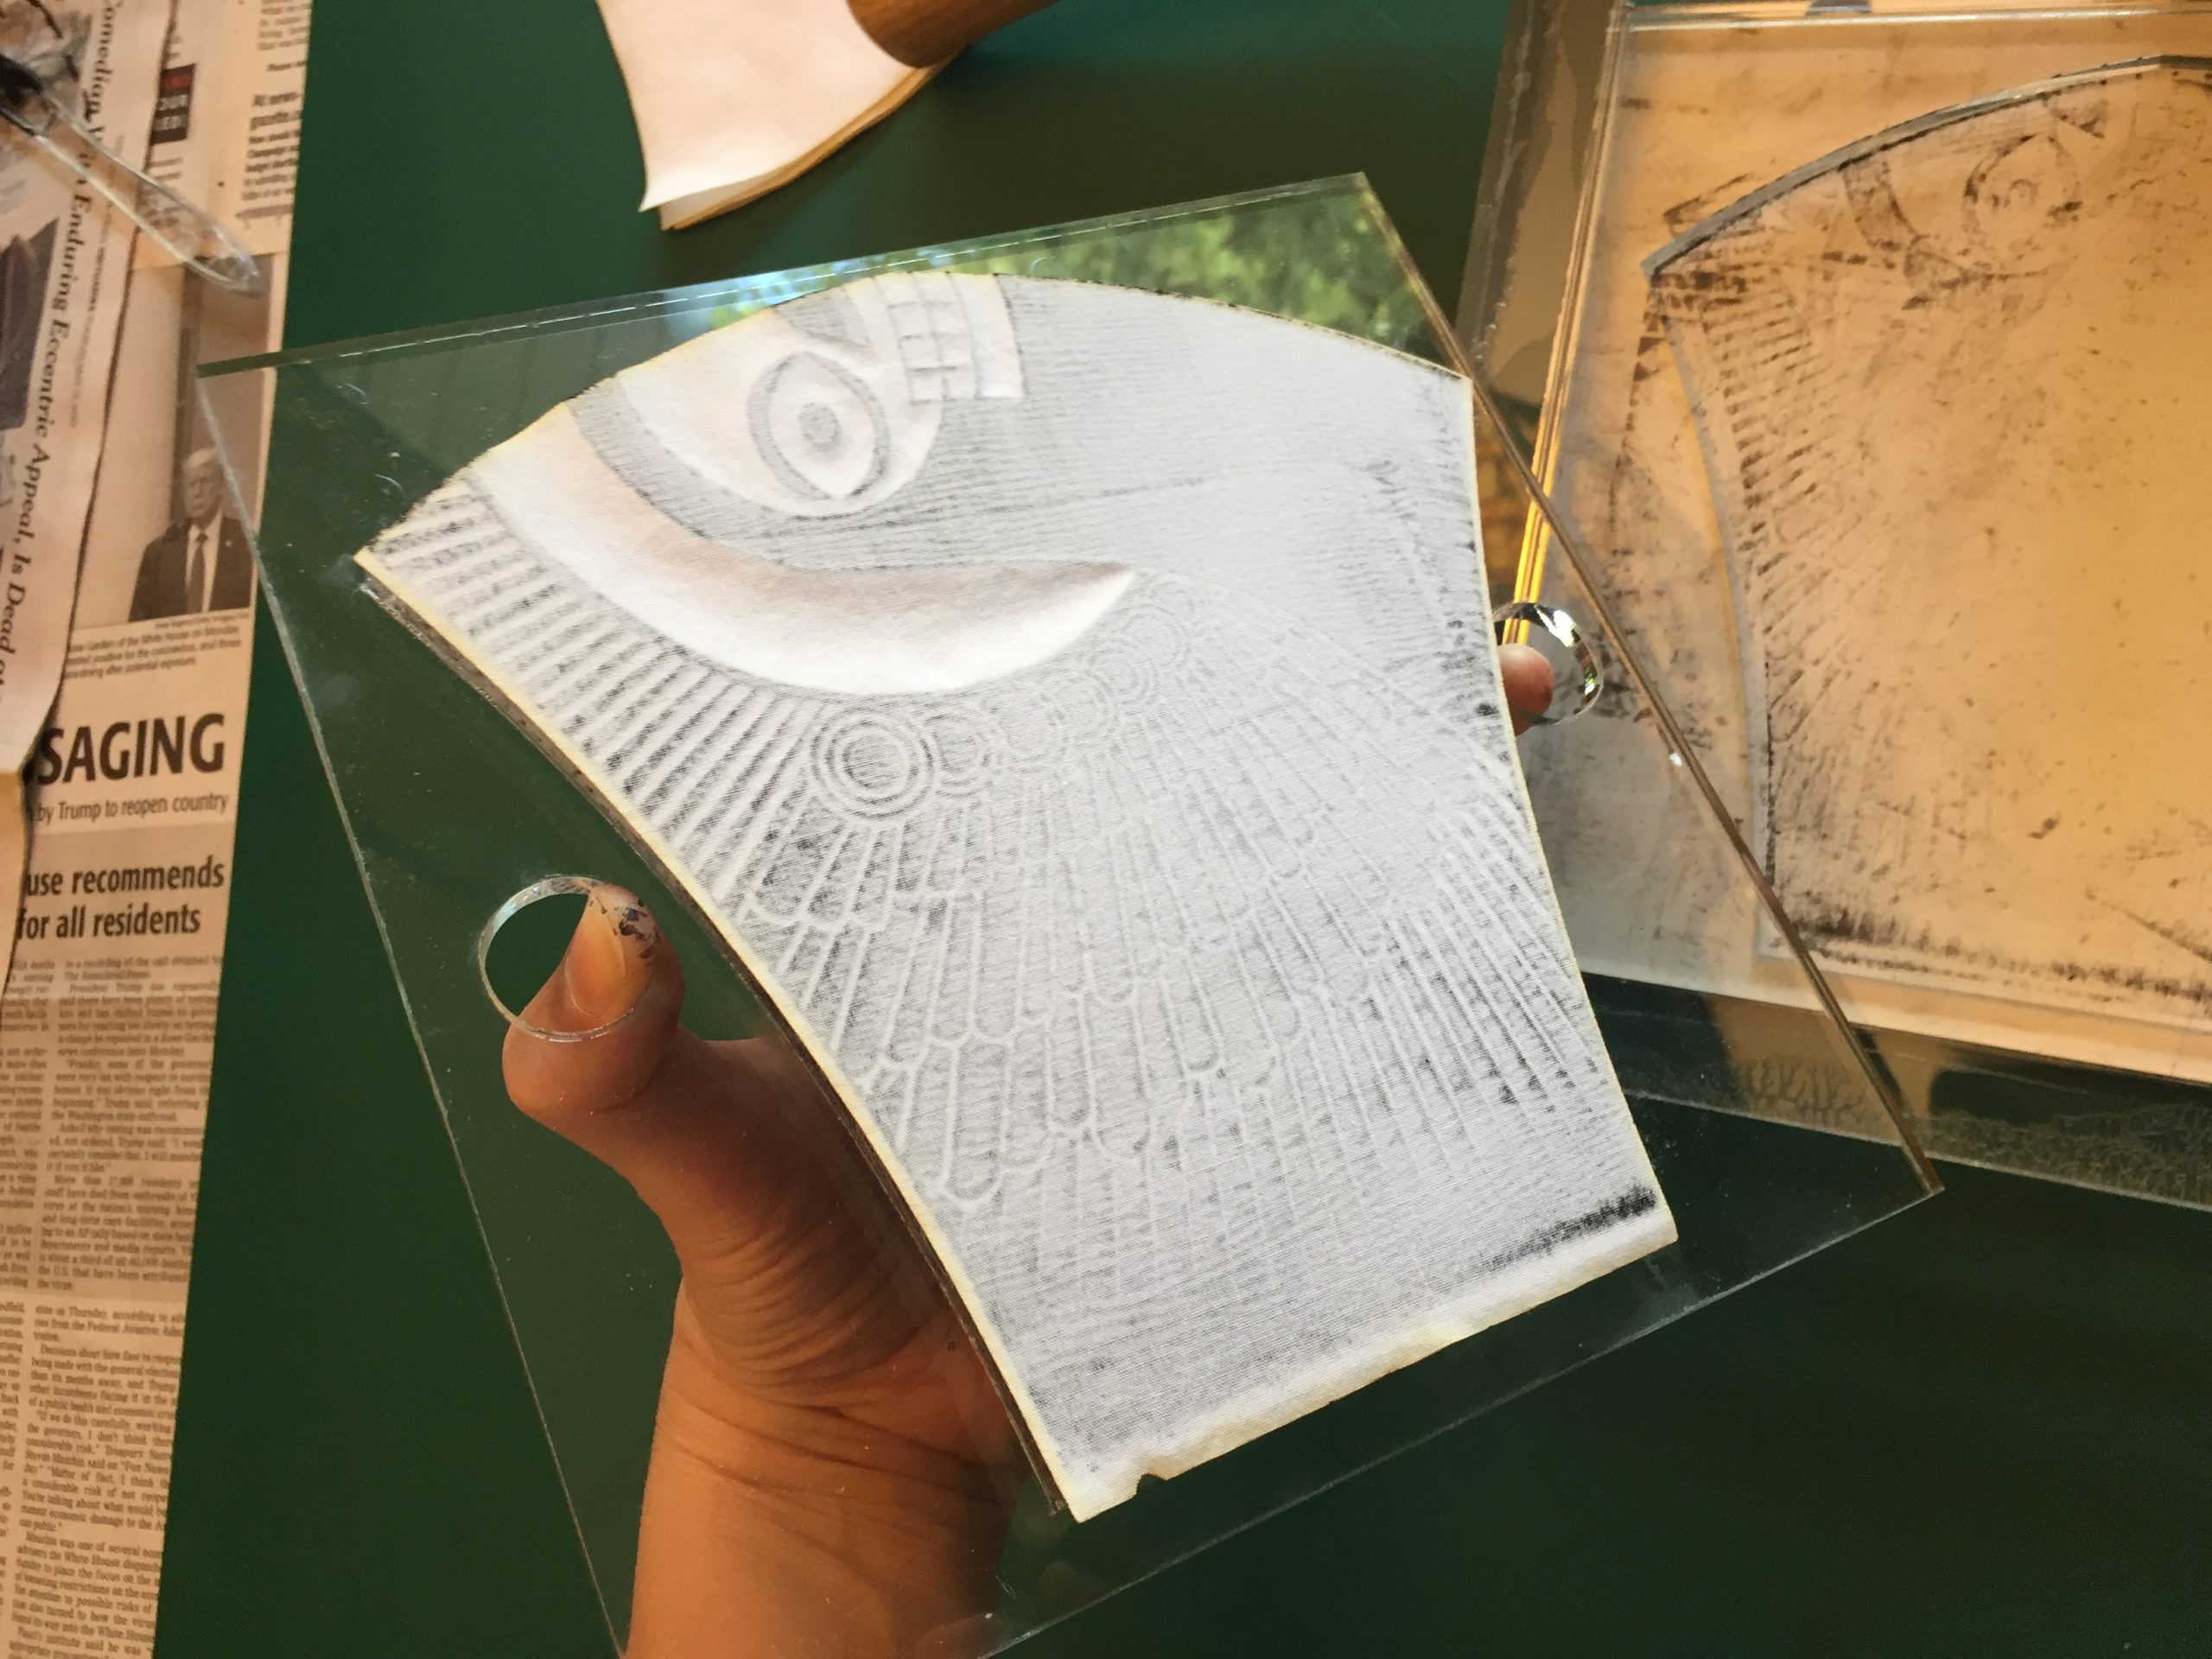
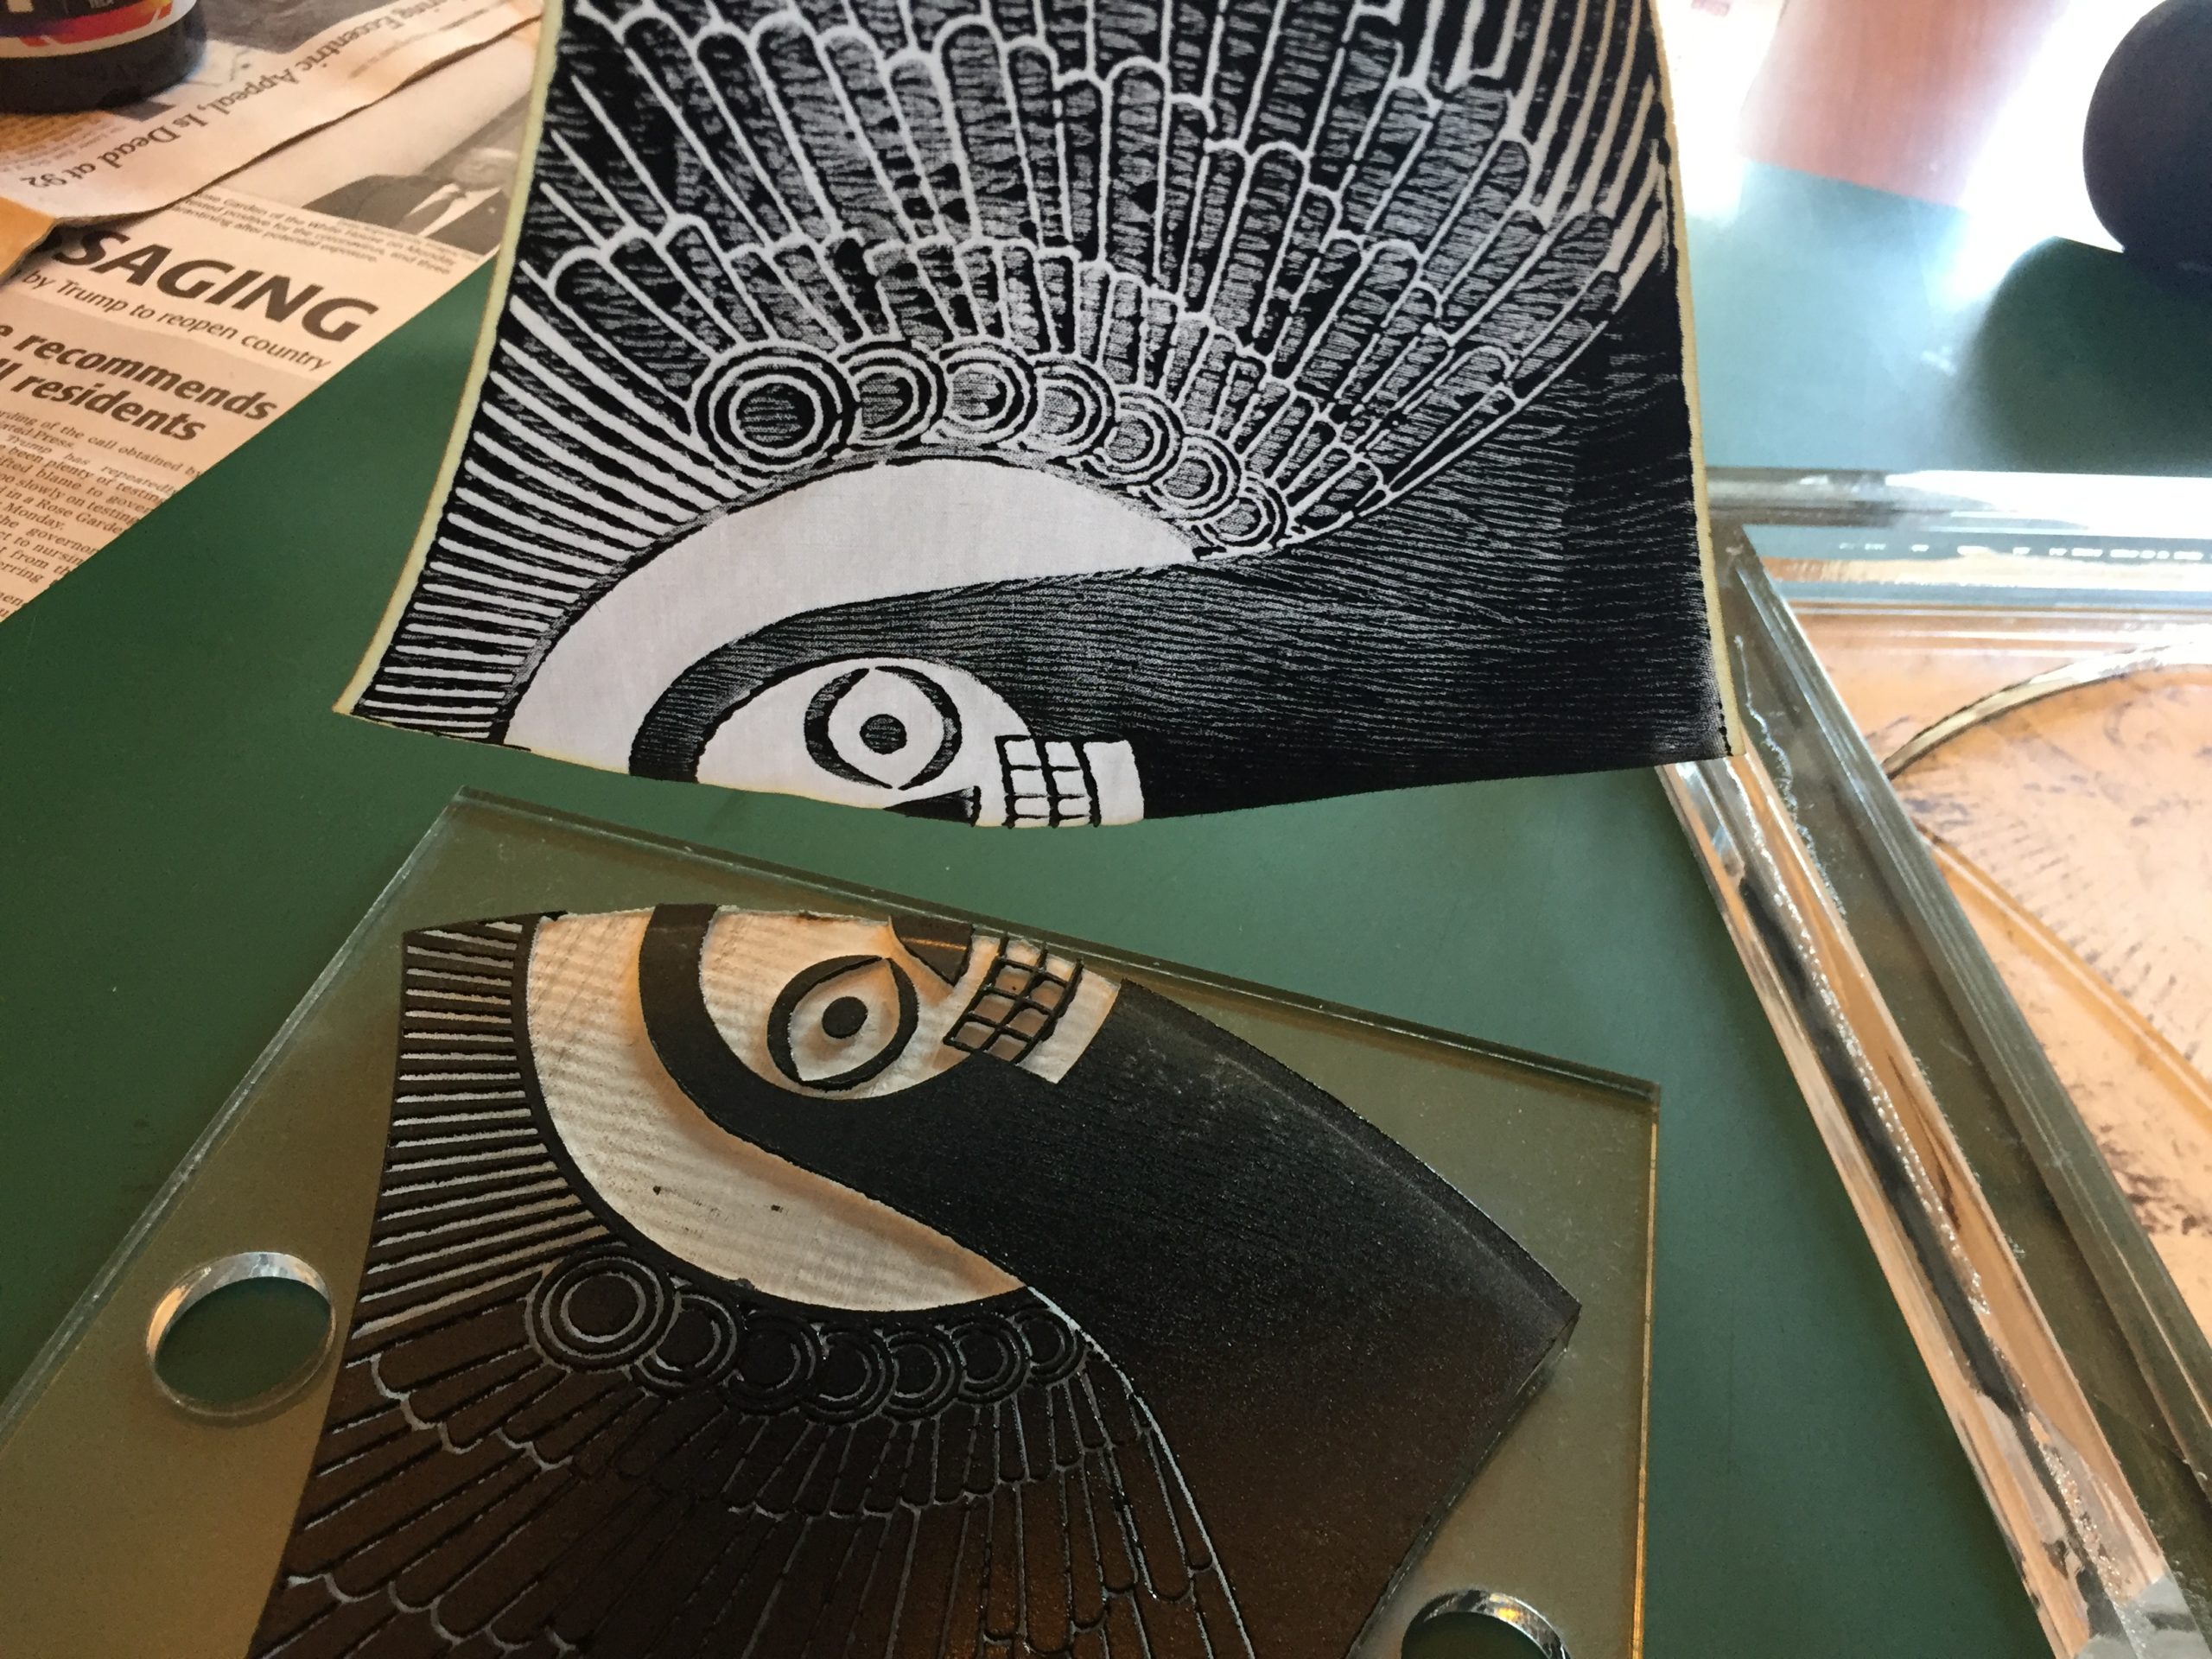
Registering a pre-cut fabric piece in the precision-cut frame.Using the finger holes to line up the inked plate in the frame, which will drop right into the depression in which lies the pre-cut fabric.Whacking with the rubber mallet. Whack, whack.Lifting the plate with the finger holes.The fabric is now stuck to the plate by the sticky ink.A little finger burnishing. Not much is needed, as long as I slather on that gooey ink.Peeling off the fabric.
Printed fabric pieces drying.The finger-hole plates work fine without the registration frame as well, but then I have to hand-cut the pieces.
Oh, I actually wore one of these masks yesterday, while bicycling to Theo’s laser-cutting bunker to pick up the new plates. I’d been laid low with allergies, sneezing my face off, and thought the mask might reduce my inhalation of allergens. Maybe it did, but I will not bike with a mask again. I got out of breath quickly, and the mask became moist from my exhalations (which I then re-inhaled, hence feeling out of breath, because I’m inhaling my own CO2 instead of fresh oxygen), and when my nose got runny it got even more gross. So, not for biking. But I will wear one for shopping or other indoor public activities I can’t avoid. Still, all this work for something that’s just a drag to wear… No wonder I feel tired.
“Show more wing,” said the peanut gallery on fecebook. To make the Angel O’ Death’s face slightly smaller to make room to show a little more wing, I had to make all these paper prototypes. Each one is different. Resizing the image is an extraordinary PITA because the distortion increases at the center seam and I have to manually adjust it, print it, cut out the pieces, tape it together, turn it inside out, and then look at it head-on to see how bad the distortion is. The smaller Death’s head, the wider I have to make it, proportionally, going through this process over and over.
Finally I sent a new image to Theo, who laser cut new printing plates.
New plates shown drying in dish rack after washing. So much of this project is washing and cleaning things.
Unlike the first batch, these don’t have handles, making them easier to charge with ink, but much more difficult to use with the registration frame. So I just printed them on the uncut cotton yardage I picked up and laundered (to pre-shrink) this morning.
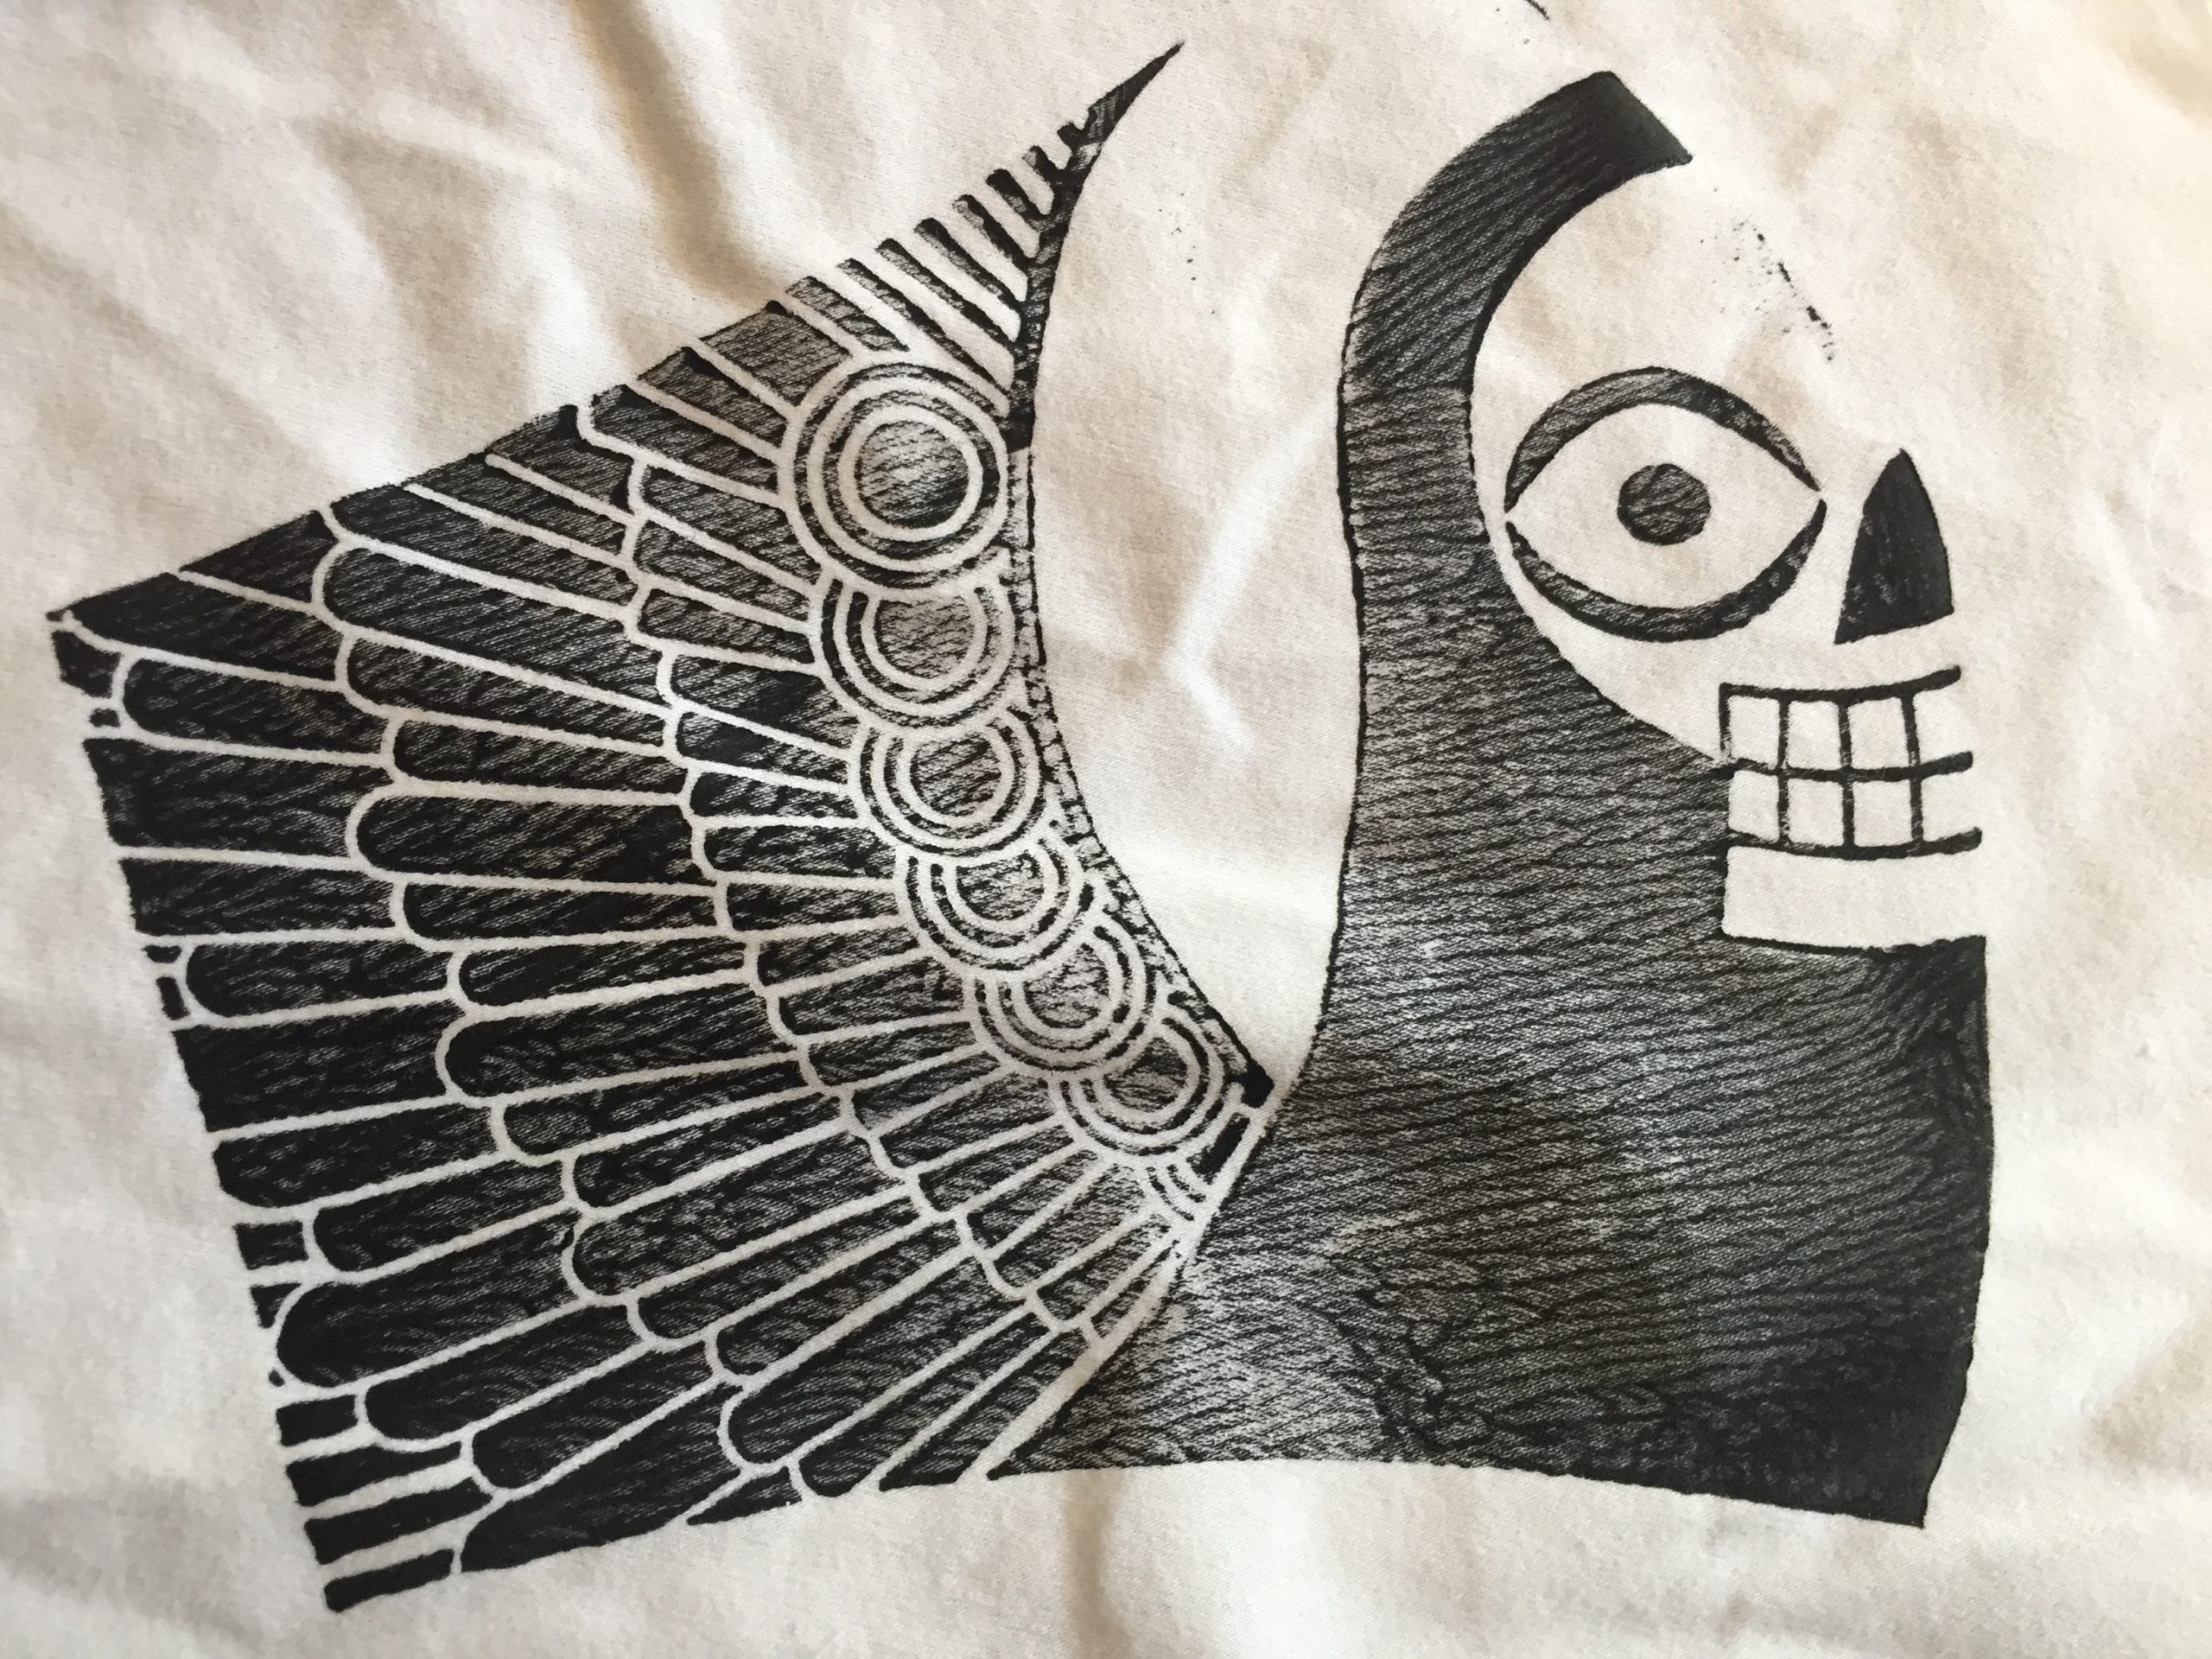
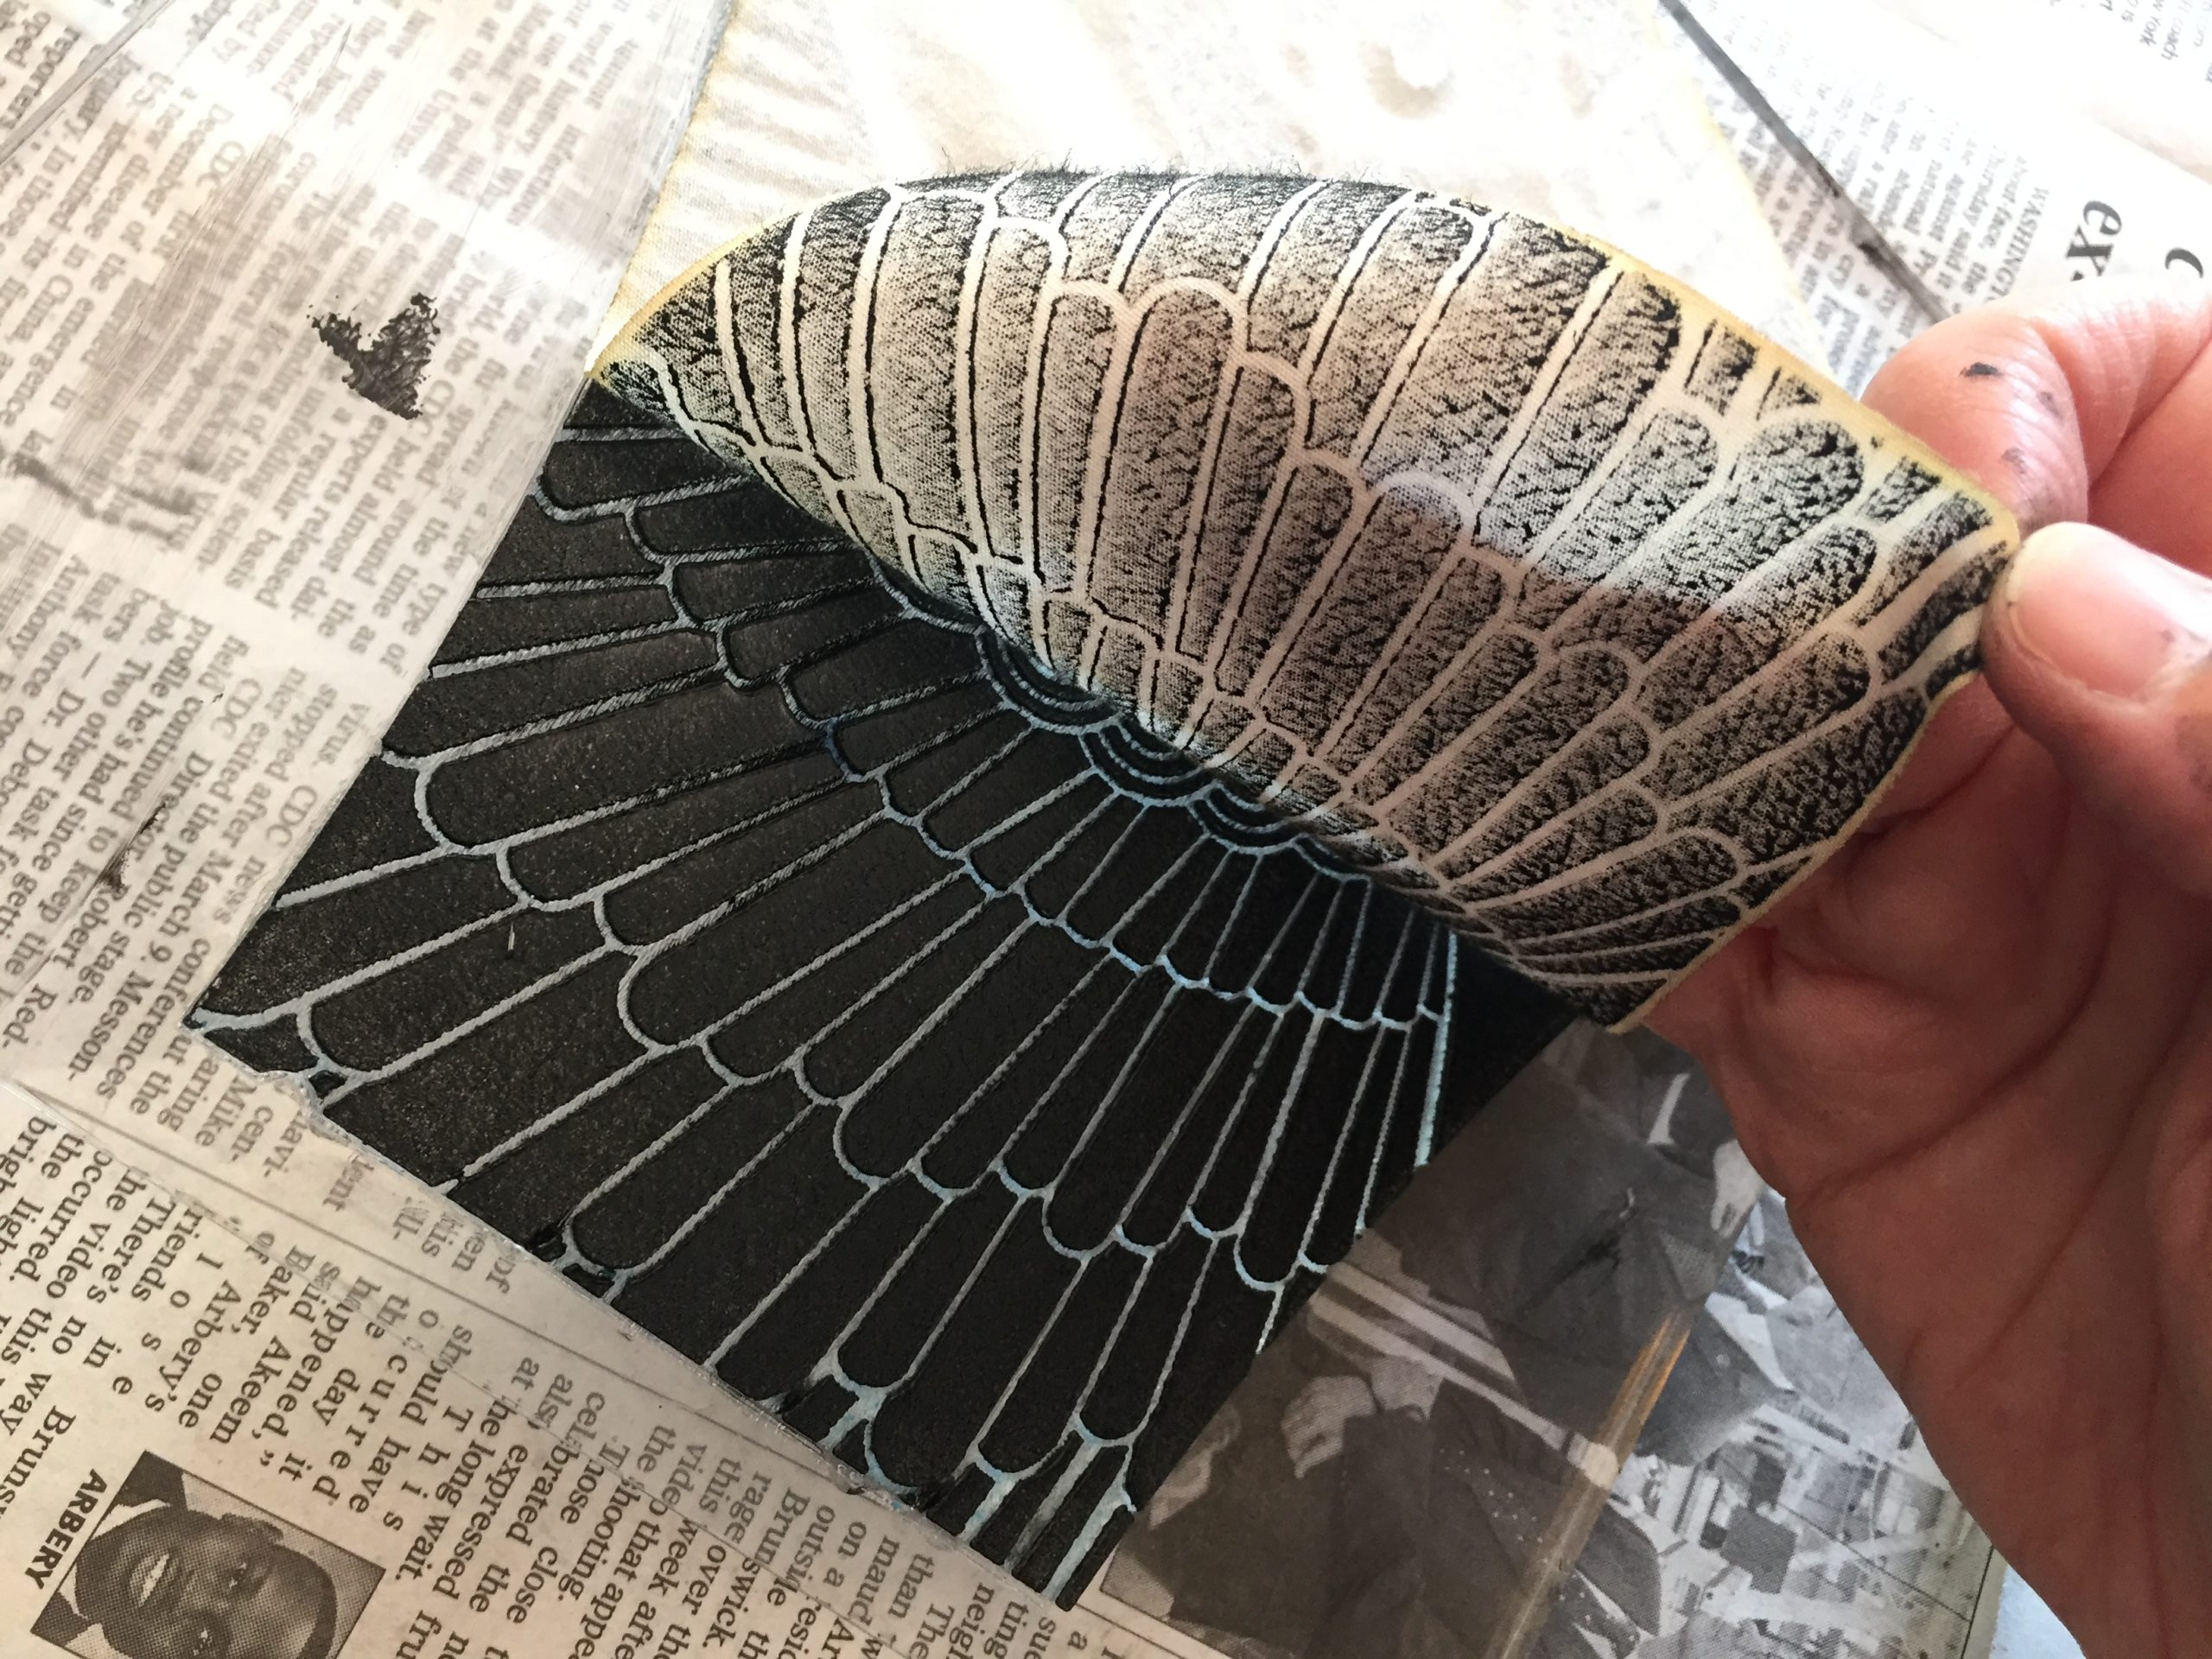
Looks pretty good, I think. I slather on a lot of screen printing ink with the brayer (rubber roller) to get a dark impression with swirly texture in the large flat areas.
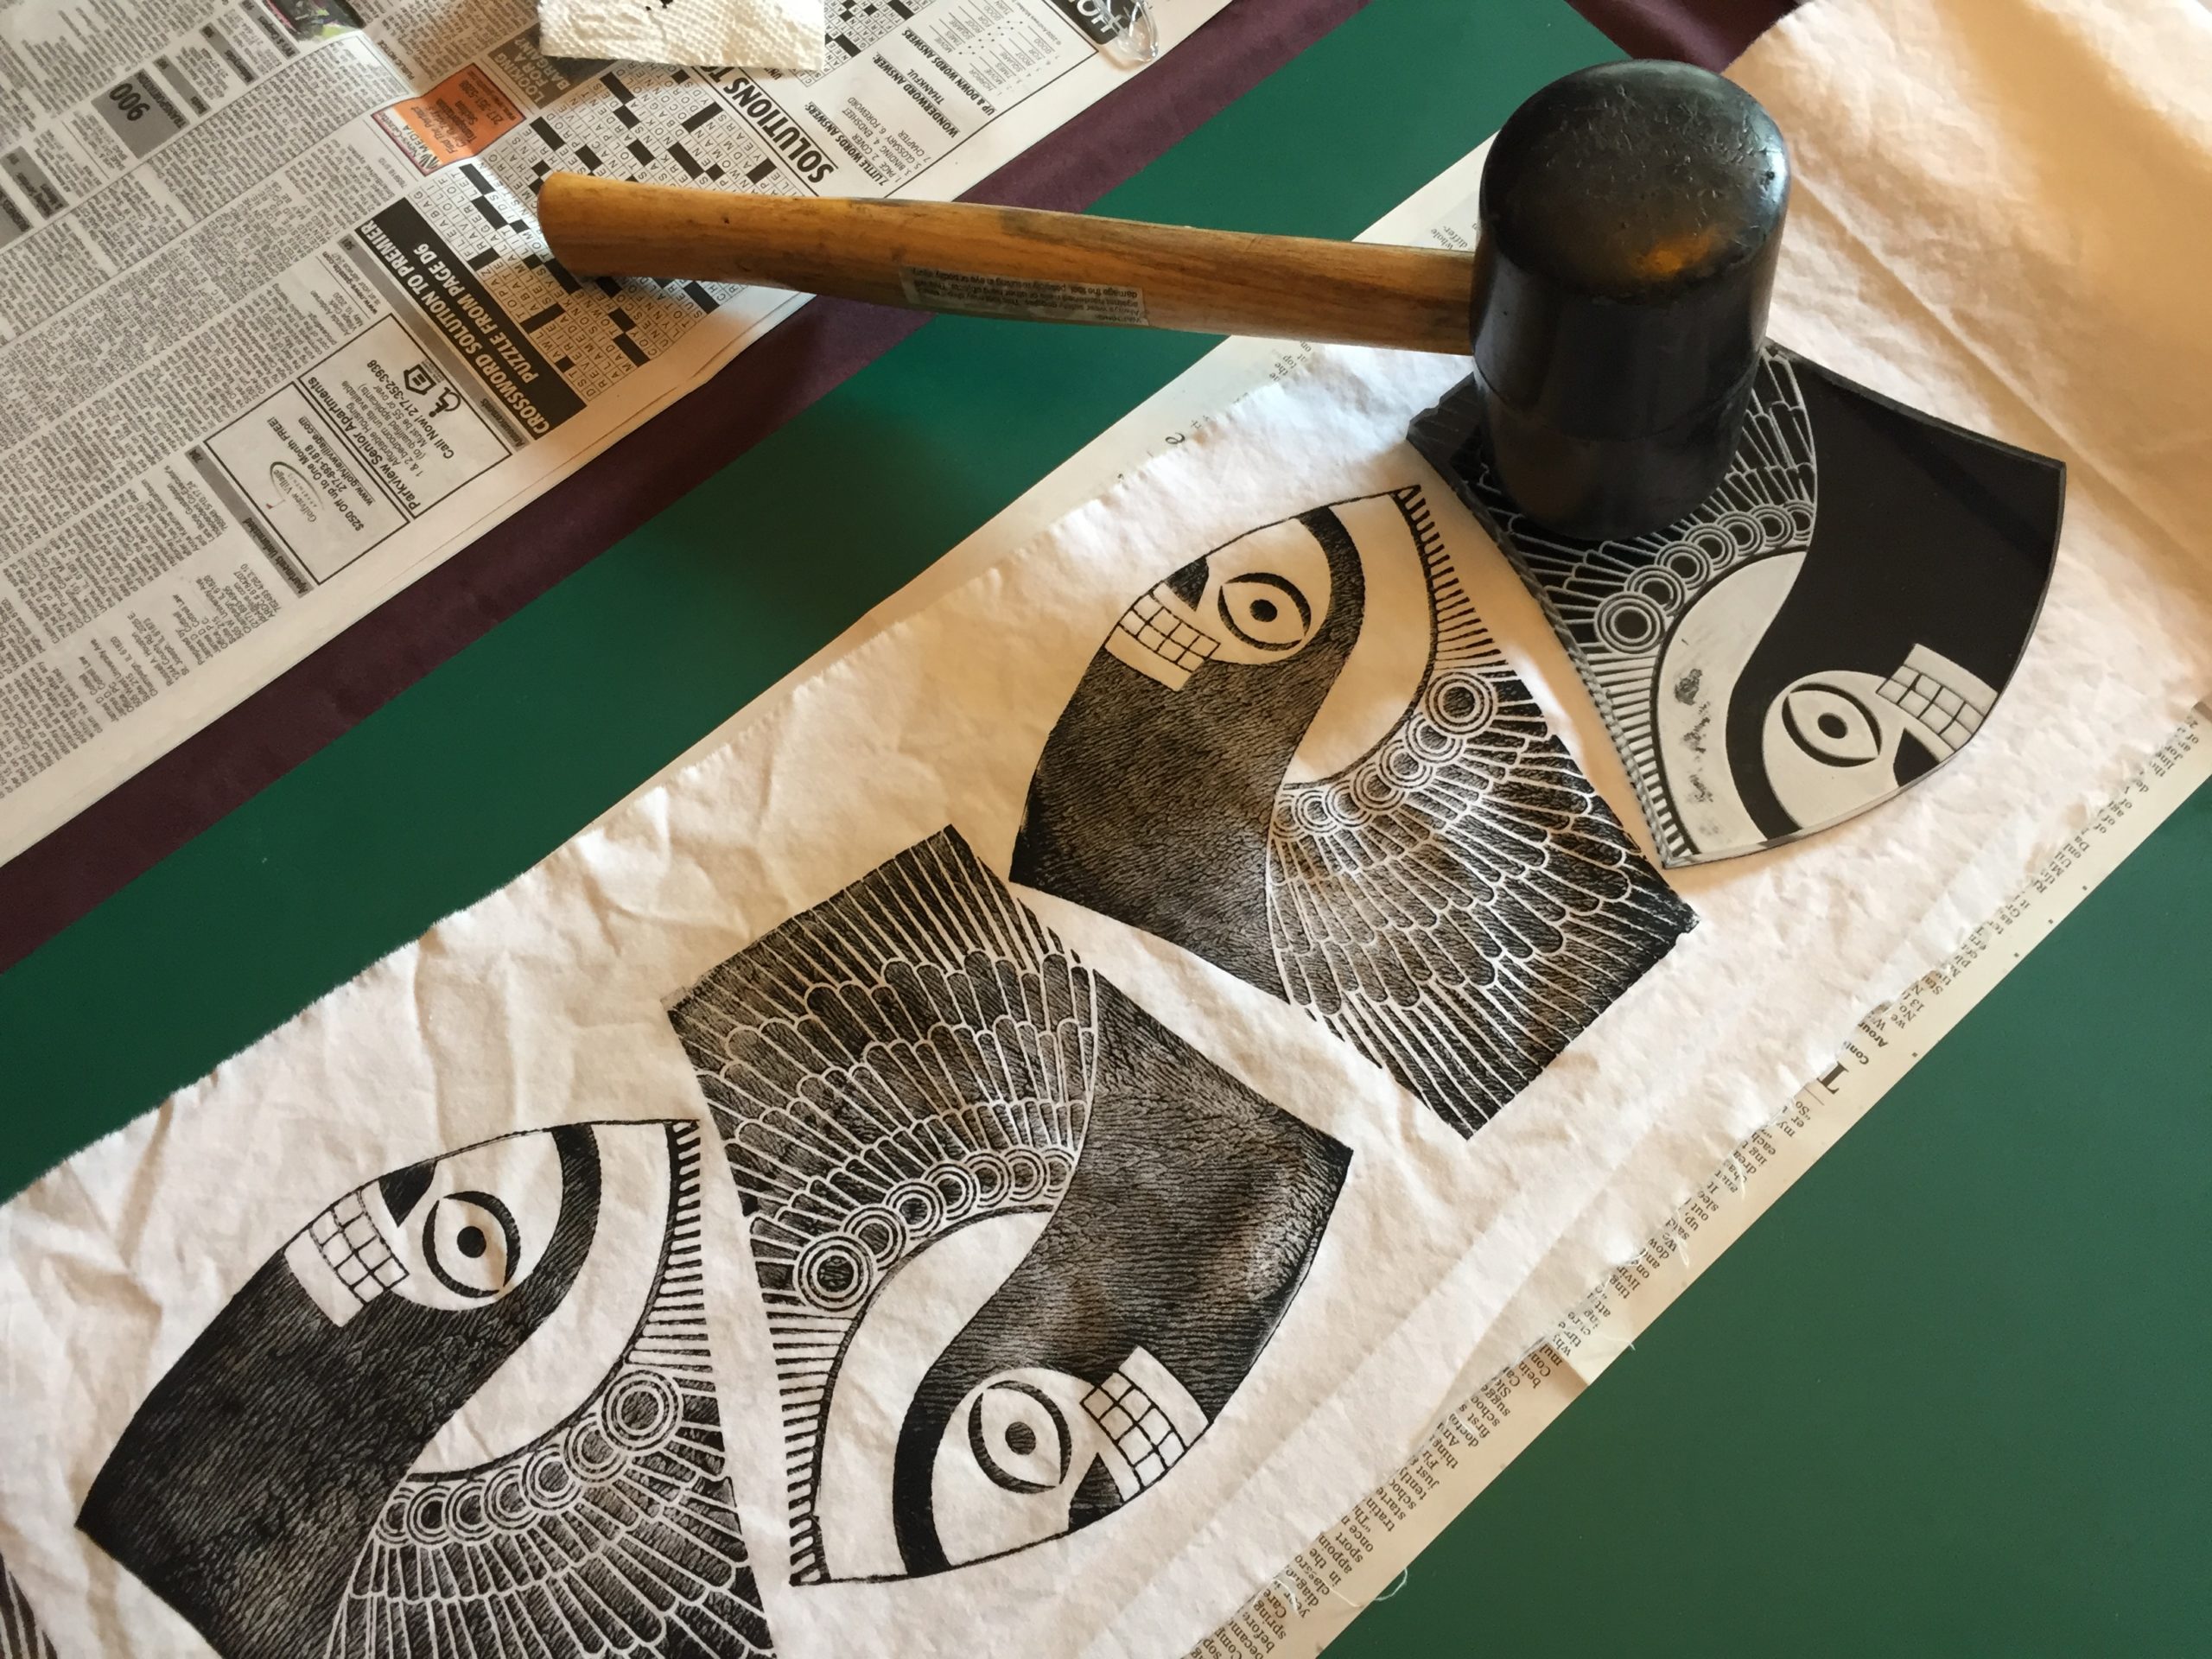
I give the block a few whacks with the rubber mallet, because I read that traditional wood-block fabric printers hit their blocks with a hammer. I got all these impressions with no finger burnishing, so some labor was saved there.
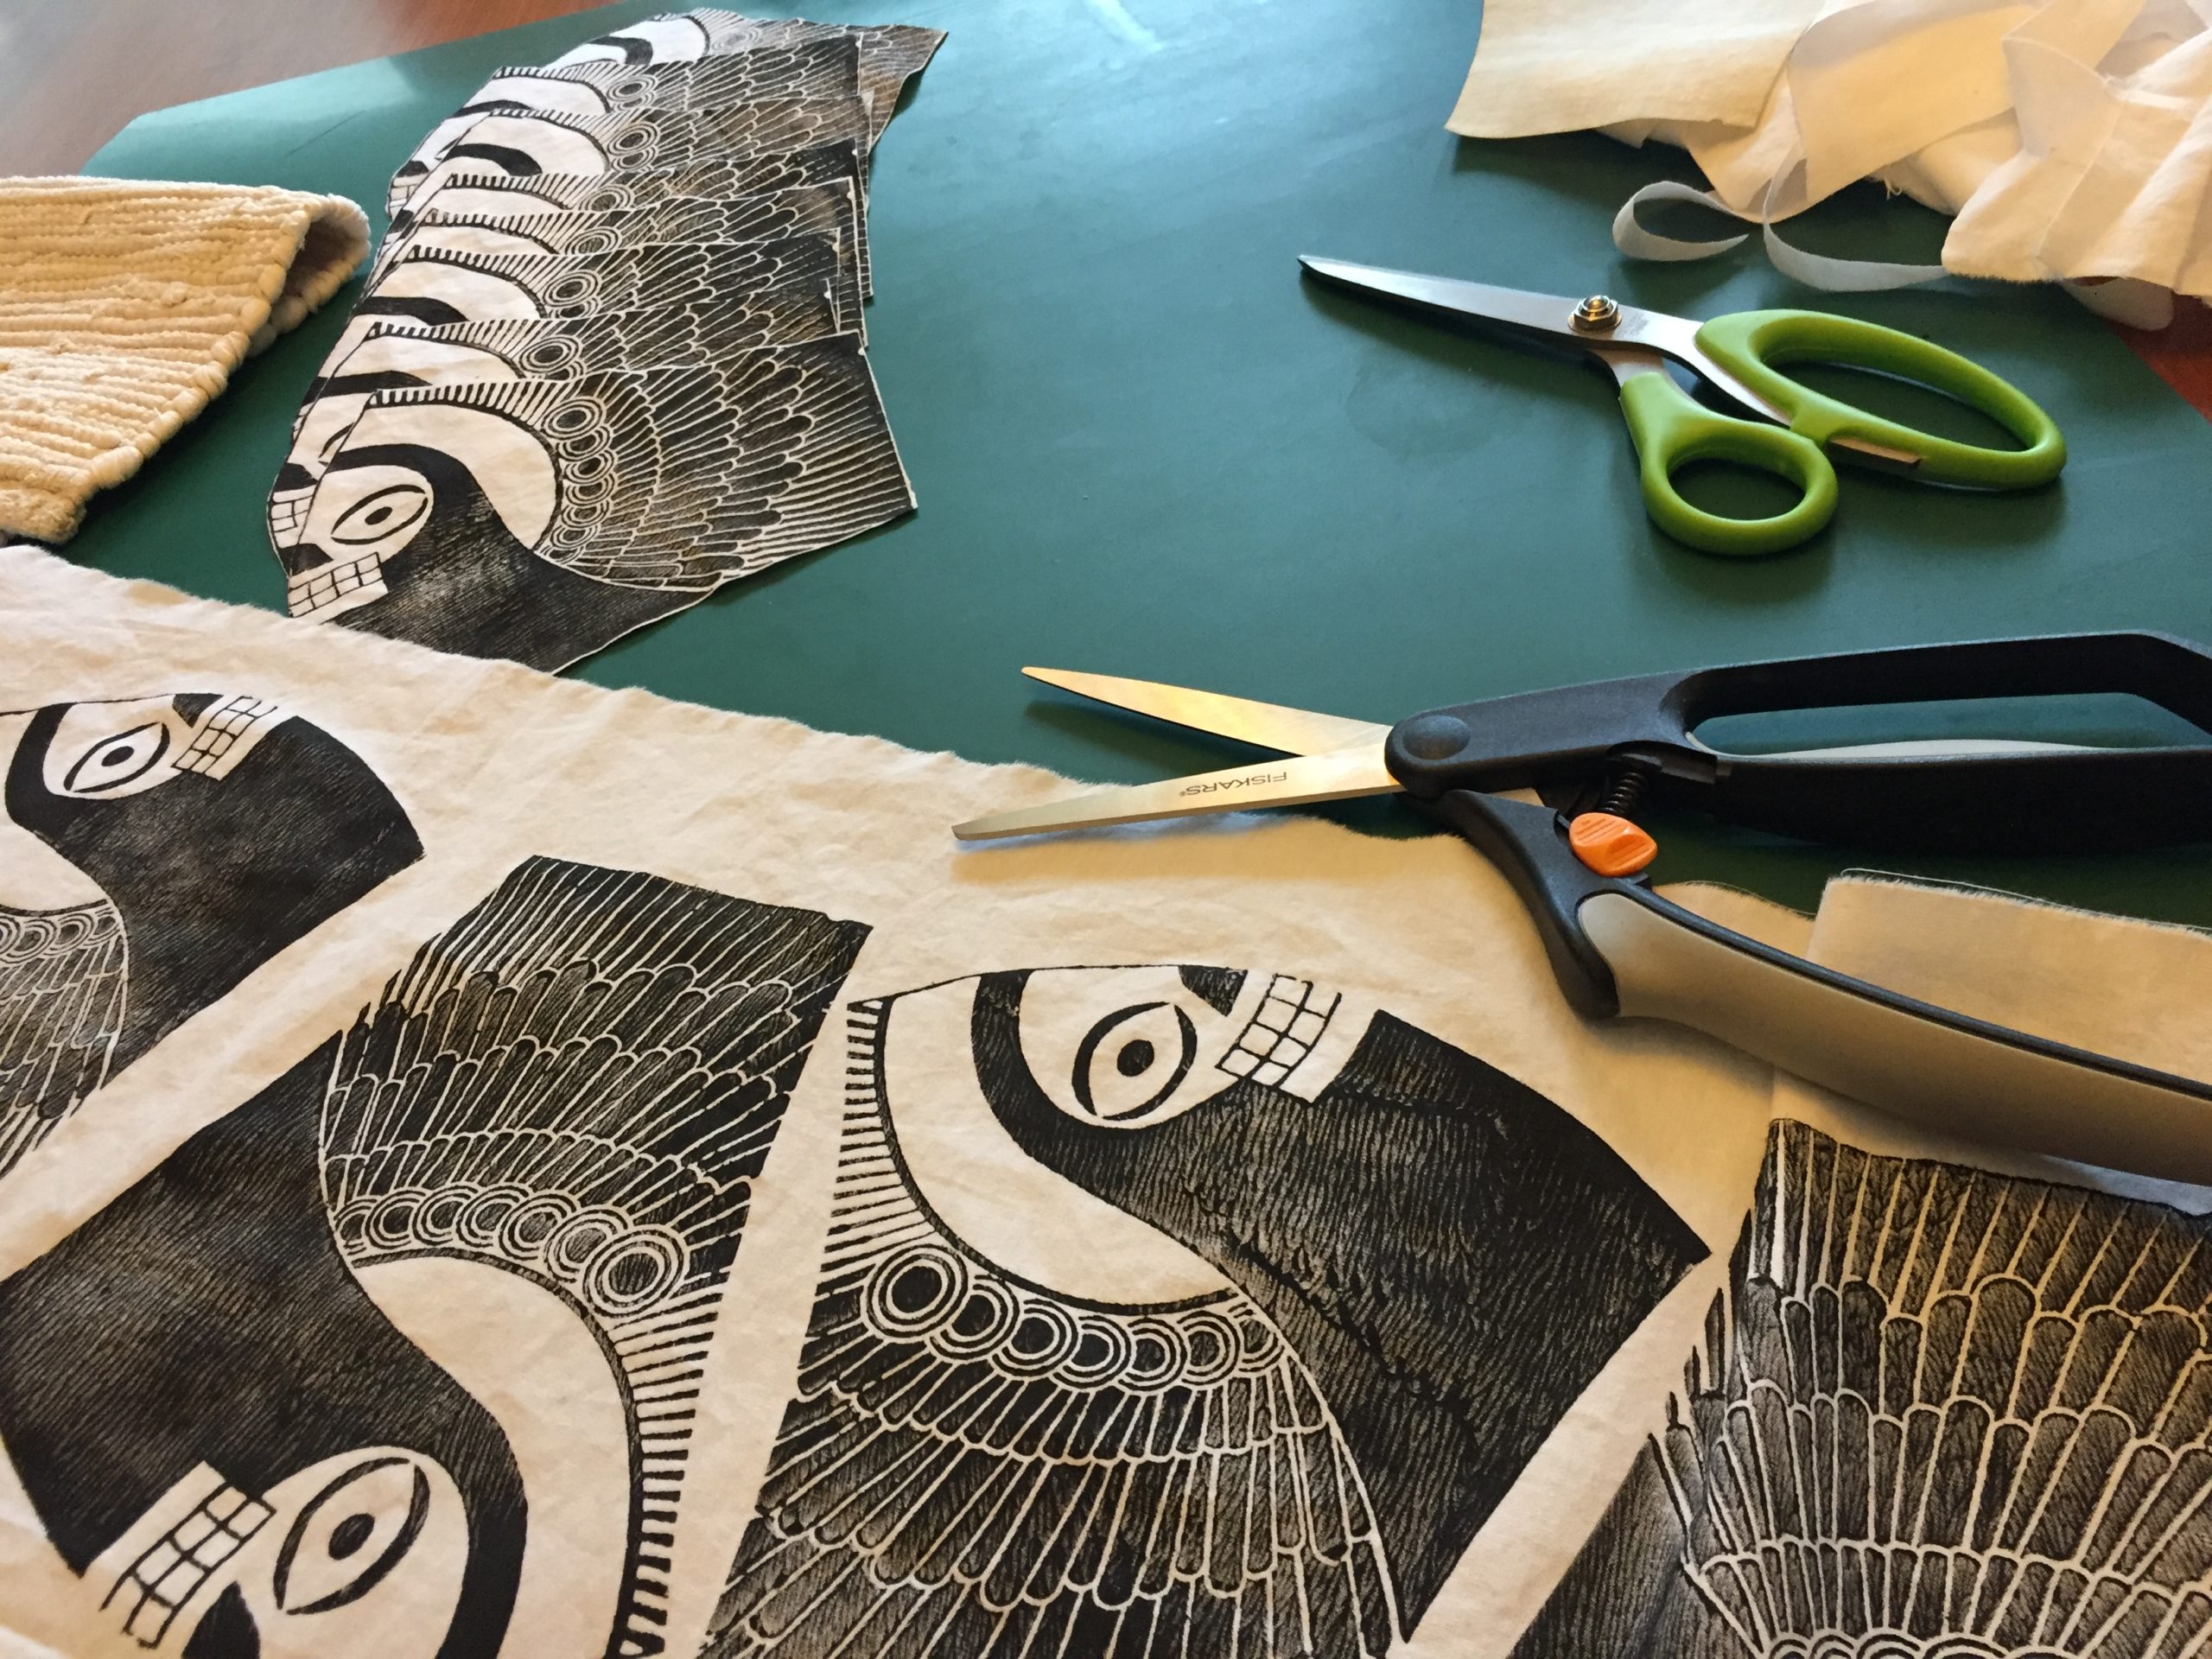
But alas, labor was added when it was time to cut them out.
Cutting is time-consuming and fraught, which is why Theo uses his laser cutter to save vast amounts of production time. Even if we get it screen printed, it’s not certain the Angel O’ Death design on fabric can be laser cut, because the image needs to be aligned so precisely. For all-over fabric patterns, you can cut almost anywhere, but just a few millimeters off will make Death’s face all wonky.
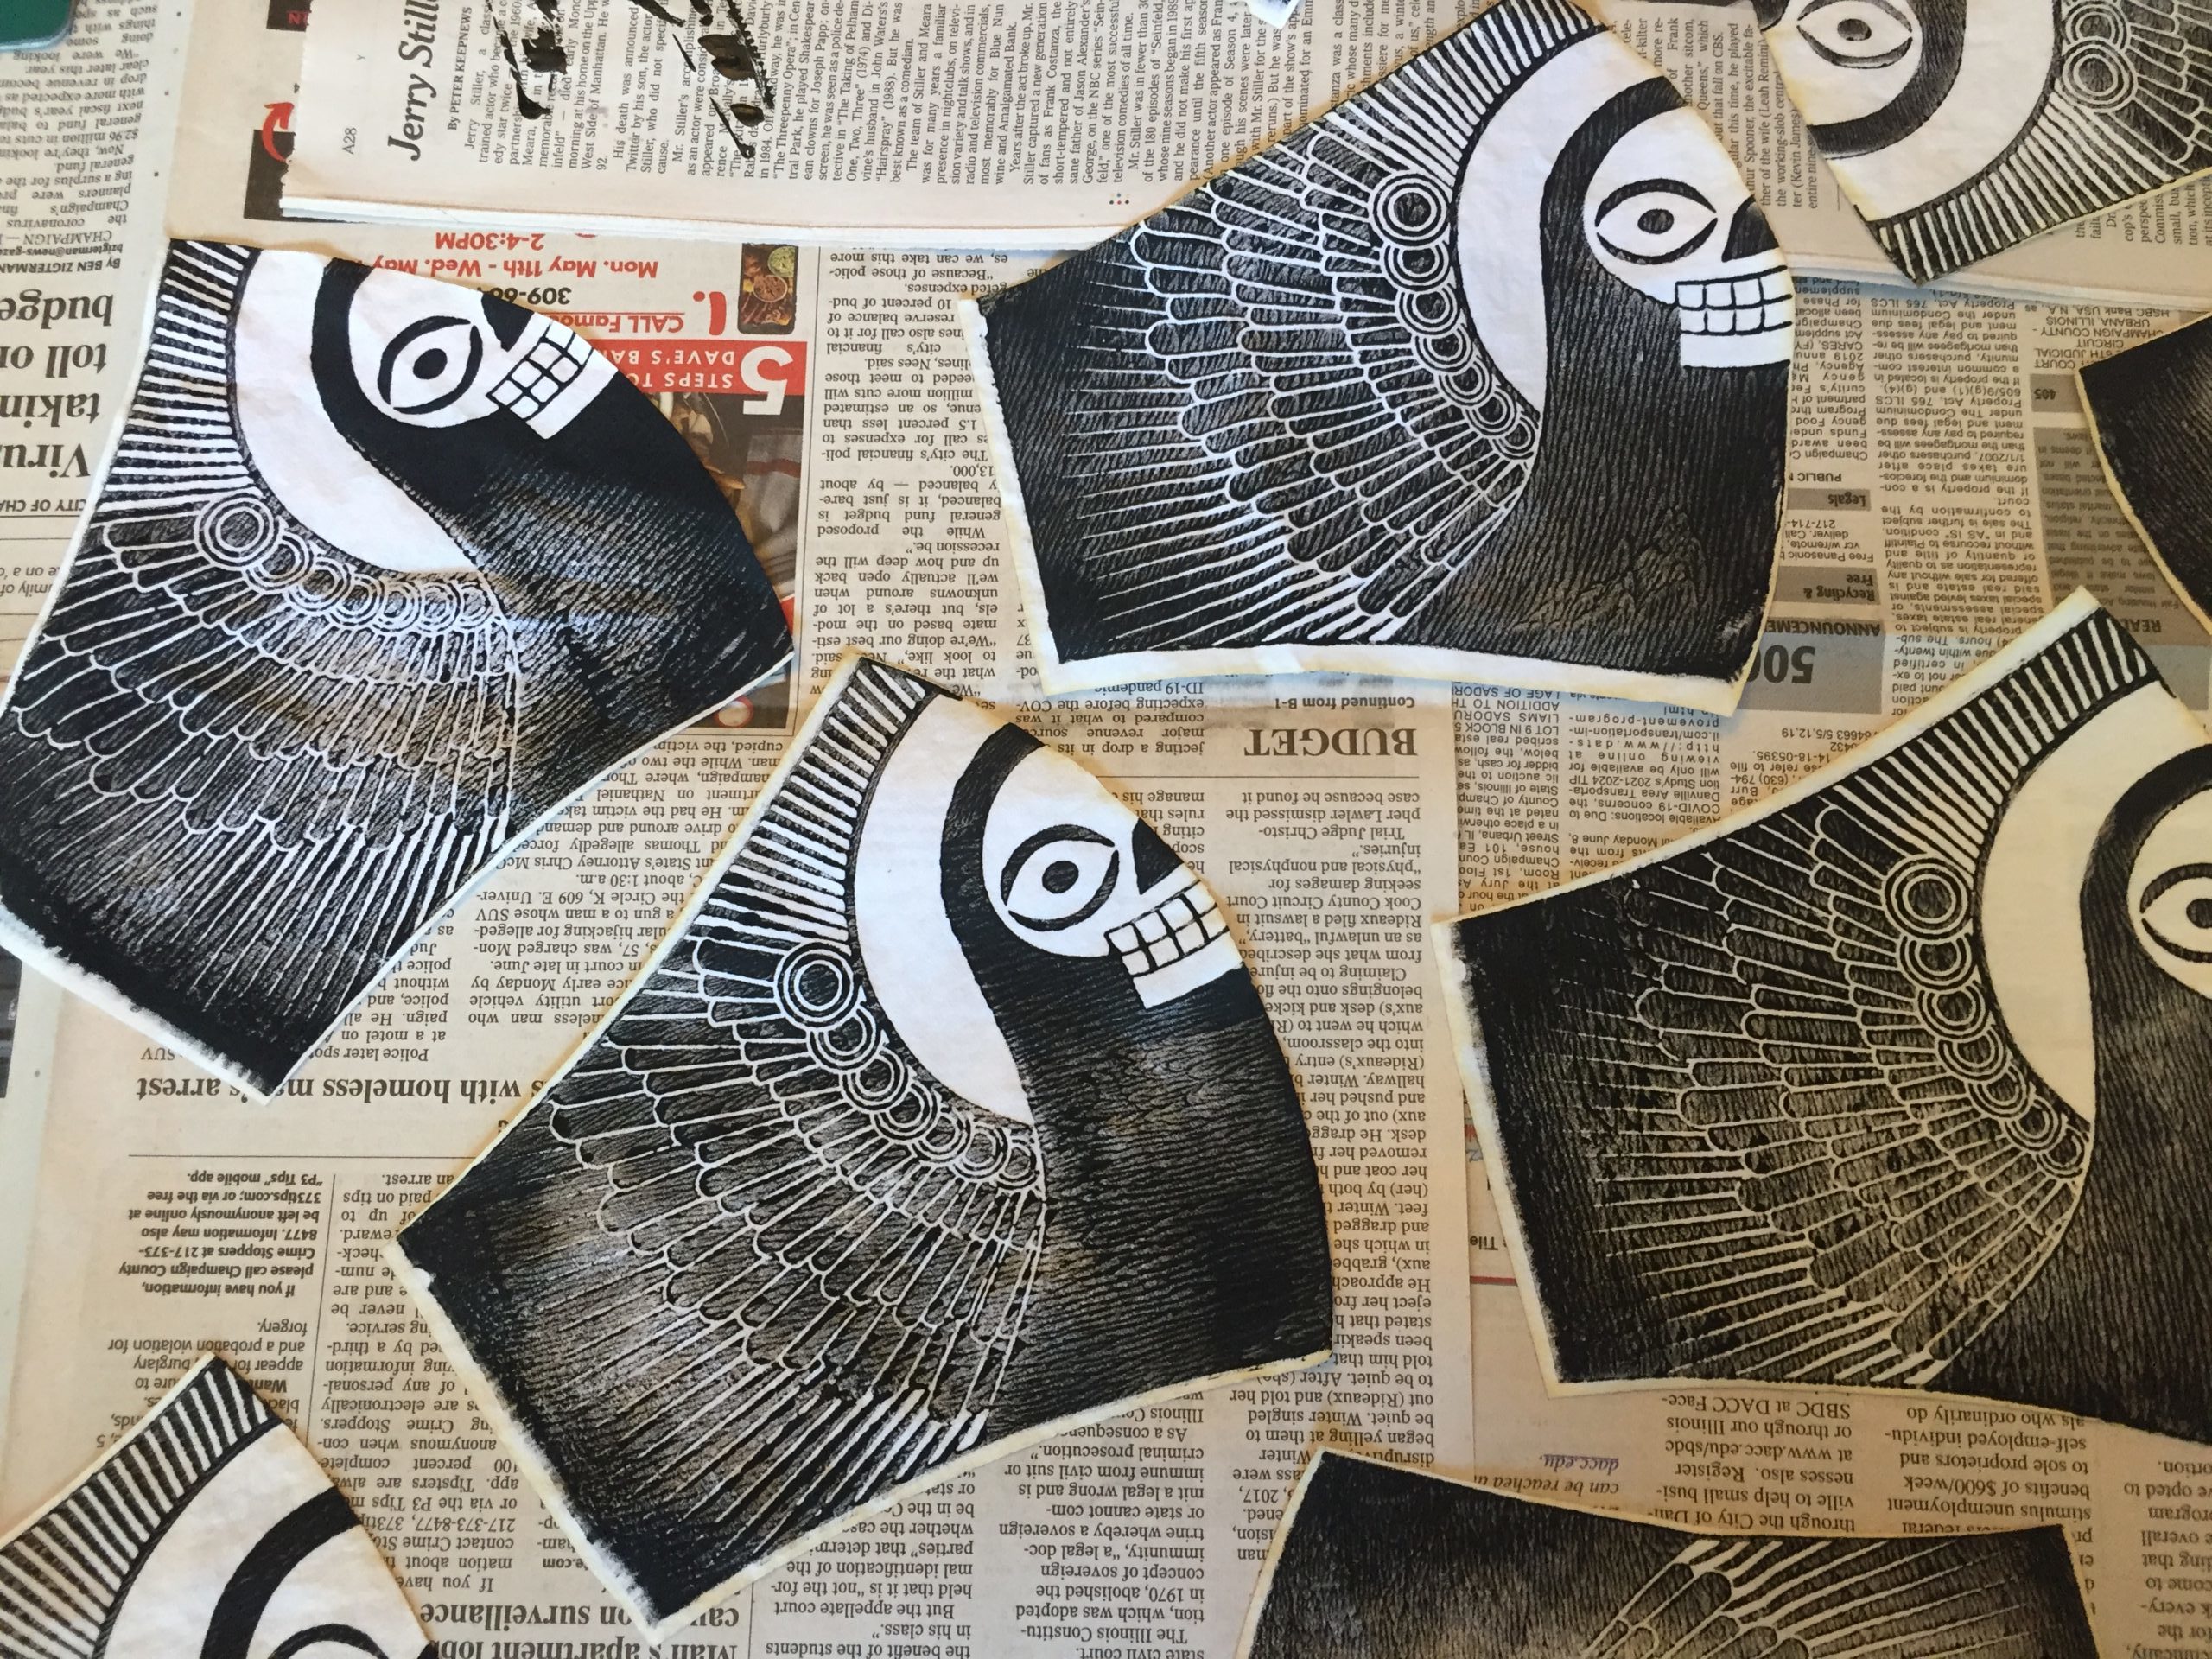
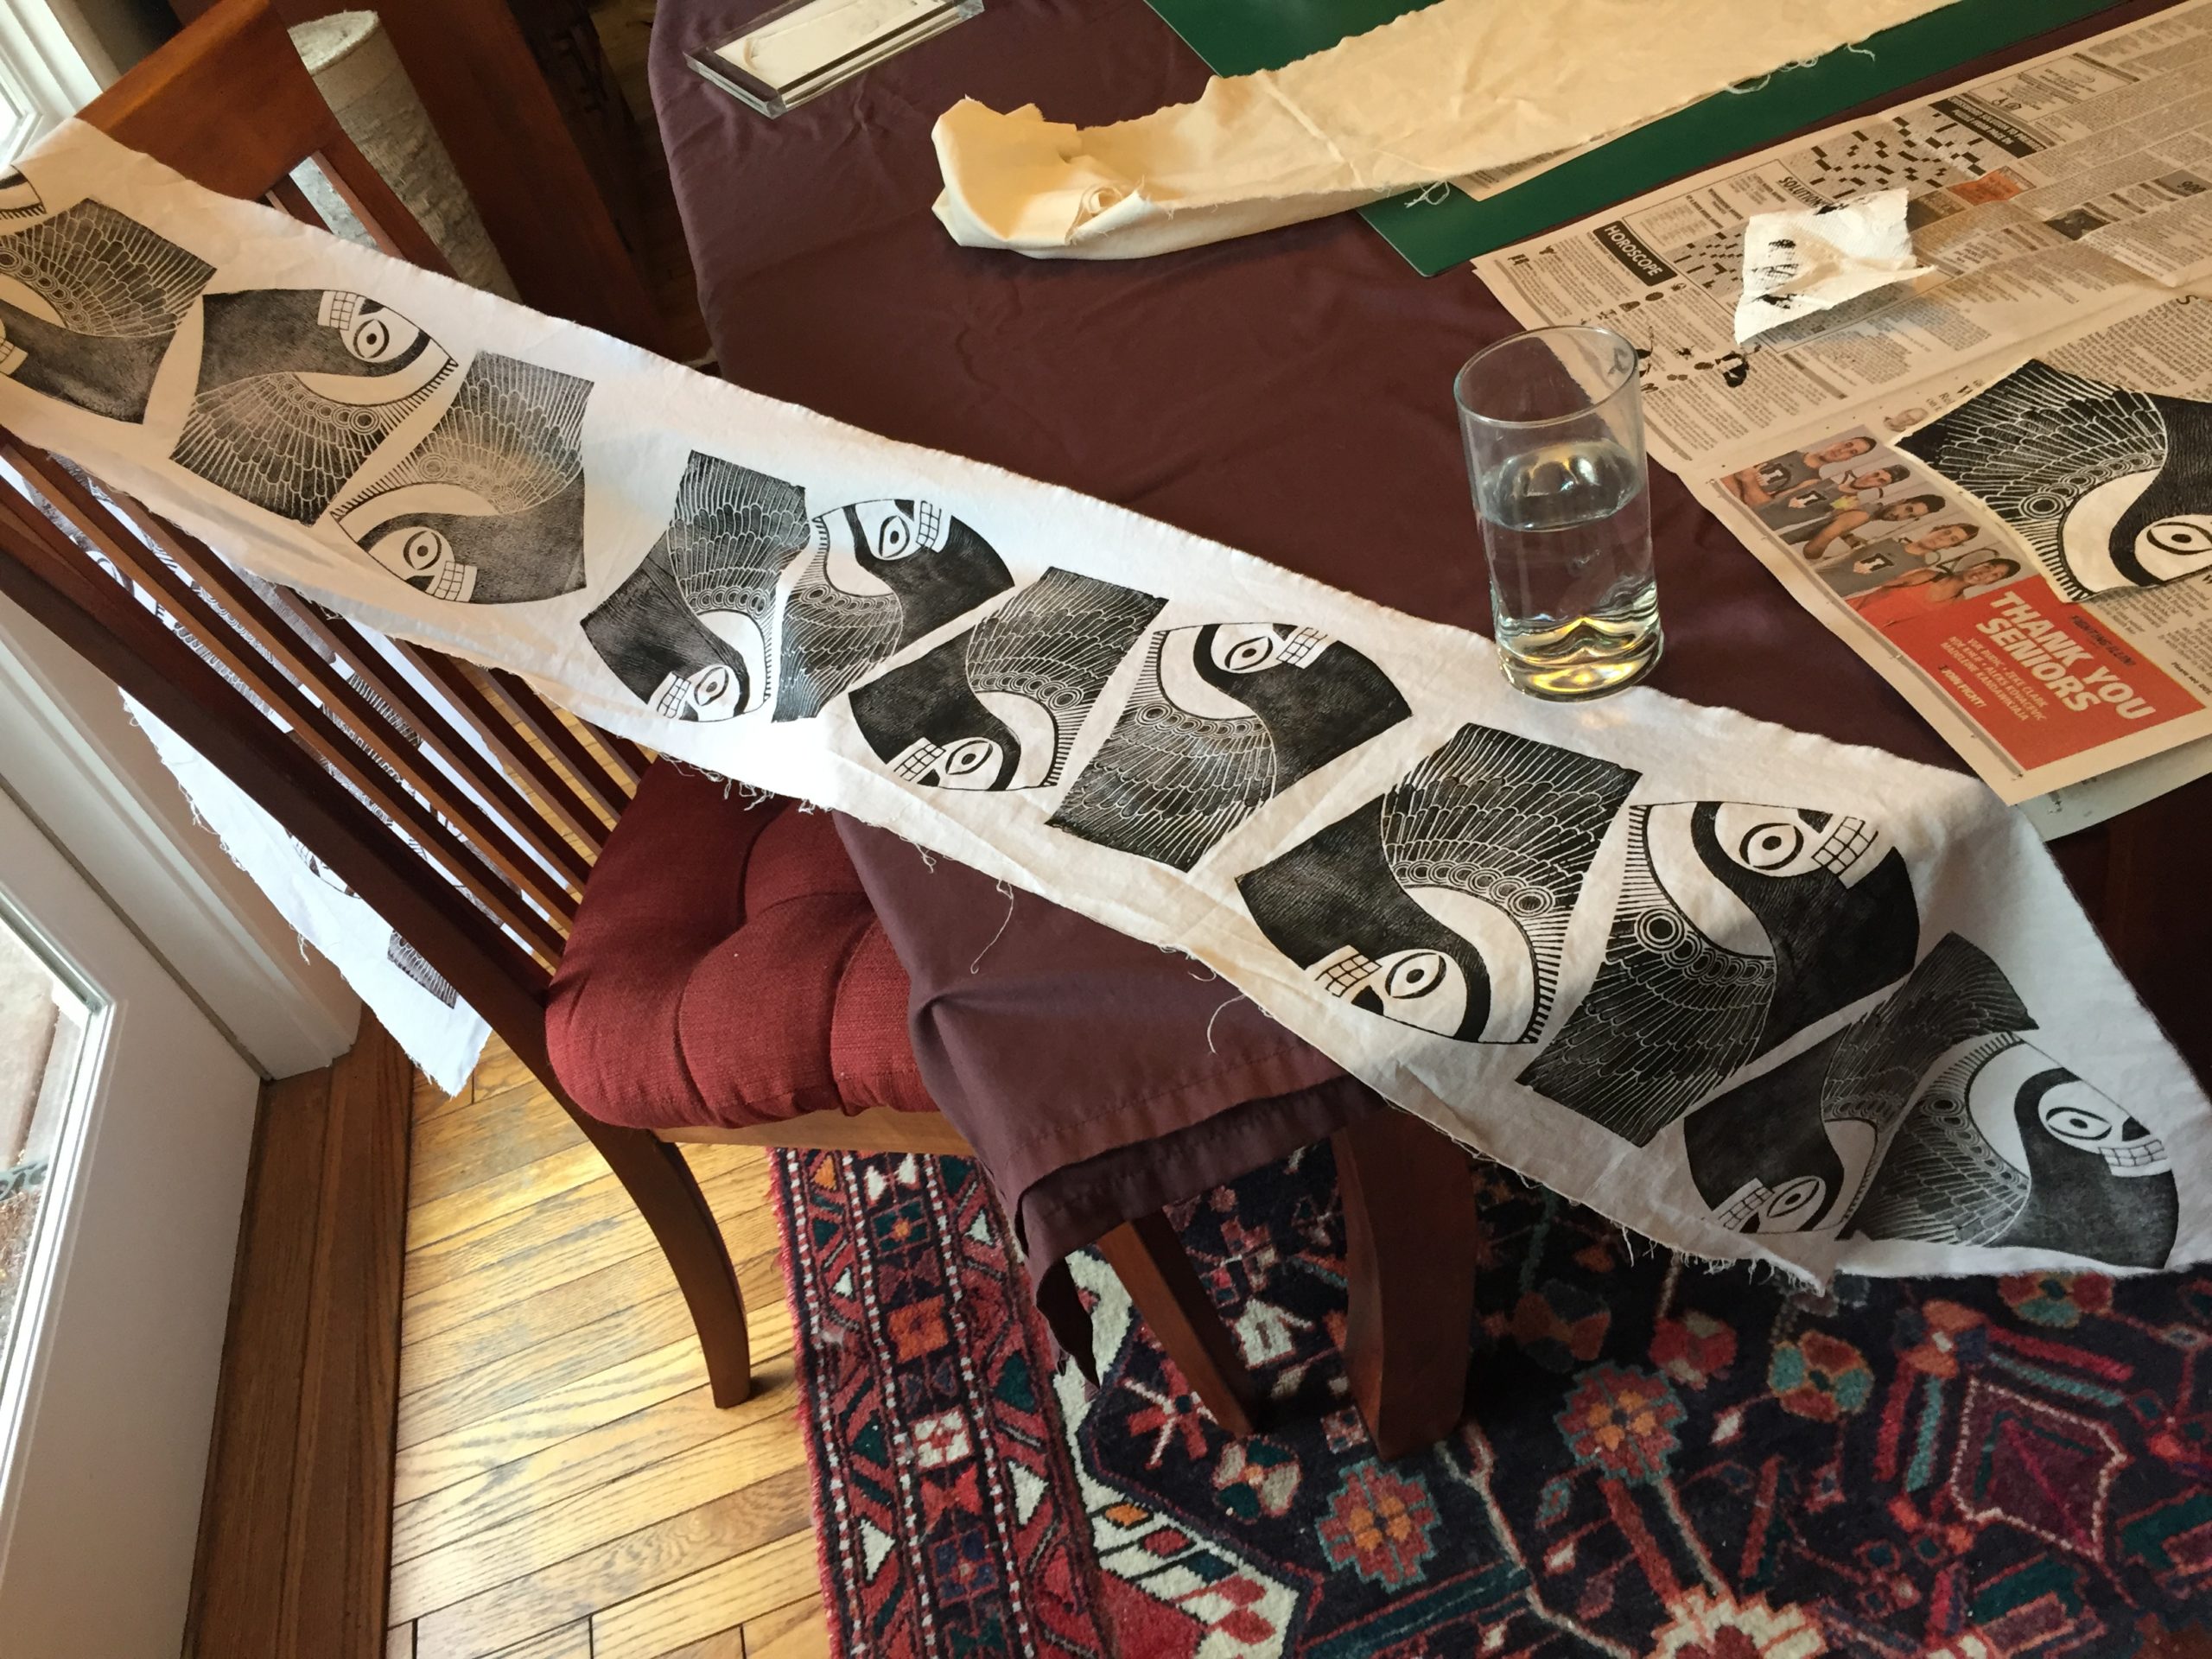
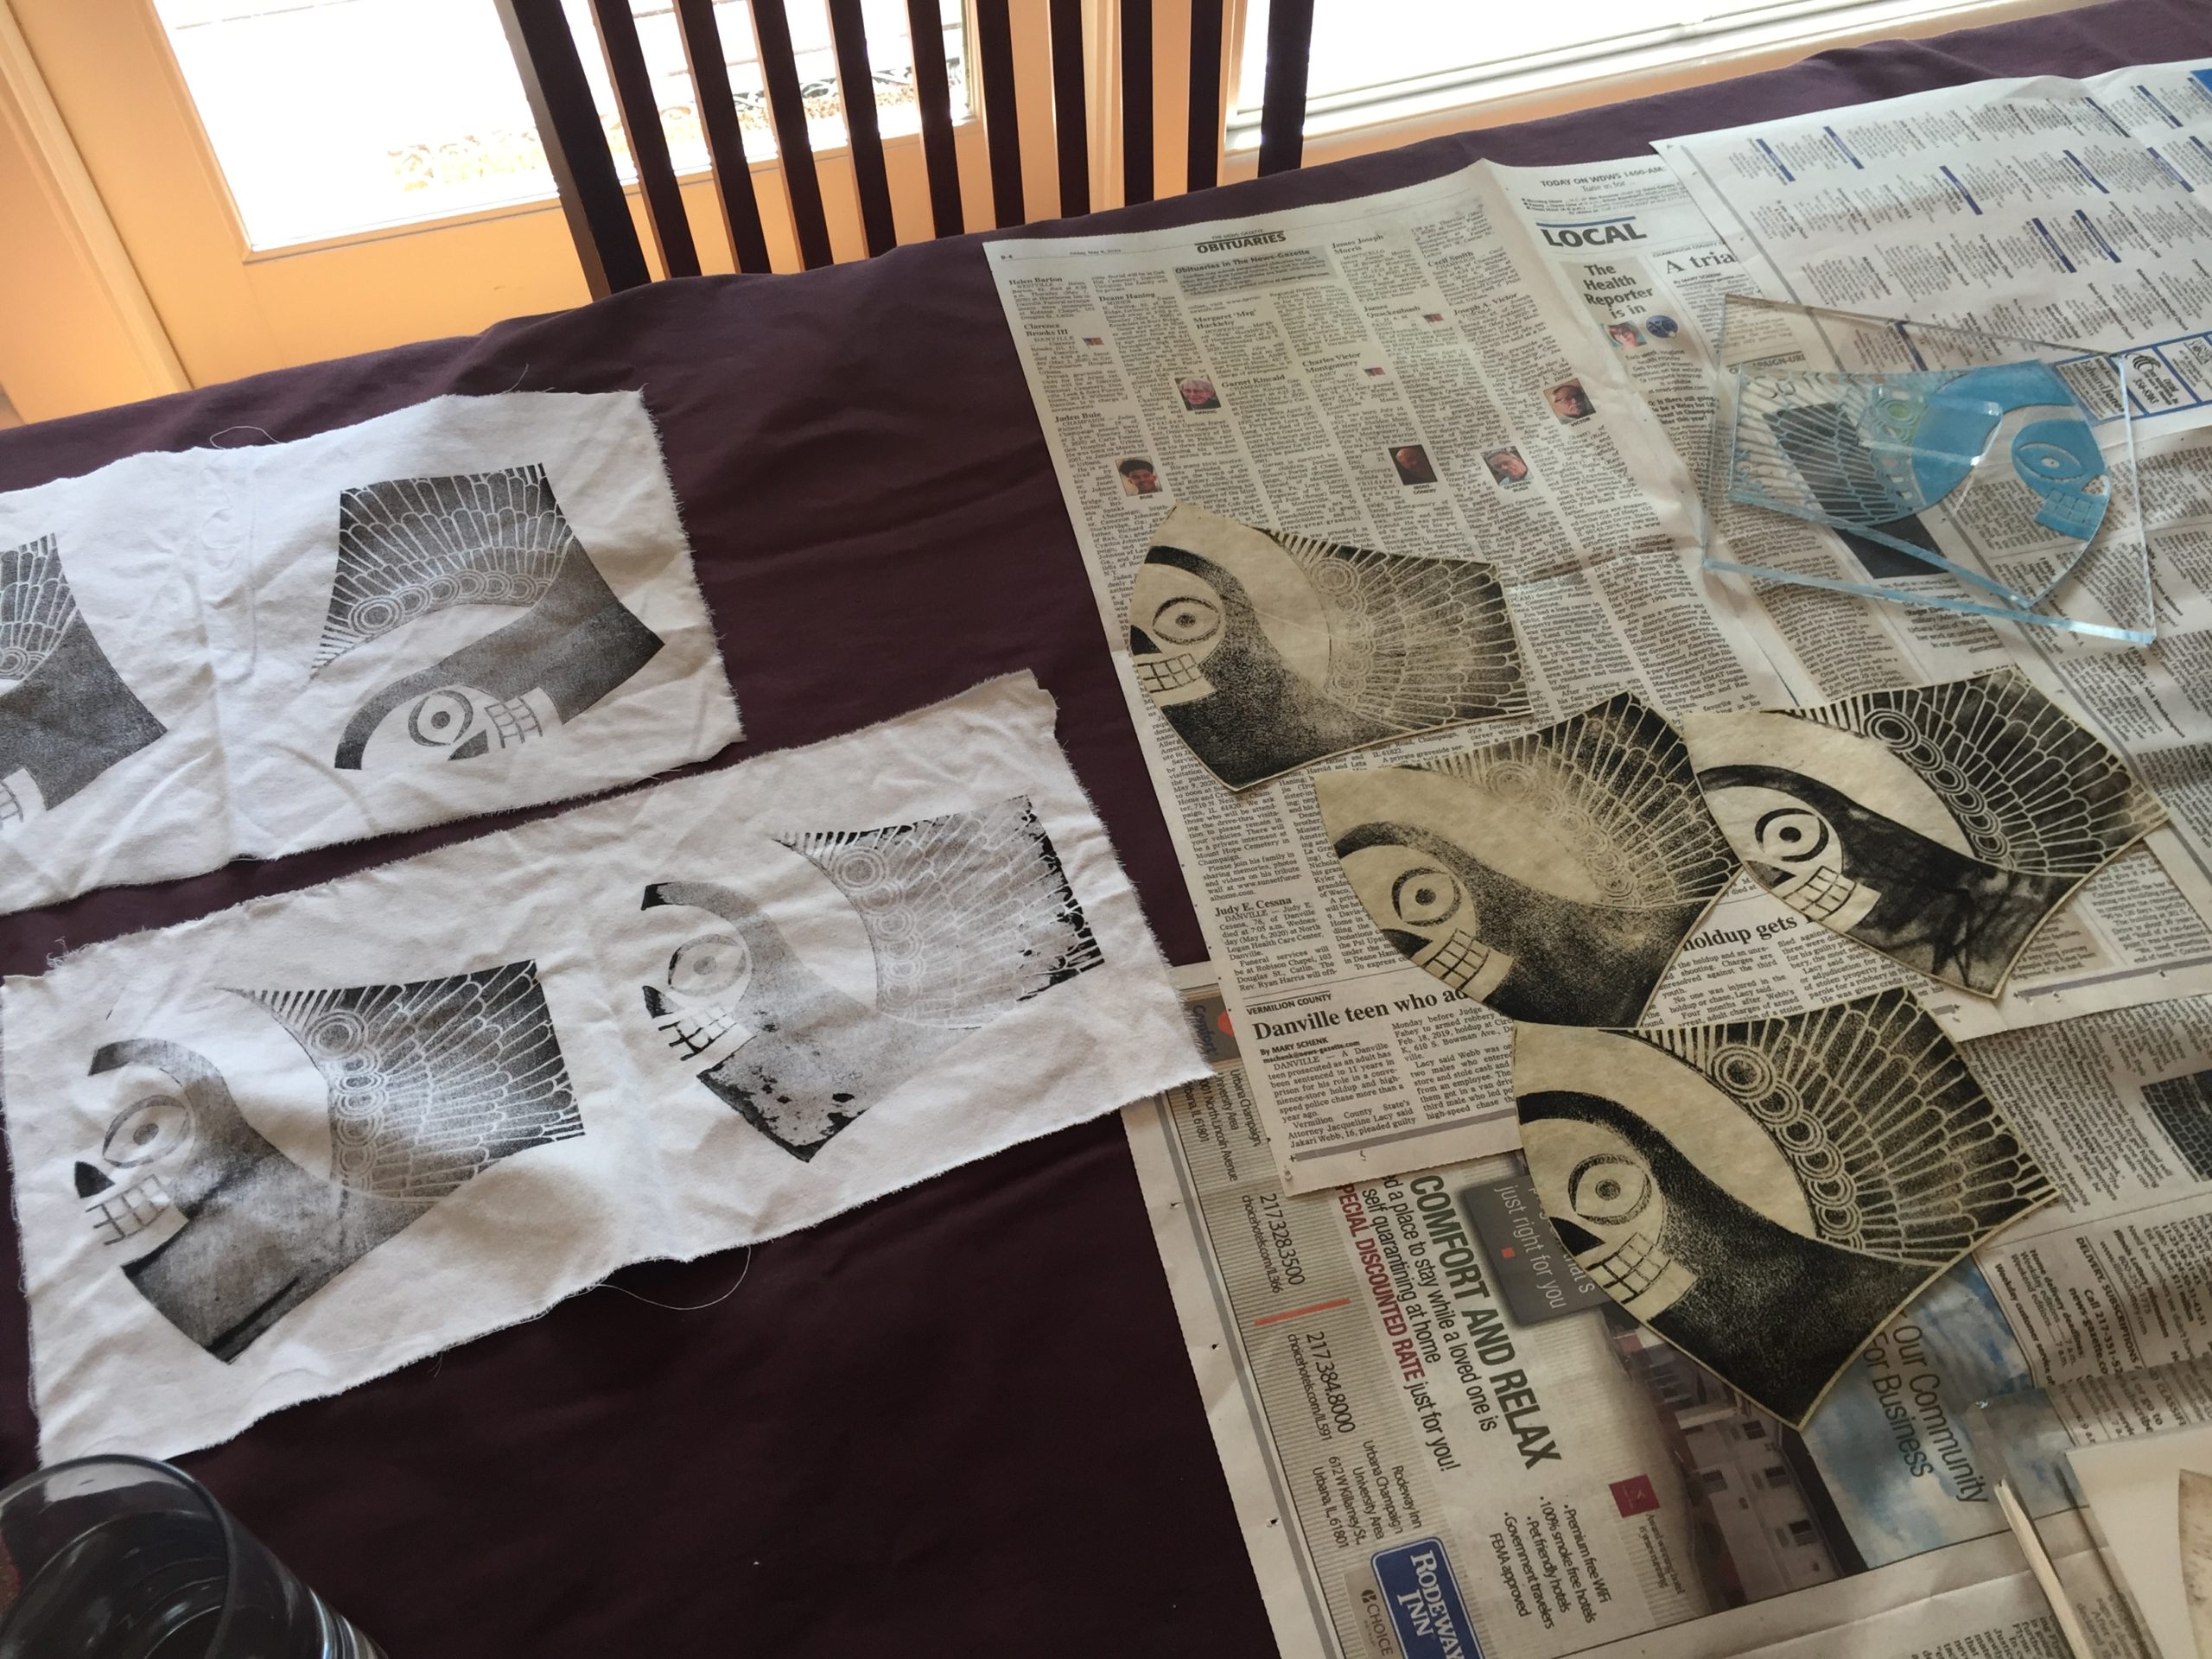
Today’s test batch yielded enough for 8 masks. It looked (and felt!) like it should be more.
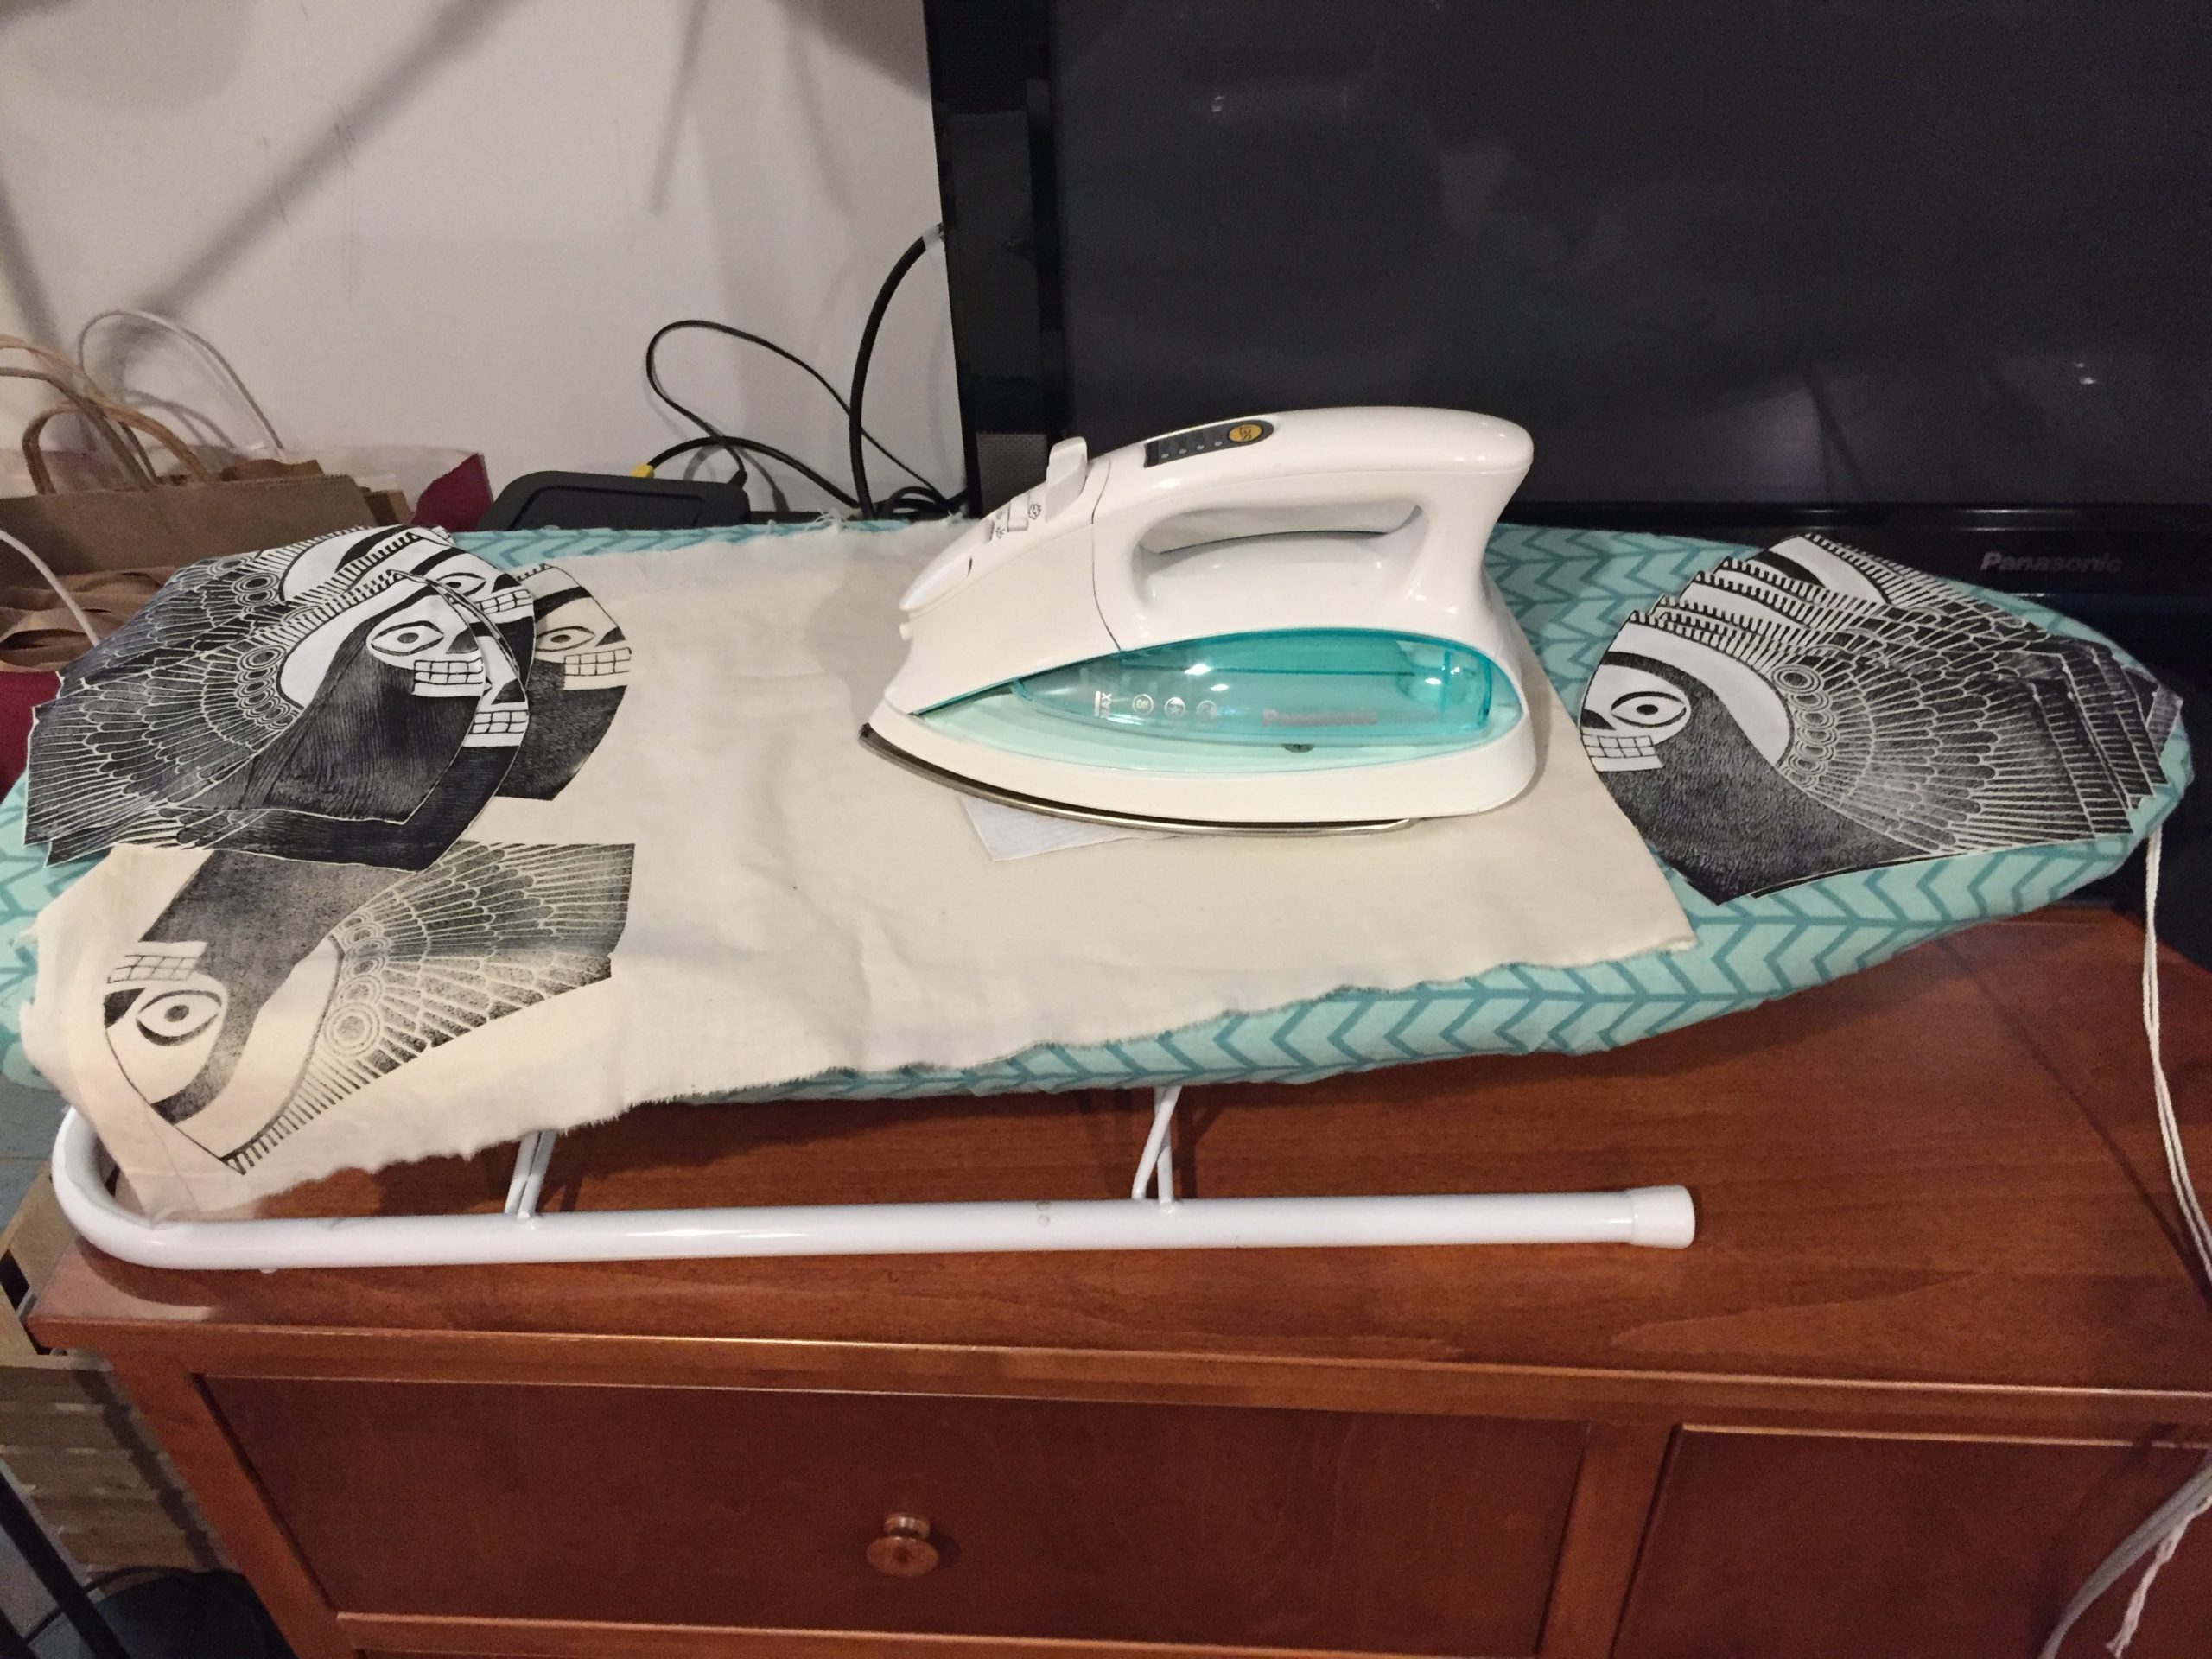
After cutting, I ironed the 16 pieces to heat set the ink.
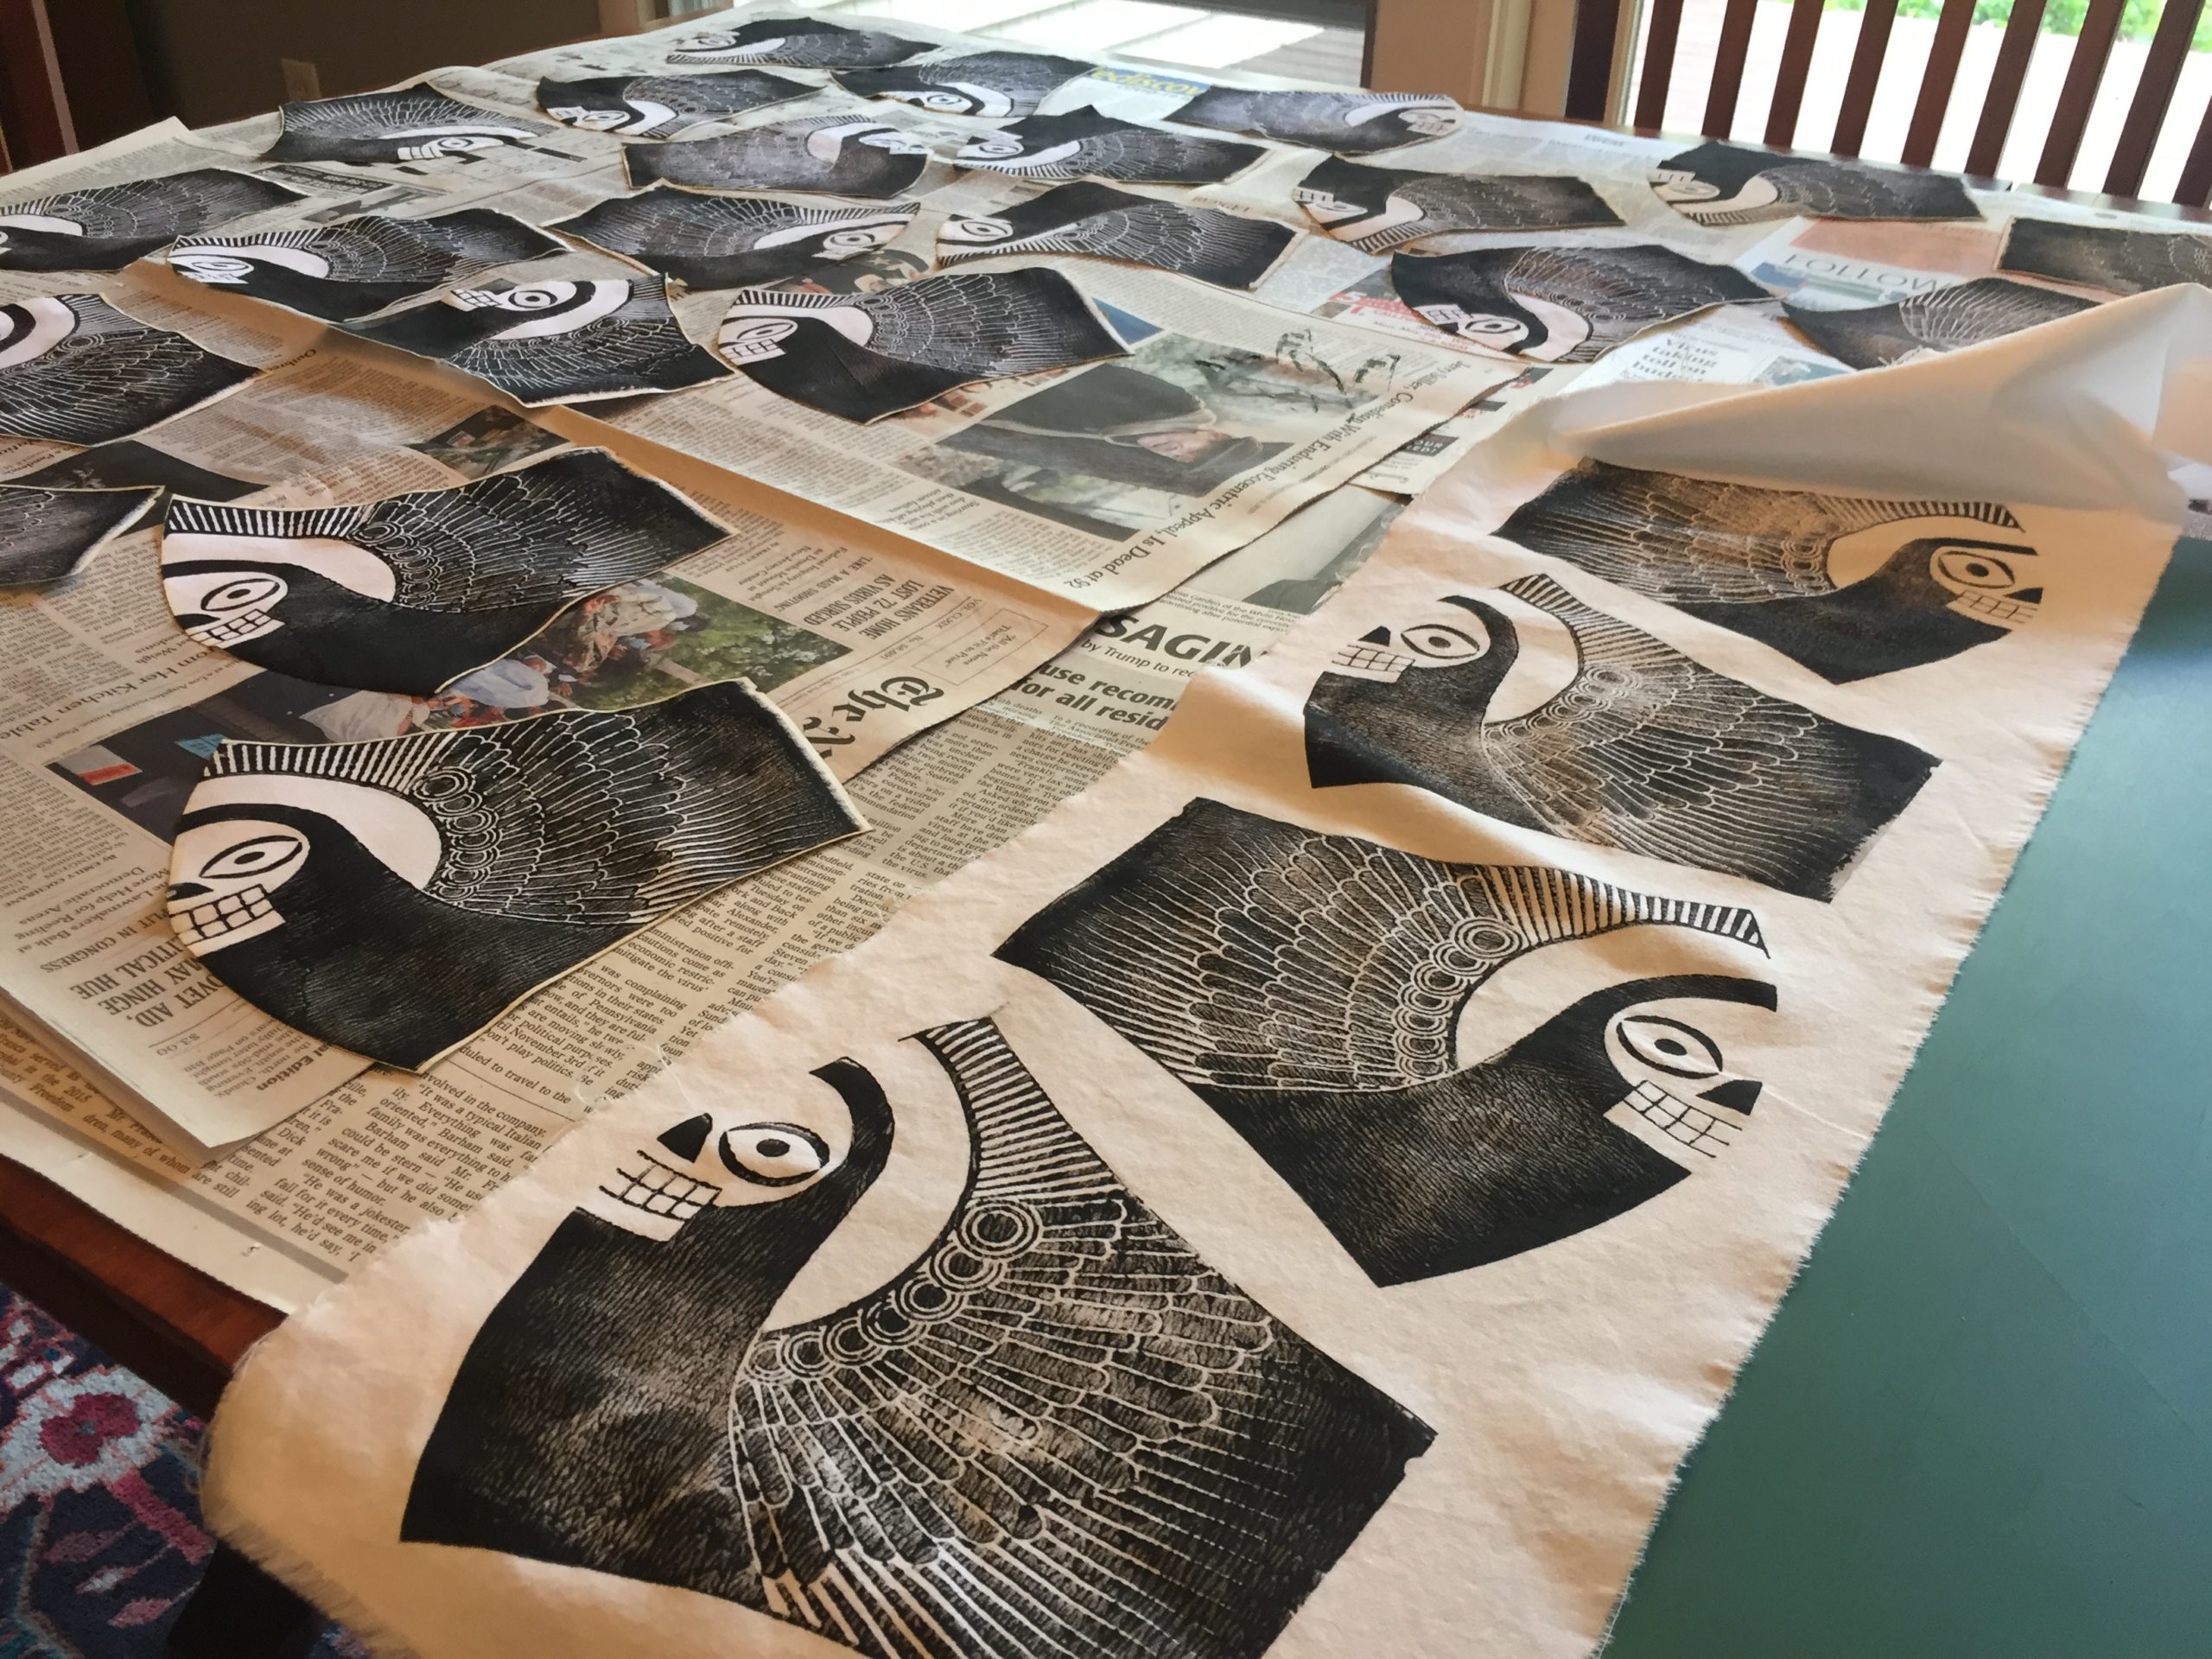
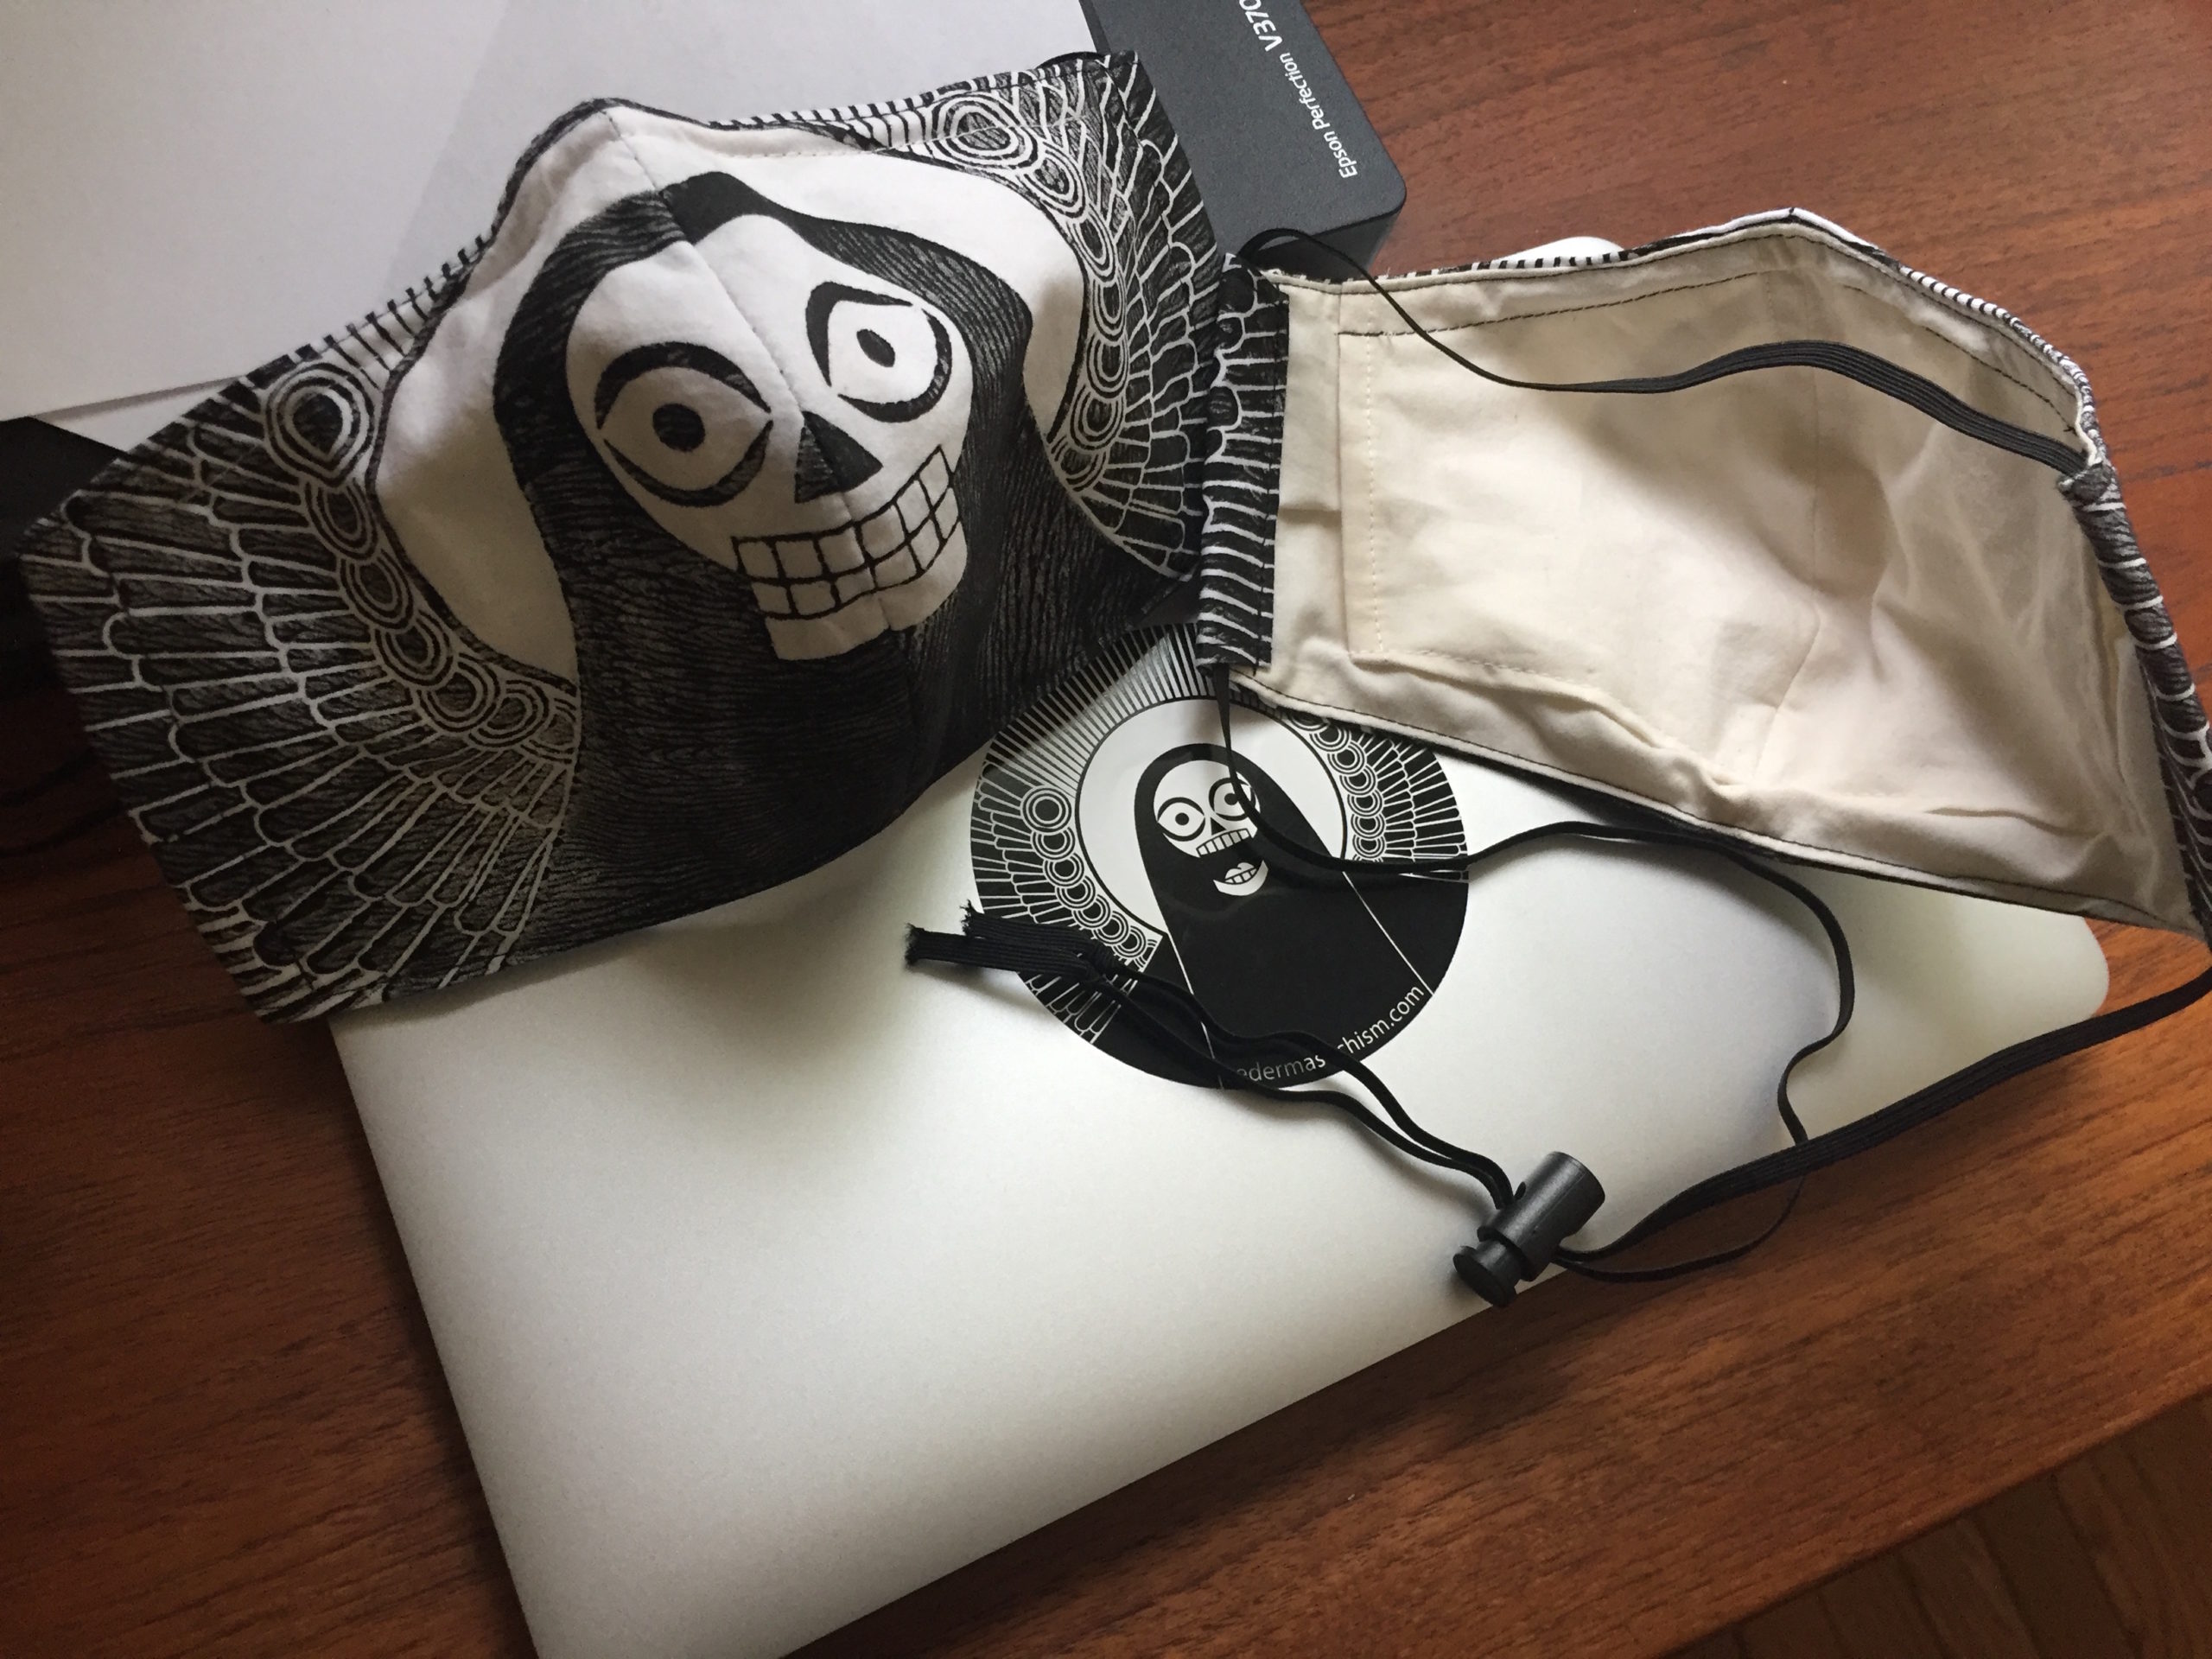
Next, my Momz will sew one into a full-fledged mask, and if it looks good design-wise, I and/or Theo will prepare an image file to be screen printed this week or next (by the only local screen printer to answer their phone! I called 3, multiple times). Screen printing will also require a lot of work prepping and cutting, as well as money, but it’ll be less labor (for me) than block printing. It will also look less “artisanal,” but some people don’t want artisanal, they just want a big black and white Angel O’ Death on their face in a pandemic, and that’s what I aim to deliver.
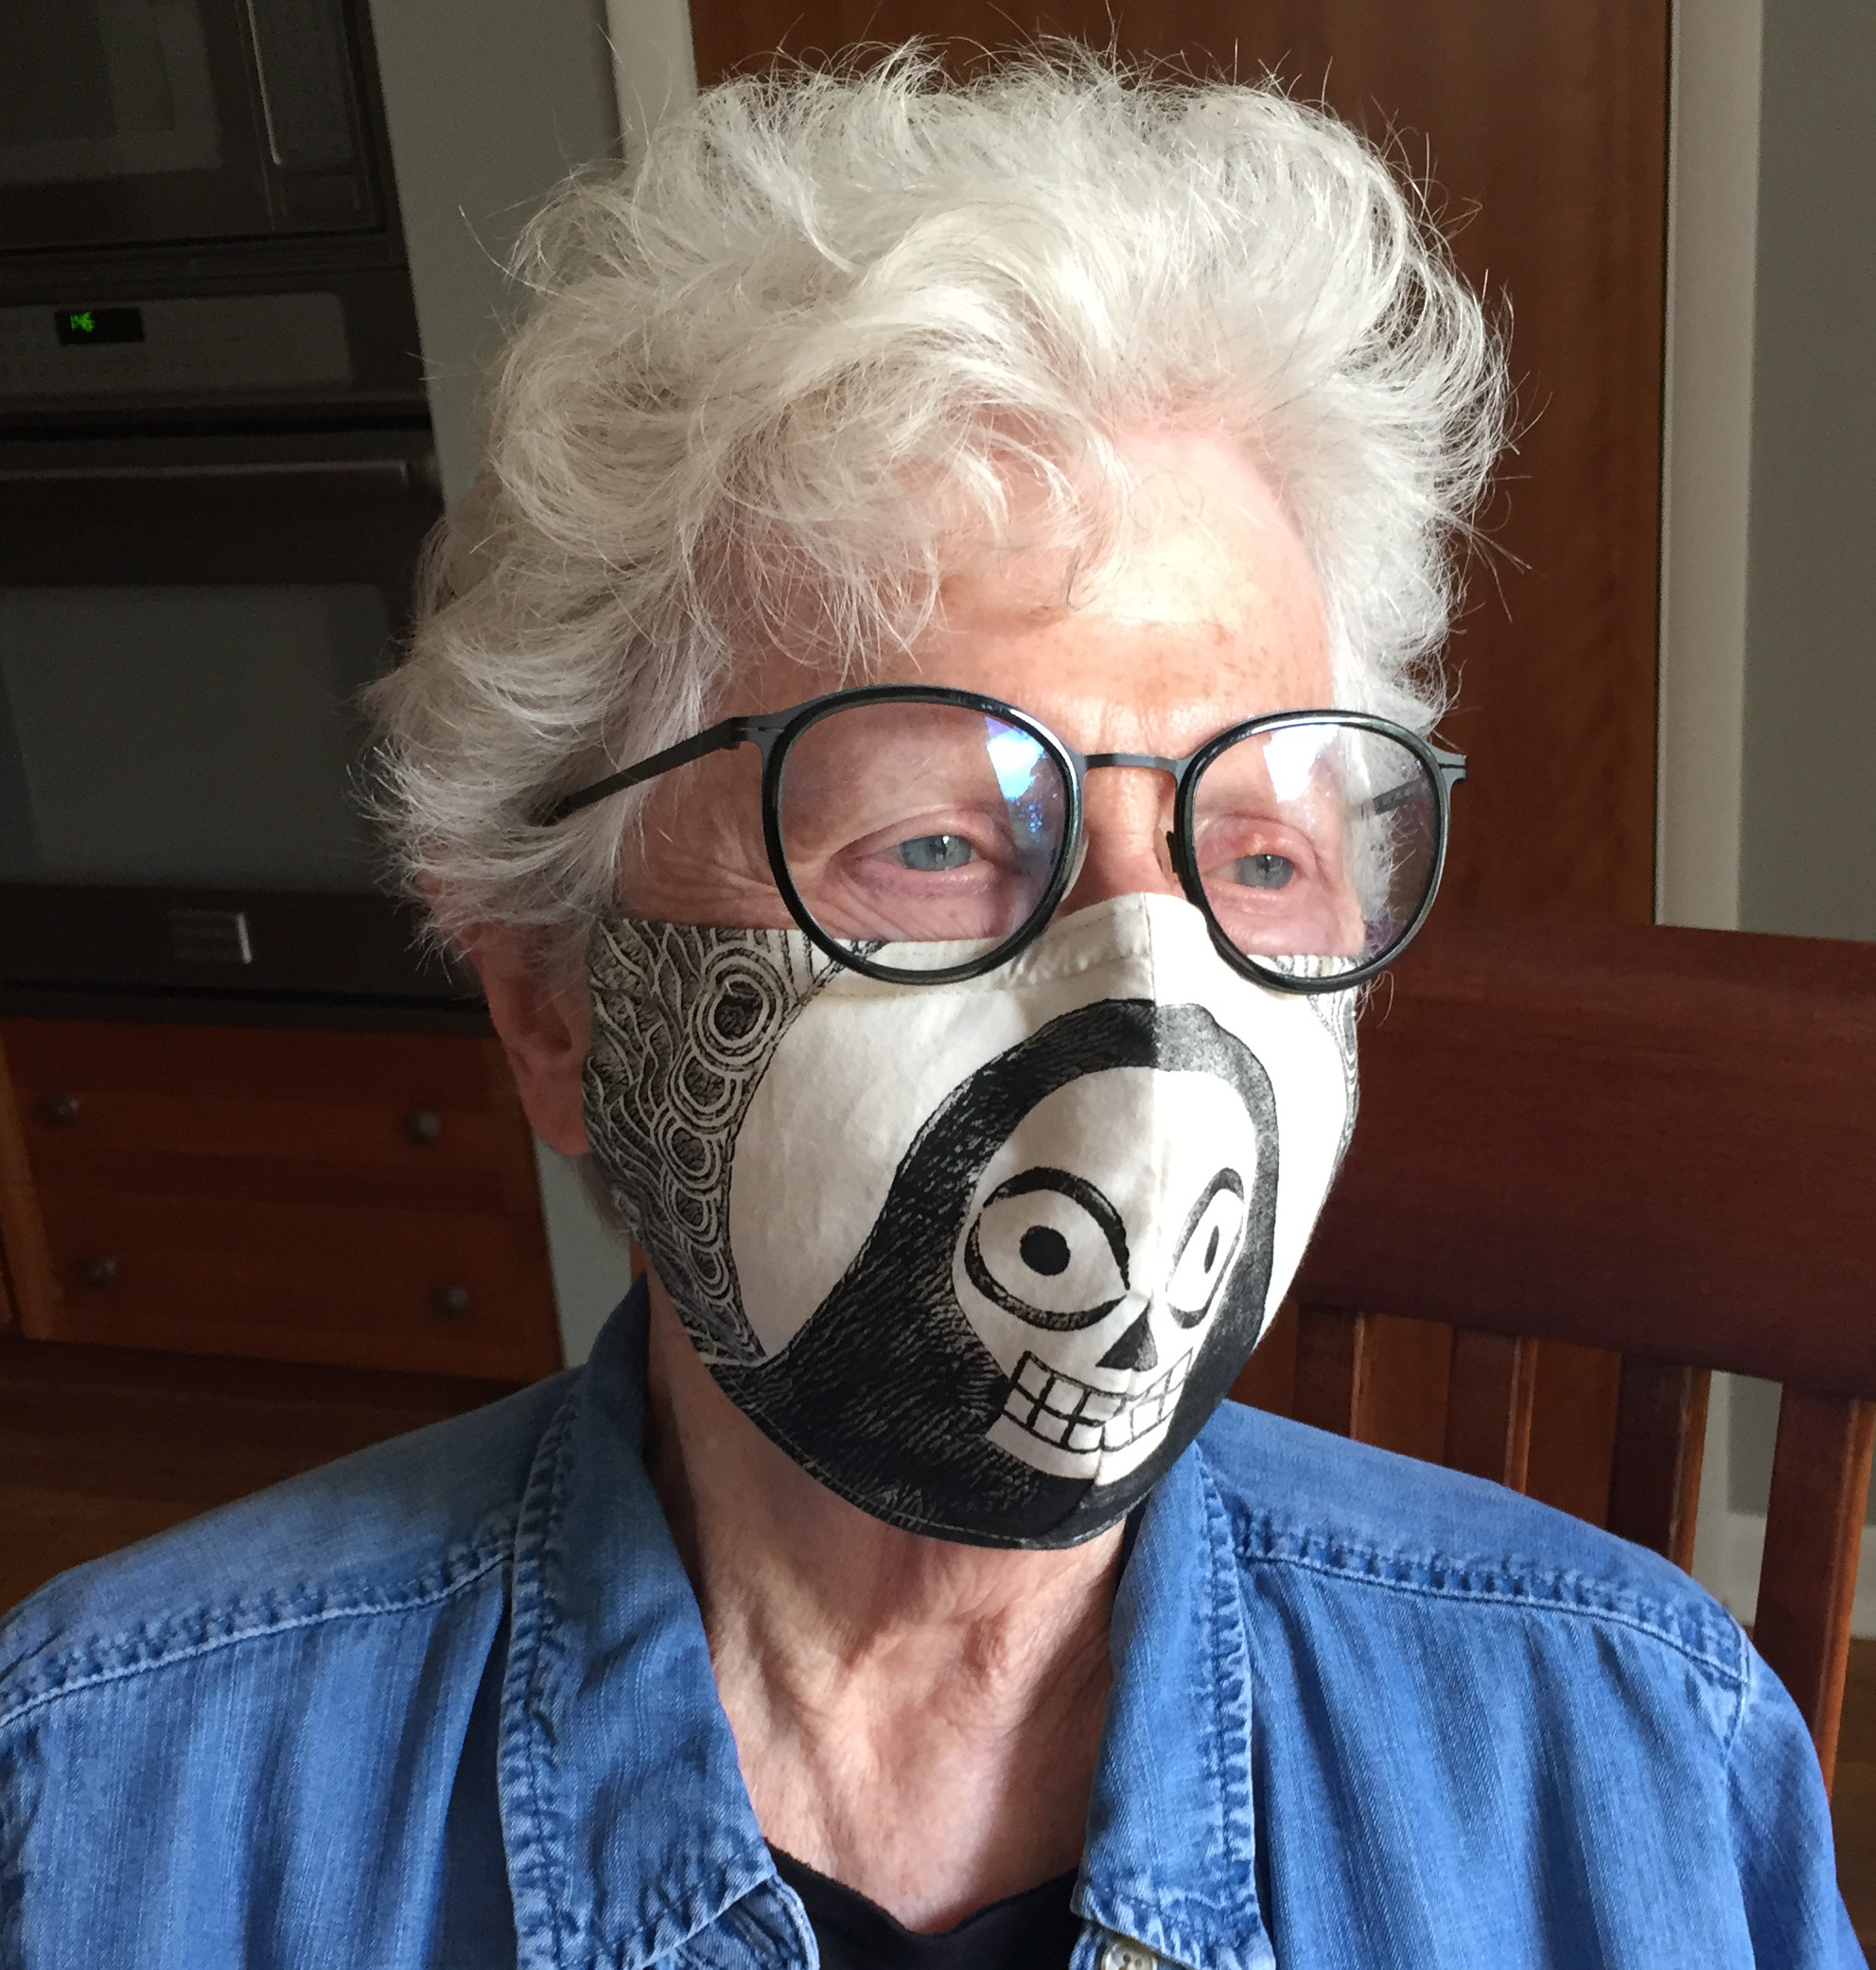
UPDATE: Here is Version 2 sewn together by my talented Momz and modeled by me:
I’ve made one more modification, to make the Angel O’ Death even smaller and the wings even bigger. One more test and it’s off to the screen printers.
We look similar, right? Must be that huge Angel O’ Death covering our mouths and noses.
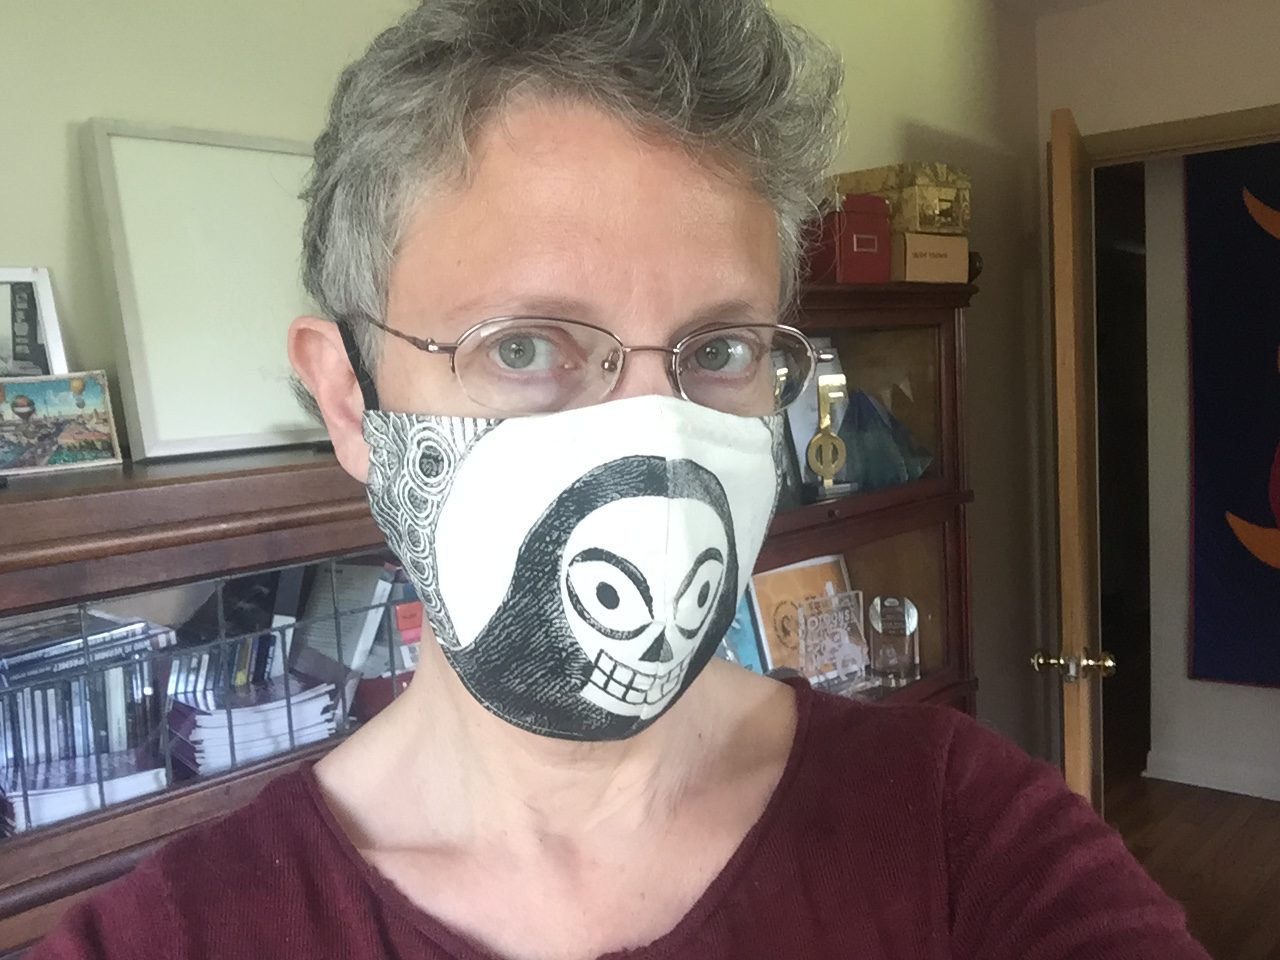
This mask is sewn from the unbleached pre-cut cloth:
Even though I got better ink impressions on the bleached white sheet, in the end we couldn’t use it because it was too soft and floppy to work with. It was literally from an old white sheet I cut up when it got holes in it. The pre-cut is PaleGray Labs’ quilting cotton, which is stiffer and crisper and easier to cut and sew. In the end, though, the off-white cream color has a nice worn look with the hand-print ink texture, and looks as stylish as any mask can be on the face.
More tests to follow.
*******
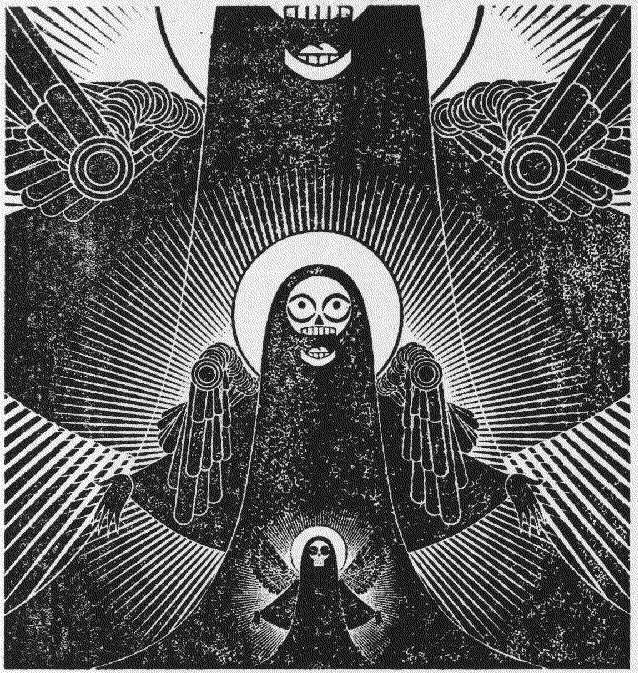
A few days ago, Theo Gray implored me to design fabric for the high-end masks he’s producing here in Urbana Illinois, using his laser cutter to precision cut the fabric components. The Angel O’ Death was an obvious choice, so I got designing:
Because the mask has a curved center seam, the art had to be distorted. I don’t have a single “distort” button (but there are very nice point distort tools in Moho) so I went by instinct. The paper test here is scratched up because I turned it inside-out after taping, which crinkled it a bit.
Now, how to get it printed on fabric? In the past I have used Spoonflower, but they currently have a 15+ day three week delay. Plus the size has to be accurate to fit the masks, and it’s really hard to get that right with Spoonflower, especially given the uncertainty of laundry shrinkage. Because my design was black and white, I realized it could be silkscreened!
But we’re in the midst of a pandemic, so when I called the local screenprinter no one answered the phone. I emailed them but still have no response. Then I thought, “why not block print this sucker?” After all, I’ve used a laser cutter to make Angel O’ Death block prints before:
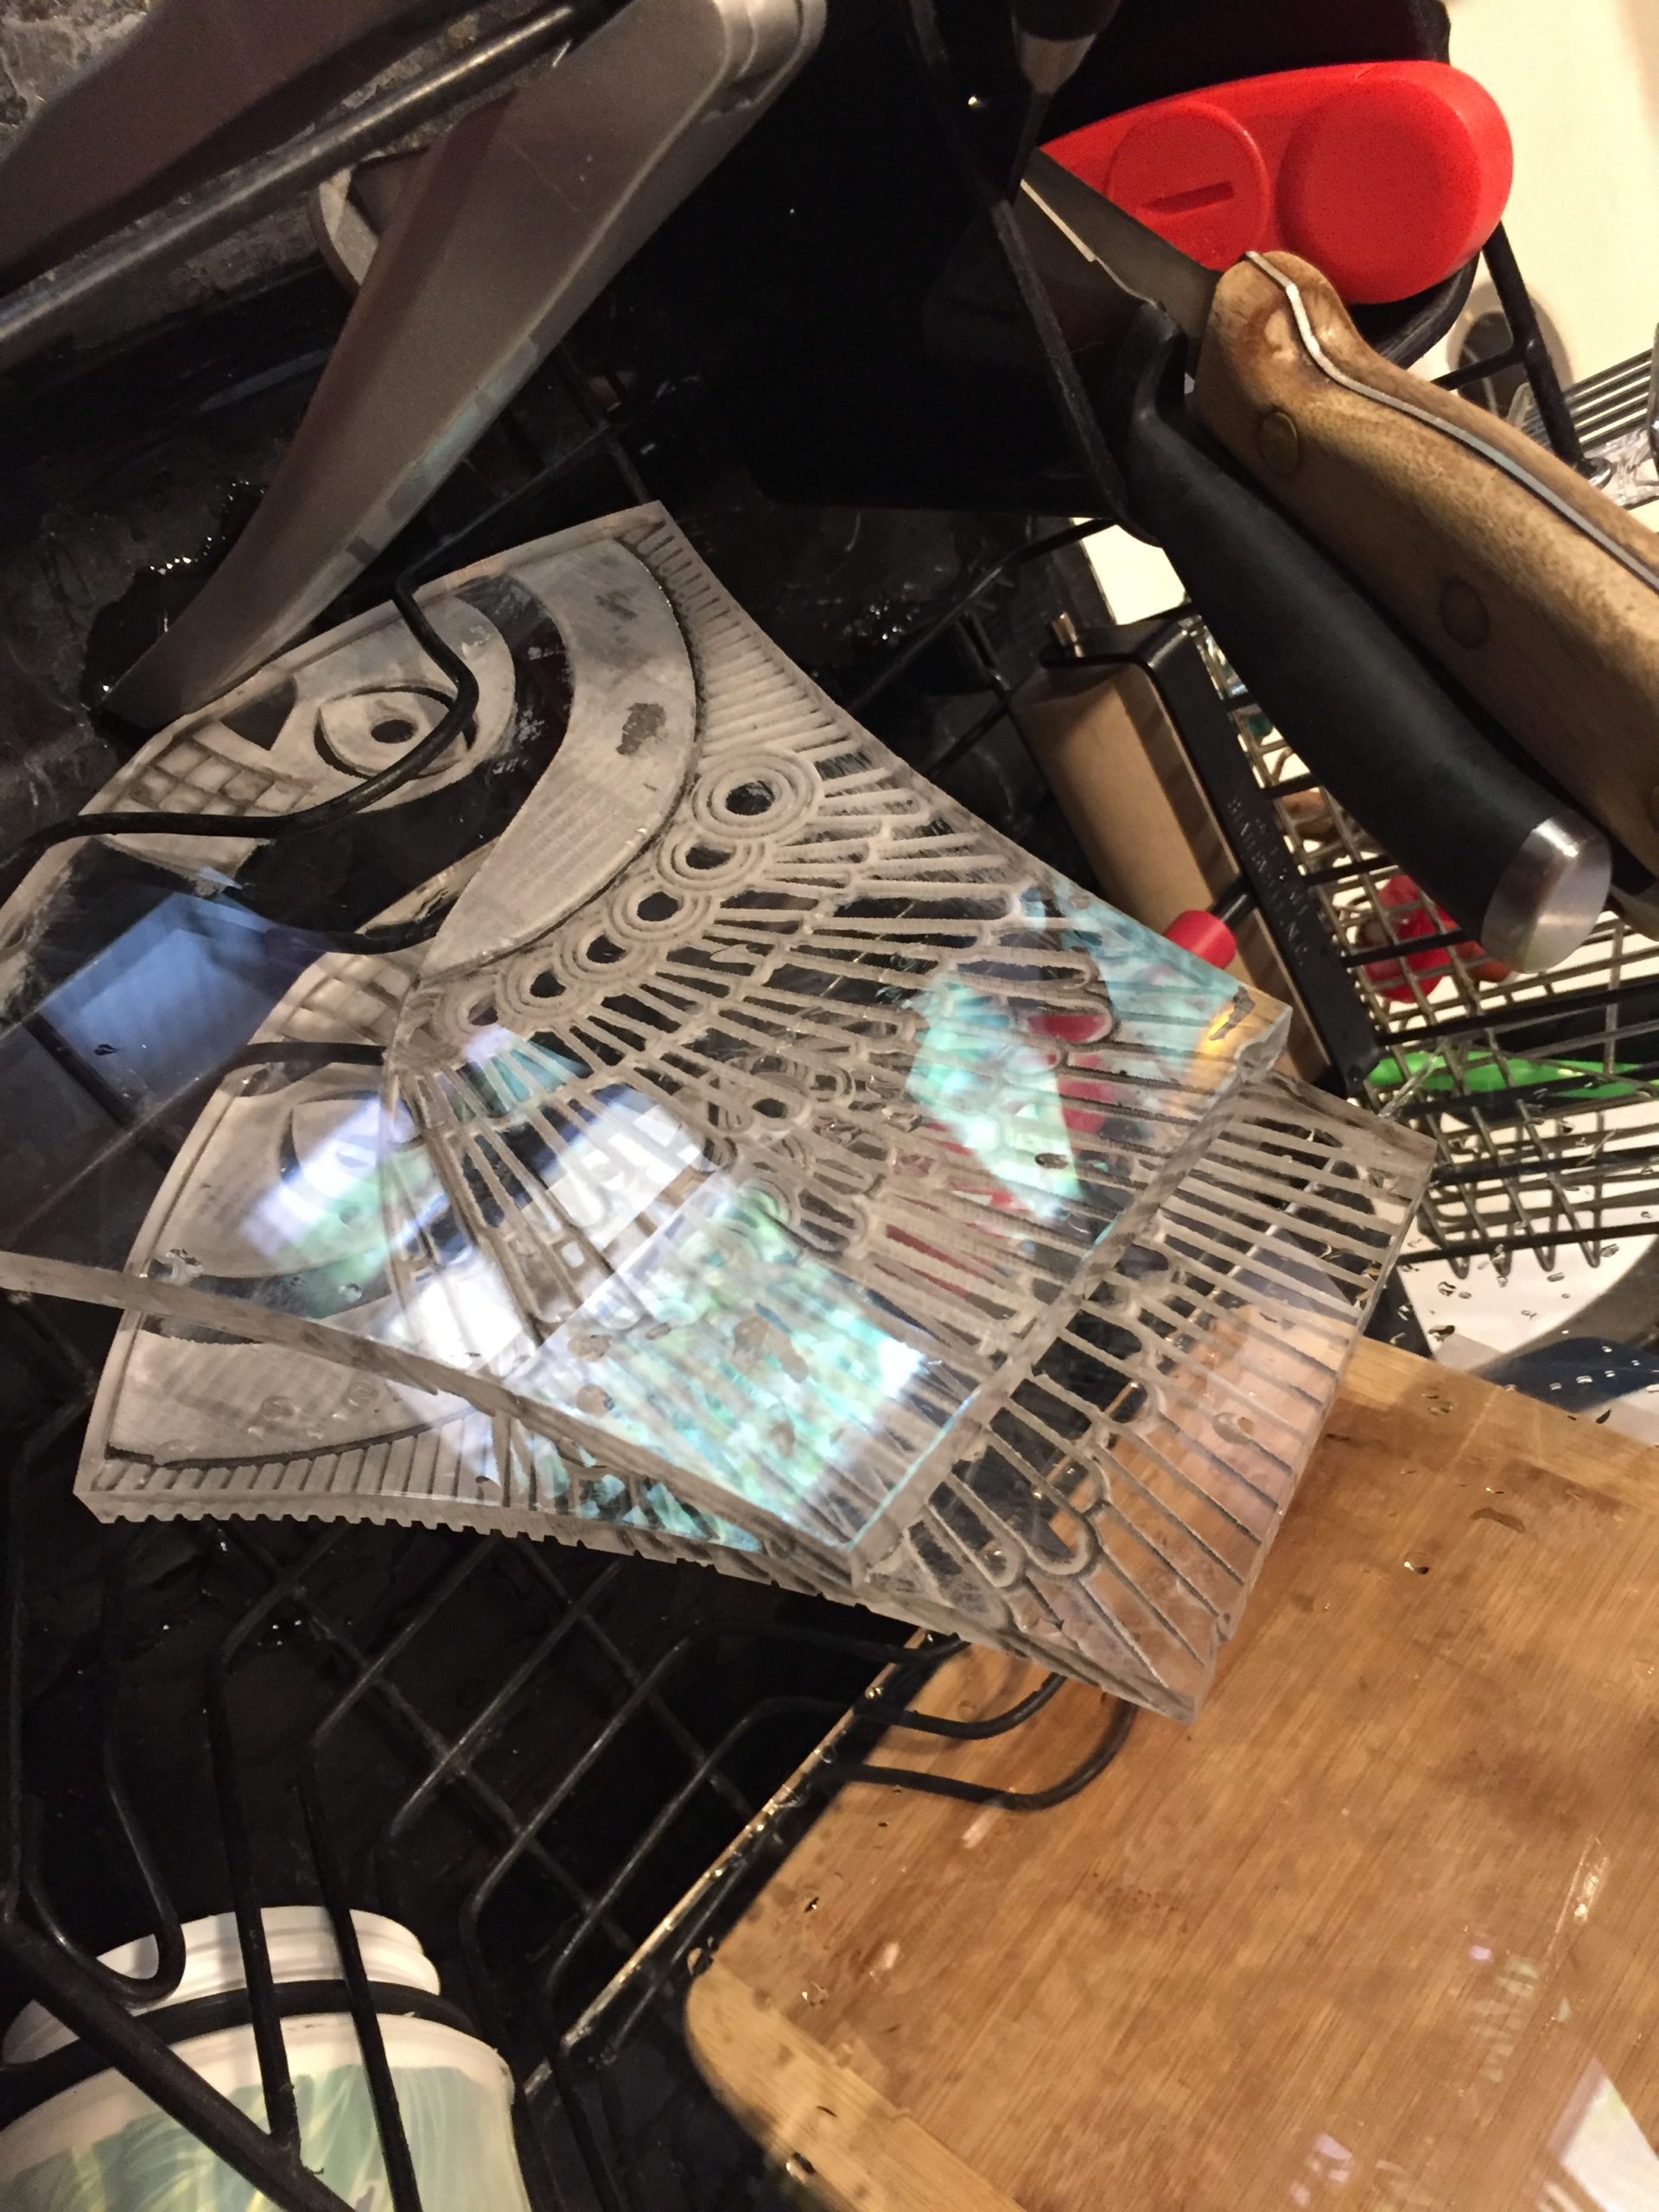
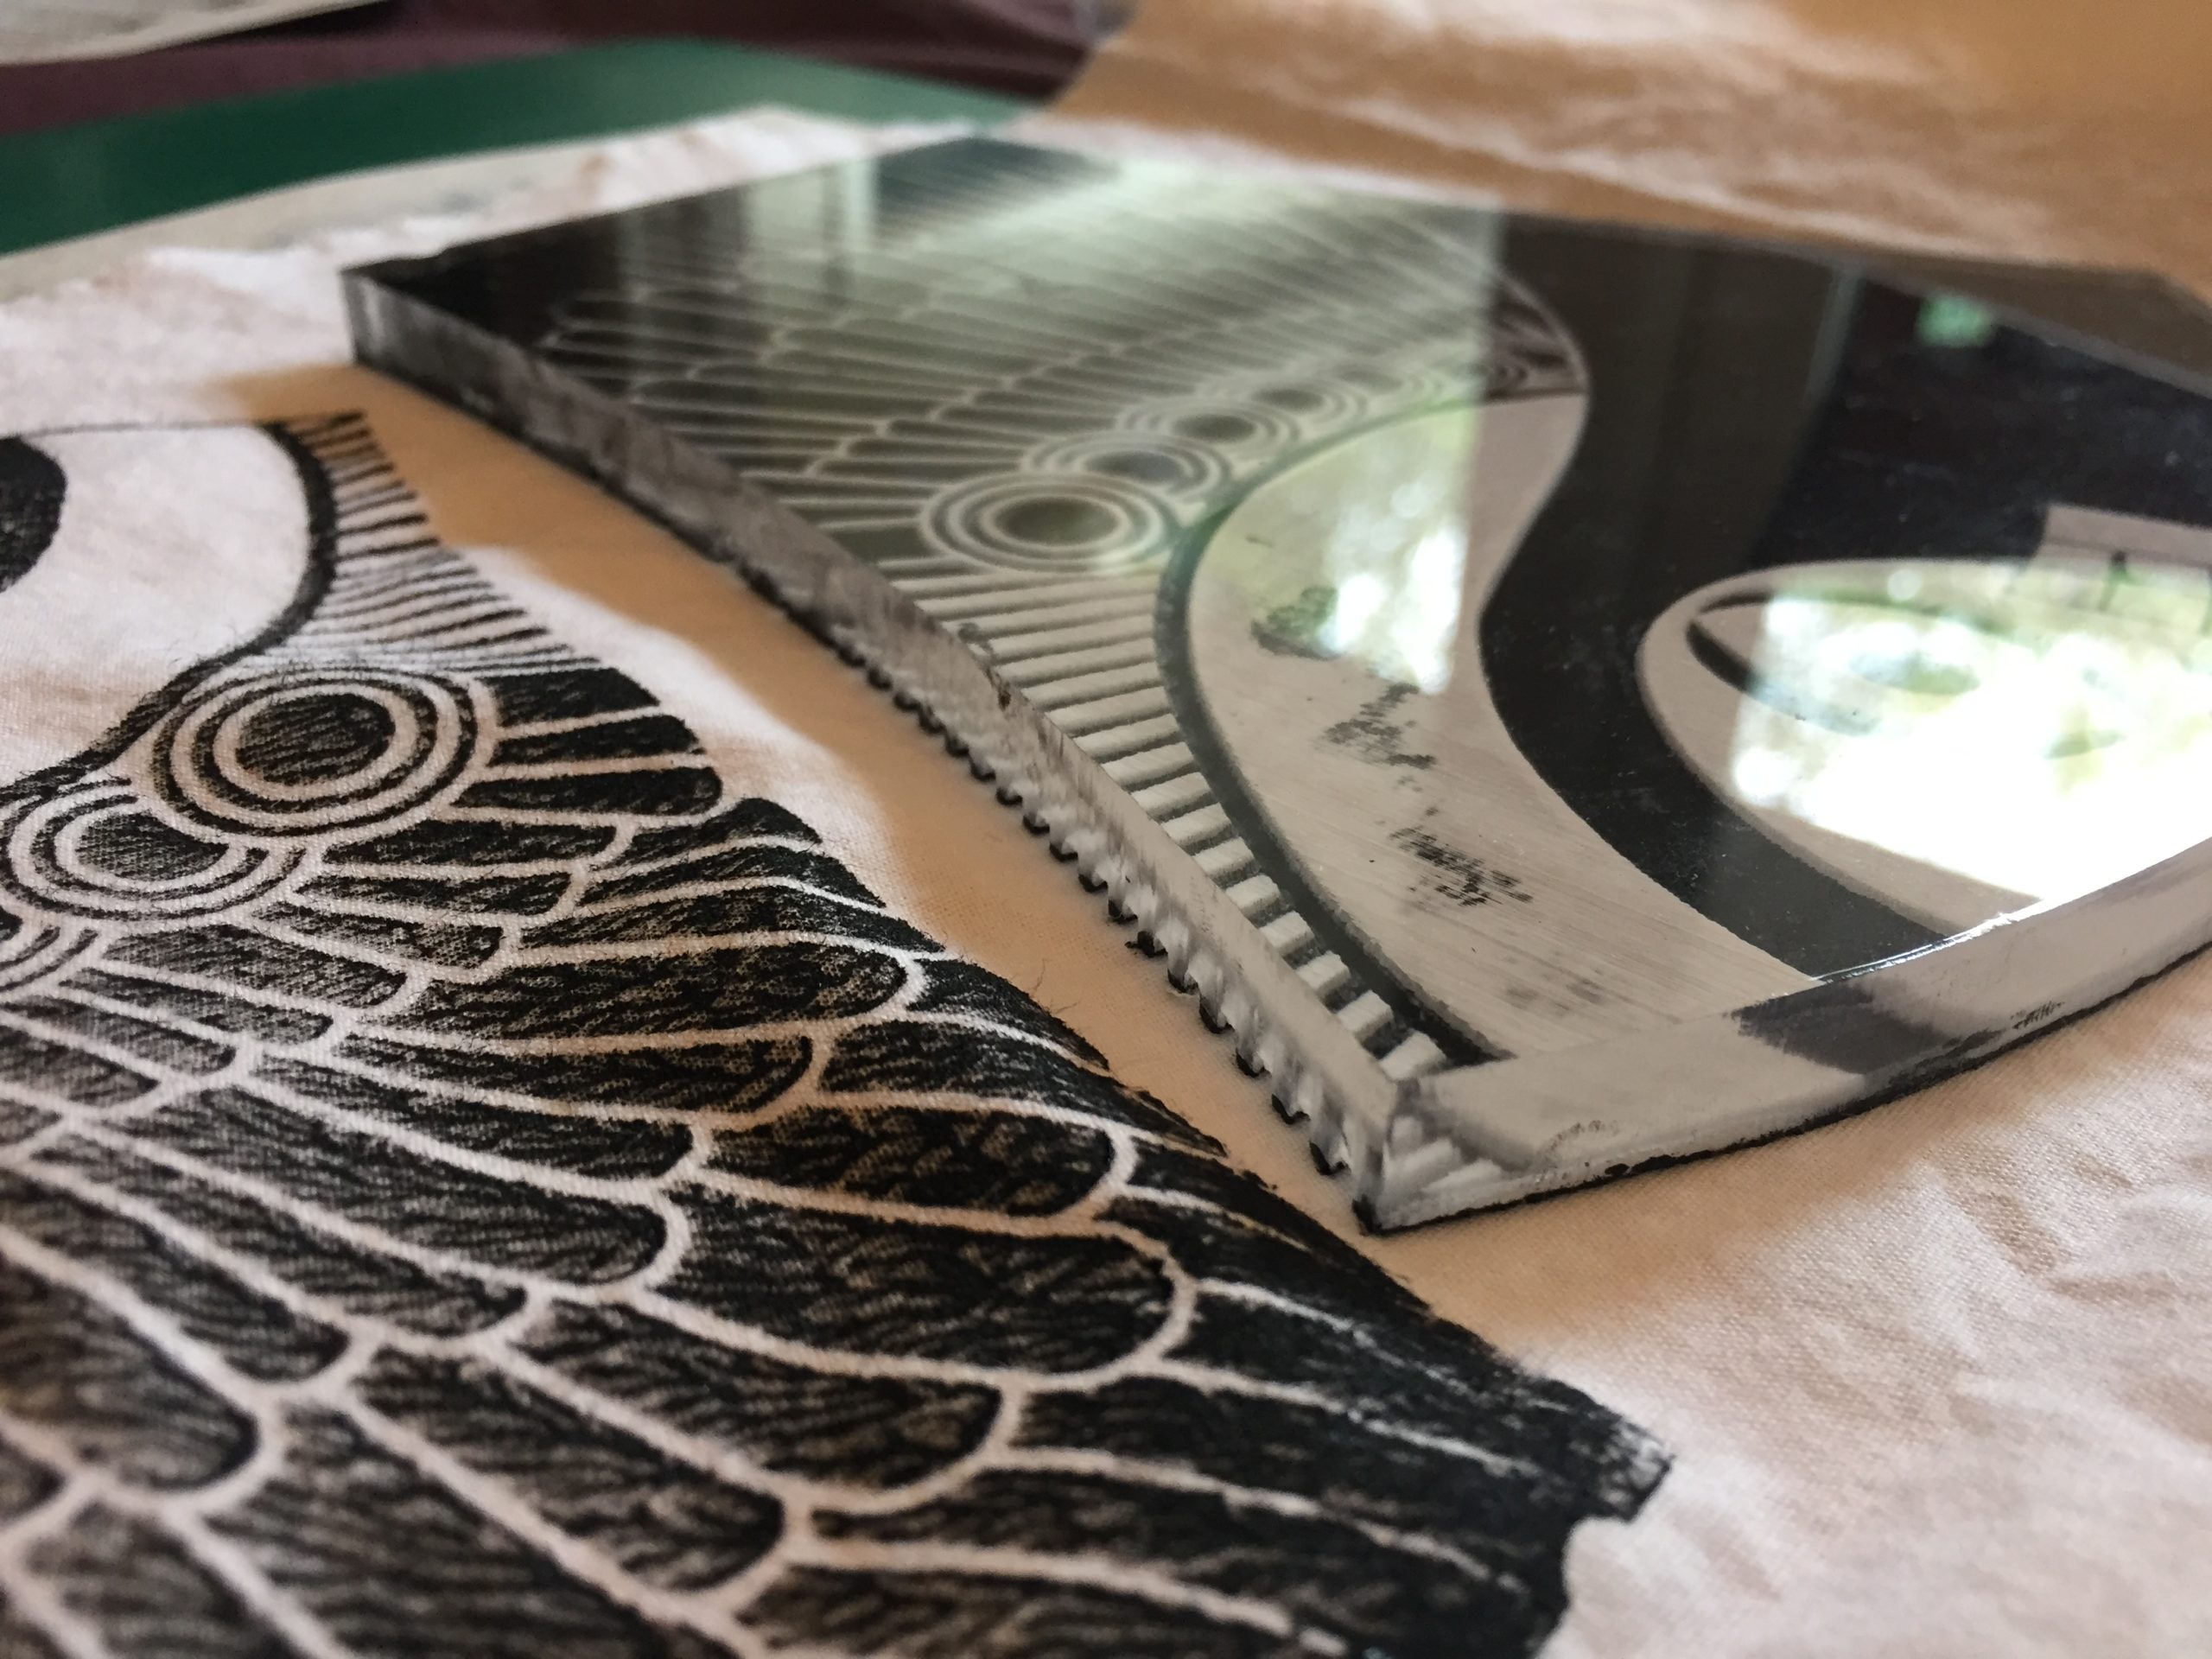
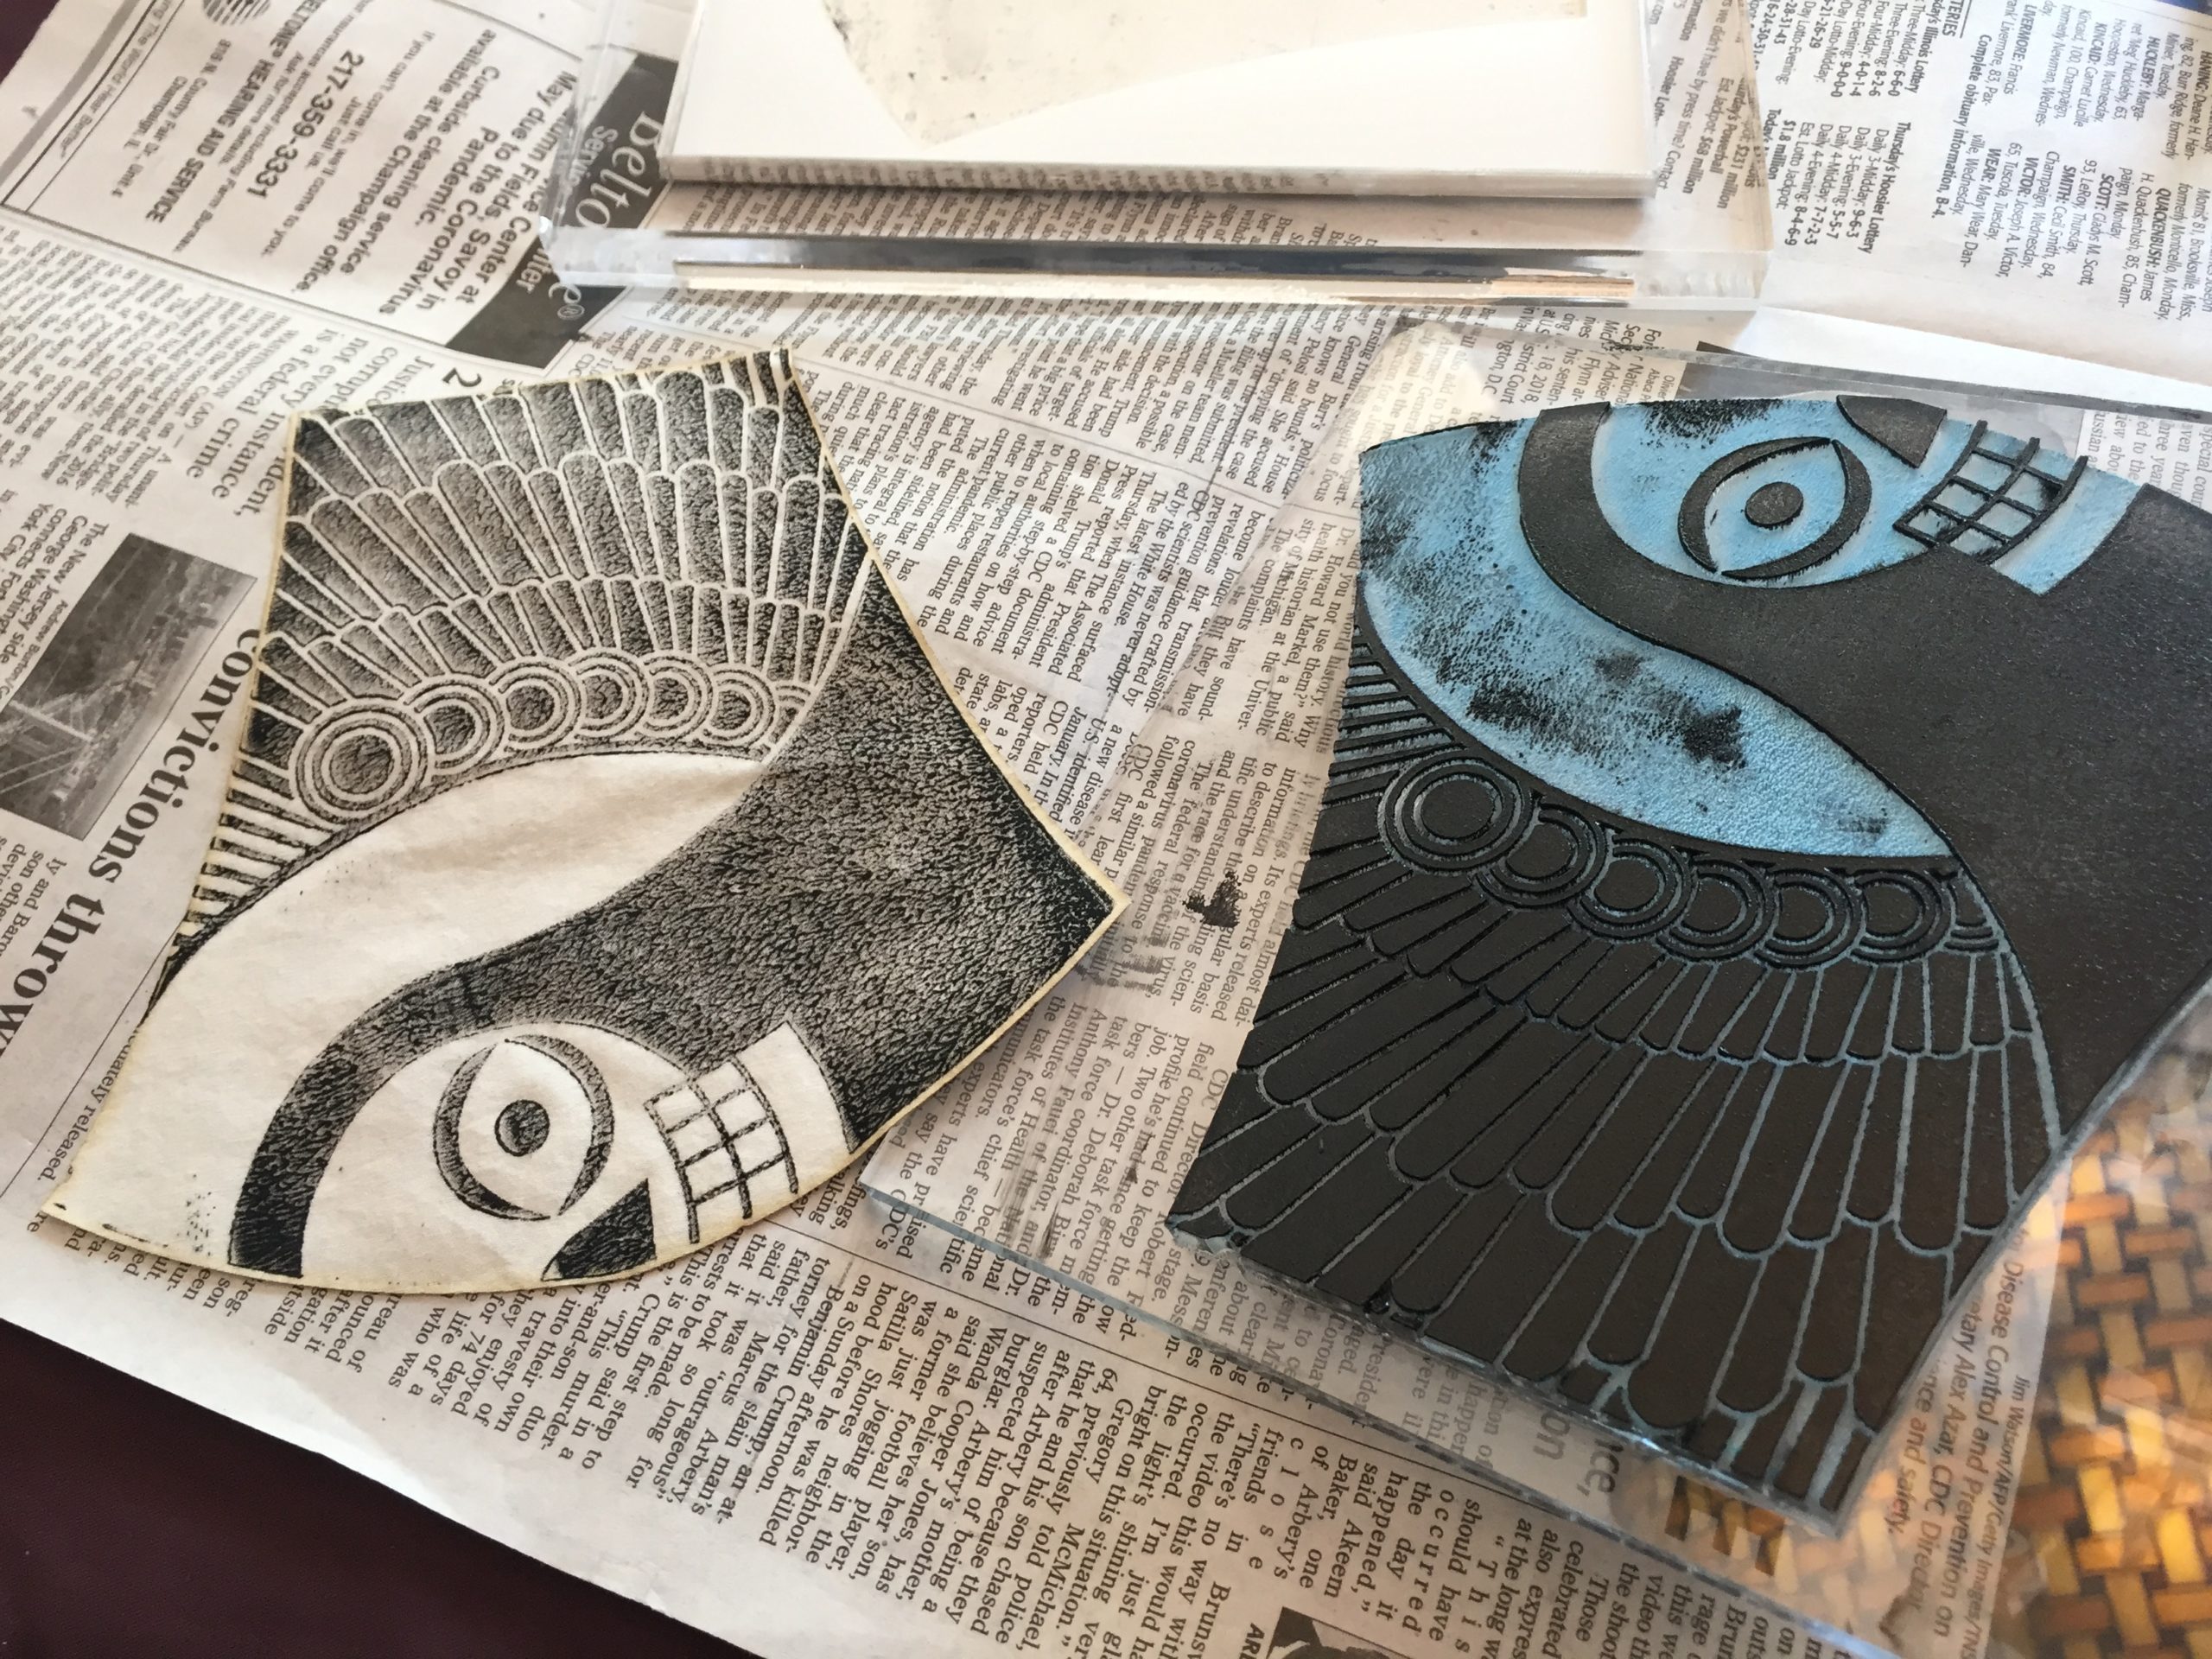
But where to find linoleum blocks in the midst of a pandemic? Theo doesn’t like using wood in his cutter because it “gums it up.” He prefers acrylic. So I thought, “why not block print using acrylic?” So Theo made these:
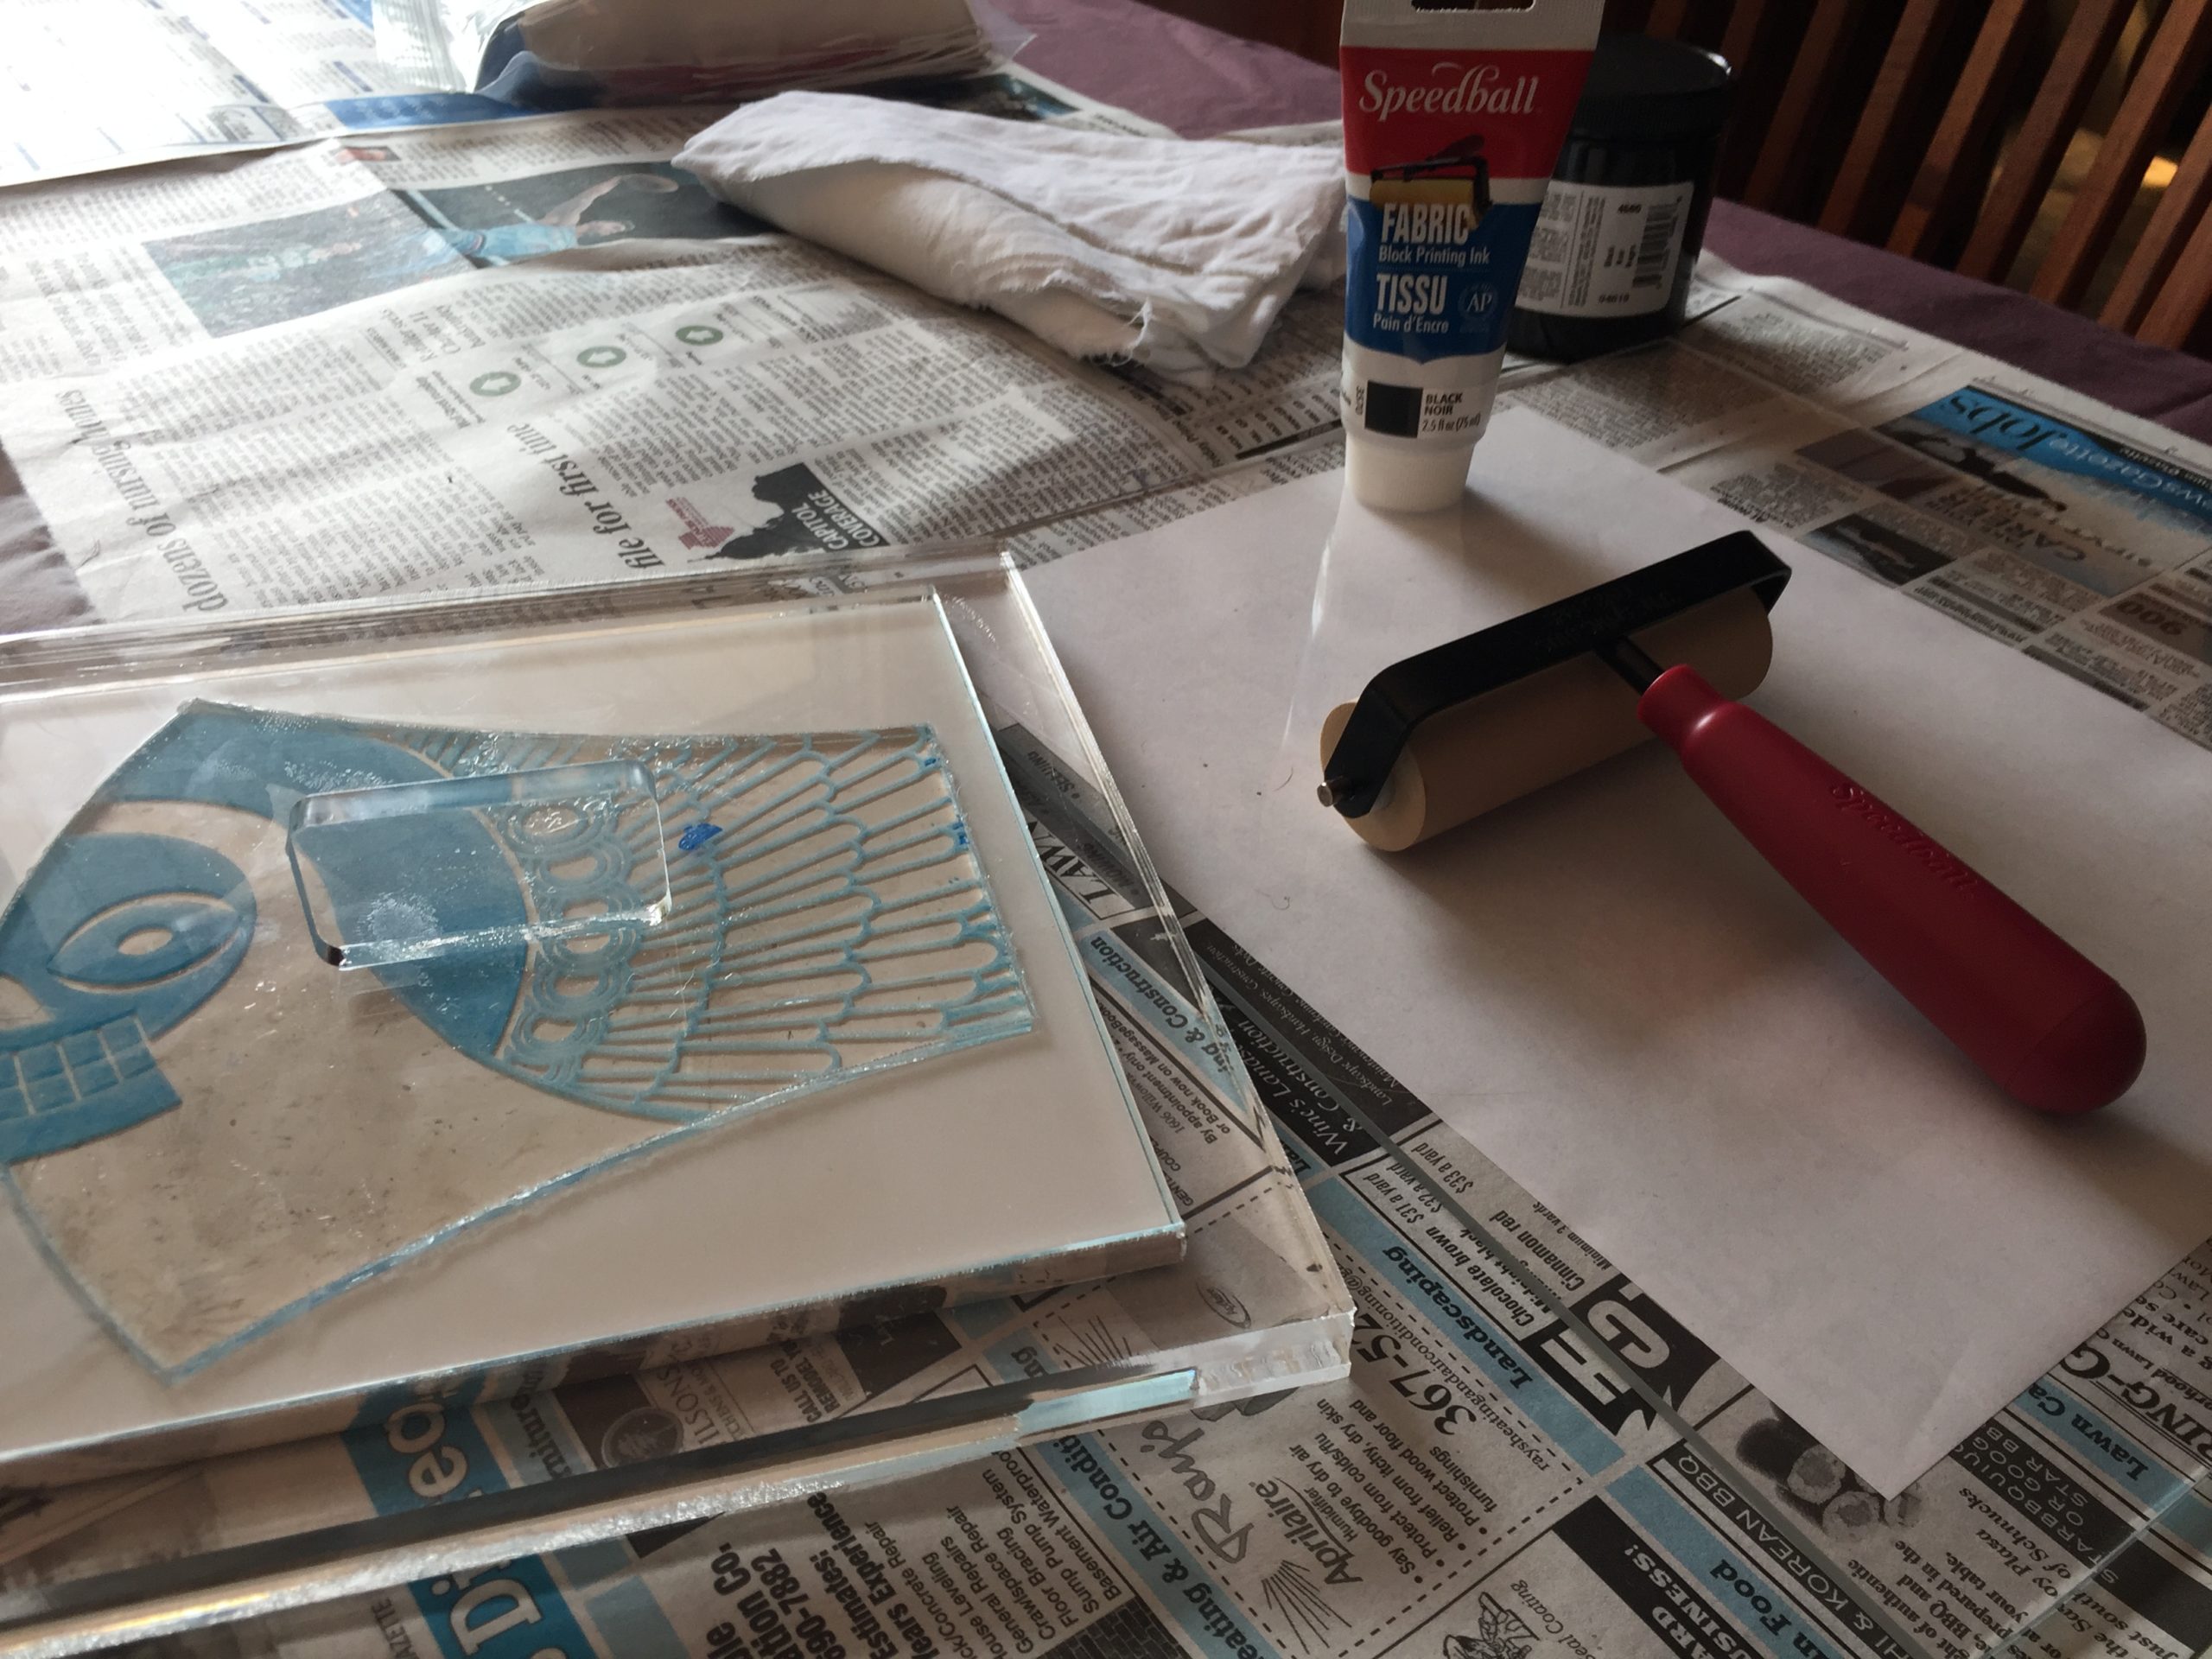
I was able to get screenprint fabric ink and a brayer from the local big box chain art store, by ordering online and getting local pick-up; I got special block print fabric ink from the local local art store, once they finally answered their phone (no pickup, so I got the $5 home delivery). This morning, I did my first tests.
The good news is, acrylic is a perfectly viable material for block printing.
The bad news is, block printing is very labor intensive and probably not the best medium for this project. I got enough decent prints to make 3 or 4 masks out of this batch. The impression below is about the best I could do:
Second test, with Speedball Screen Printing ink for fabric
The screenprint ink actually worked better than the block-printing fabric ink. I applied both with a brayer. I was able to load more screenprint ink onto the block, and the fabric seemed to accept it a little better.
First test, with Speedball Fabric Block Printing Ink
The image looks better on bleached white than the unbleached “natural” cotton I thought I’d prefer.
Theo made a system for registering prints on pre-cut fabric, which saves the work of cutting out with scissors later.
But it adds more labor “burnishing” the fabric onto the block with your fingers.
Impressions using this system came out lighter than my tests on uncut white fabric, even with all the finger burnishing. I’m not sure why.
The handmade, ink-textured look is hopefully charming and valuable. Maybe it’ll look cooler than silkscreen, but I’m still gonna try calling the local screenprinter again today.