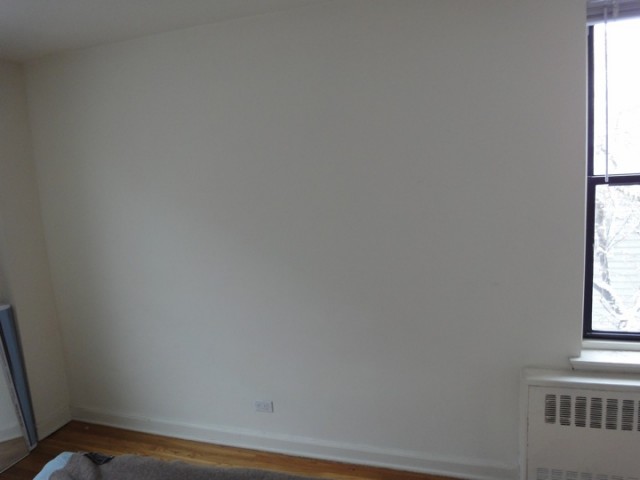
I have a huge bare sad wall in my bedroom.
Instead of painting it or hanging artwork, which is what a sane person would do, I decided to try using my little domestic sewing machine to make some wall hangings. Instead of buying anything new, I’d try using only the fabric, thread and batting I already bought. Limitations can force interesting design decisions, right? I only have 24 colors to choose from, all solids, no patterns, and no more than 1 yard of each. My sewing machine is small – the harp space (space between the needle and the inner “wall”) is only 6″, so I can’t do anything really big. I have a Queen-size piece of cotton batting, but I can’t make a queen size quilt. Maybe I can make 4 long skinny pieces instead? That’s what I’m designing, anyway, based on “The Four Elements.”
The first one is “Earth.” Here’s the design:  It uses 5 colors of fabric I have (3 shades of green, 1 brown, and tan/cream).
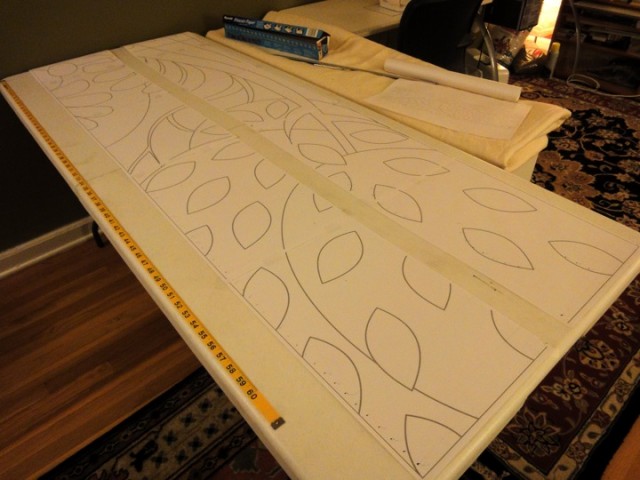 I printed it out on several 11 x 17″ sheets. I intentionally printed it too large, so the piece could be a little wider; I knew what to draw in the gaps.
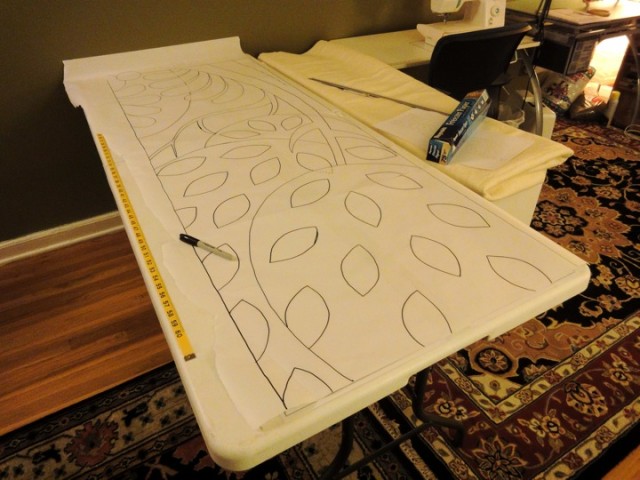 I actually did go to the grocery store to buy freezer paper, which Leah Day suggested as an aid to piecing. She was right; it’s cheap and easy to use. It adheres very lightly to fabric when ironed on, and peels off easily leaving no residue. I had to tape several pieces together to trace the 24″ wide template.
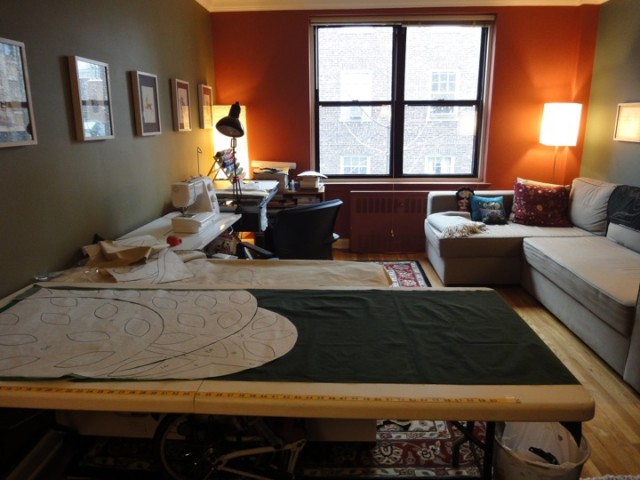 And so I commenced piecing my 2nd-and-a-halfth quilt. This is much bigger than previous experiments: about 24 x 80″. Also: it snowed.
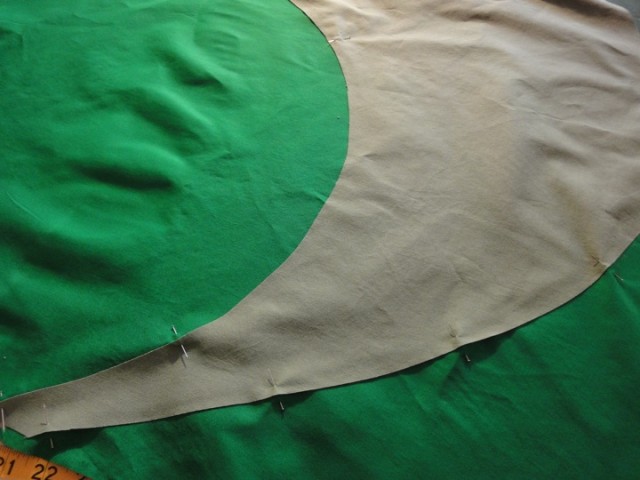 I glued these pieces with Elmer’s Glu-Stik first, then pinned them. After working this way for a while, I learned I could skip the glue altogether. Pins, it turns out, work the best.
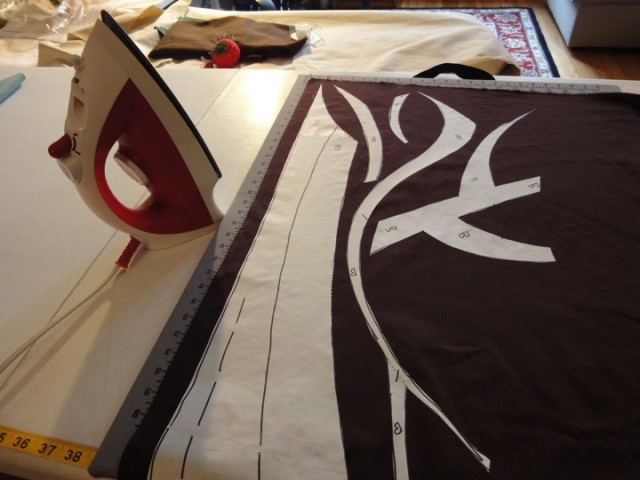 Here’s that freezer paper, cut out and ironed onto fabric.
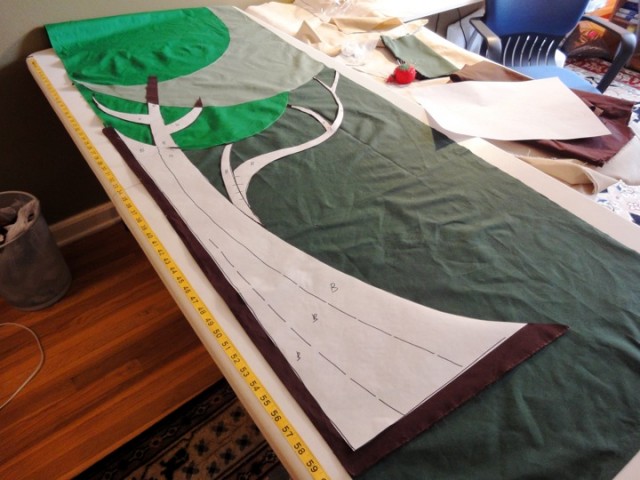 I cut and laid out the pieces, then peeled off the freezer paper and pinned them down.
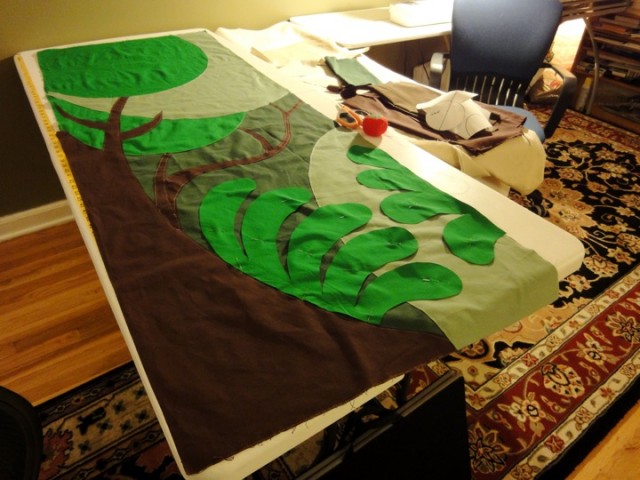 I attached the pieces using a simple straight stitch, leaving the edges raw. I may zig zag all over them once I quilt this thing. Did I mention this is all extremely time-consuming? Just the pix here represent 3 days of work, not counting the time I spent designing the thing. And I haven’t started quilting it yet.
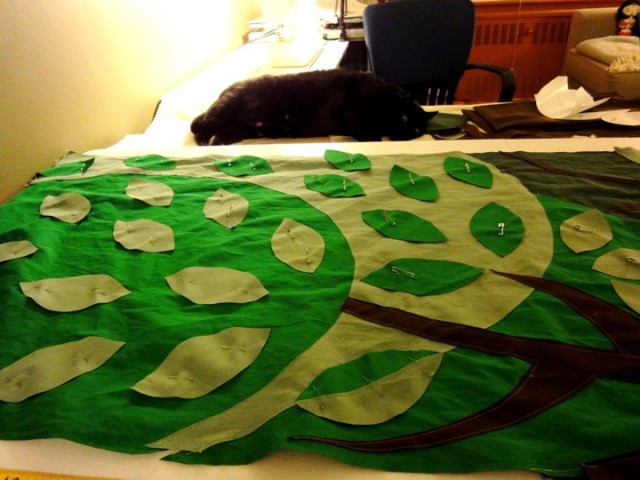 I kept using straight pins until I remembered the bent safety pins, which won’t poke my fingers when sewing. Notice how Bruno is “helping” by holding down a stack of clean, carefully ironed fabric.
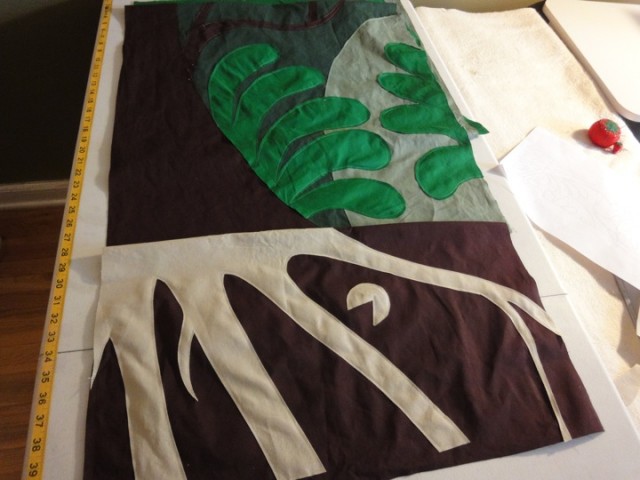 The roots and soil started on a separate piece of fabric.
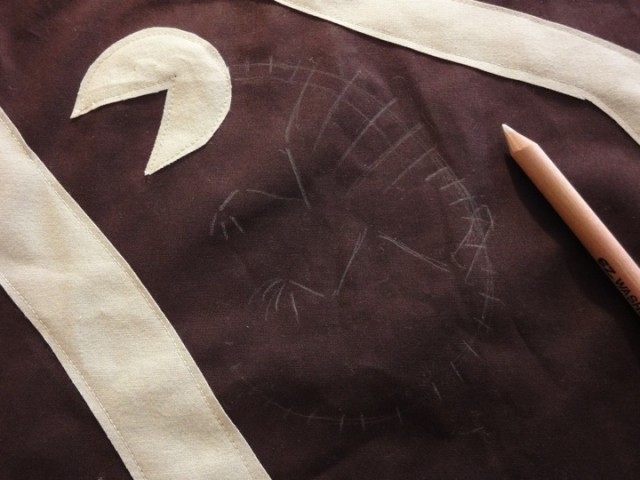 Luckily I have a tailor’s chalk pencil…
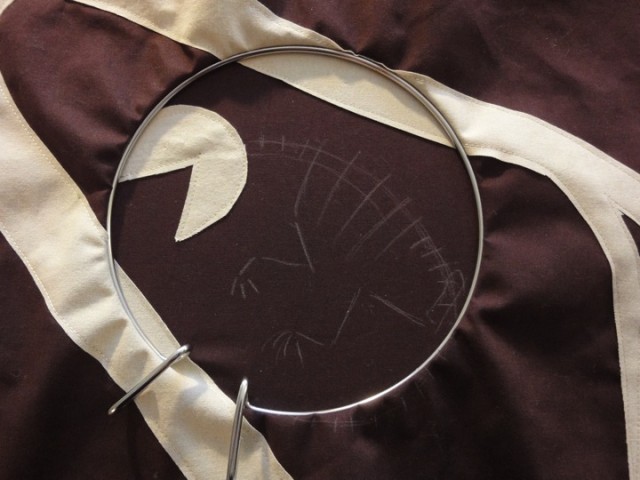 …and a low-profile embroidery hoop.
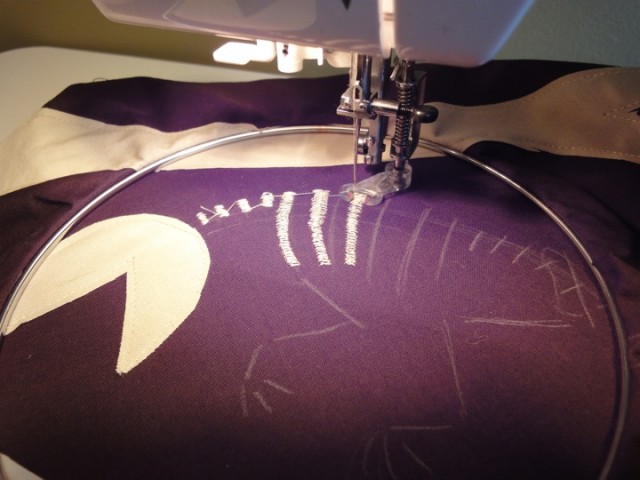 Machine embroidery is faster and more fun than piecing.
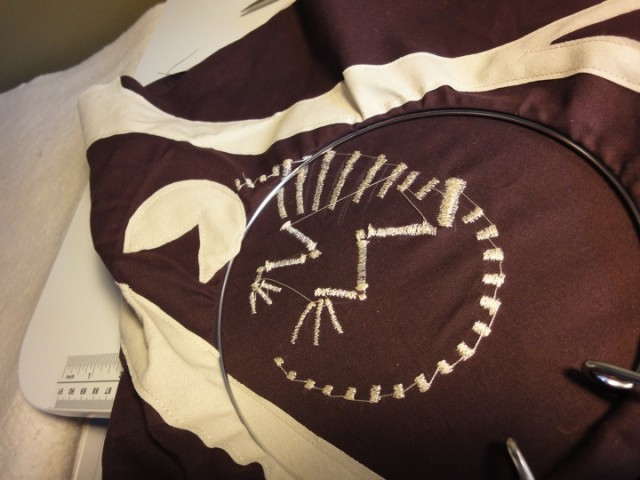 I only had to move the hoop once to embroider the whole design.
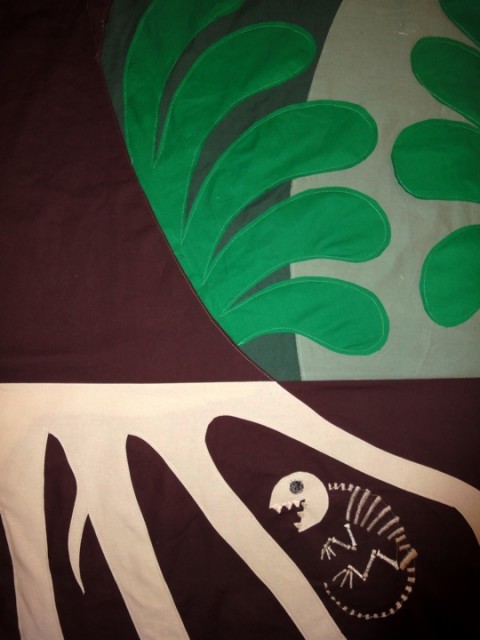 Then I sewed the roots/soil to the rest, using a straight stitch.
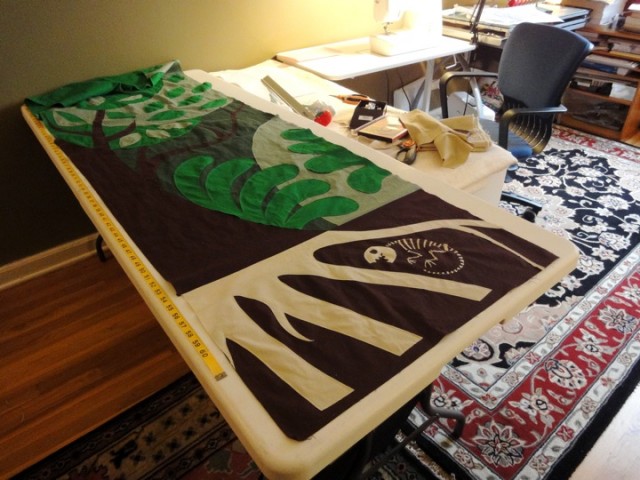 Here’s the whole thing before layering the back and batting.
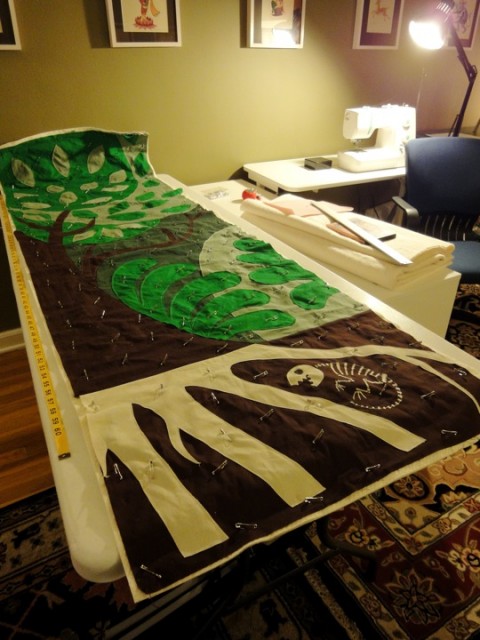 And here it is, basted. Now I can start quilting. If I’d known how long all this cutting and piecing would take, I might never have started. Good thing I didn’t know!

Brilliant. I love your living space.
Looking good!
Quilting all that could take a lllloooooonnnnnnggggggg time.
Dynamite project!
Will Agni make an appearance on Fire?? 😀
I was thinking a phoenix.
Amazing! Your project and how you did it as well..
Thanks for sharing the step by step.. It is very inspiring!
Love the step by step. Thanks for documenting so well and sharing!
ps I want your sewing machine
So, you don’t consider wall hangings, designed and made by your self, to be ‘art’ that you said might be hung on the wall by any other sane person? I think you under value what you have done. Thanks for documenting and sharing. I look forward to seeing the finished hangings in place.
Finally got to see your “Sita Sings the Blues” . Bought 4 DVDs to share with friends through Amazon. Hope that gets money going your way. My, you are so talented. I wanted to let you know I loved your retelling of this historic story, the humor you added to it, and, of course, the music. Register this as a fan letter! You rock. By the by, did you know that Beverly Cleary gave up writing a while back, now she needle points. But you, give us more films!