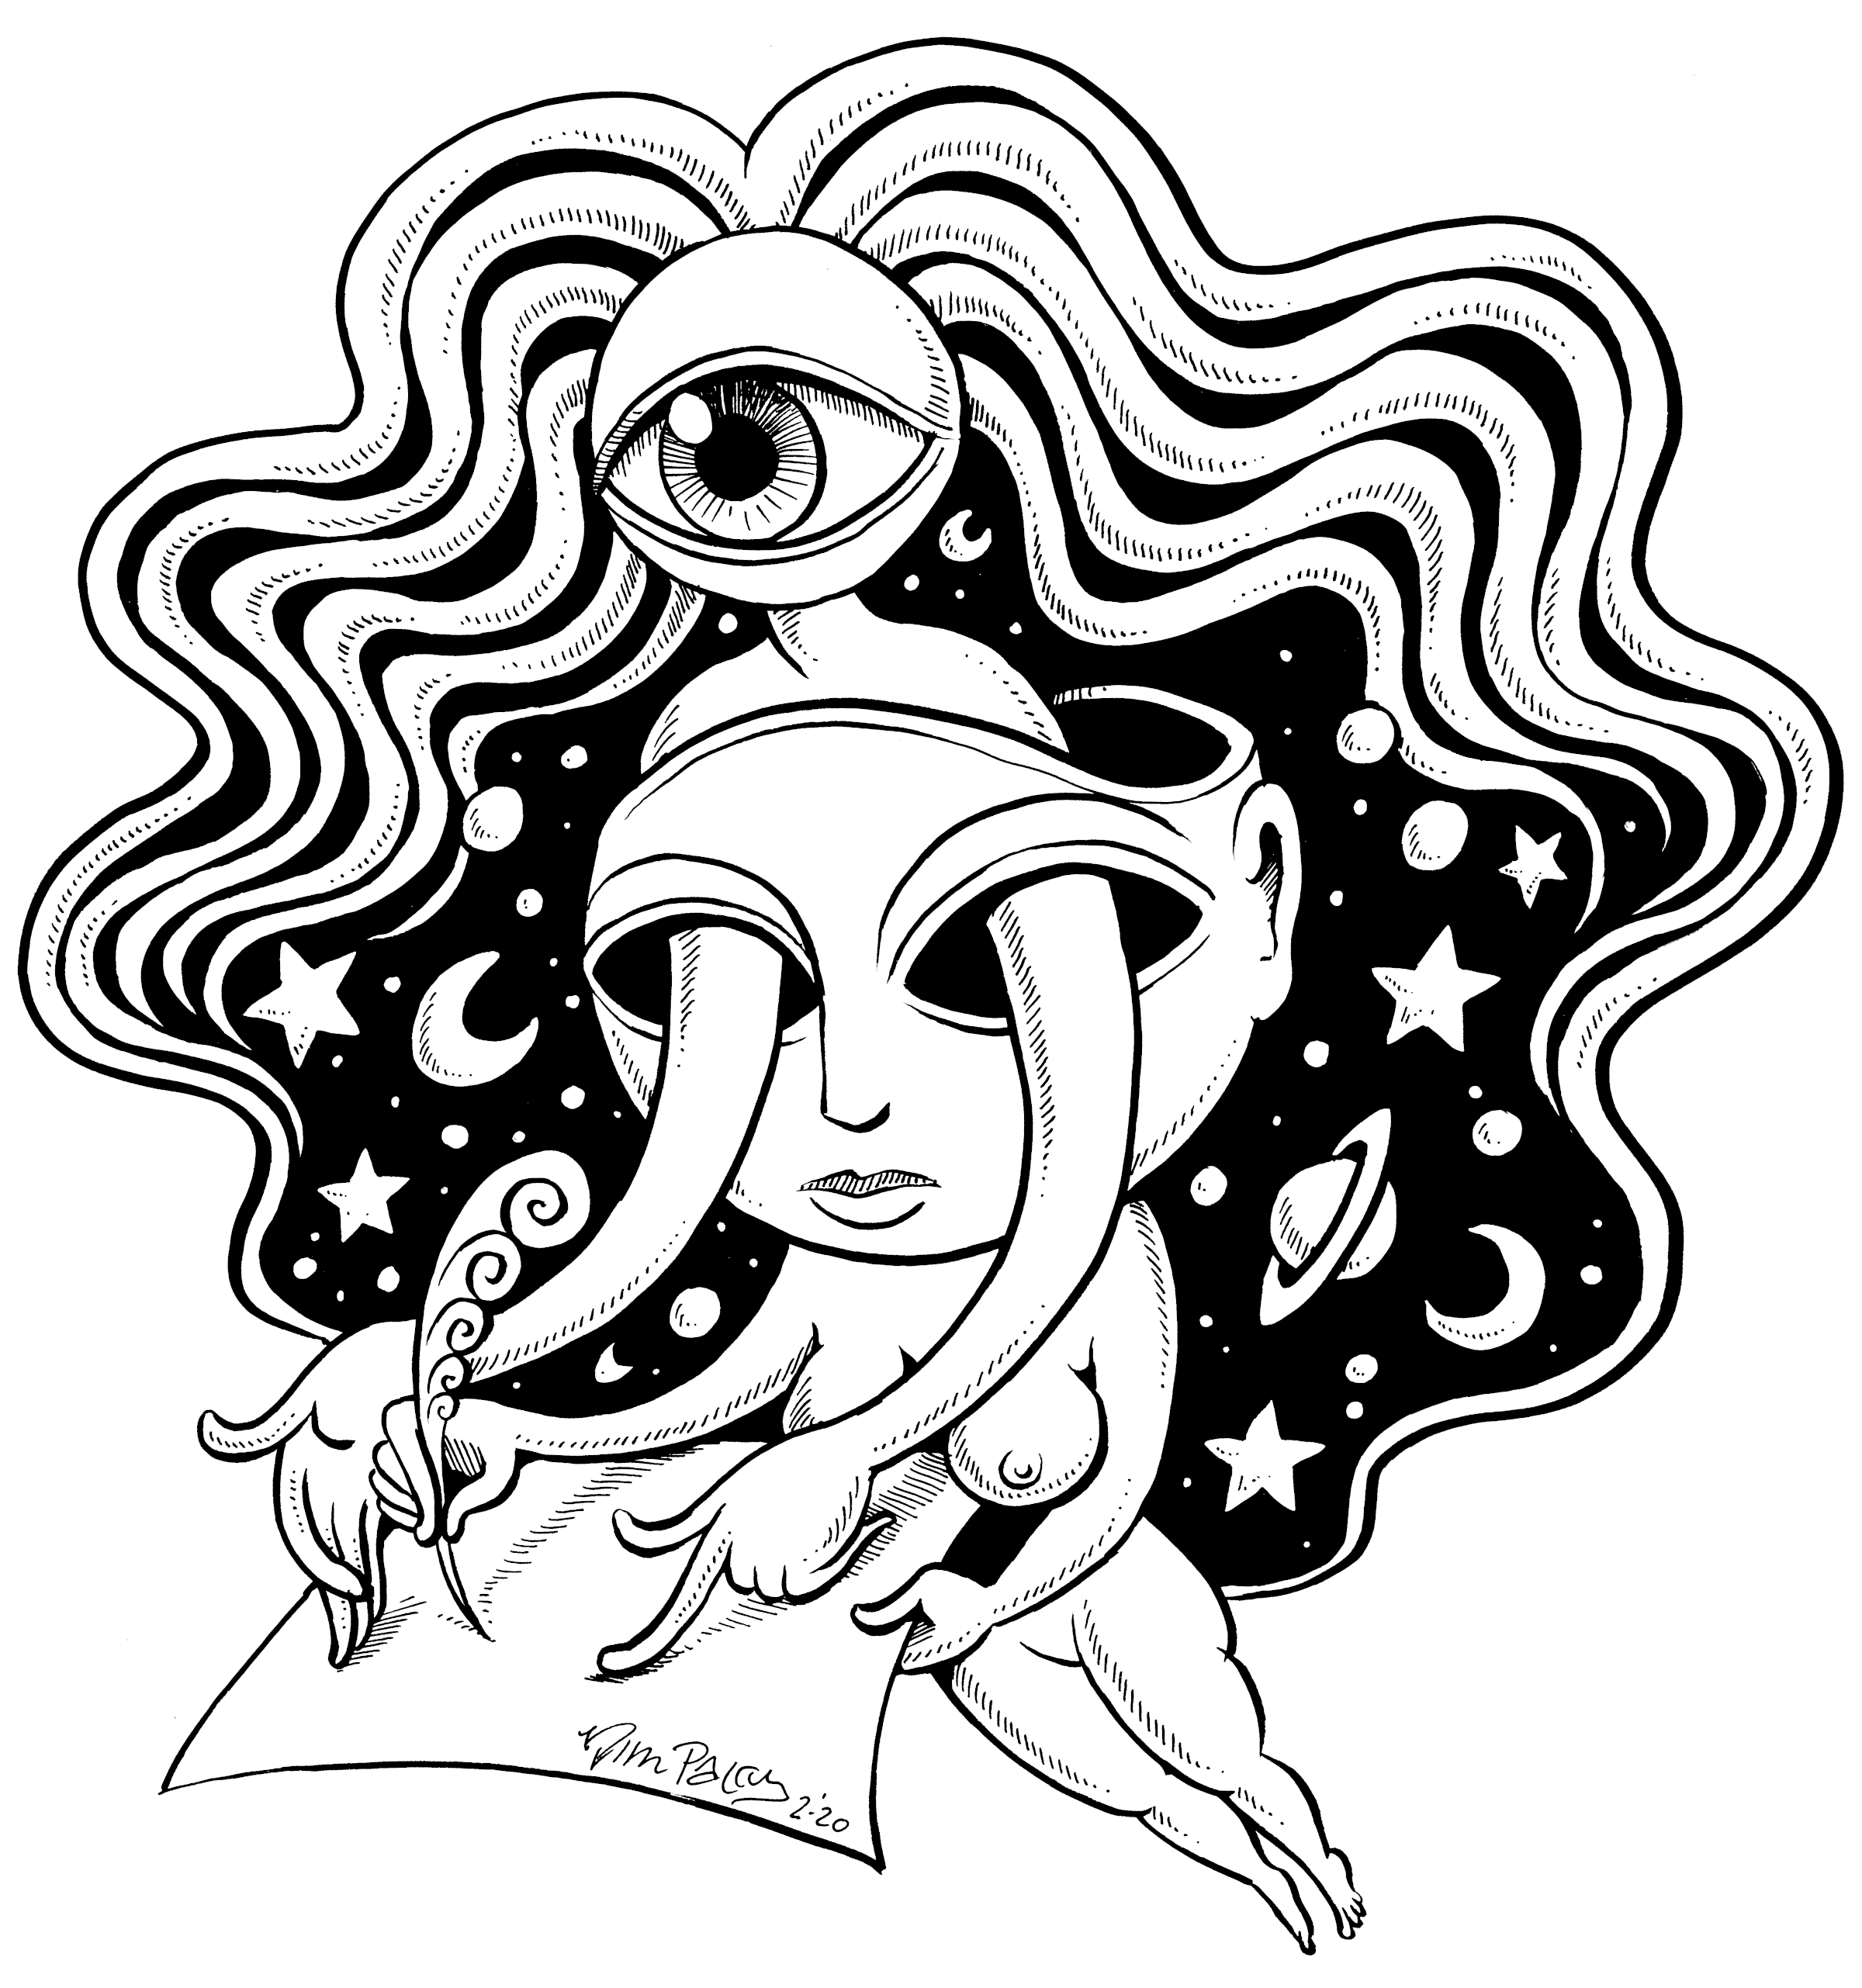
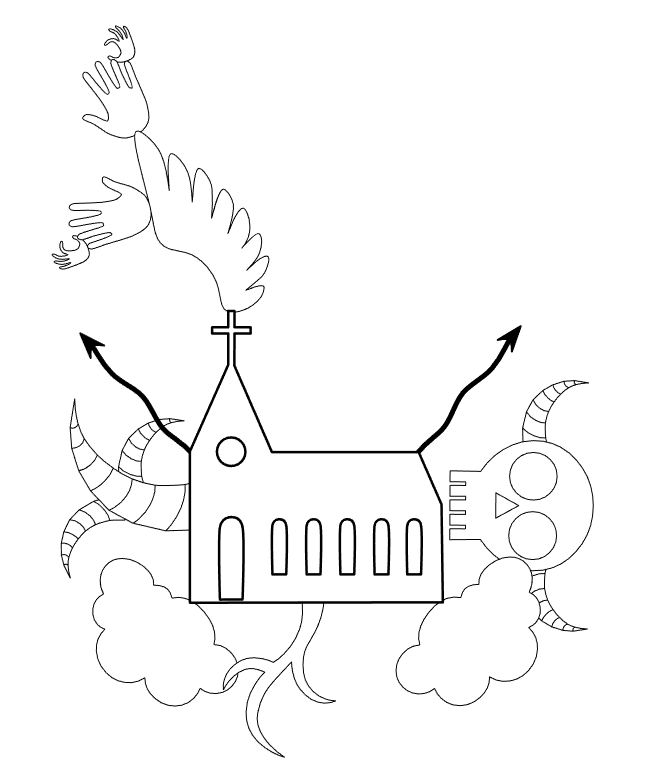
On January 27 I awoke with an idea for a mystic symbolic art generator. I immediately sketched copious notes and put out word I was looking for a coder to collaborate with. By some miracle, Atul Varma responded within an hour, which makes me believe this project really wants to exist.
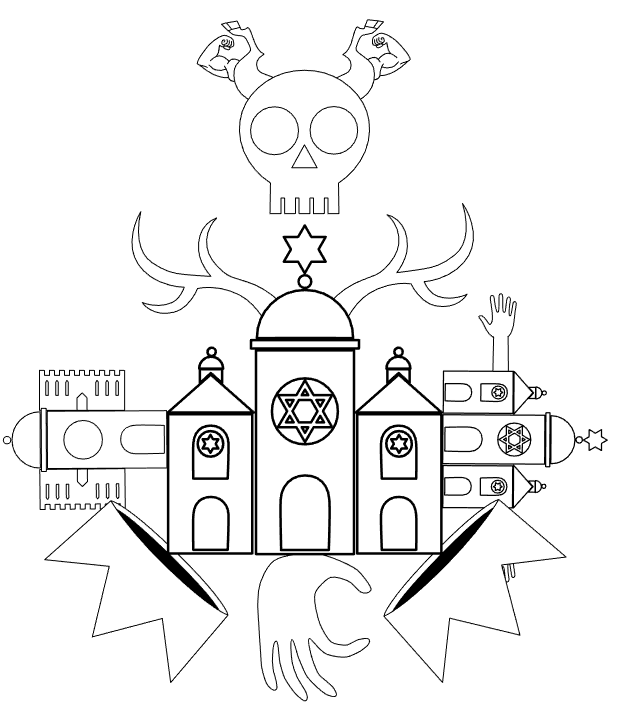
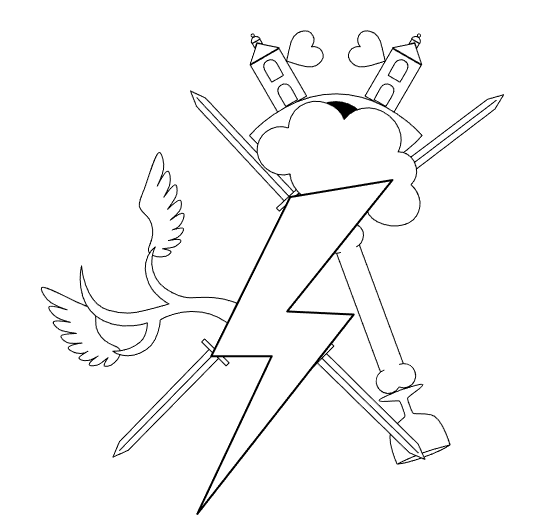
My plans are vast and sprawling, so we’re starting simple. And by simple we mean bonkers:
Atul and I are on the same page regarding Free Software and Free Culture, so we’re both happy to share as we go along. You can generate your own strange images like the ones above by clicking the “randomize” button here:
This summer I was surprised by several out-of-the blue, generous gifts. One of them was from illustrator Nina Bunjevac, with whom I communicate occasionally on social media – we have a little Mutual Admiration Society going. She sent me a set of beautiful French tarot cards, which I received last week and promptly stared at for several hours.
Although we share a first name, I promise that doesn’t bias me. Bunjevac’s line art epitomizes what I’ve always thought line art should be. She’s a direct creative heir to one of my all-time favorite illustrators, Virgil Finlay, and maybe a more distant cousin of Gustave Doré. Her lines go all the right ways, in intricate, mesmerizing patterns, without getting “busy.” Meanwhile she has a brilliant sense of overall design, so her drawings satisfy my eyes on both macro and micro views.
On a long bike ride recently, I contemplated animating one of her cards. I chose the Wheel of Fortune, La Roue, because it looked like Nina had already animated the eyes opening and closing, and I wanted to see them blink.
The animation itself is pretty simple, a 16-frame cycle at 12 fps. On the other hand, cutting pieces of illustration out of their backgrounds in GIMP is a time-consuming PITA, but sometimes I just gotta see what it’ll look like.
Speaking of the Tarot, many of its images derive from the Apocalypse (the Book of Revelation). The Wheel card, for example, depicts the 4 Heavenly Beasts or Living Creatures, which are also essentially the Seraphim of Ezekiel. Here’s my version from my stalled Apocalypse project:
It’s stalled because I’m just not feeling apocalyptic right now. The weather’s still decent, and I’m healthy and biking in the beautiful outdoors and getting swell gifts like Nina’s tarot cards. Life is good! Of course, this can and will change; the wheel of fortune keeps on turning. When it does, I’ll be back to animating the End of the World.
An 18-frame version that allows the eyes to rotate in the opposite direction of the rest of the wheel. I added movement to the clouds too.
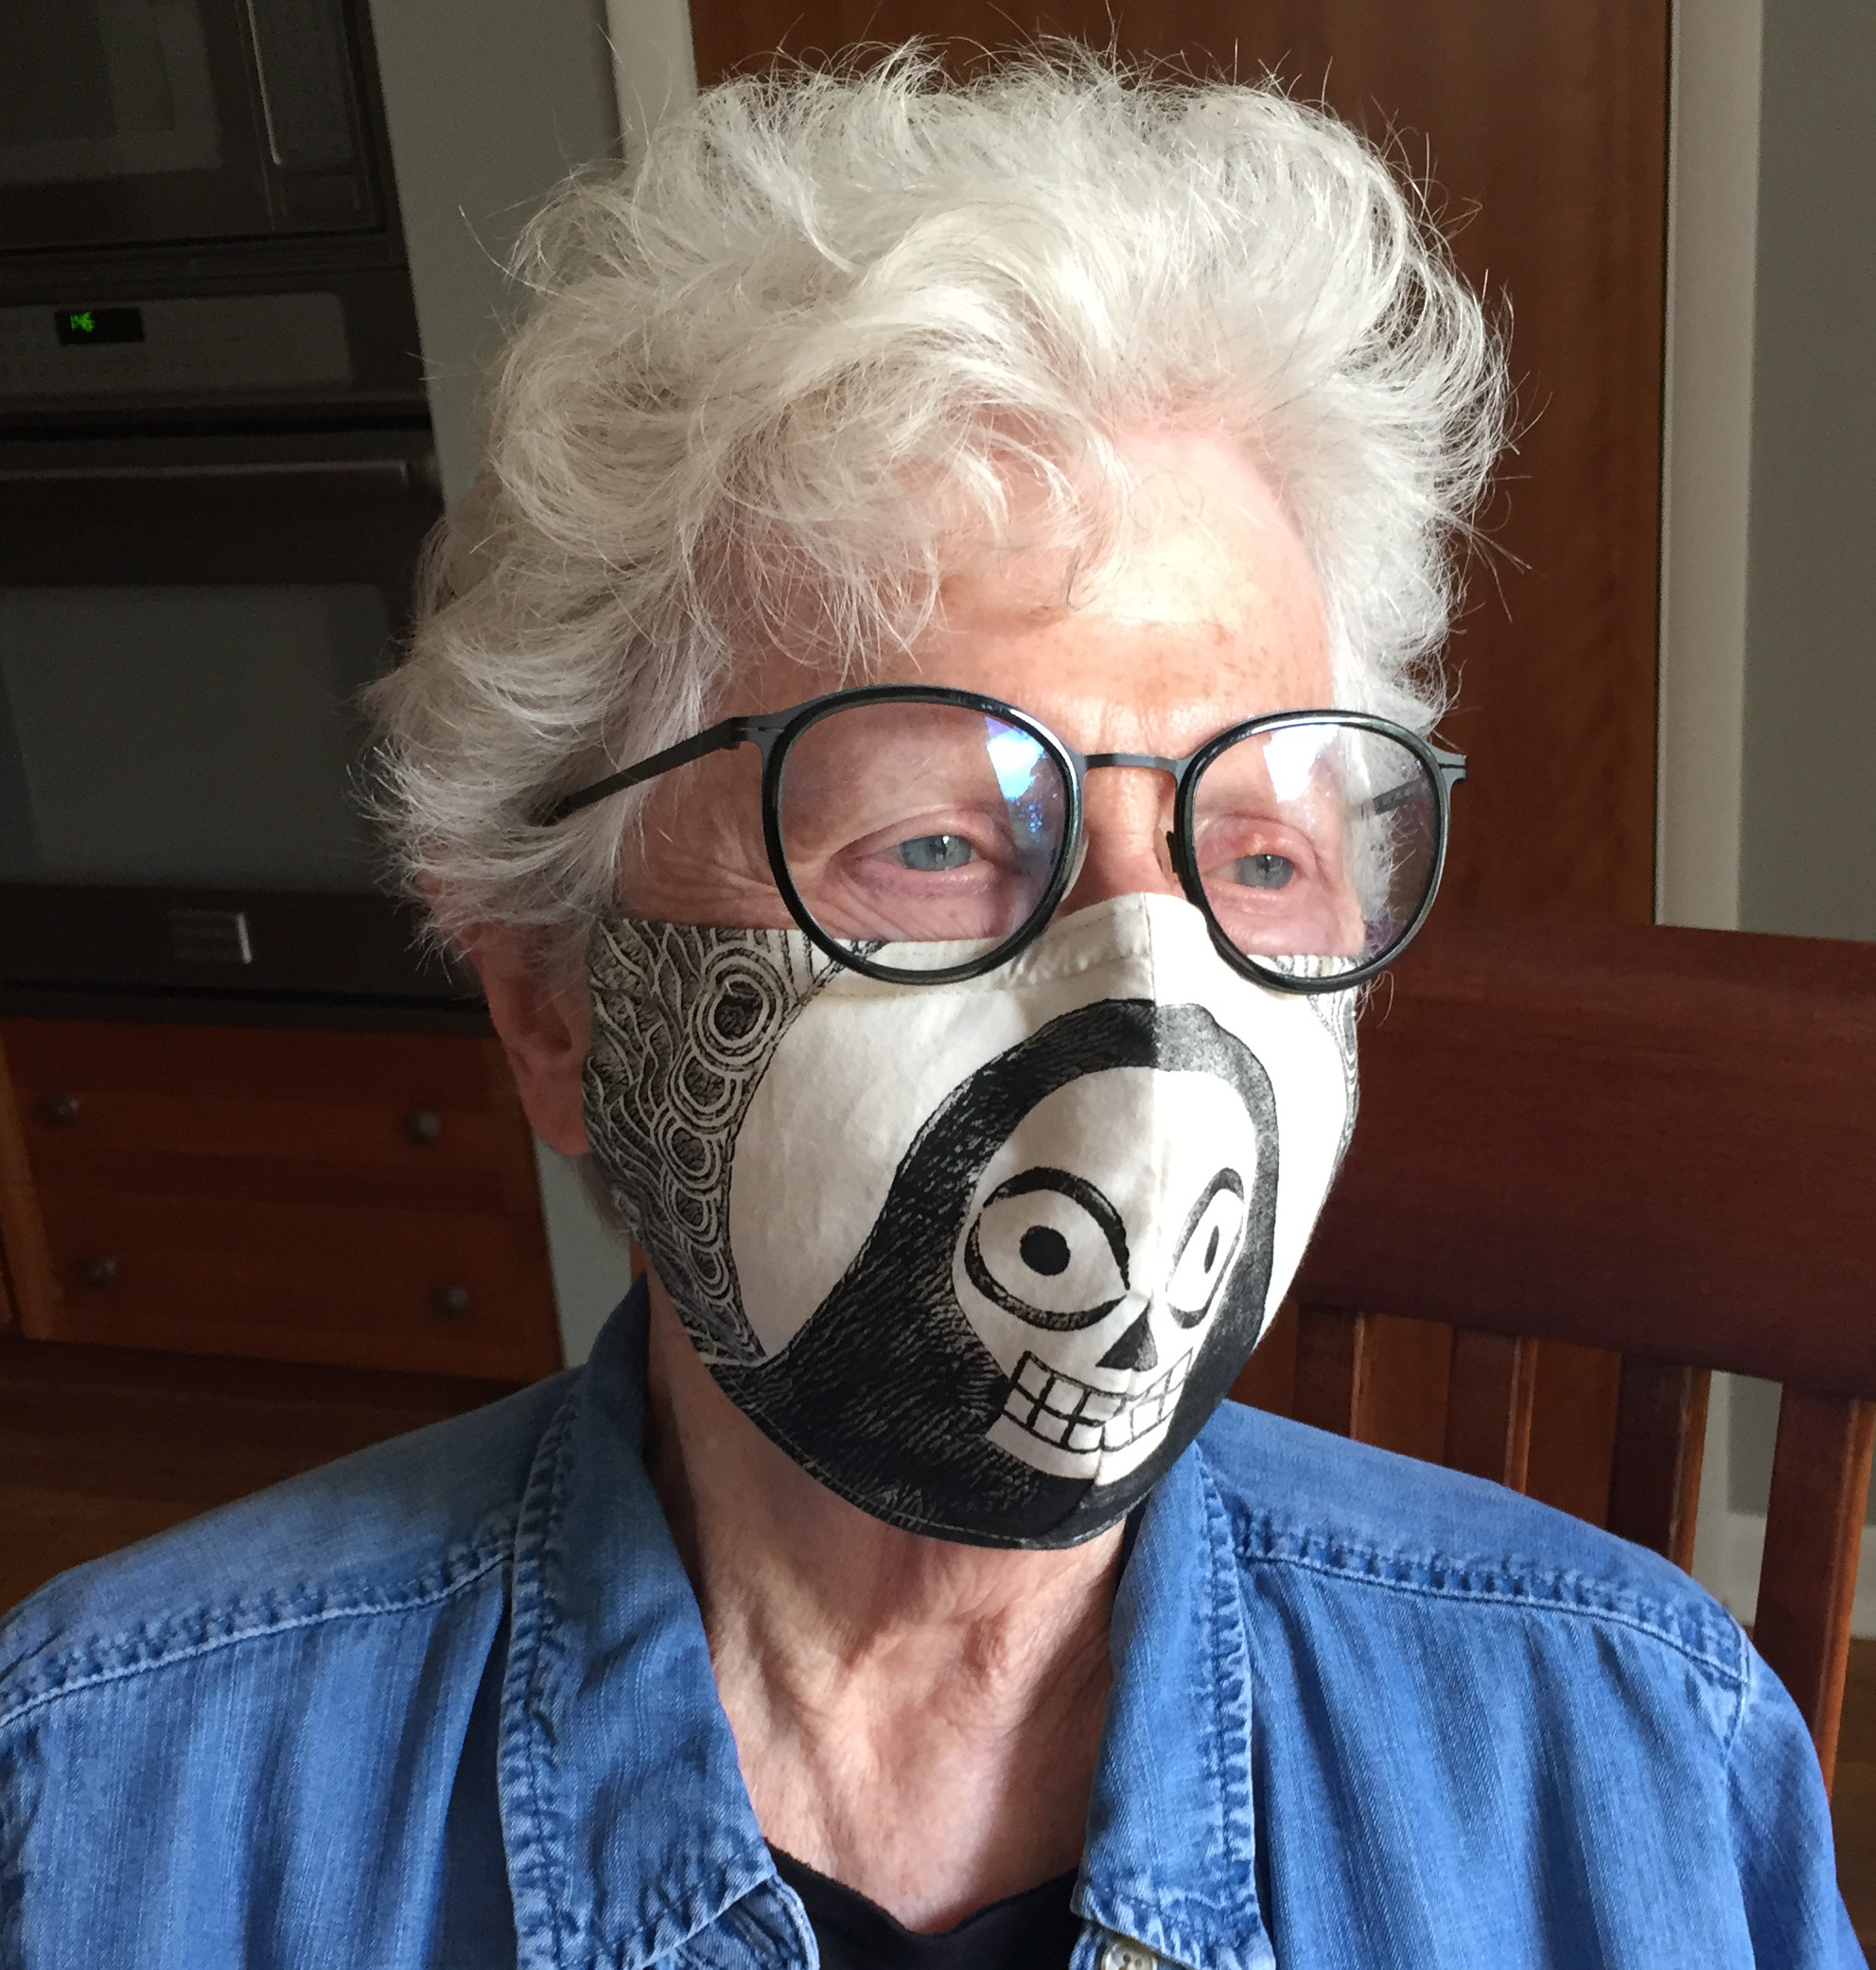
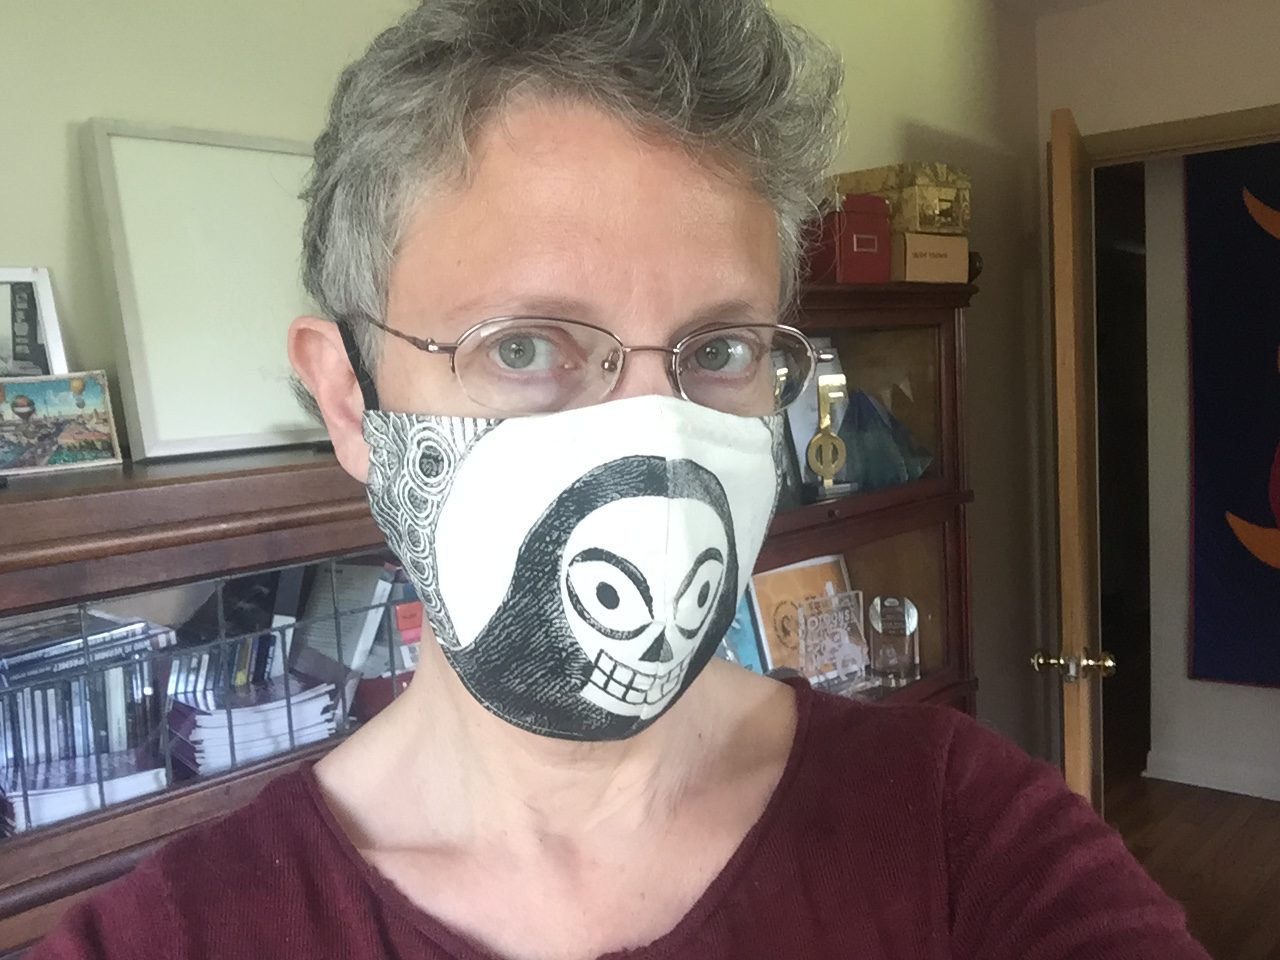
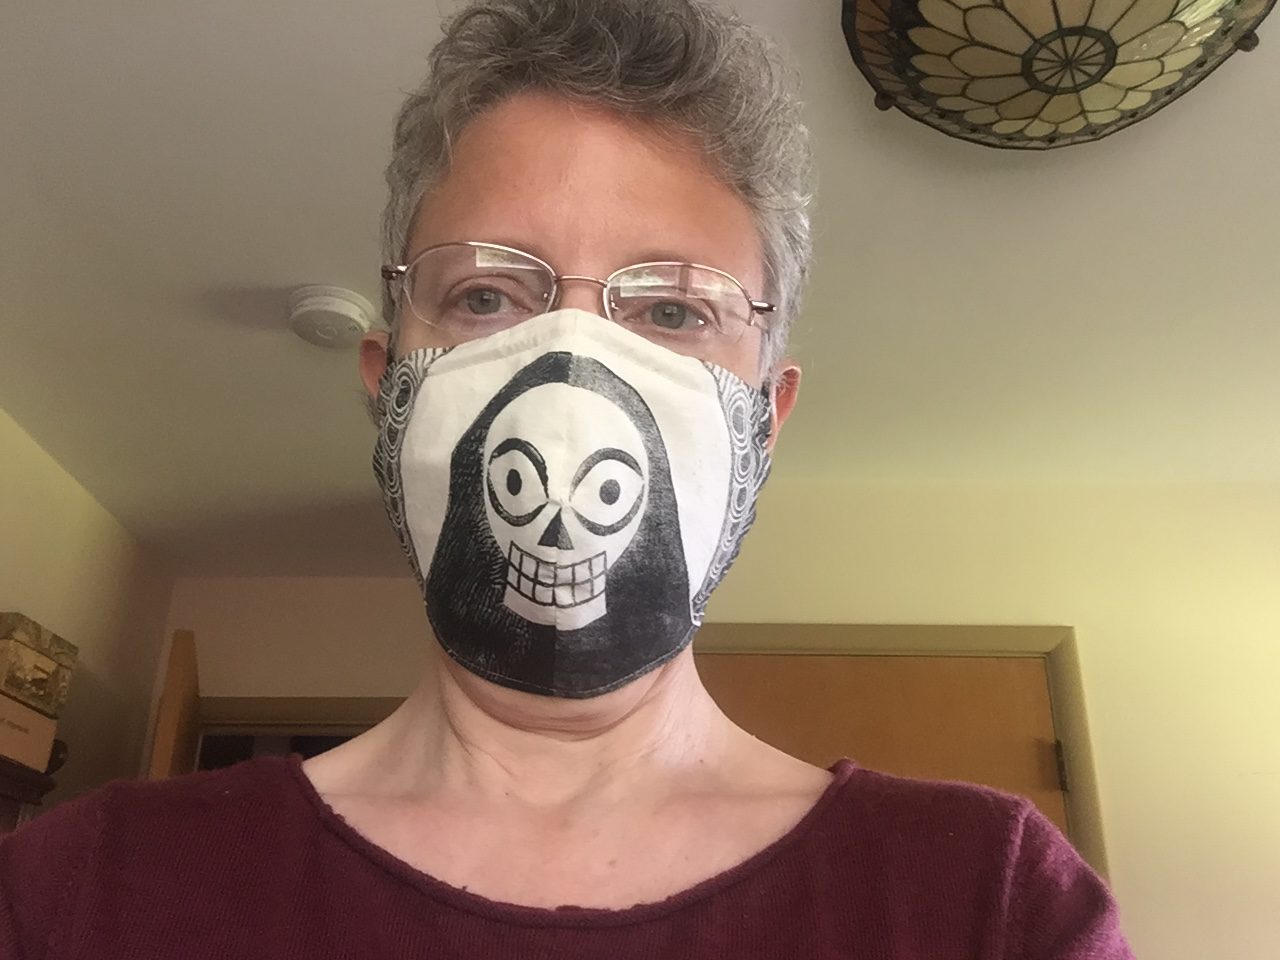
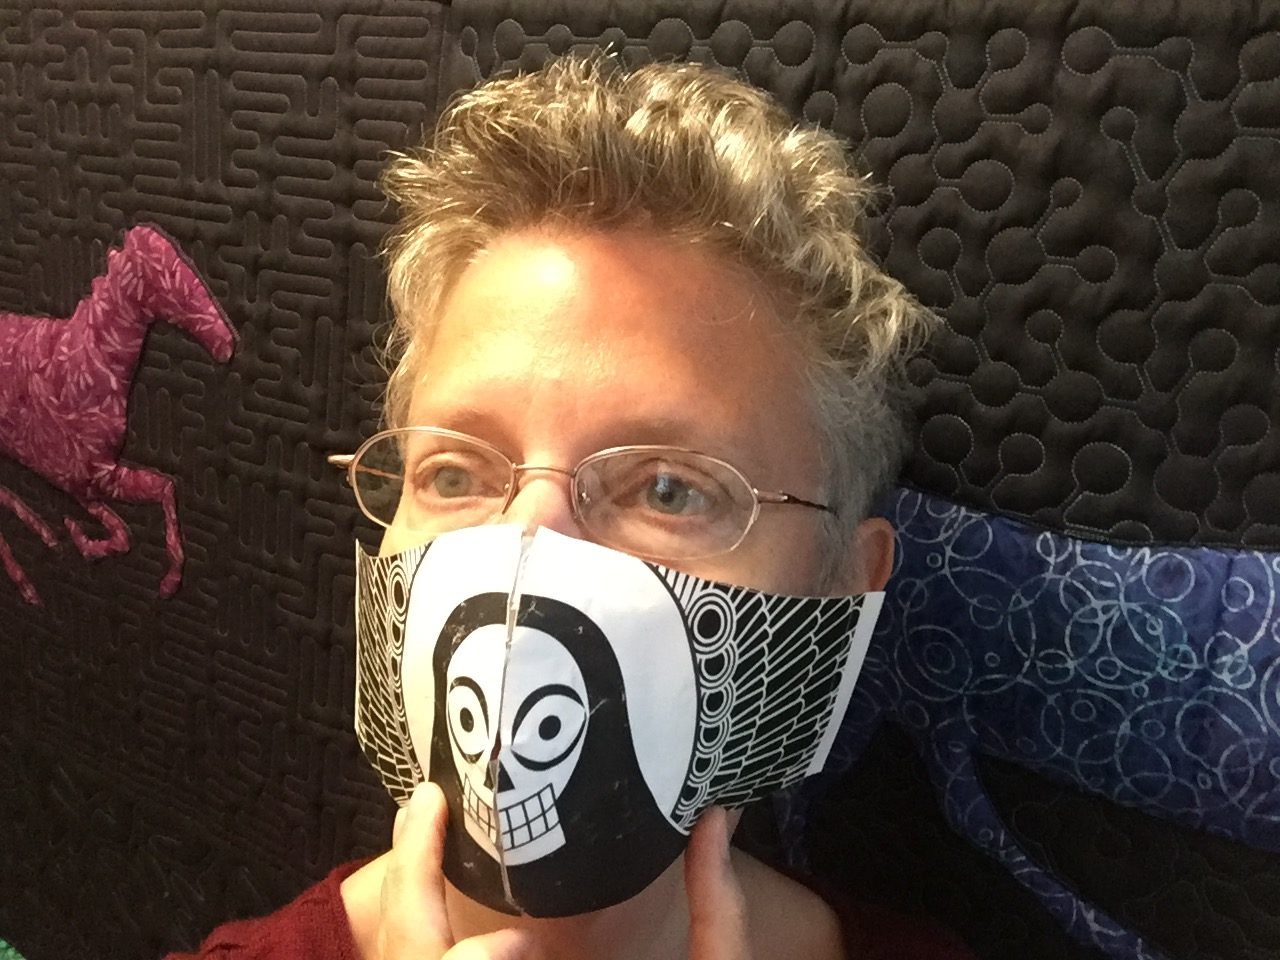
We look similar, right? Must be that huge Angel O’ Death covering our mouths and noses.
This mask is sewn from the unbleached pre-cut cloth:
Even though I got better ink impressions on the bleached white sheet, in the end we couldn’t use it because it was too soft and floppy to work with. It was literally from an old white sheet I cut up when it got holes in it. The pre-cut is PaleGray Labs’ quilting cotton, which is stiffer and crisper and easier to cut and sew. In the end, though, the off-white cream color has a nice worn look with the hand-print ink texture, and looks as stylish as any mask can be on the face.
More tests to follow.
*******
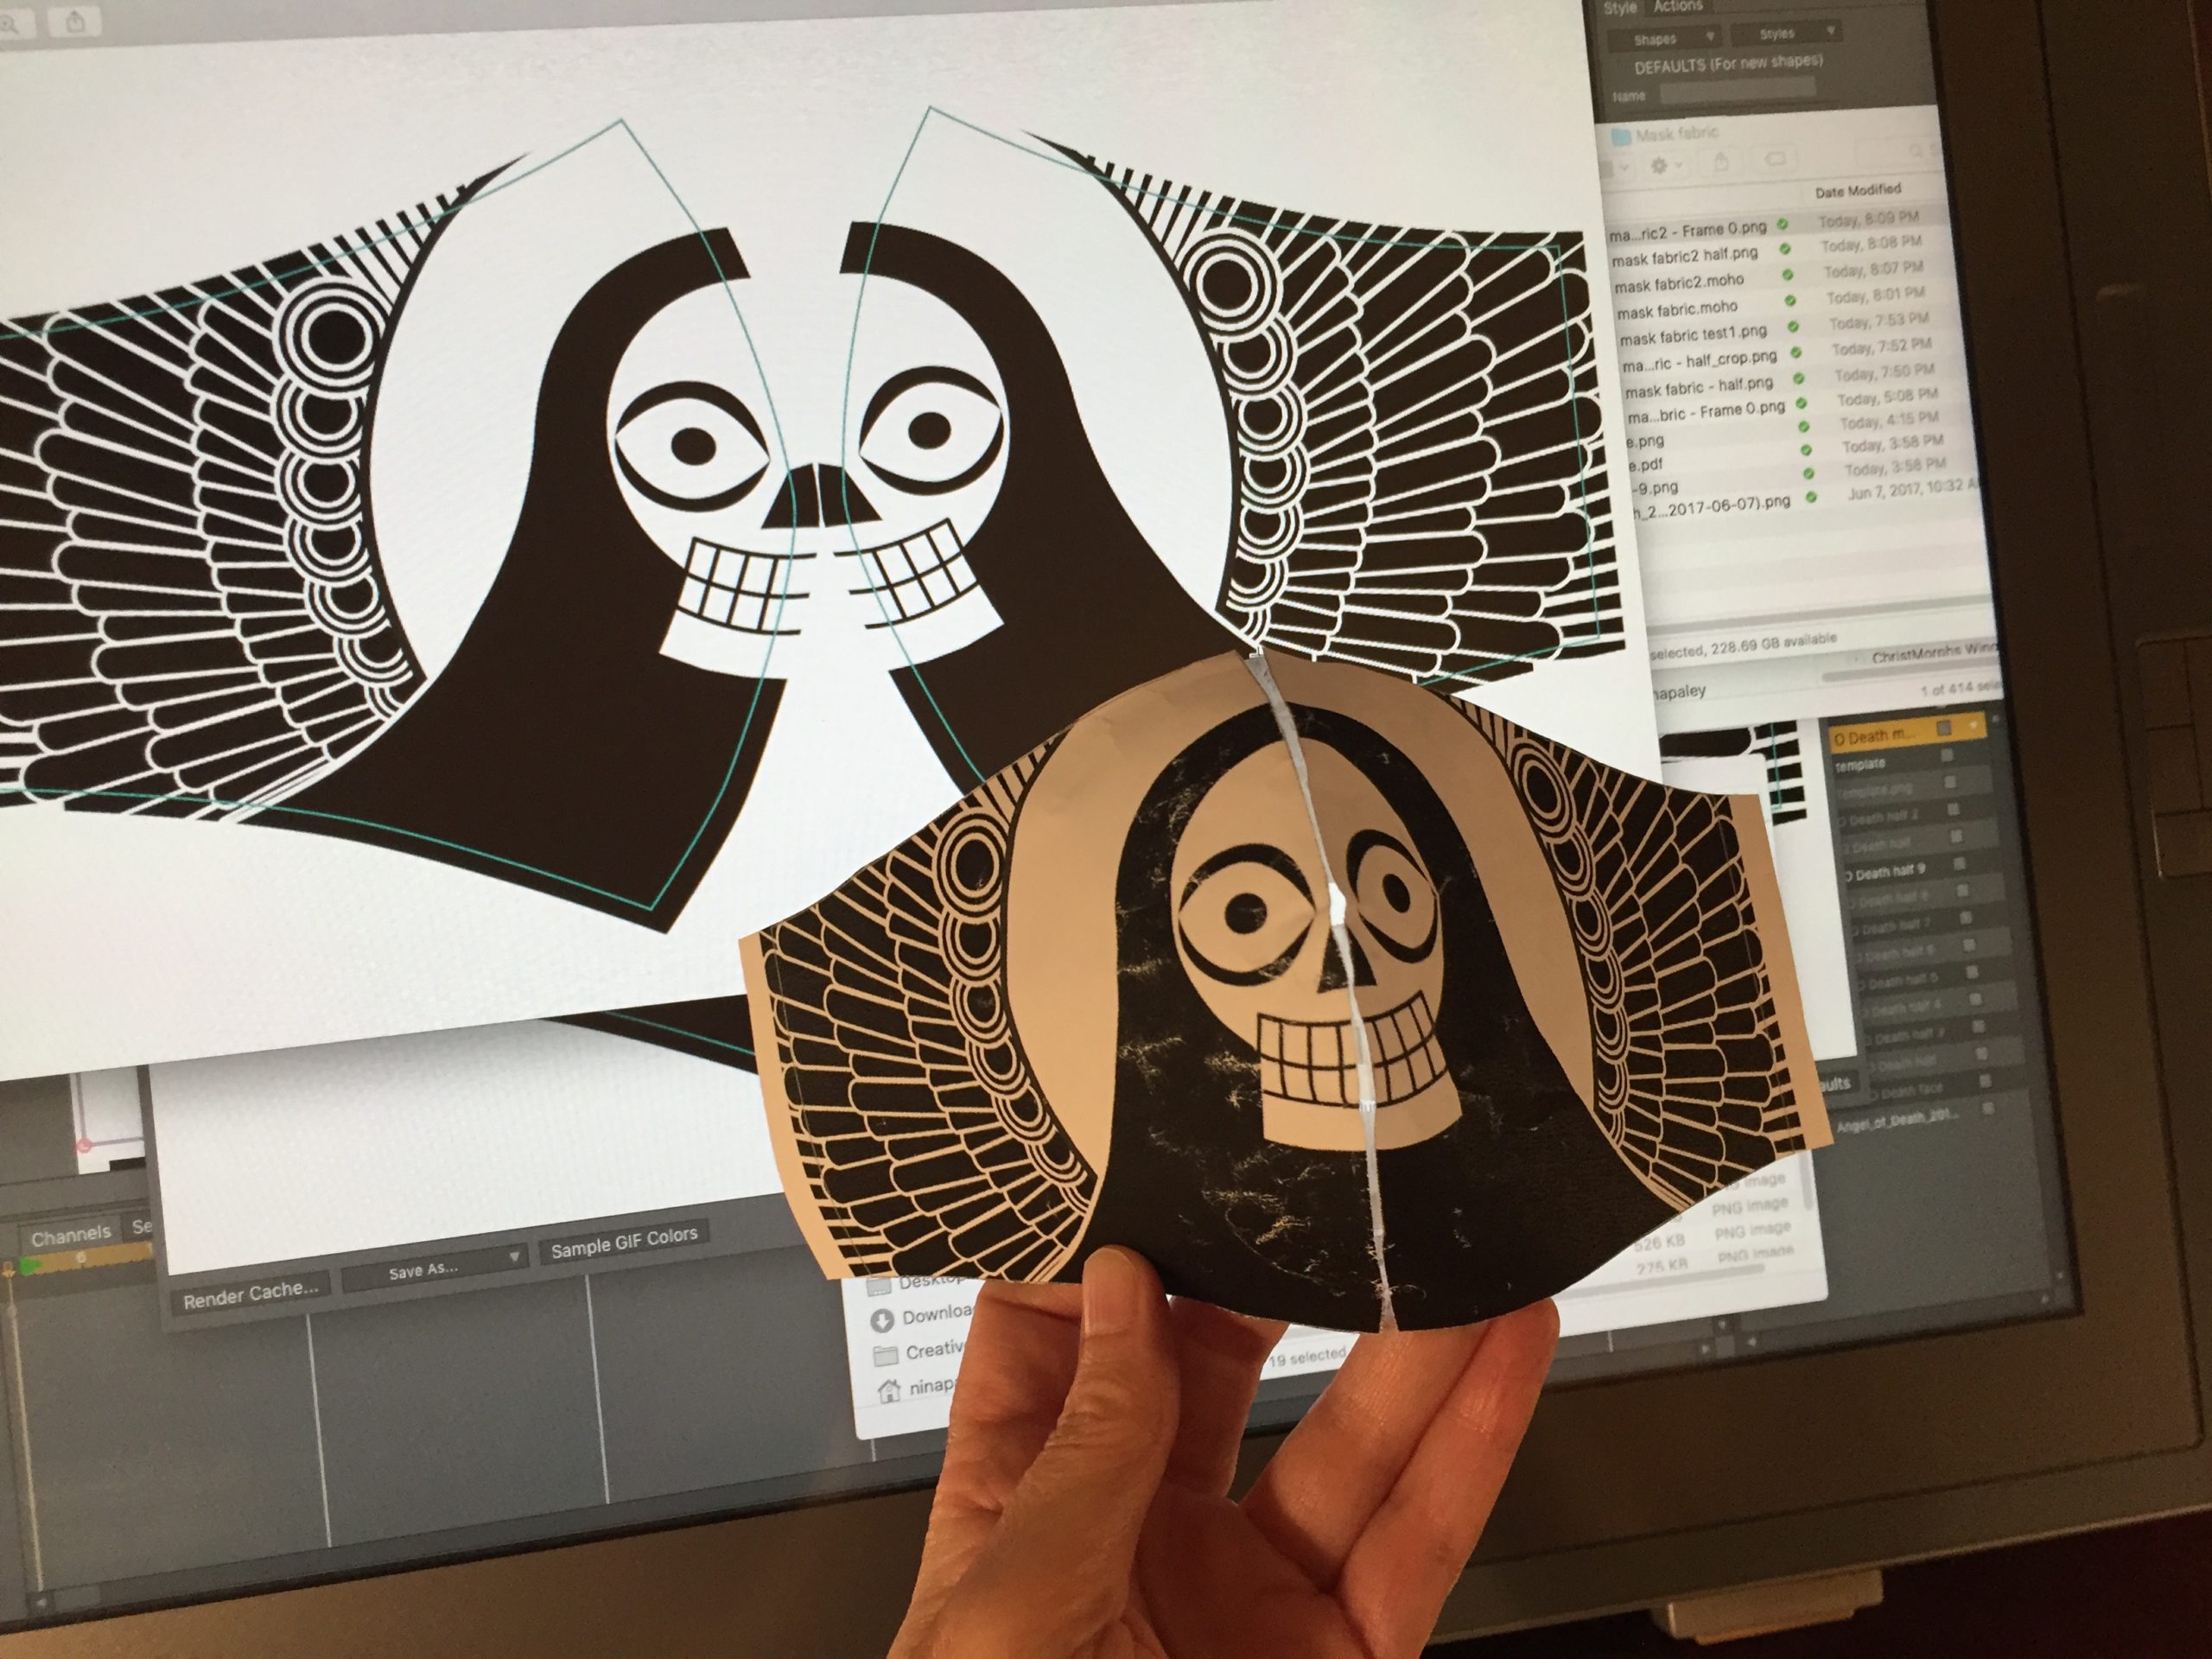
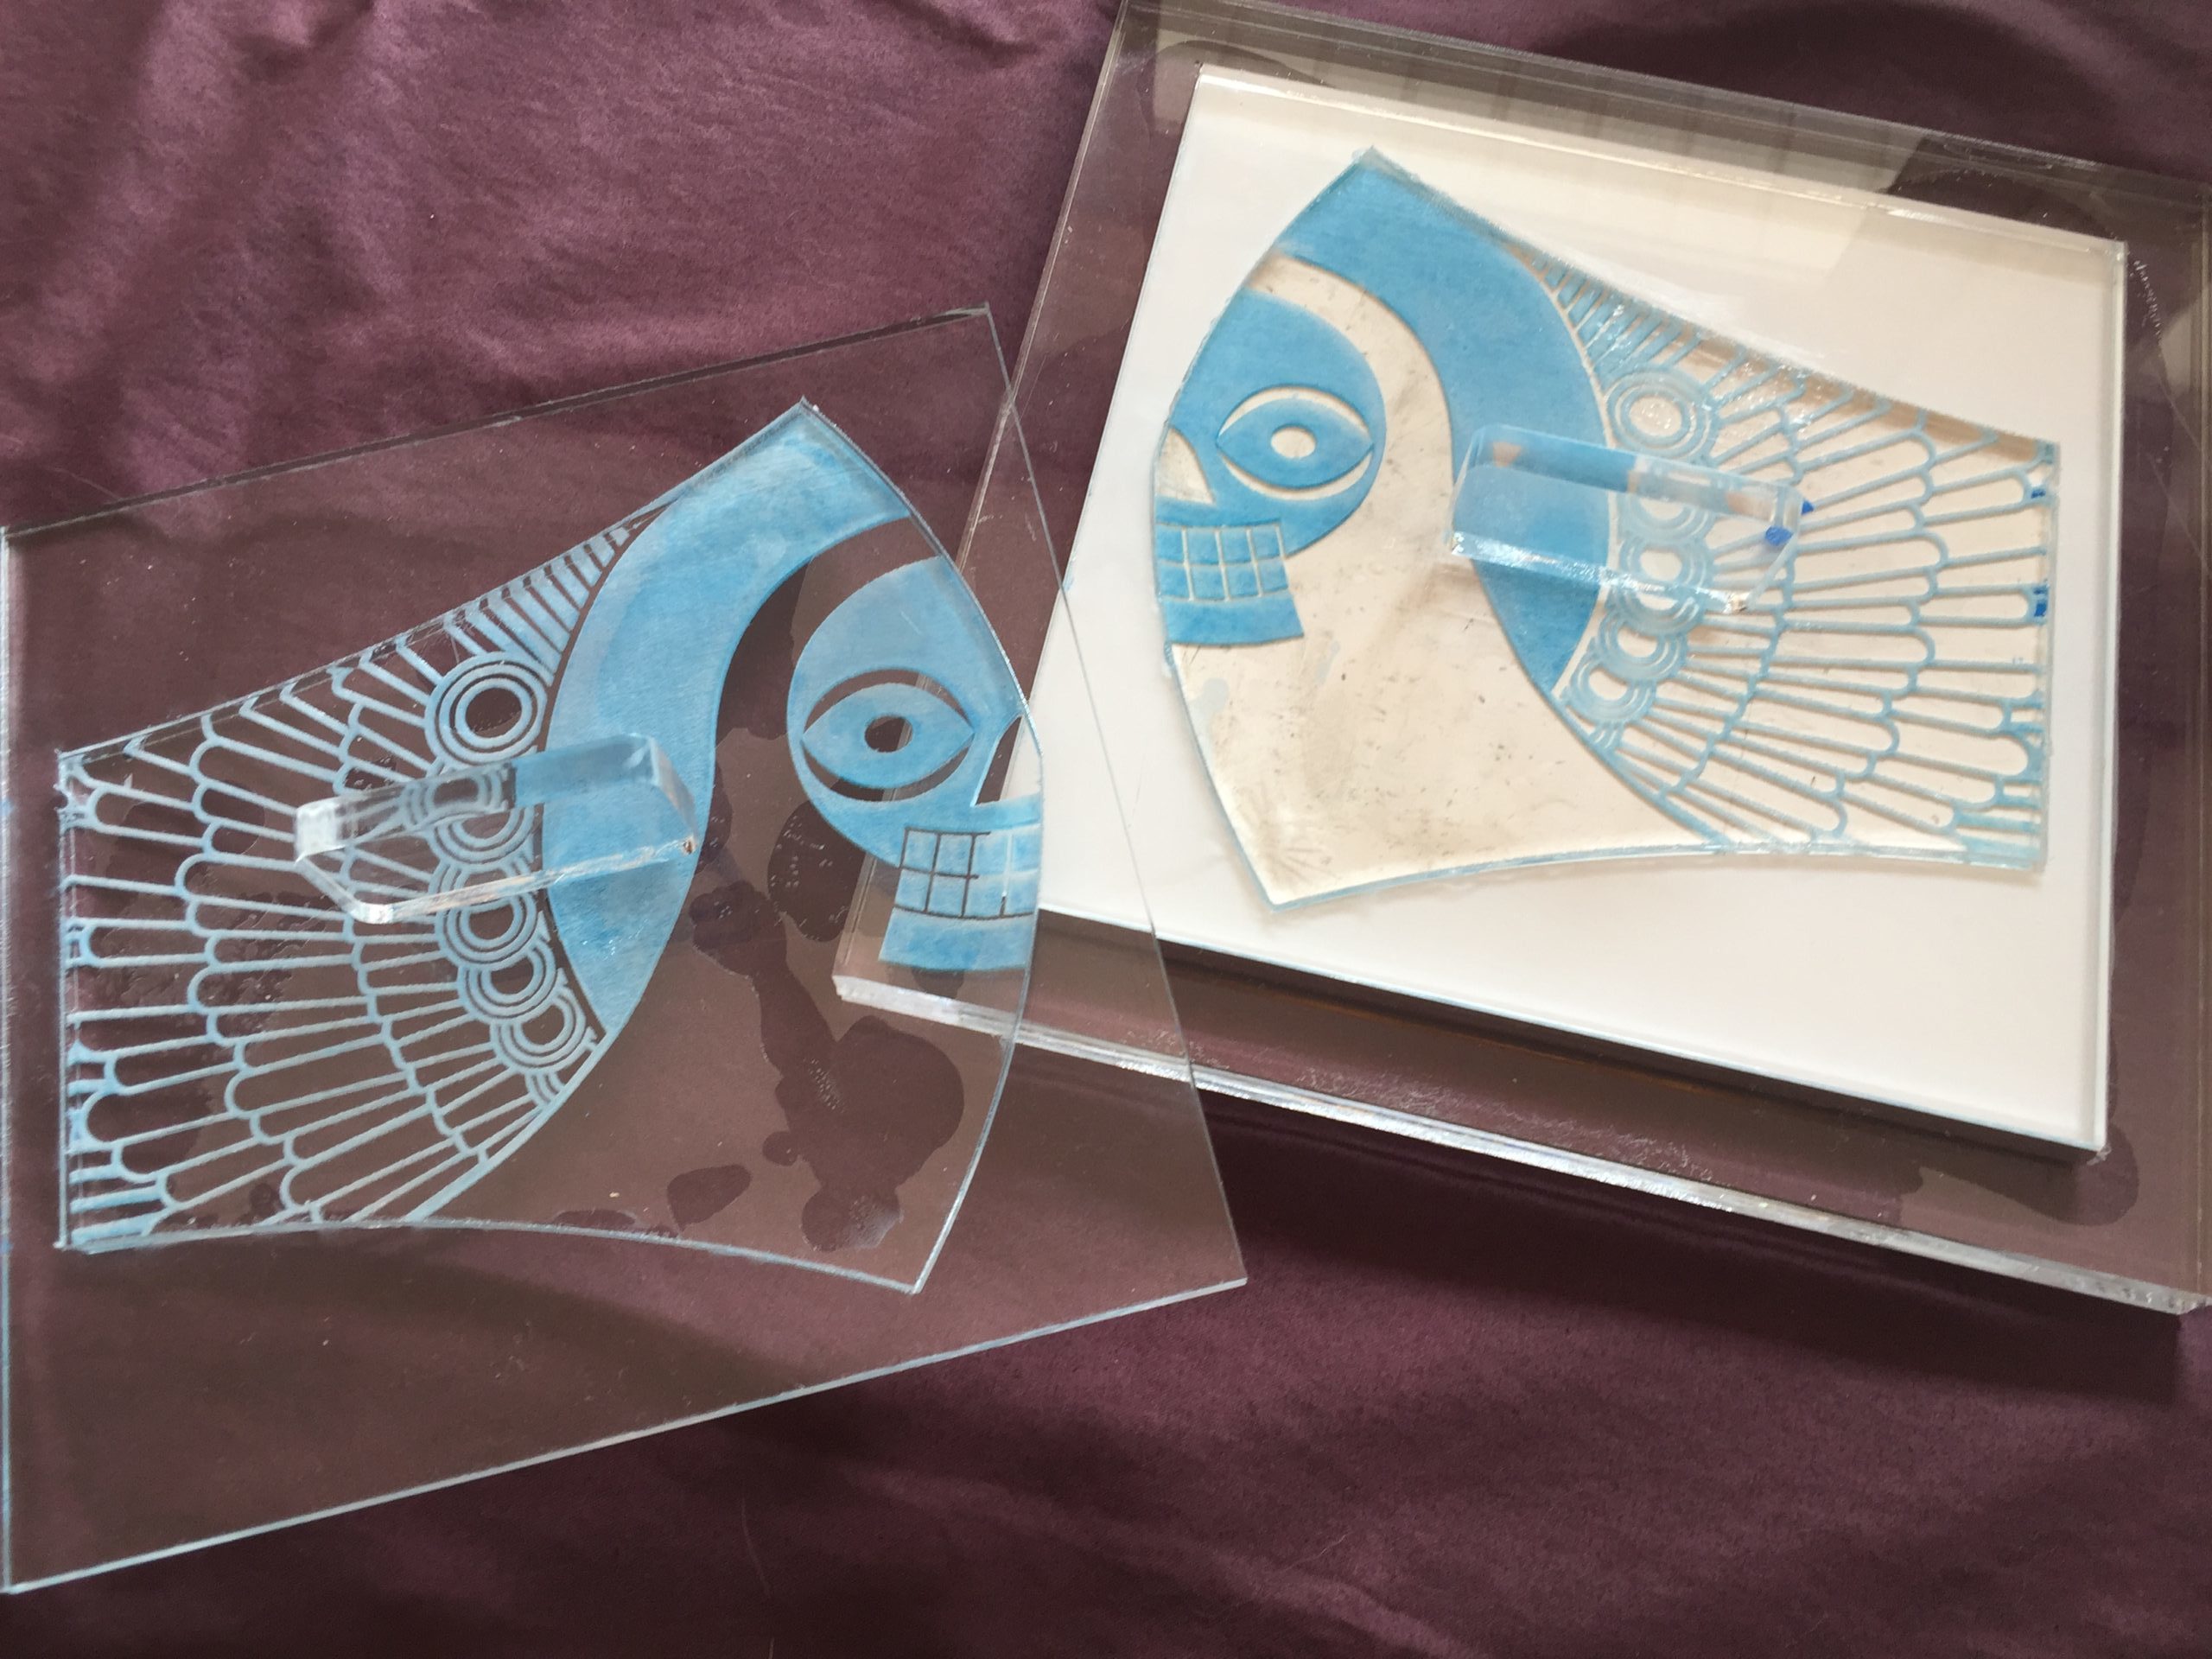
A few days ago, Theo Gray implored me to design fabric for the high-end masks he’s producing here in Urbana Illinois, using his laser cutter to precision cut the fabric components. The Angel O’ Death was an obvious choice, so I got designing:
Because the mask has a curved center seam, the art had to be distorted. I don’t have a single “distort” button (but there are very nice point distort tools in Moho) so I went by instinct. The paper test here is scratched up because I turned it inside-out after taping, which crinkled it a bit.
Now, how to get it printed on fabric? In the past I have used Spoonflower, but they currently have a 15+ day three week delay. Plus the size has to be accurate to fit the masks, and it’s really hard to get that right with Spoonflower, especially given the uncertainty of laundry shrinkage. Because my design was black and white, I realized it could be silkscreened!
But we’re in the midst of a pandemic, so when I called the local screenprinter no one answered the phone. I emailed them but still have no response. Then I thought, “why not block print this sucker?” After all, I’ve used a laser cutter to make Angel O’ Death block prints before:
But where to find linoleum blocks in the midst of a pandemic? Theo doesn’t like using wood in his cutter because it “gums it up.” He prefers acrylic. So I thought, “why not block print using acrylic?” So Theo made these:
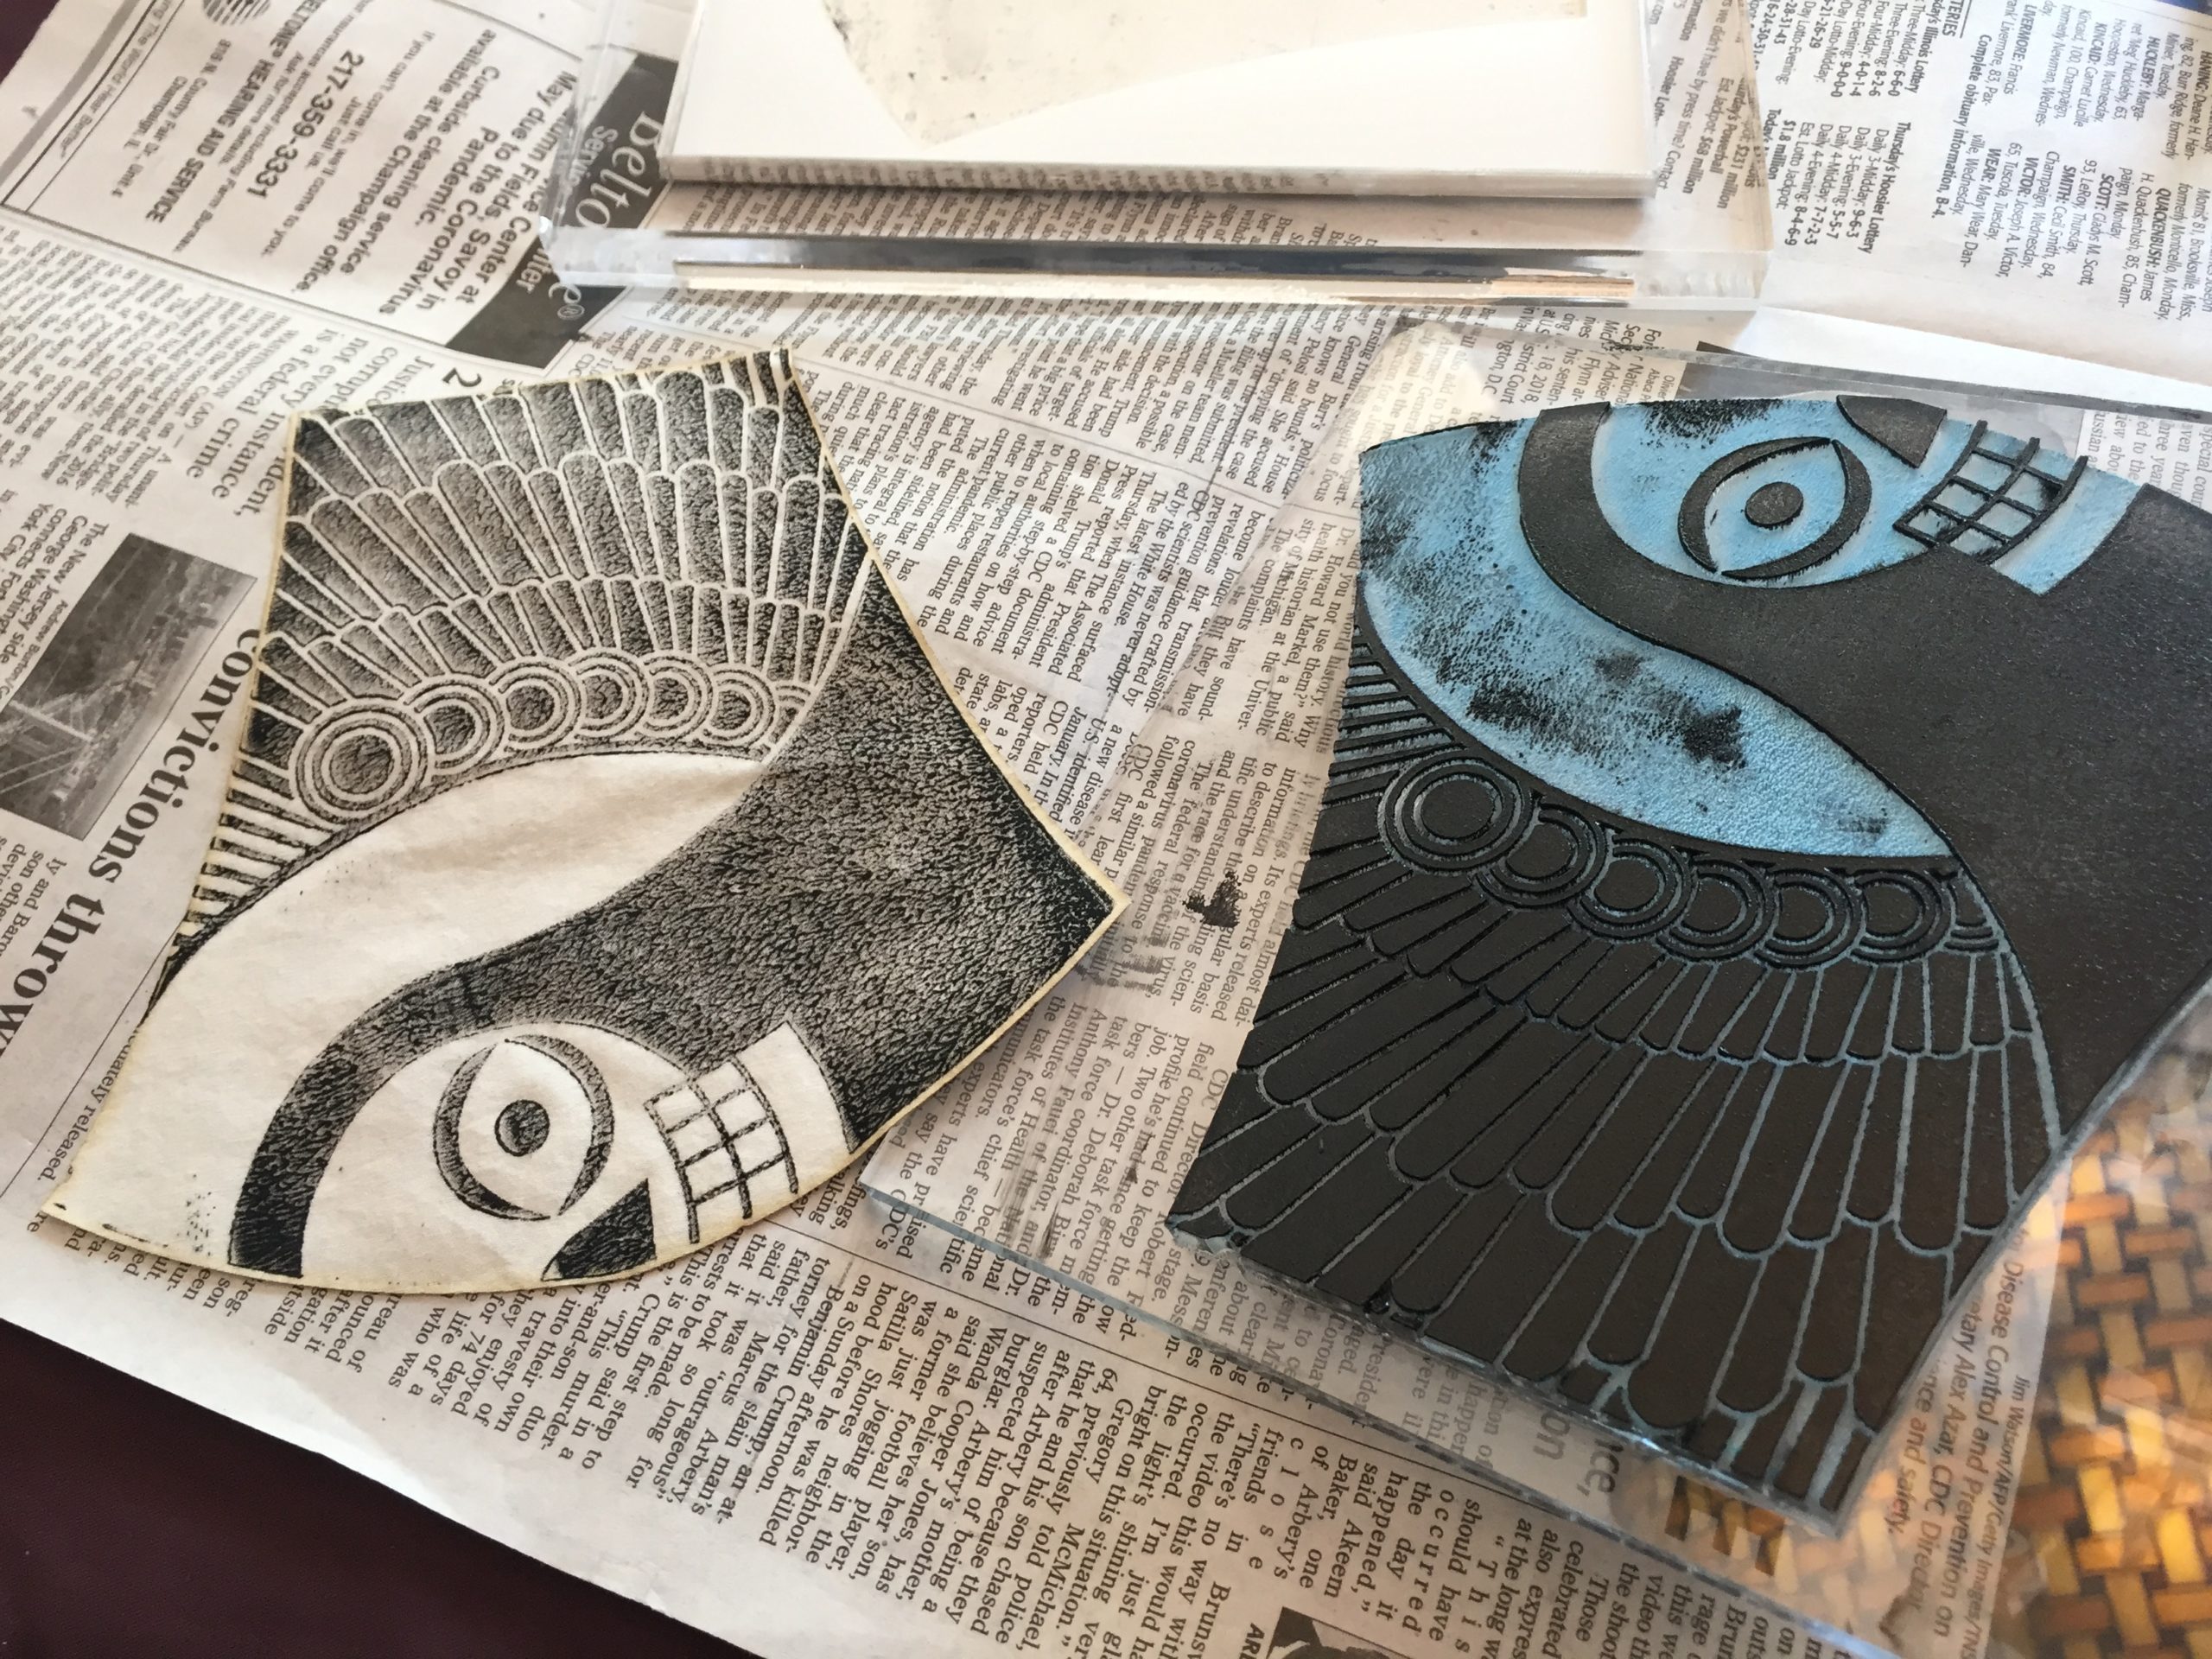
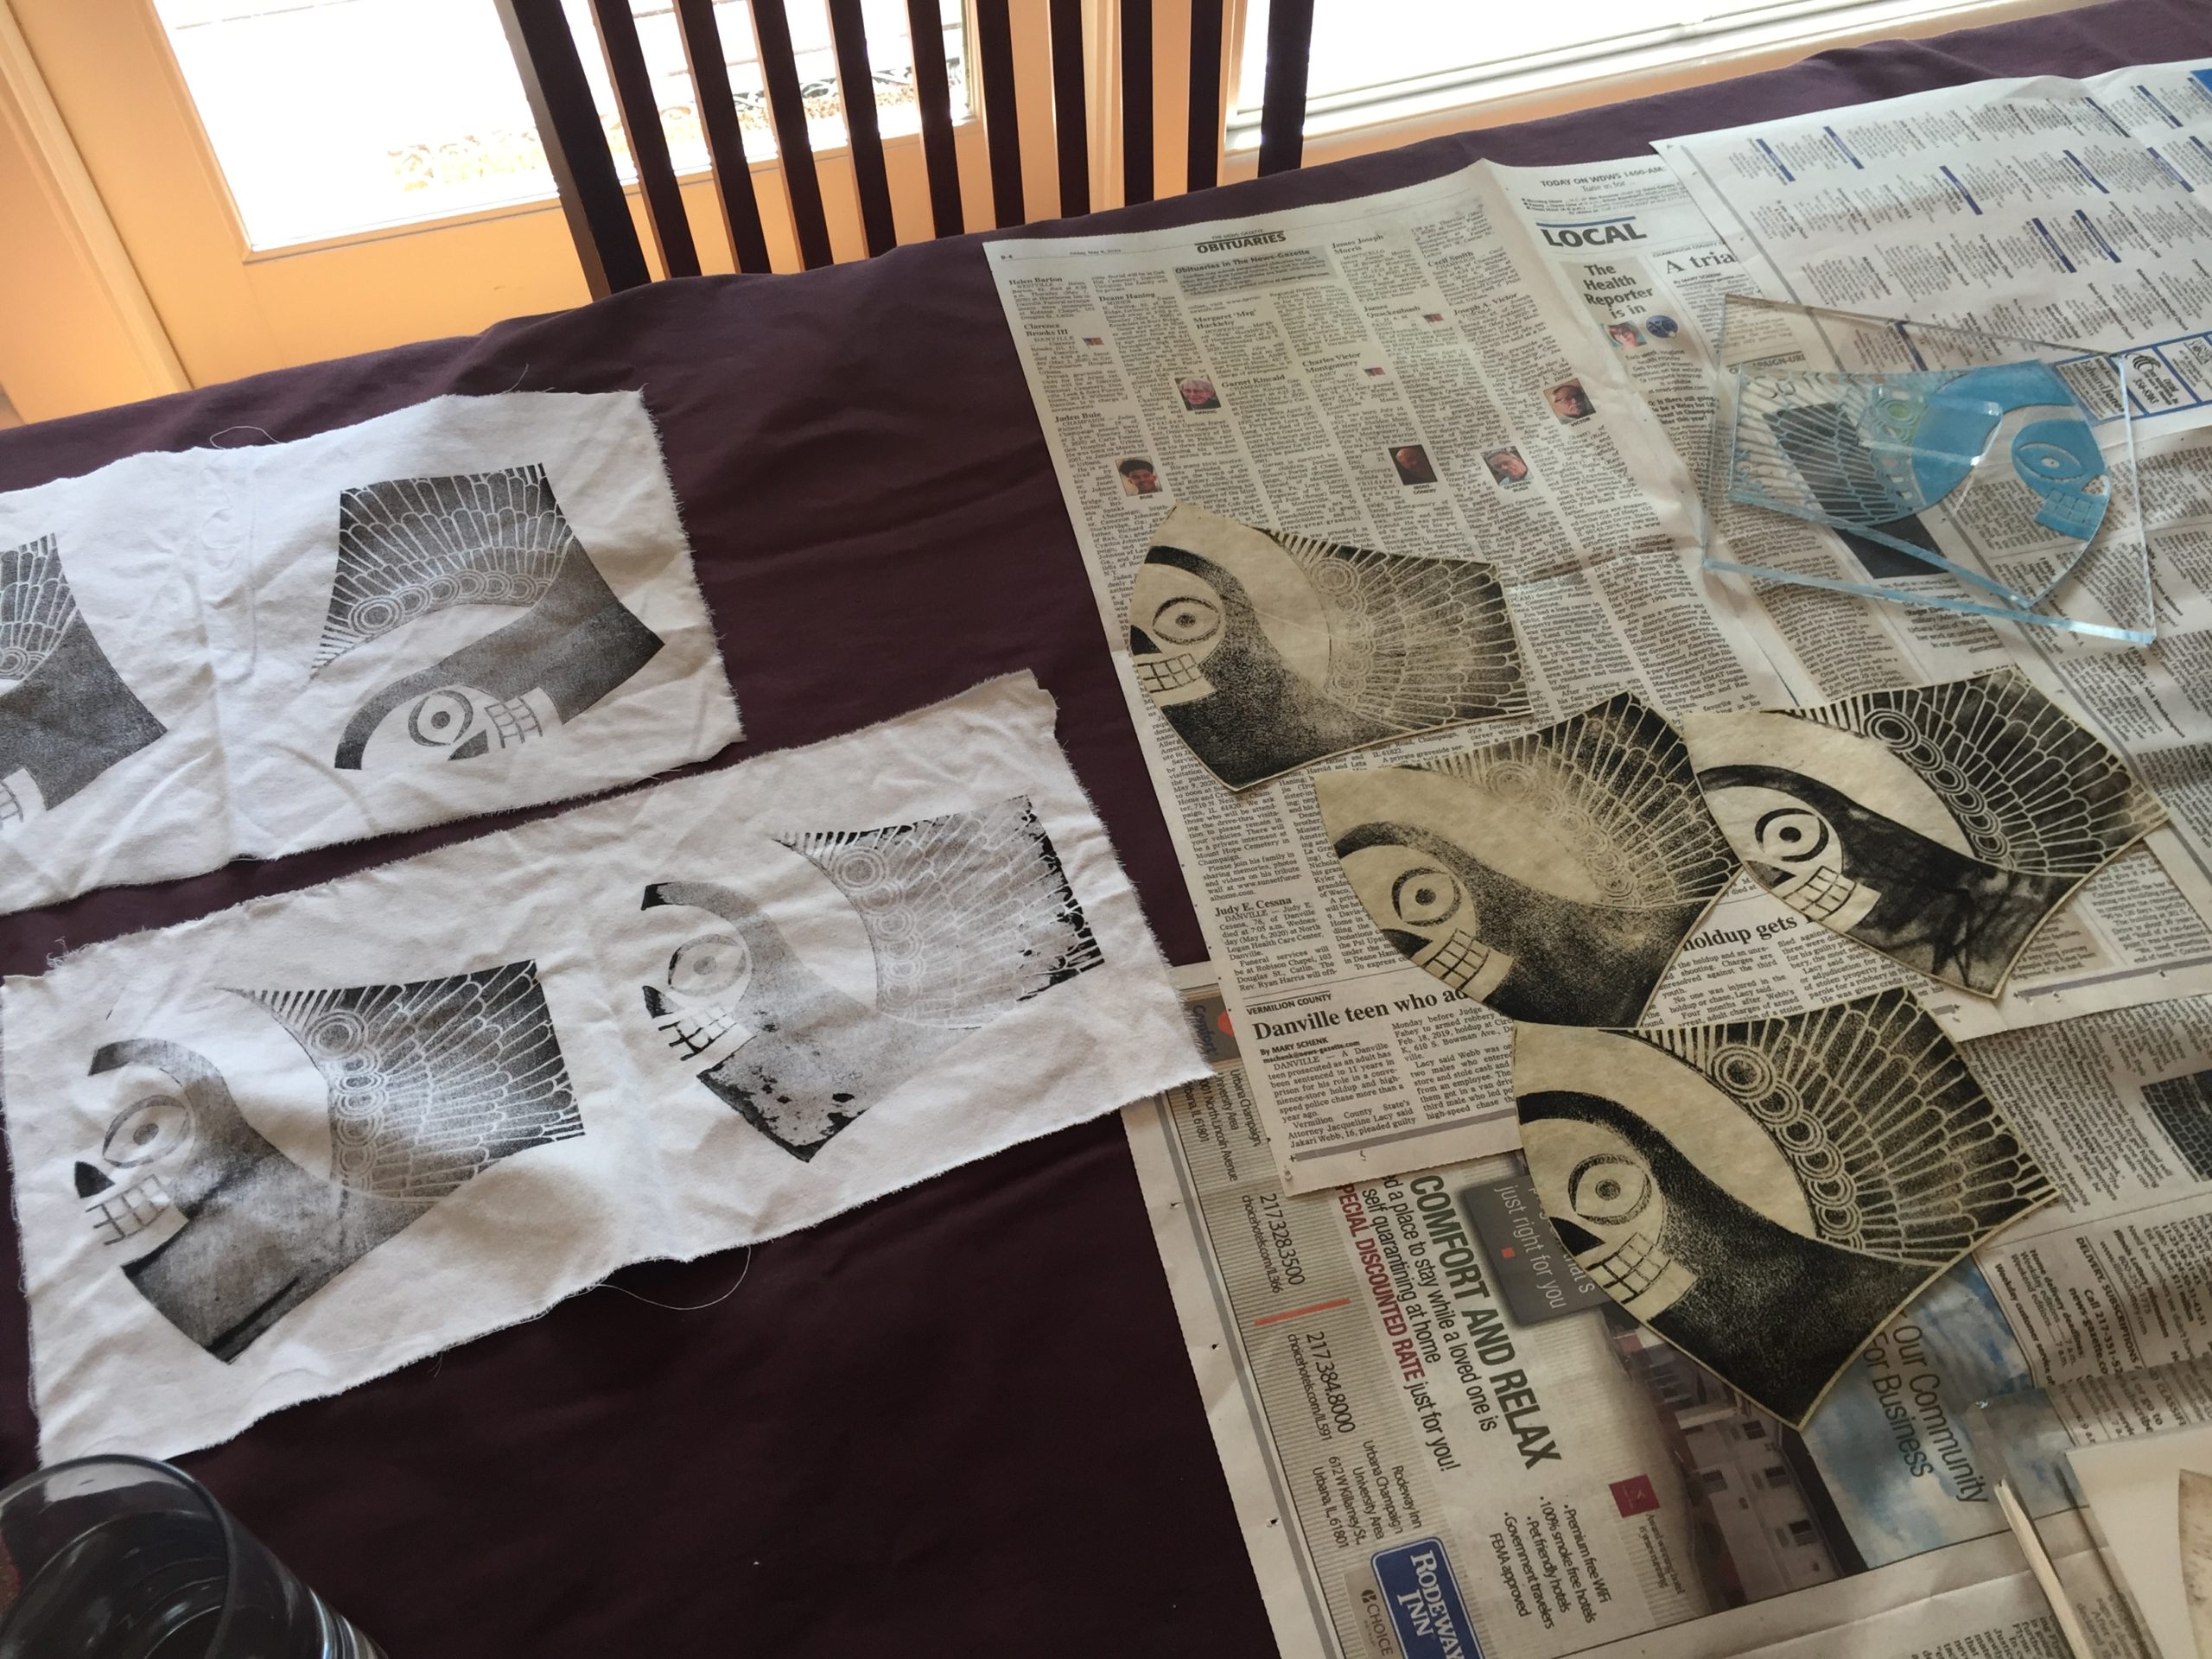
I was able to get screenprint fabric ink and a brayer from the local big box chain art store, by ordering online and getting local pick-up; I got special block print fabric ink from the local local art store, once they finally answered their phone (no pickup, so I got the $5 home delivery). This morning, I did my first tests.
The good news is, acrylic is a perfectly viable material for block printing.
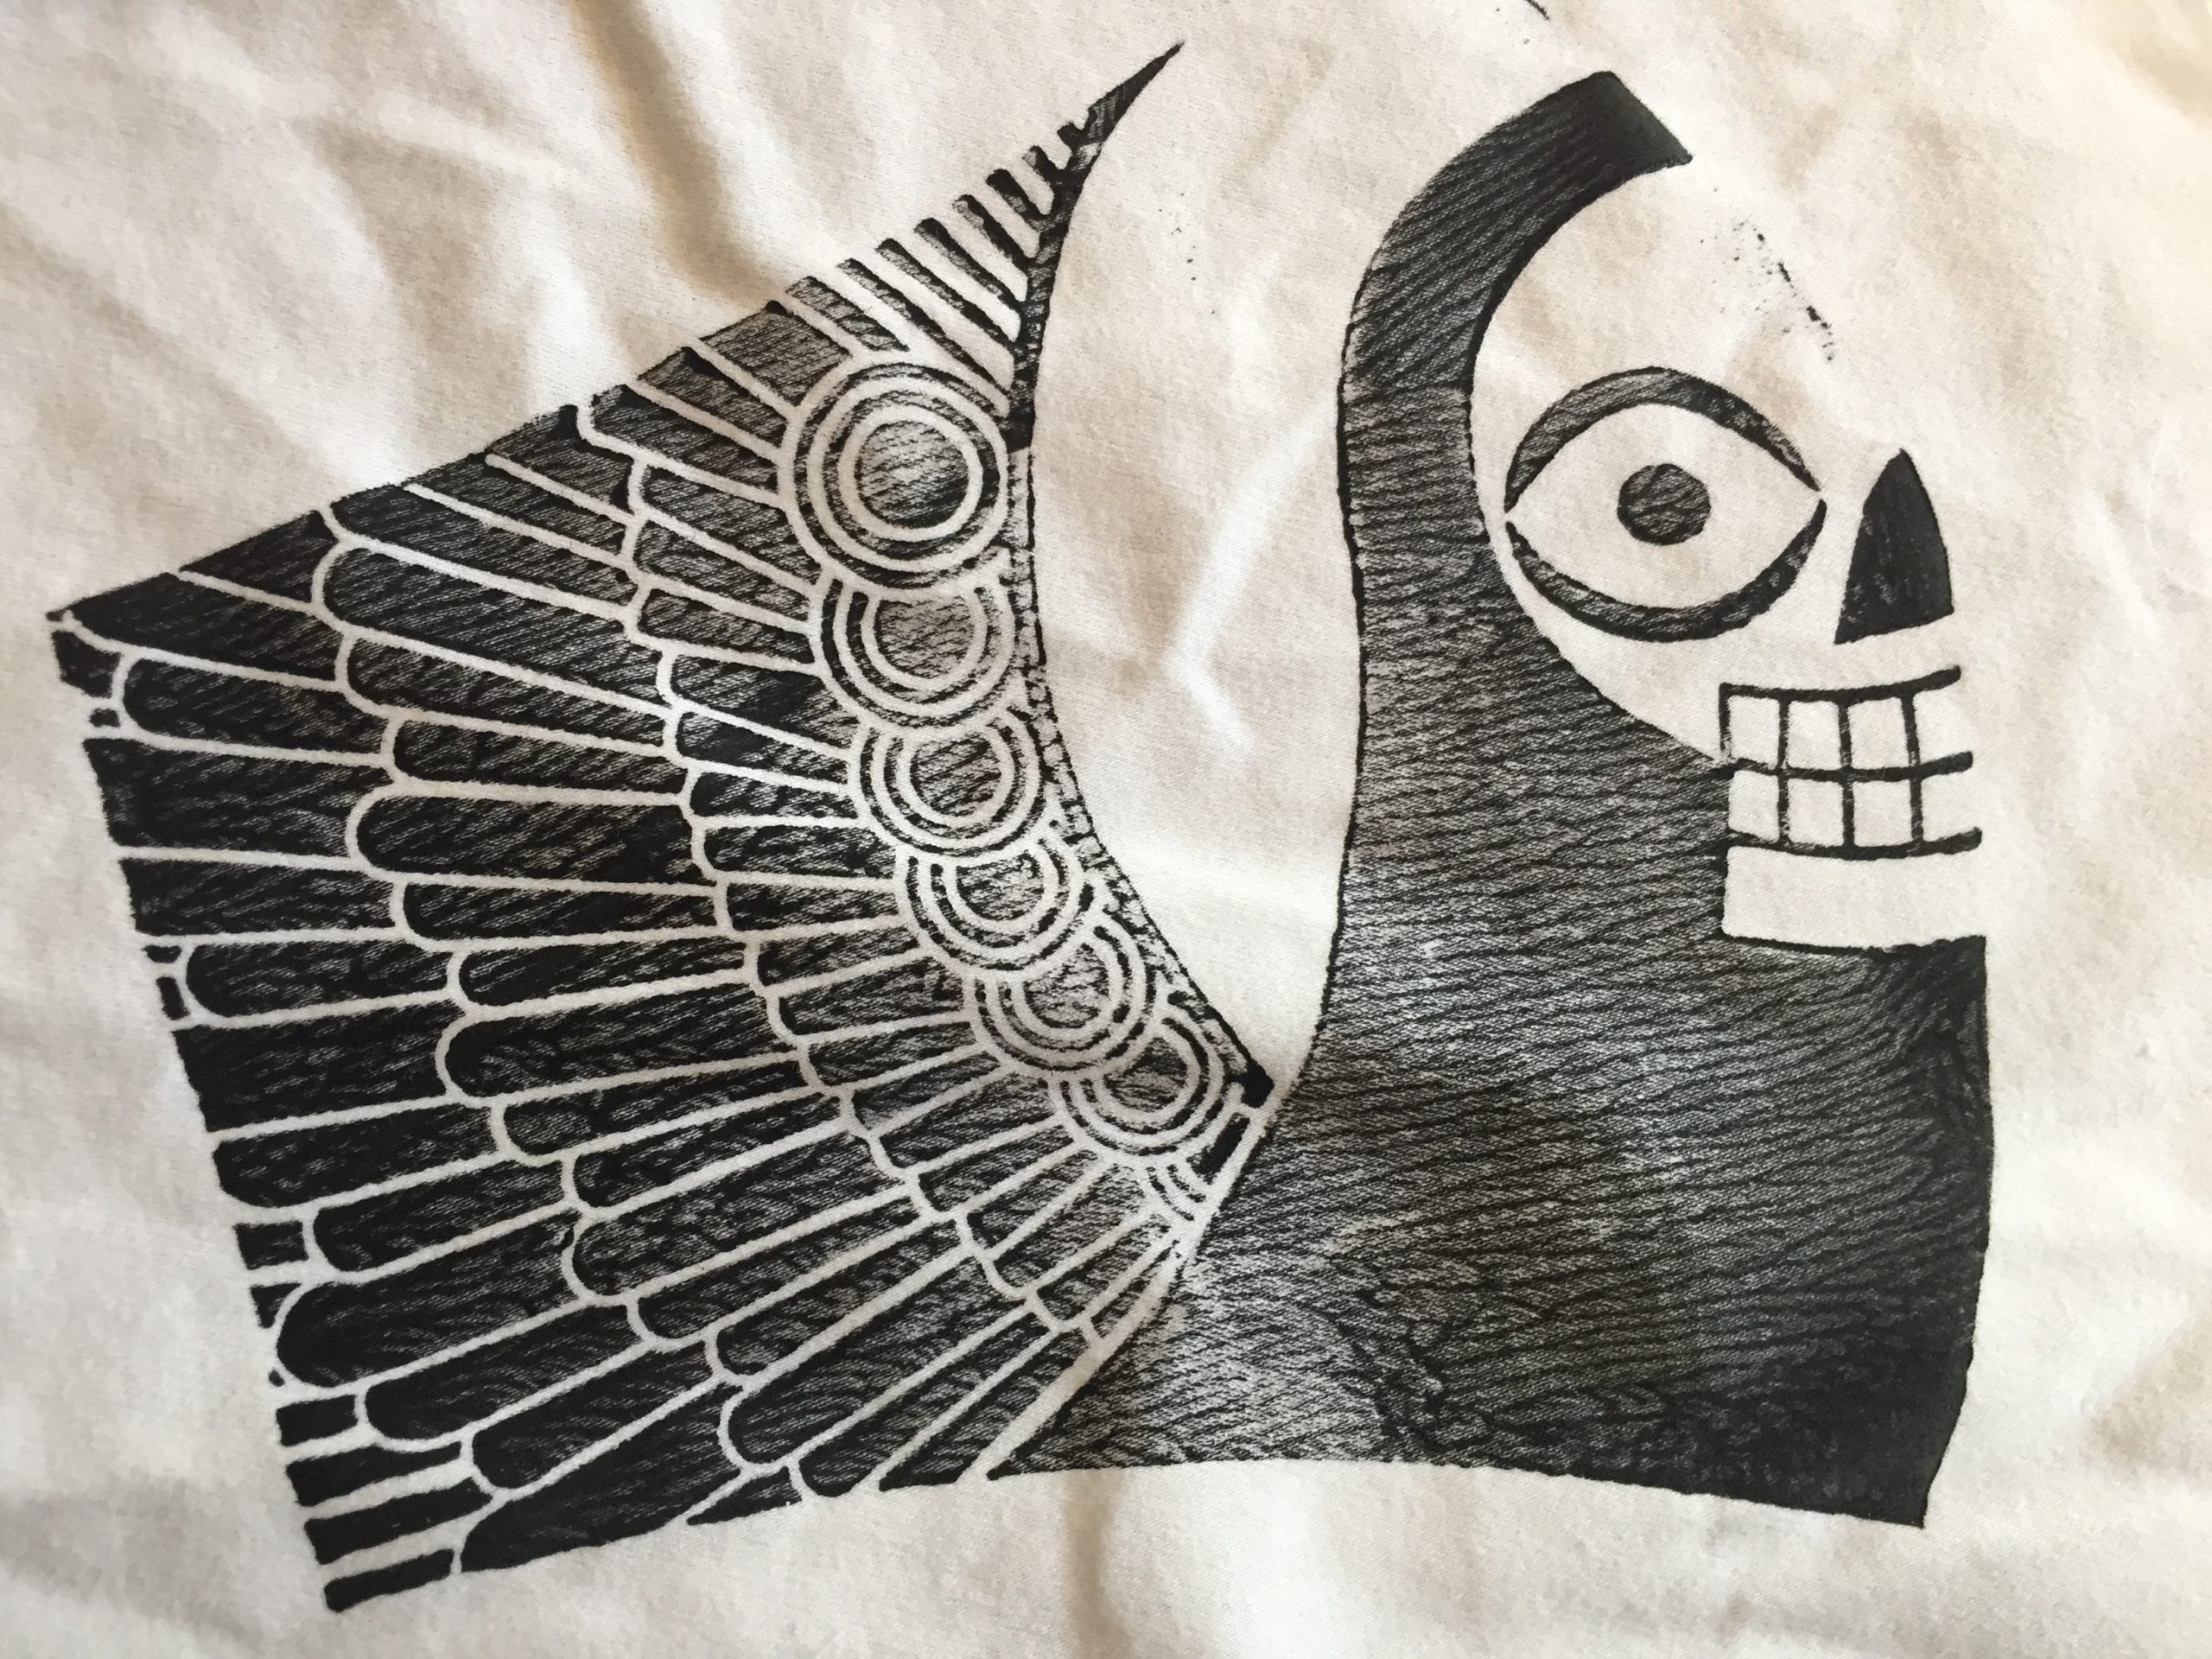
The bad news is, block printing is very labor intensive and probably not the best medium for this project. I got enough decent prints to make 3 or 4 masks out of this batch. The impression below is about the best I could do:
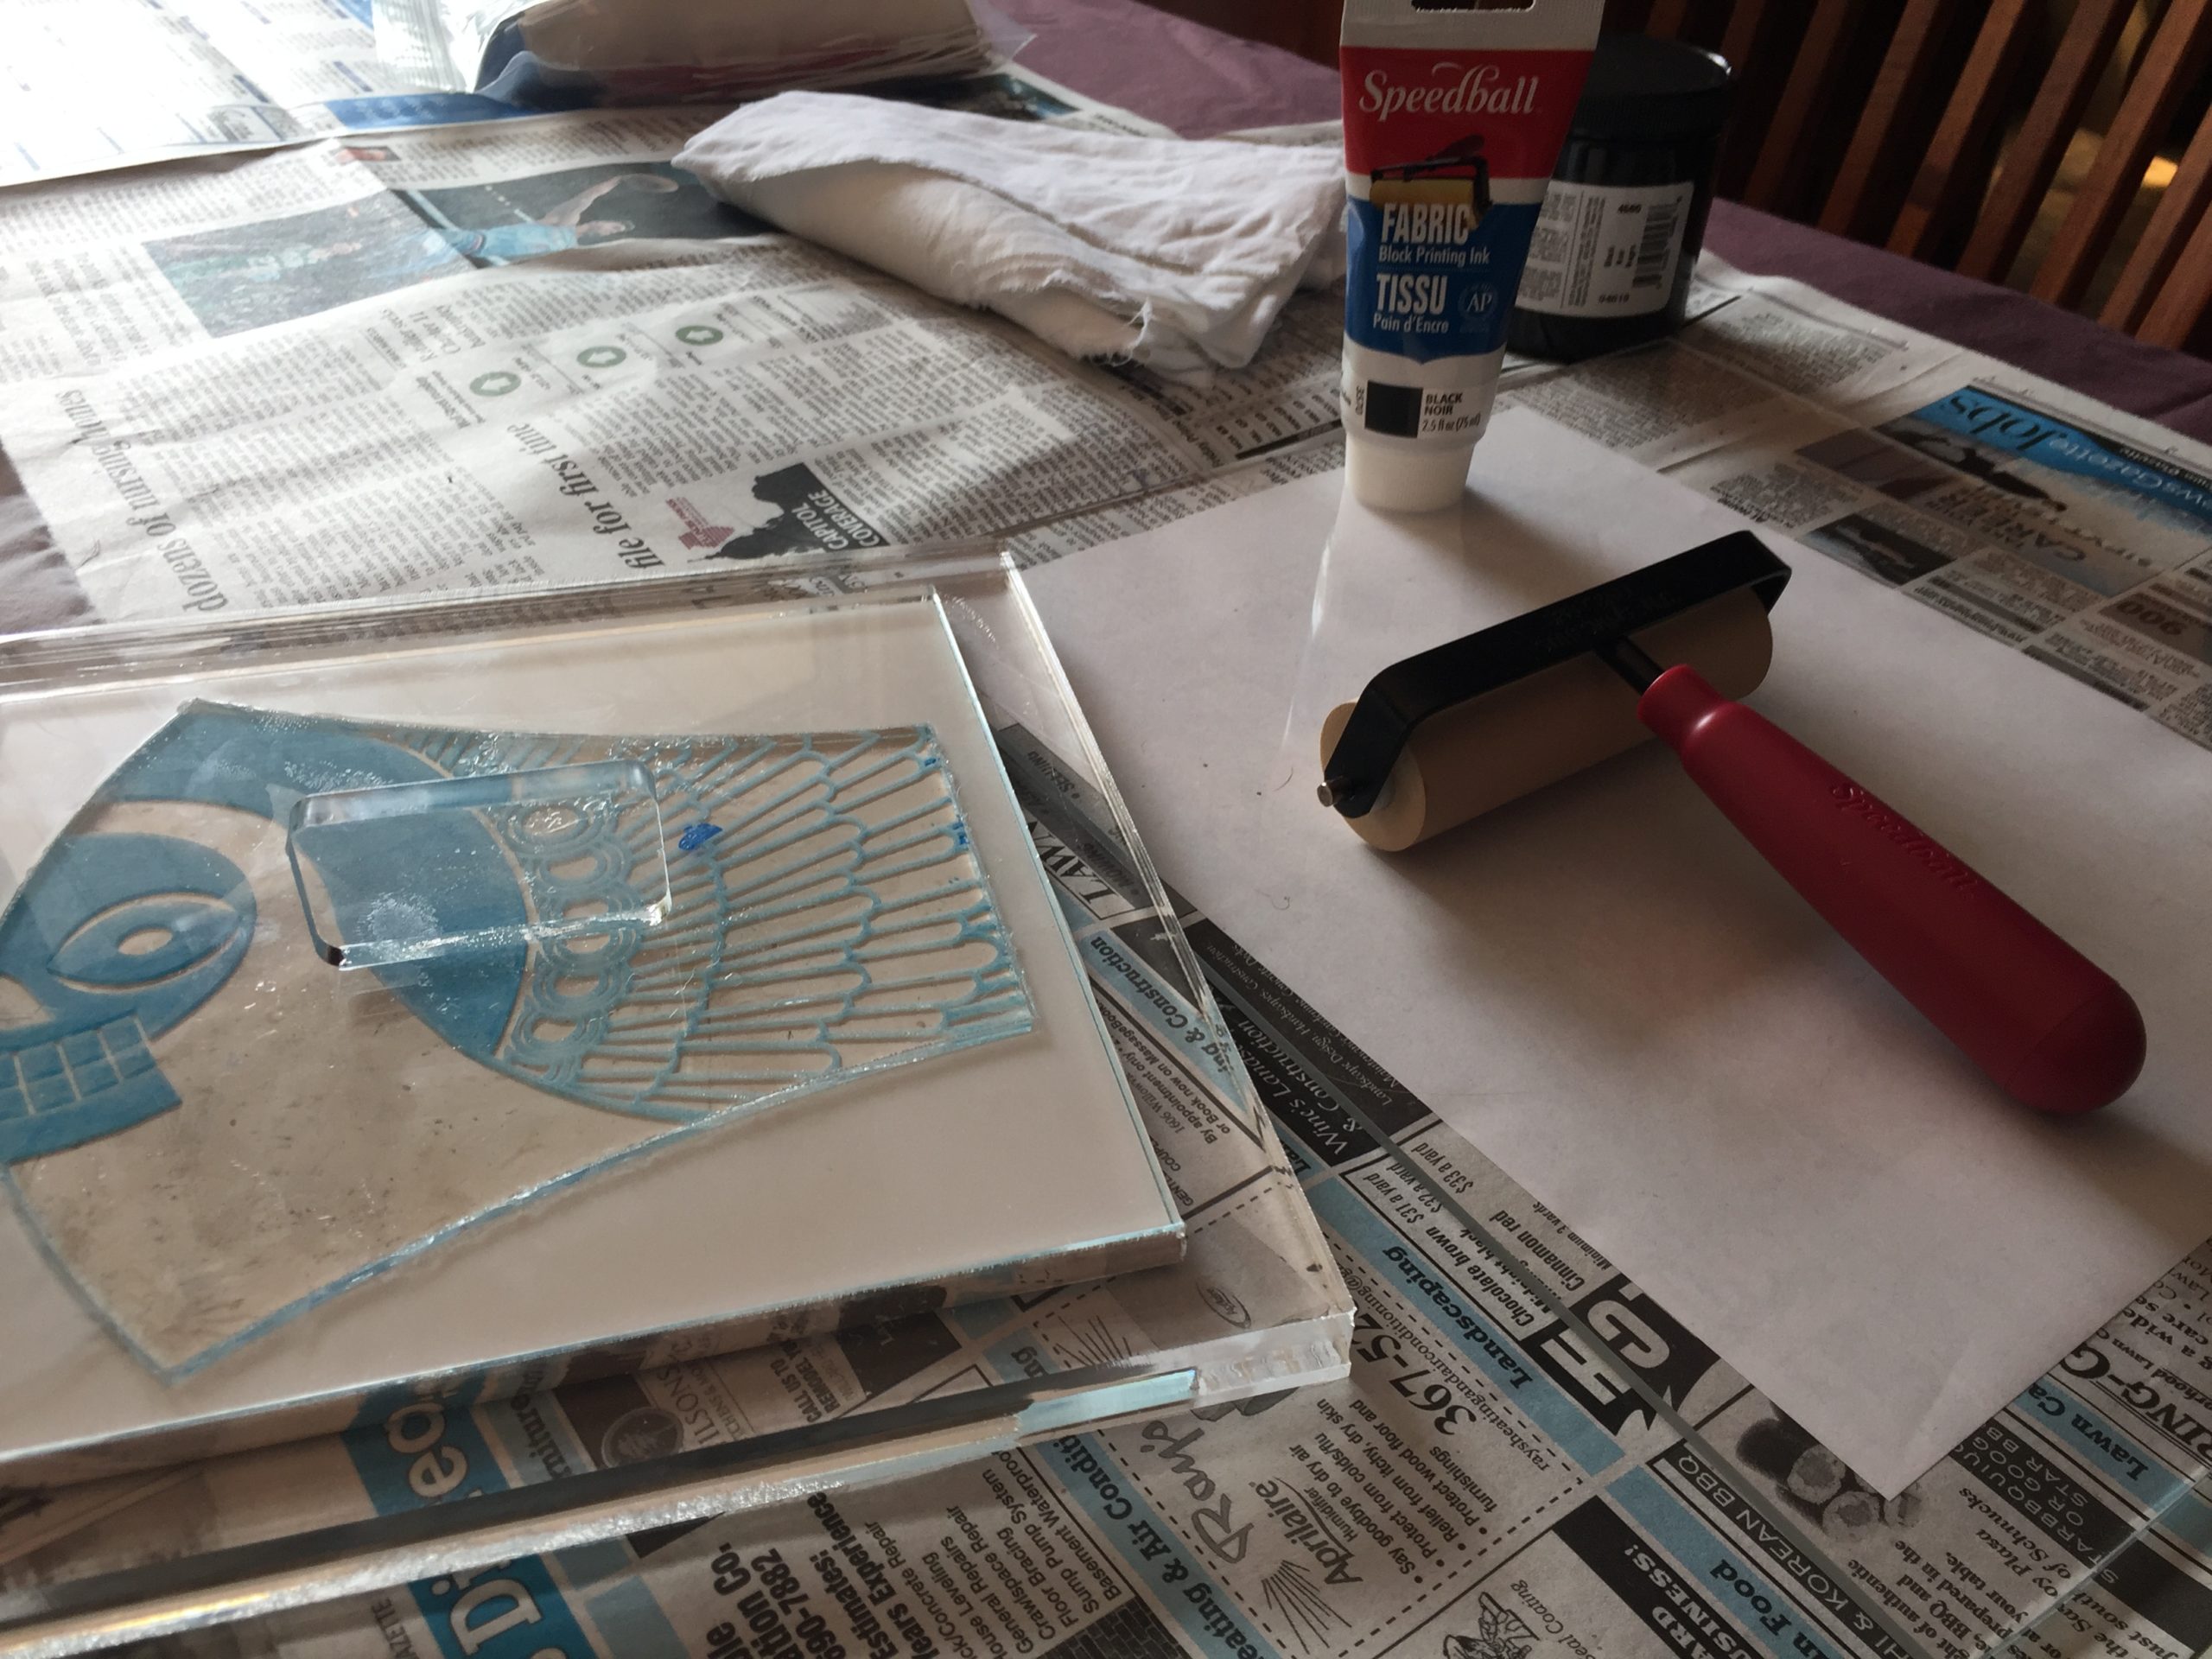
Second test, with Speedball Screen Printing ink for fabric
The screenprint ink actually worked better than the block-printing fabric ink. I applied both with a brayer. I was able to load more screenprint ink onto the block, and the fabric seemed to accept it a little better.
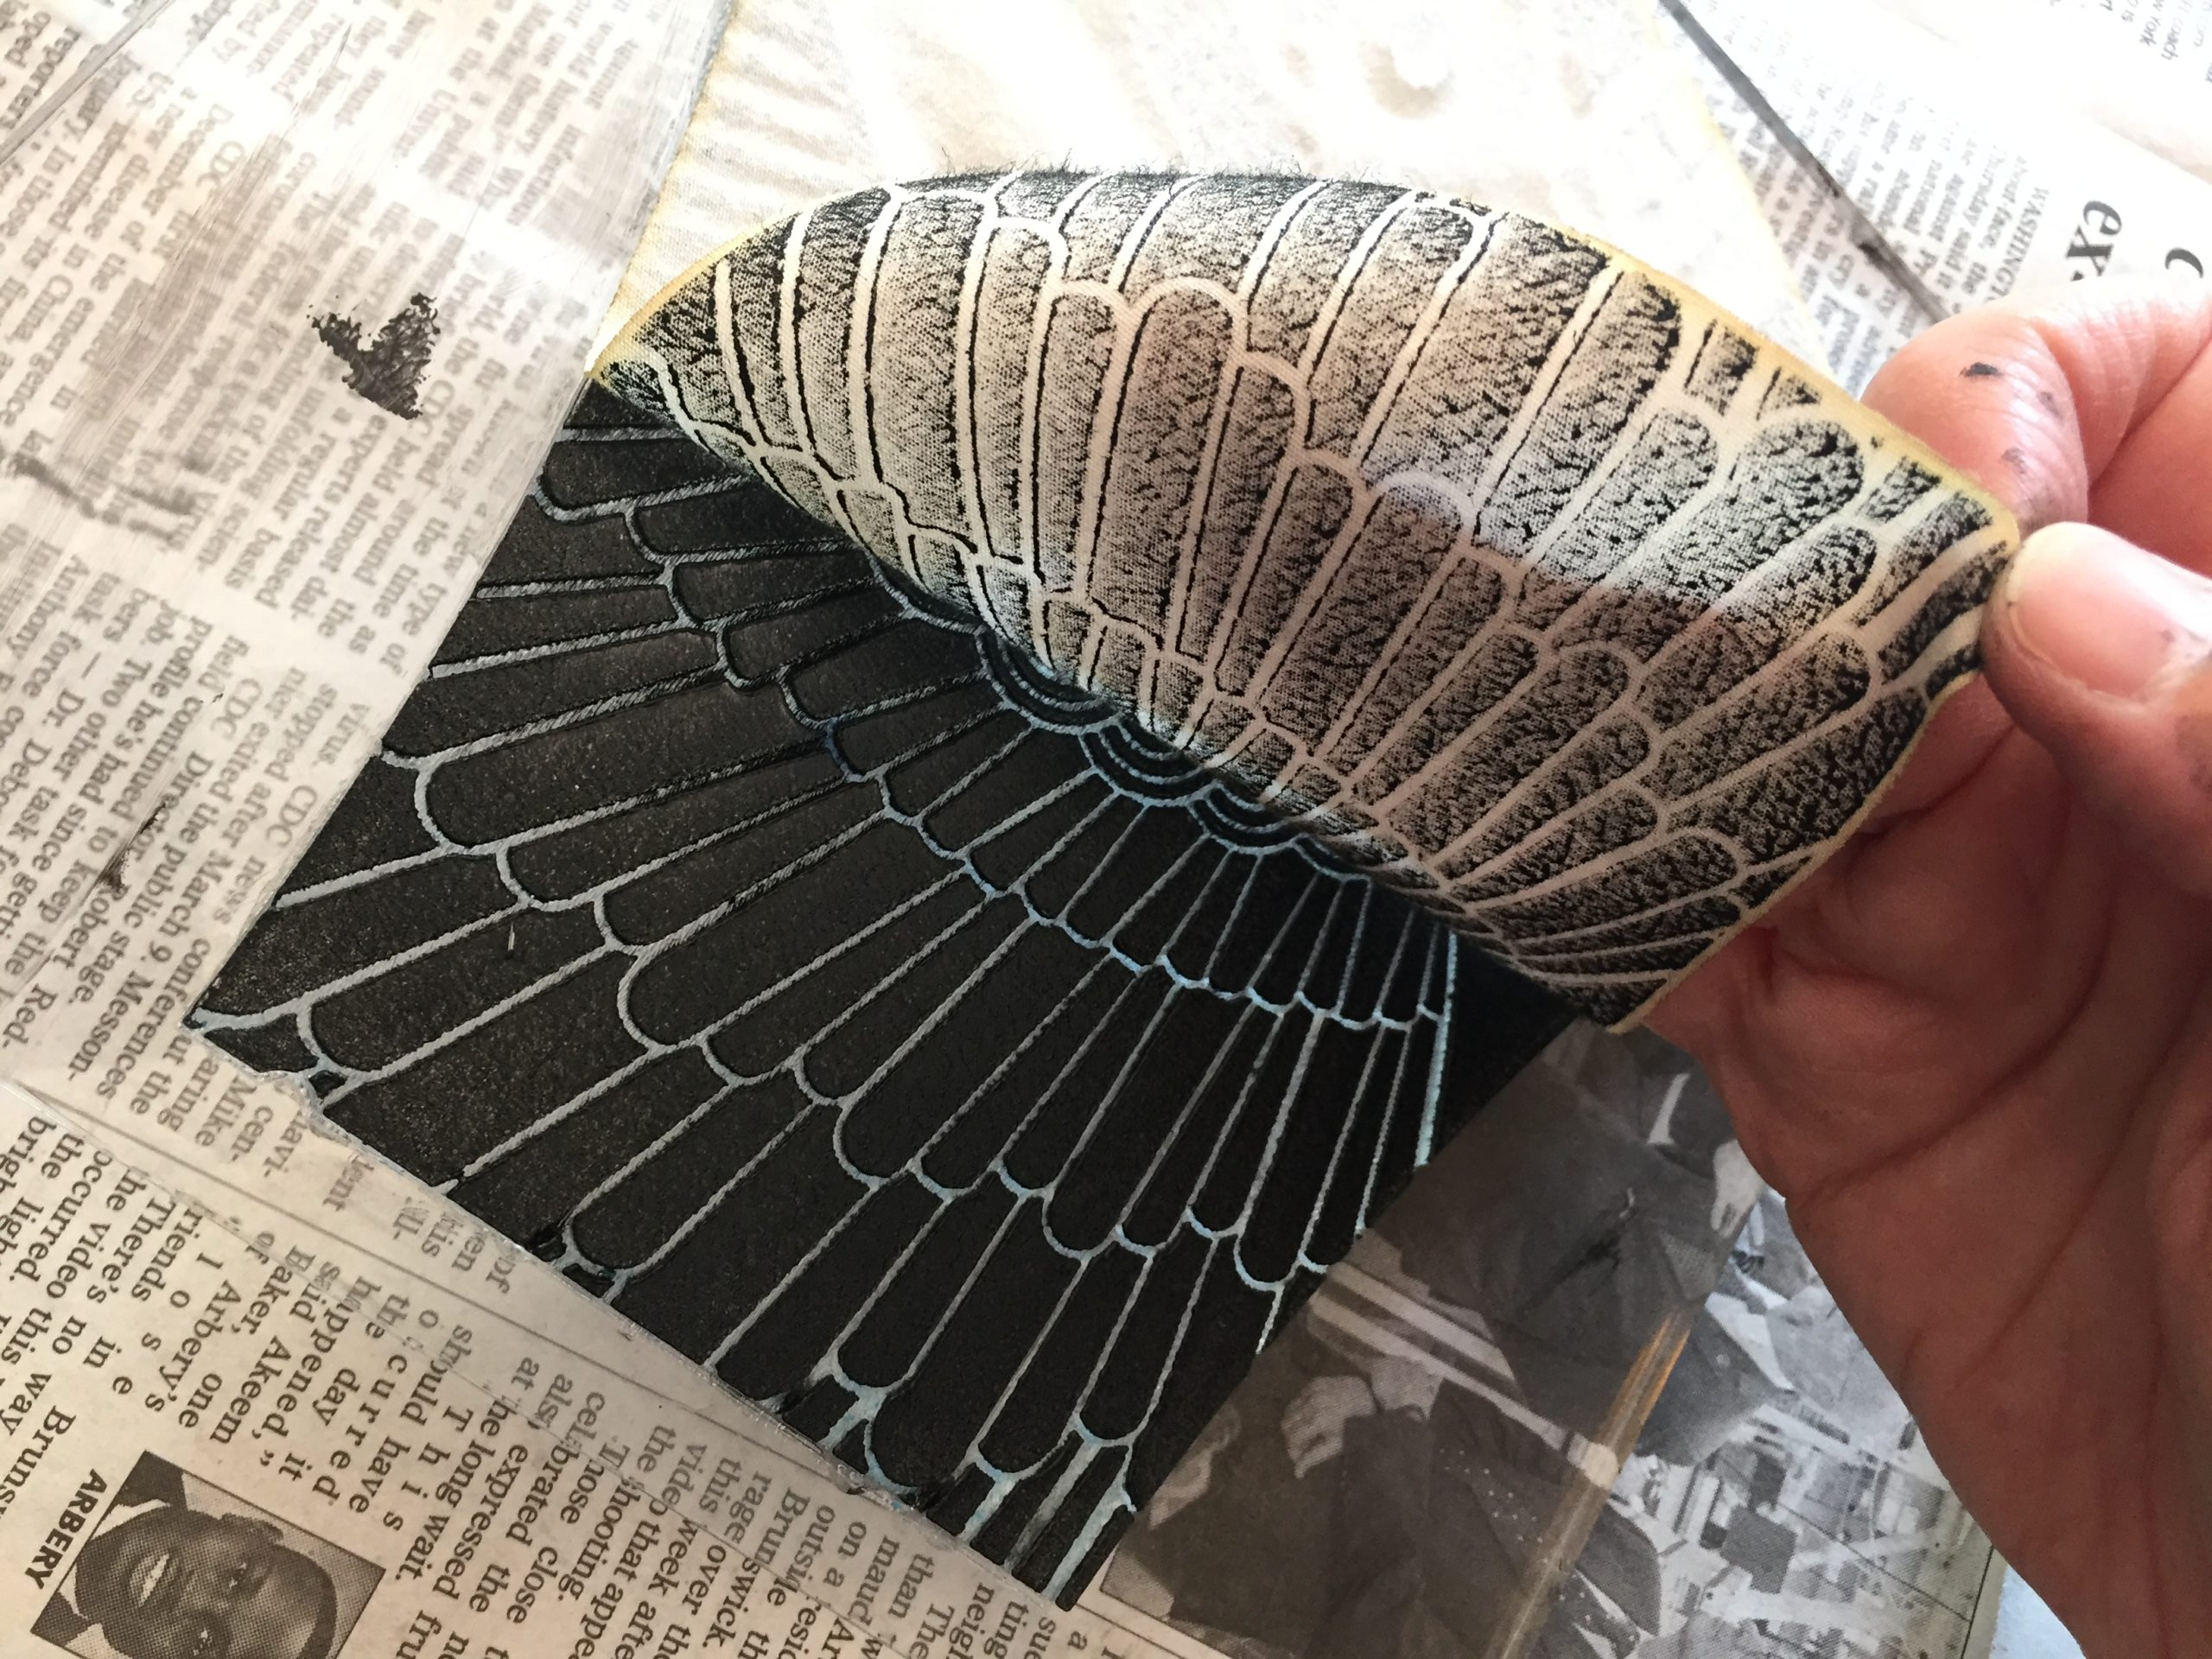
First test, with Speedball Fabric Block Printing Ink
The image looks better on bleached white than the unbleached “natural” cotton I thought I’d prefer.
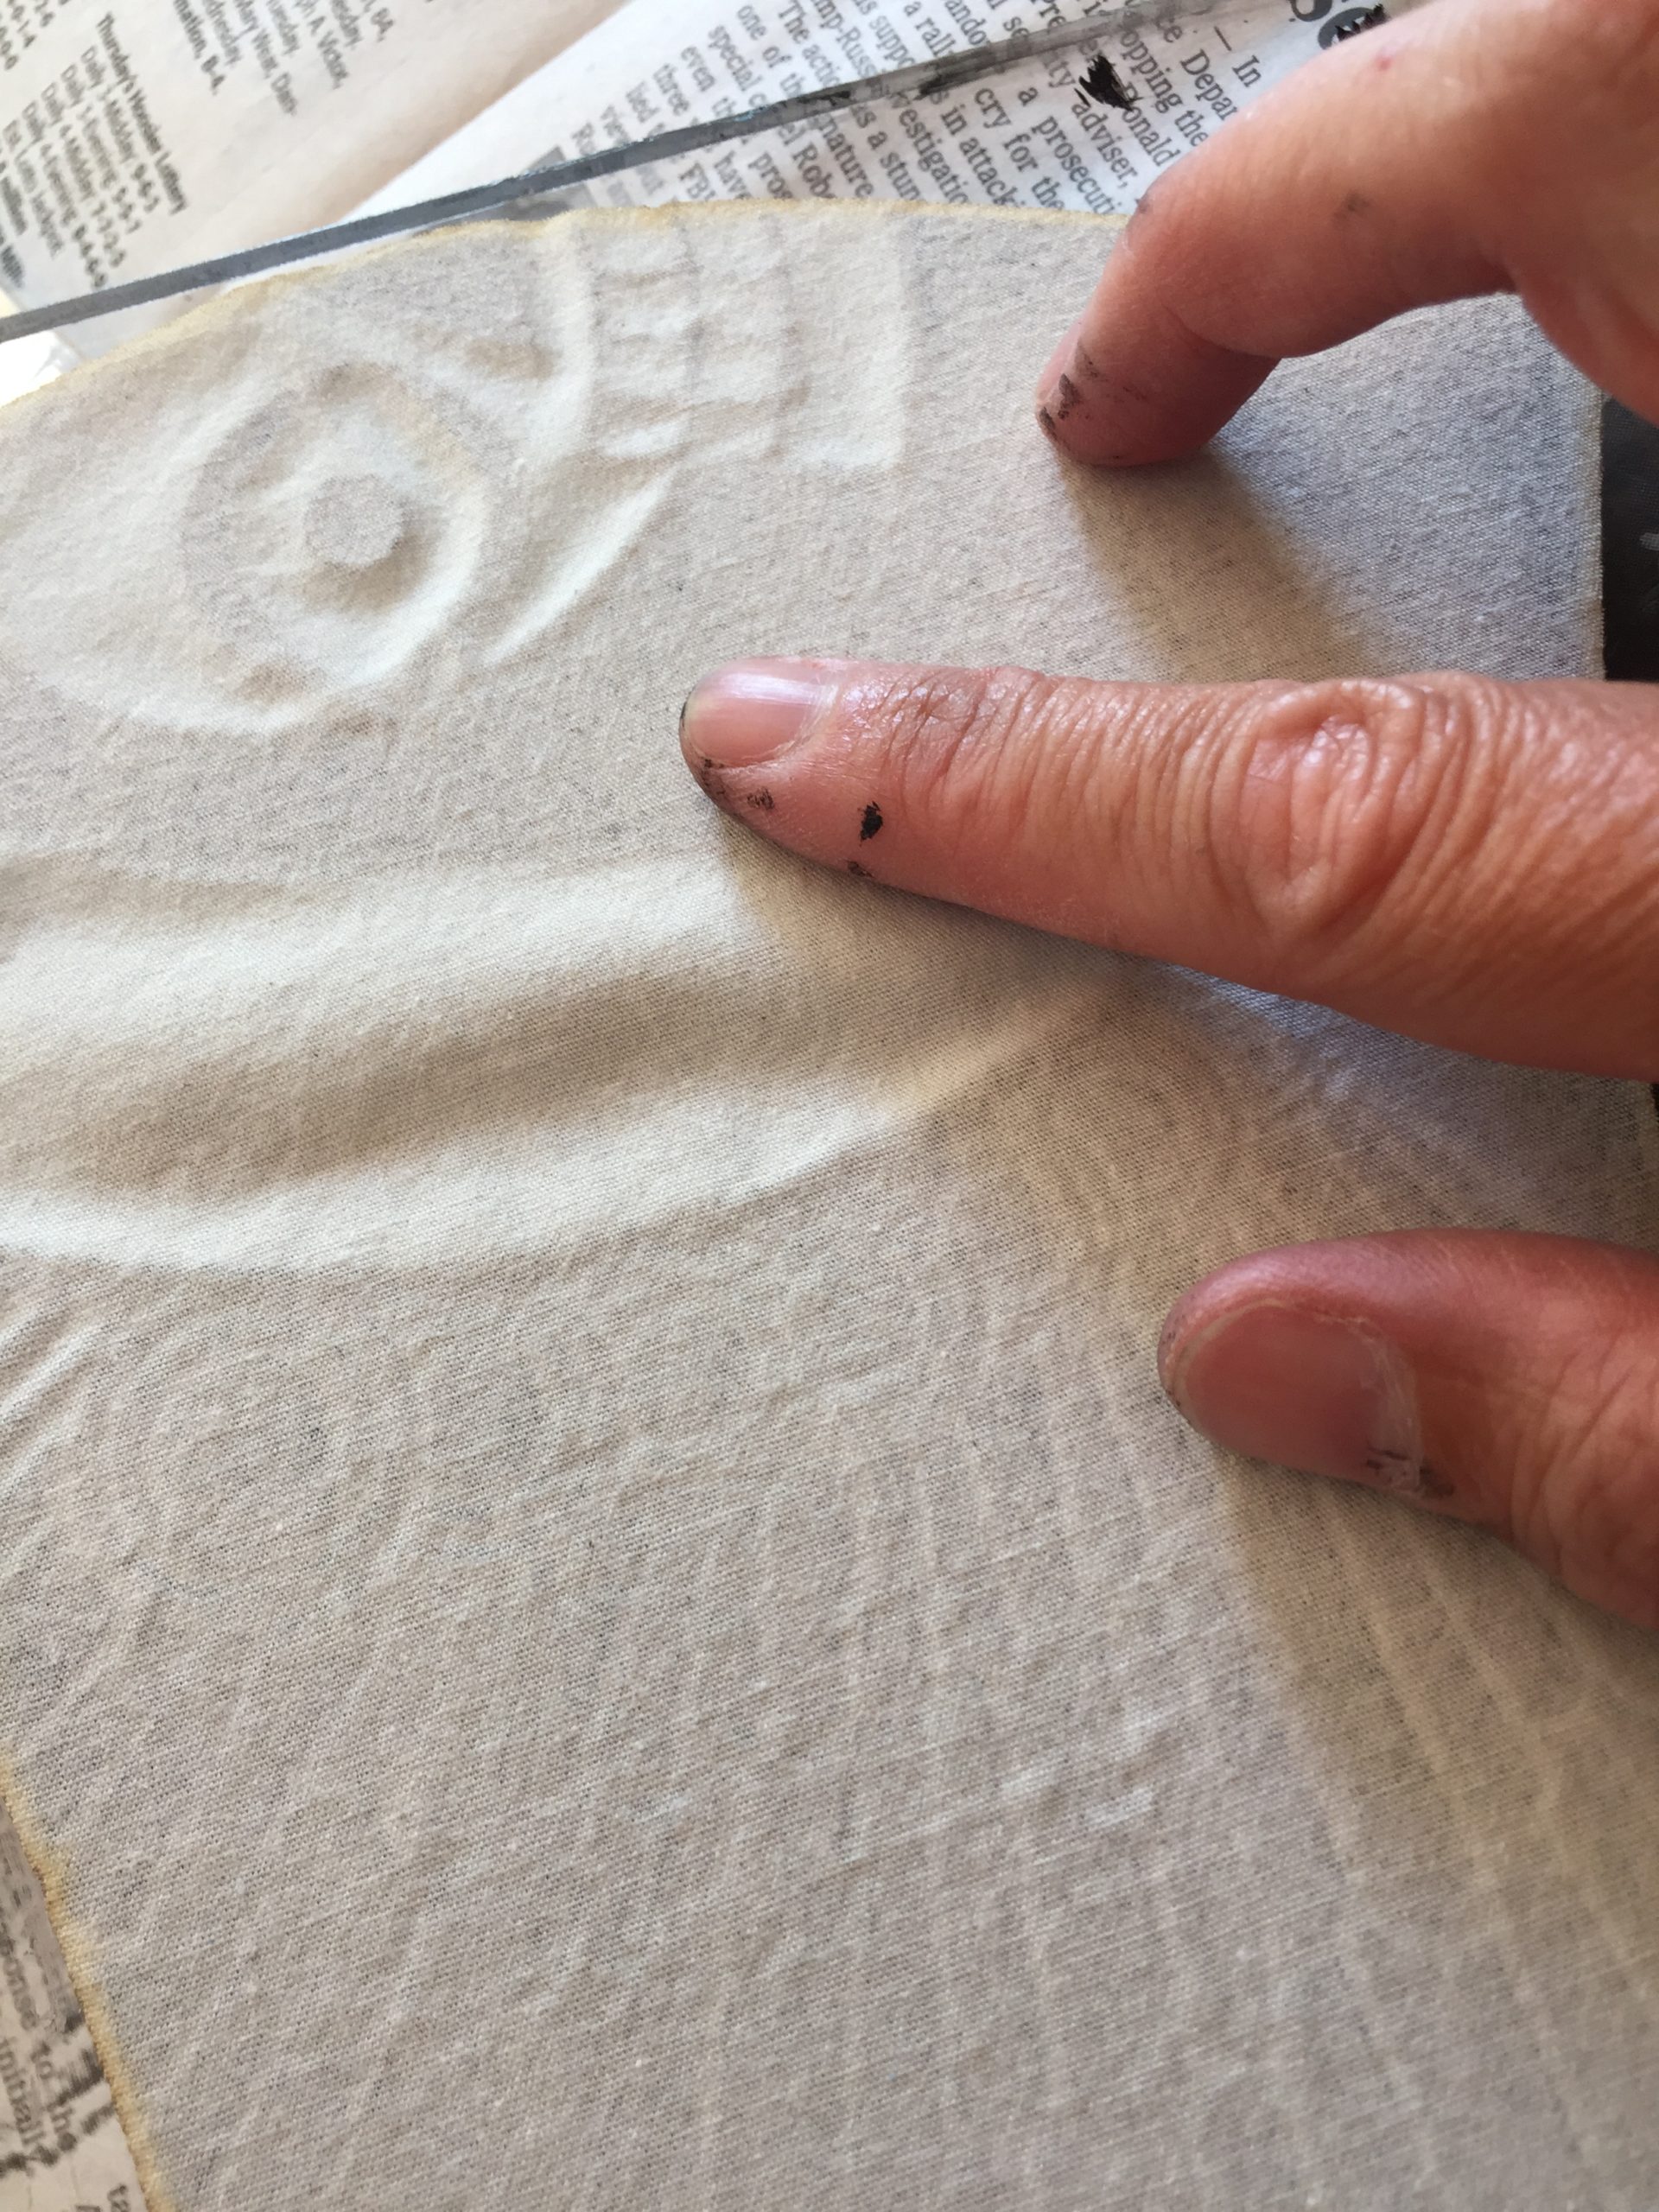
Theo made a system for registering prints on pre-cut fabric, which saves the work of cutting out with scissors later.
But it adds more labor “burnishing” the fabric onto the block with your fingers.
Impressions using this system came out lighter than my tests on uncut white fabric, even with all the finger burnishing. I’m not sure why.
The handmade, ink-textured look is hopefully charming and valuable. Maybe it’ll look cooler than silkscreen, but I’m still gonna try calling the local screenprinter again today.
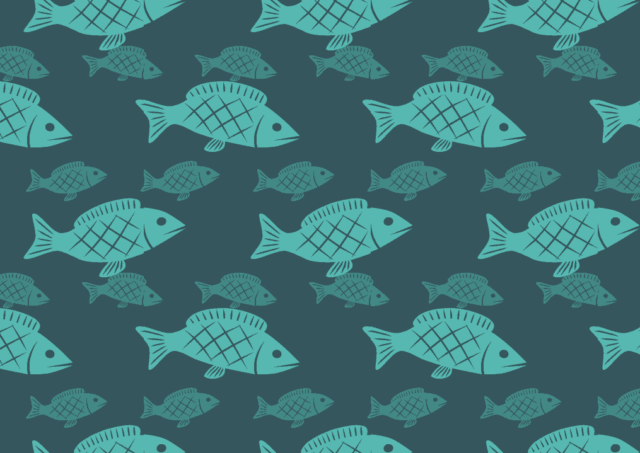
I’ve been collaborating with Alex Gleason on a new social media website, and he proposed a background of the animated fish from Seder-Masochism:
But how to scale it up for a full background? The gif above is 1.6 MB, it can’t be any larger without significantly slowing loading times (and eating up data on mobile devices). I thought I could maybe make a tessellating animated gif tile, and so did Alex, but it turned out to be much trickier than I’d anticipated.
In a way, a looping gif is a tessellation of time: it seamlessly begins where it ends. That isn’t so hard:
I actually notice a little blip in the time-tessellating here. Can you find it?
But it doesn’t tessellate in space. If you tile the fish above, you’ll see “seams” at regular intervals. Making the fish line up seamlessly, while moving, required going “under the hood” of the original animation, re-sizing and retiming everything, and carefully positioning and scaling by eyeball. I won’t go into all the details and mistakes, but after some hours I eventually got something that works almost perfectly:
I changed the colors, obviously.
Now get this: it’s under 160 KB. That’s right, less than one-tenth the filesize of the gif at the top of this post; smaller than most jpegs of similar dimensions (360 x 360 pixels). But it covers an entire browser window, no matter how large. Here’s a screenshot showing it tessellating in space:
Yes, you can still find teeny-weeny seams, but at 12 frames per second they’re hardly noticeable.
Update: I made a smoother version. Above is 12 frames per second, below is 24 frames per second. This makes it smoother and less headache-inducing, but doubles the number of frames and therefore file size, and the seams are more visible.
 Atul and I are on the same page regarding Free Software and Free Culture, so we’re both happy to share as we go along. You can generate your own strange images like the ones above by clicking the “randomize” button here: